


Entry posted by Will Vale
643 views
I've had a go at the interiors, inspired by this picture...
http://ukrailrolling.../p57256754.html
...and it came out OK I think. It's quite hard to capture the almost salmon shade (rust plus dust/dried mud?) of the prototype picture but provided it looks believable I'm not too worried if it doesn't look identical ![]()
I've started another two and taken some pictures to accompany the process.
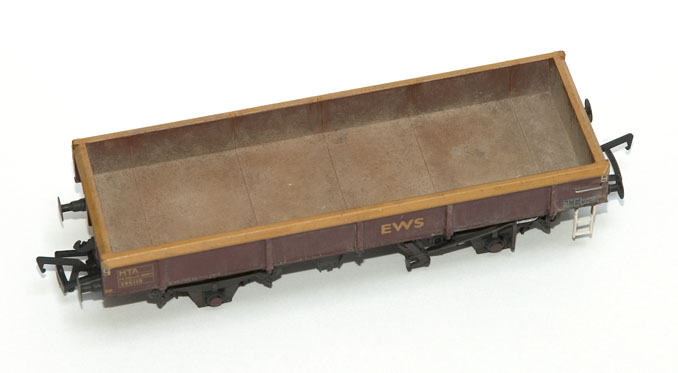
Step 1) I stippled on artist's acrylic (the stuff in tubes - the one I use is called Pebeo) with a stiff round brush, mixing the paint while I was stippling. I used raw umber and burnt sienna, with a bit of white as well since the insides and would have added white but I couldn't find it. I bought these paints mainly for scenic work but I was keen to try them for weathering since they're lovely to work with. The stippling is murder on brushes and you need to watch out for them losing bristles since they'll get stuck to the paint.

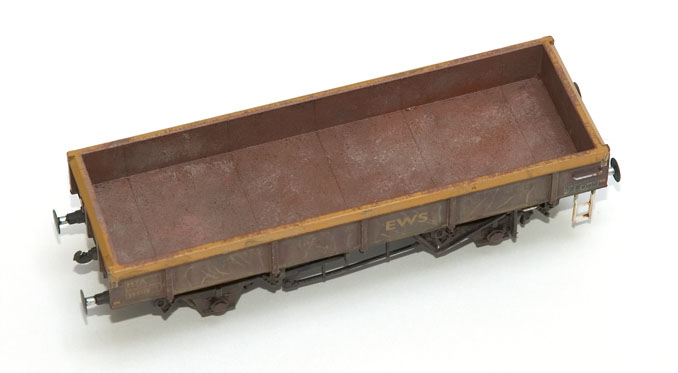
The second one is more blotchy because the paint was starting to dry:
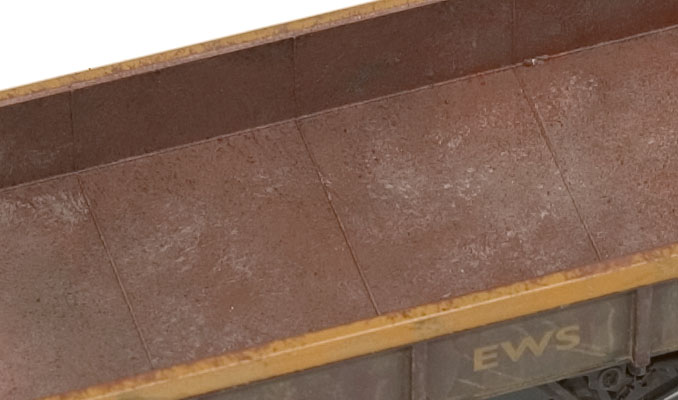
You can get a really nice (so probably overscale) texture doing this:
Step 2) Apply powders (mostly Mig Industrial City Dirt + Rubble Dust plus some white chalk I pinched off my daughter) to lighten and dull the colour, vaguely represent the mud, and also level out the paint texture a bit. The powders stick really well to the rough paint. I brought them up the sides a bit to give an impression of a tide-mark from the load:
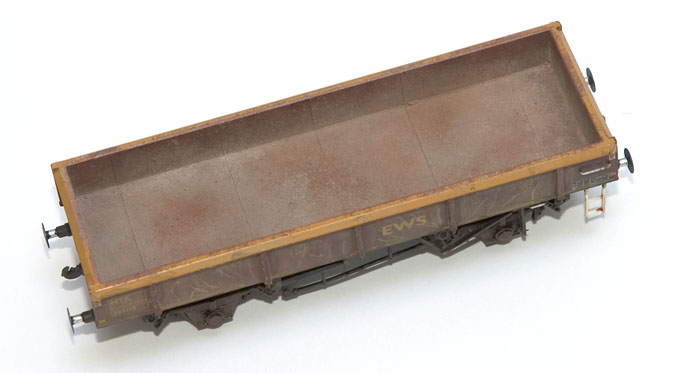
The second one has a bit of rust powder worked around the ribs, which seem to be rusty in some pictures (but not all). I tried doing this with a thin paint wash but it was uncontrollable (it ran into the powders and spread very fast) so I had to let it dry and cover it up again.
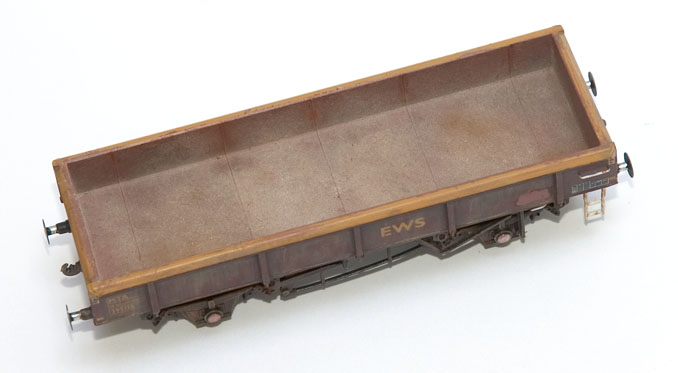
These have since had some minor colour variation added with coloured pencils (I thought the darker patches looked a bit too smooth and camouflage-ey) and the powders have been fixed. I'm expecting to have to do a little touch-up when that all dries.
Since I only have 4 MTAs, I'm on the home stretch now: the main job is to finish the outside of the fourth wagon, plus I want to psyche myself and do a "wet mud + ballast in the corners" interior for the wagon with the really muddy exterior, but I need to think through how that might work a bit still.
1 Comment
Recommended Comments
Create an account or sign in to comment
You need to be a member in order to leave a comment
Create an account
Sign up for a new account in our community. It's easy!
Register a new accountSign in
Already have an account? Sign in here.
Sign In Now