Jump to content
 
  • entries
    263
  • comments
    392
  • views
    96,940

Sprayed track


johnteal

506 views

I have to say I don't really like the "as it comes" colour of peco track, made worse by using recycled point work that has a different colour. So having soldered all the wire links in place I let loose with the Railmatch "Frame dirt"


SDC17938.jpg


SDC17945.jpg


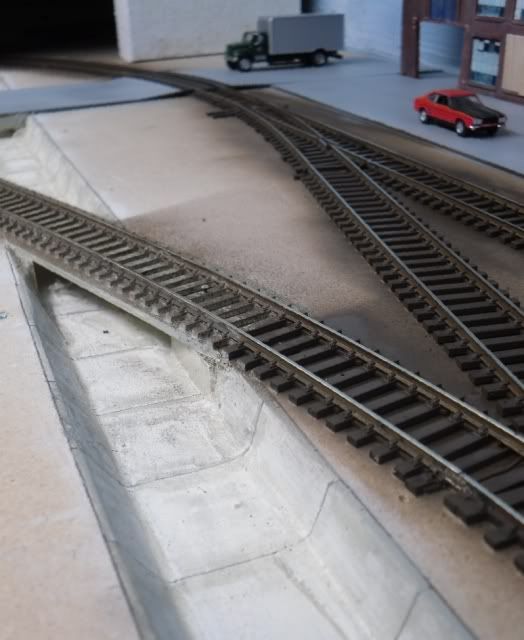
Track wired and painted called for a bit of running, with a couple of shots...


Caught this train leaving town


SDC17956.jpg


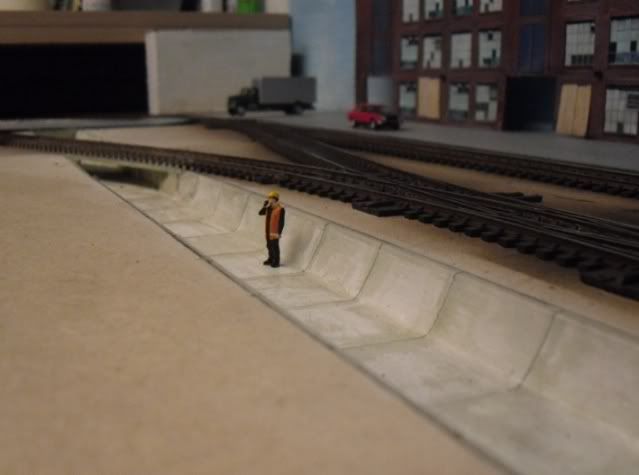
It had to slow to cross the street at the end of town


SDC17959.jpg


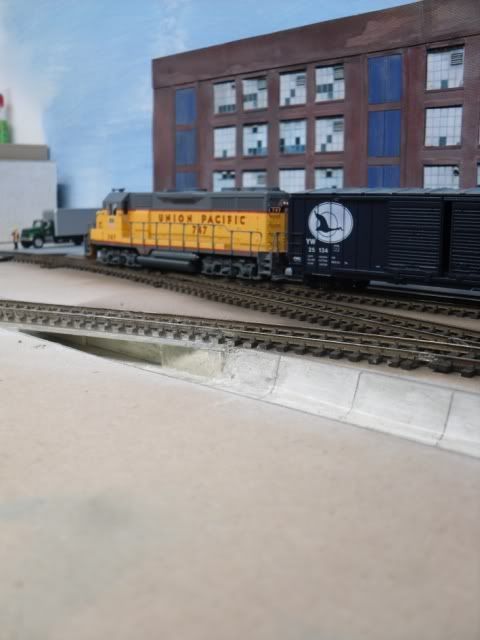
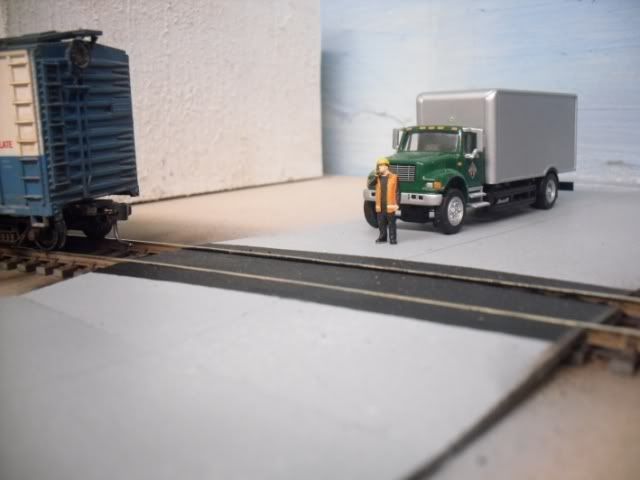
With a crewman stopping traffic, it proceeded slowly across the road


SDC17962.jpg


Then off


SDC17952.jpg


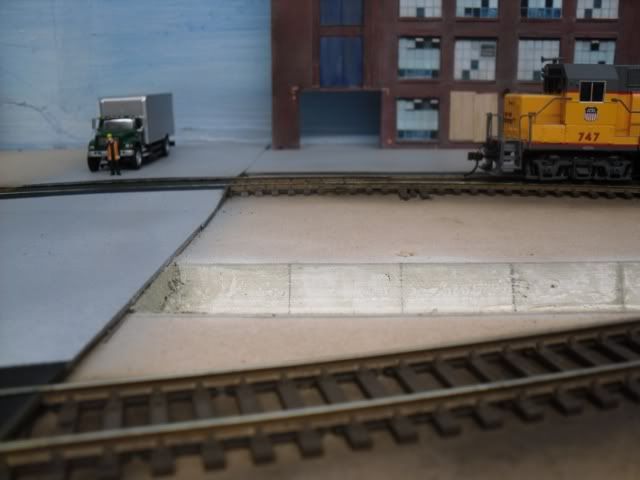
I know, lots of scenery to add to finish the illusion but I can see it in my mind ;)


John

7 Comments


Recommended Comments

John - that looks really good - pray tell, what did you use to form the storm drain? Is it simply cut out and then polyfilla'd, or have you used something else?

Link to comment
John - that looks really good - pray tell, what did you use to form the storm drain? Is it simply cut out and then polyfilla'd, or have you used something else?


the original baseboard level is the bottom of the storm drain. I topped it with a new piece of 1/2" MDF to give me a clean start. Trying to be frugal, I used offcuts, the rear one ending at the back face of the drain. That's what formed the idea, when the next new piece was added I just left a gap creating the drain slot,


Originally the slot had straight walls, I used filler (P38 body filler from the car spares shop) Filler applied liberally down both sides then using a plasti card offcut with an angle and rad I scraped off the excess down both sides whilst still wet, leaving the wall shape. Once dry a bit of sanding , a second light filling and final sanding left the shape I have. P38 is filler plus a small amount of hardener added and only takes 10 minutes to "dry" you have to work fast or do small areas at once but not waiting for drying is a big bonus.

  • Like 1
Link to comment
Is that you sneaking your Ford Capri in there?

dry.gif

Track looking good.

Chris

:)


Could be !biggrin.gif I don't have any US models to populate the pavement yet !

Link to comment

the original baseboard level is the bottom of the storm drain. I topped it with a new piece of 1/2" MDF to give me a clean start. Trying to be frugal, I used offcuts, the rear one ending at the back face of the drain. That's what formed the idea, when the next new piece was added I just left a gap creating the drain slot,


Originally the slot had straight walls, I used filler (P38 body filler from the car spares shop) Filler applied liberally down both sides then using a plasti card offcut with an angle and rad I scraped off the excess down both sides whilst still wet, leaving the wall shape. Once dry a bit of sanding , a second light filling and final sanding left the shape I have. P38 is filler plus a small amount of hardener added and only takes 10 minutes to "dry" you have to work fast or do small areas at once but not waiting for drying is a big bonus.


Thanks John - an interesting way of doing it!

Jack

Link to comment

Create an account or sign in to comment

You need to be a member in order to leave a comment

Create an account

Sign up for a new account in our community. It's easy!

Register a new account

Sign in

Already have an account? Sign in here.

Sign In Now
×
×
  • Create New...