

GCR Class 18 Converted, Part II

Entry posted by James Harrison
504 views
Well, for the last fortnight I've been working on rather a nice WWI biplane but now that that is finished there is no reason why the little shunting loco can't make a reappearance on the bench.
So; The prototype.
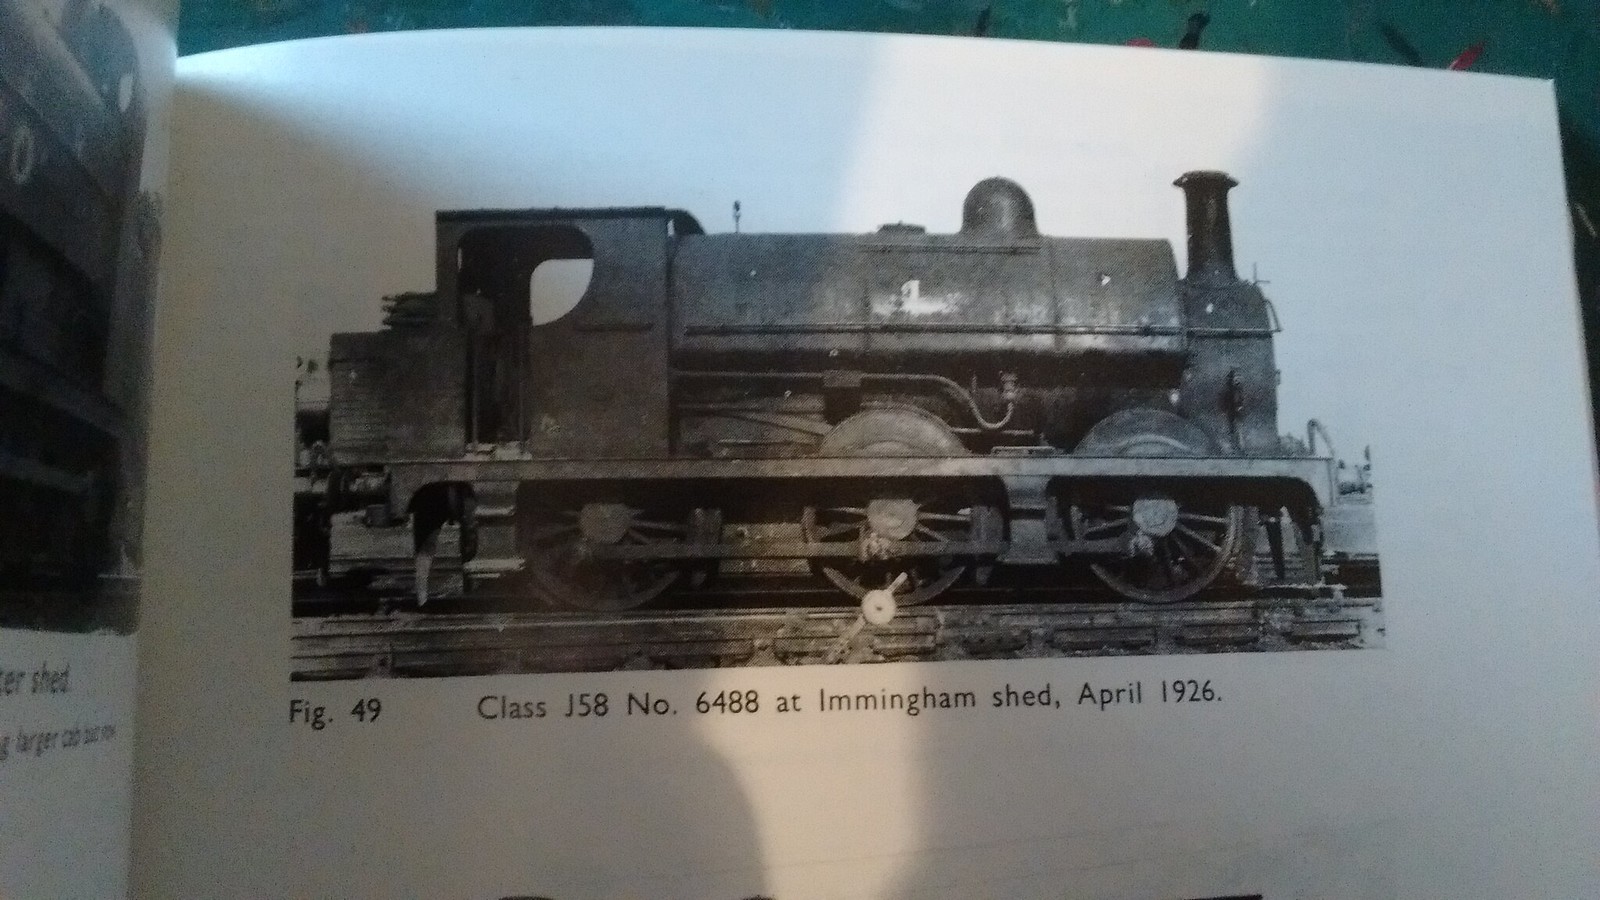
The starting point.
And now, to continue....
Last time I discussed this model I had gotten as far as cutting it up into several pieces with a view to lowering the body. So, to continue that idea, I took some measurements from my drawing (since starting this model I've taken delievery of a model railway magazine dated December 1968 with scale drawings of this engine) and I used a pair compasses to scribe lines onto the loco body to demarcate where I should place my cuts. The saddle tank needs to lose the bottom 6mm or so; the cab and bunker need to lose about 4mm from their bottom. The relationship between cab roof and top of the saddle tank is just about right so the datum point of the model is taken as being about the joint between saddle tank and cab, and the tops of the saddle tank and the cab roof.
After some fairly major surgery to the cabsheets and the saddle tank. To be able to lower the bodywork I need to turn thebody around on the chassis.... or turn the chassis around under the body.... in any case the motor no longer sits in the smokebox but rather protrudes into the cab. The knock-on effect of this is that in the rear of the bunker two slits now needed to be filed to accommodate a pair of cast-metal 'hooks' in the chassis that hold the body in place.

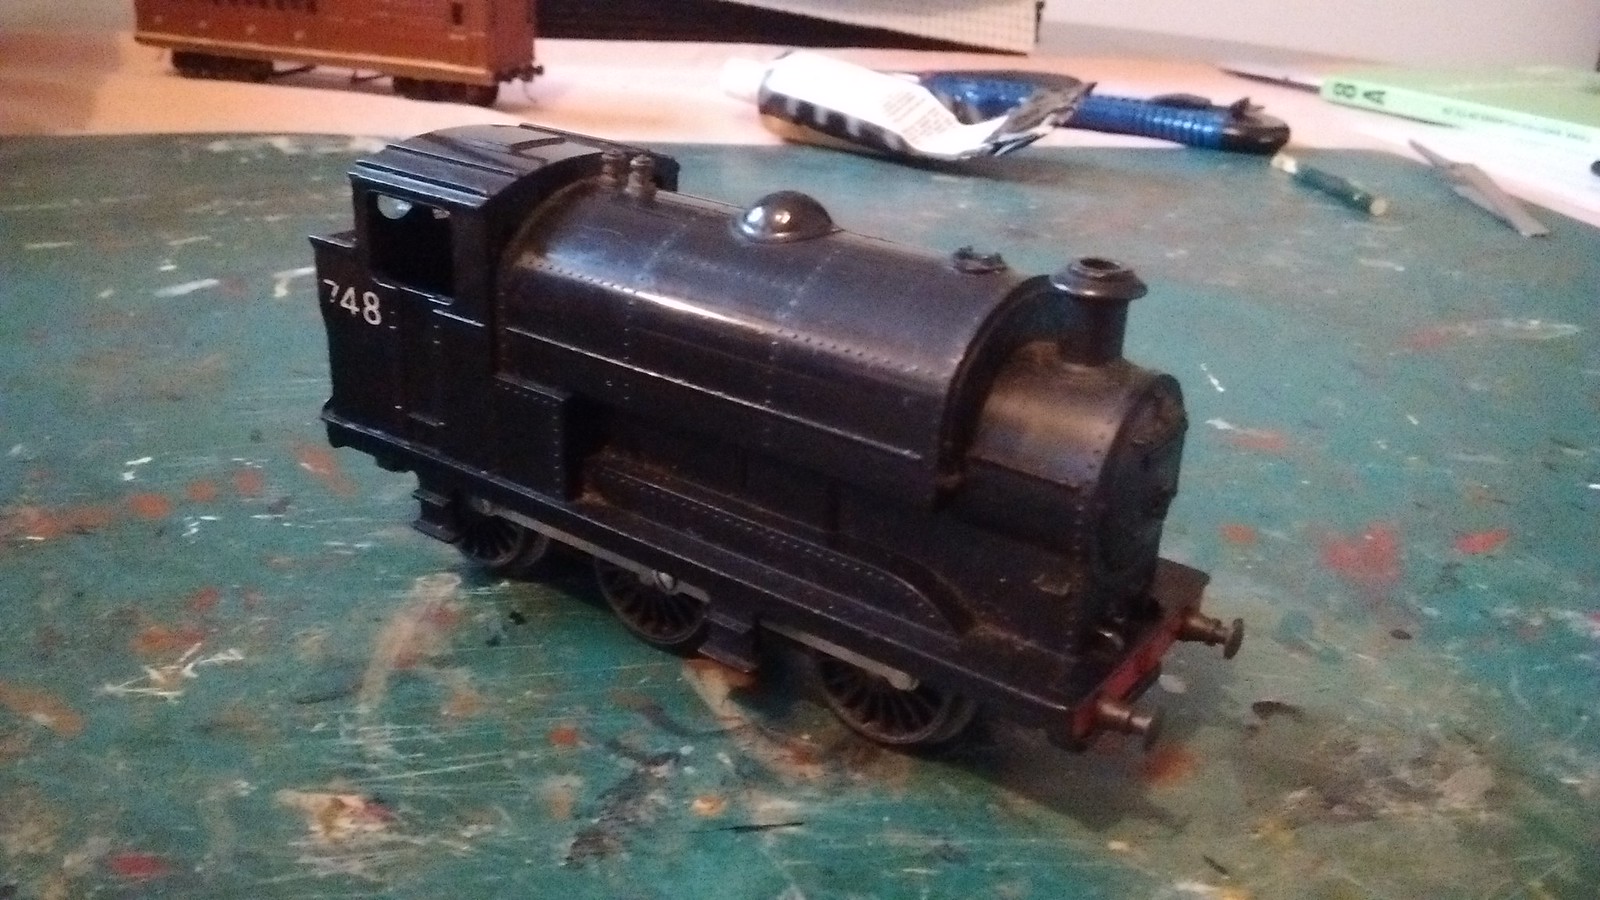
The saddle tank and cab then had a lot of wrong or unneccessary detail sanded off. Rain strips on the cab roof, the dome, the safety valves, rivets on the saddle tank.... all removed. Then a new whitemetal dome was fitted. This was I think a spare from a kit. Then it was refitted to the running plate and the whole body offered up to the chassis to check firstly it all fits and secondly it all looks good. Well, I think it looks a lot better!
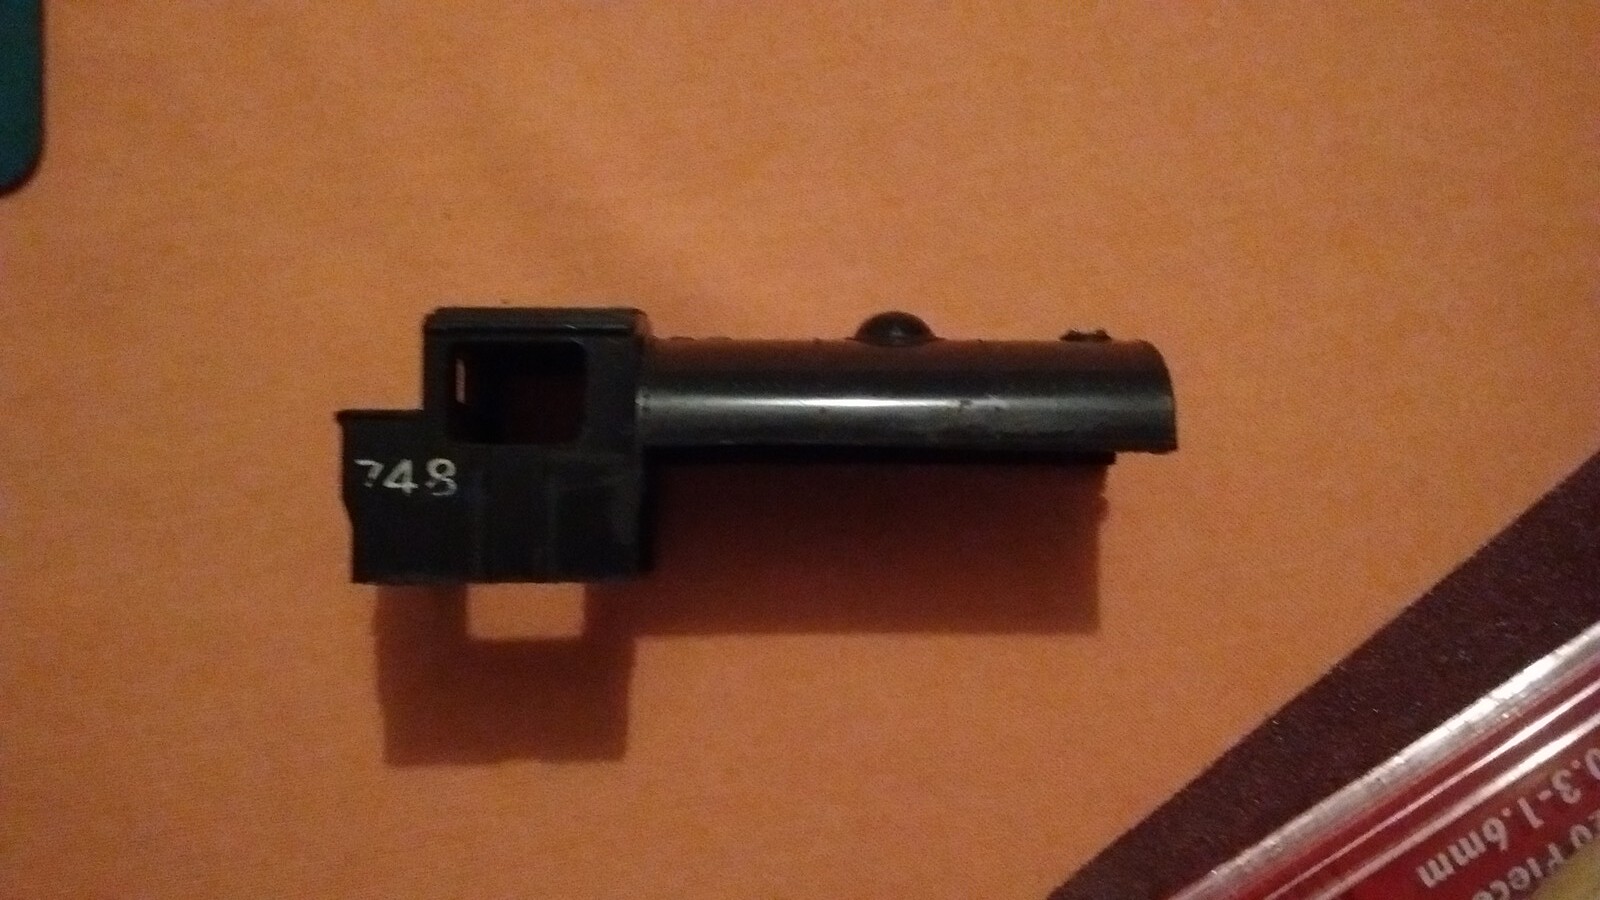
The smokebox at this point purely a push-fit so I then took that off again, sawed off the chimney, and went into my sparesbox again, returning with a brass casting for a GCR-pattern tapered chimney. This was then glued into the smokebox, which was then reinstated.

Yes, there we go.
-
 3
3

2 Comments
Recommended Comments
Create an account or sign in to comment
You need to be a member in order to leave a comment
Create an account
Sign up for a new account in our community. It's easy!
Register a new accountSign in
Already have an account? Sign in here.
Sign In Now