

Entry posted by TomE
1,085 views
Many a singed finger later.............
In the last entry you caught a glimpse of a lattice signal post, the first of two required for the layout. Since that entry I have been working on a second signal with the intention of make it work. Whilst that might not seem such a challenge on the face of it, remember that I much prefer working with plastic than brass, and the soldering iron is something that lurks at the back of the modelling cupboard out of sight and out of mind! Unfortunately in this case, plastic isn't anywhere near up to the job, so it was time to suck it up and attempt to mend my broken relationship with the Antex!??
The etches for the lattice posts come from MSE, and are really the only option for modelling this type of signal in 2mm/N gauge at the moment. They are really quite fine, whilst retaining the strength required in this size. The etch contains 2 posts, which are broken down into 2 halves. Each half is folded up and jigs provided on the etch are used to hold the two halves together whilst they are soldered.
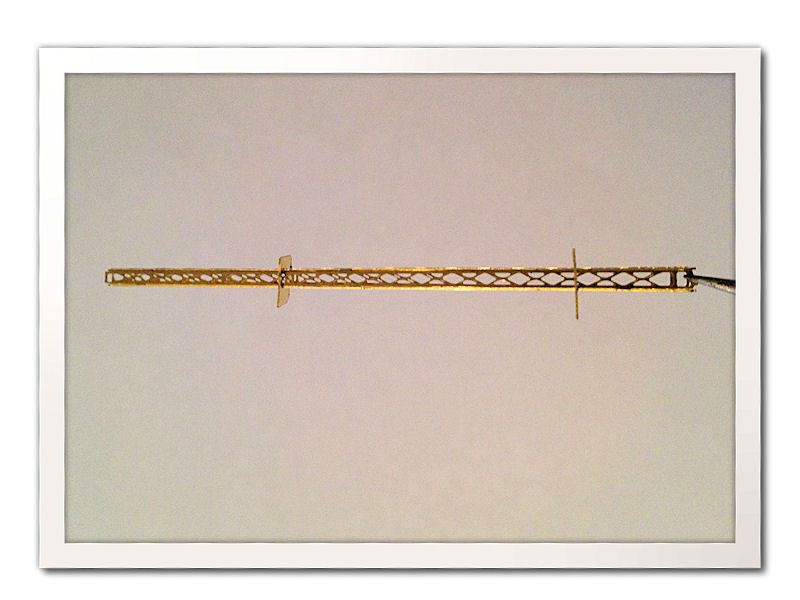
The post held together in the supplied jigs prior to soldering. It's just 5.5cm long!
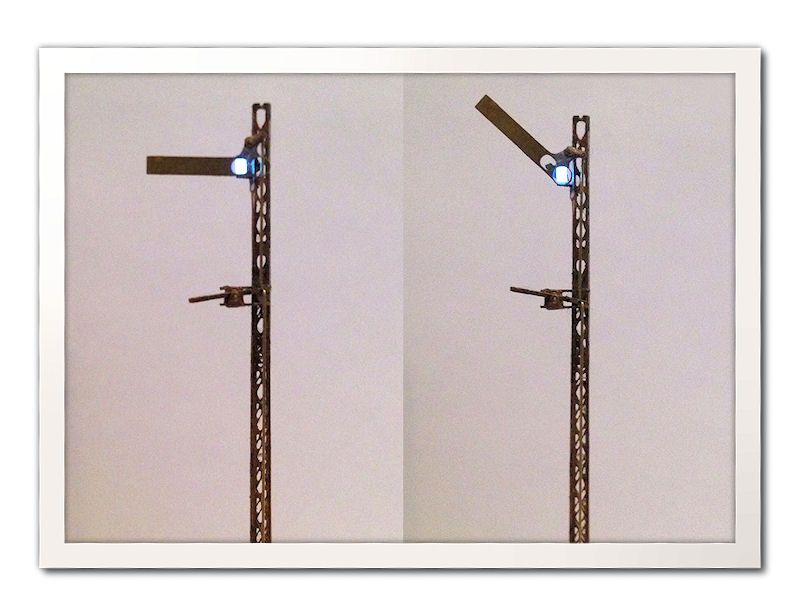
This was the first point at which it had the potential to go south, but by using a tiny amount of solder and flux, I managed to fix the two halves together without flooding the lattice frame with solder! Spurred on by this success, I decided to go for it and add a working lamp by using a miniature LED with one end soldered to a bracket fashioned from a scrap piece of etch. A piece of enameled wire was fixed to the opposite end, and this was then glued into the gap left by the folding of the etch on the side least seen from the front of the layout.
?The Arm and balance arm are also from MSE (Etch SN12/2) and to allow the arm to raise and lower some thin wire and brass tube were used. This stage required some very careful work with the soldering iron, but amazingly I managed not to solder the whole thing solid when fixing the blinder in place. Unfortunately that’s where things stopped going so well!
The signals at Ropley have the balance levers mounted just below the arm and offset to one side. I decided I could probably replicate this using the components provided on the MSE etch, but with a little modification. The bracket jaws were reshaped slightly to match the closer resemble the real thing, and the balance weights removed leaving just the leaver. A thin piece of wire was soldered through the hole in the back plate and then the leaver threaded on before the jaws were added and soldered in position. This part was fairly easy, but at the first three attempts to fix the bracket to the support arms, the solder holding the leaver wire in place would melt and flood the whole mechanism, even with something acting as a heat sink as close as possible. The result of this was the whole thing became locked solid and I had a 'Malcolm Tucker moment'! Luckily, by the fourth attempt, it all went together without this happening again and the first working signal for Ropley was, well, working!
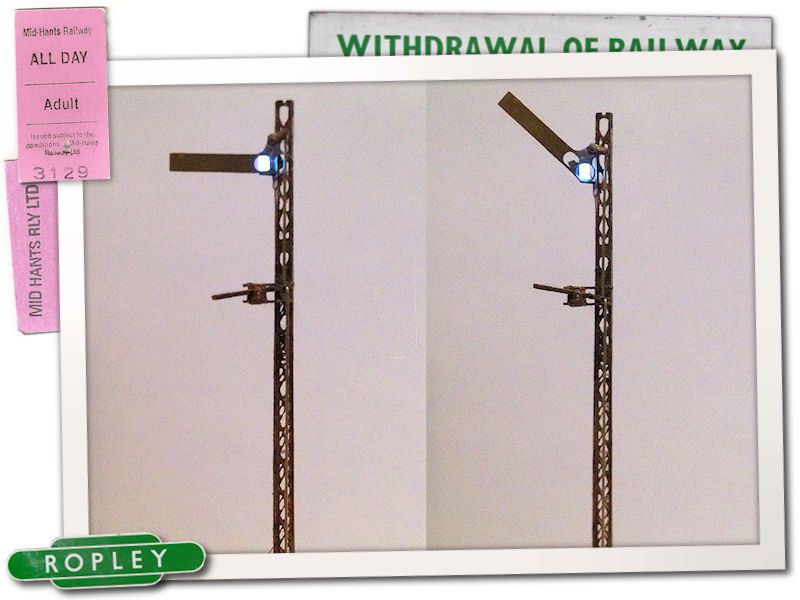
One compromise with a signal in this scale is that the operating wire is a little more visible than I would have liked. I did consider threading down through the post, but felt this would spoil the lattice effect, so I'll just have to live with that, but overall I'm really quite chuffed to have managed to have made the thing work as intended! It now just needs a platform and guardrail fabricating then the ladder adding before painting and lenses adding. I also need to make up a finial somehow as the one provided on the etch doesn't really match the prototype.
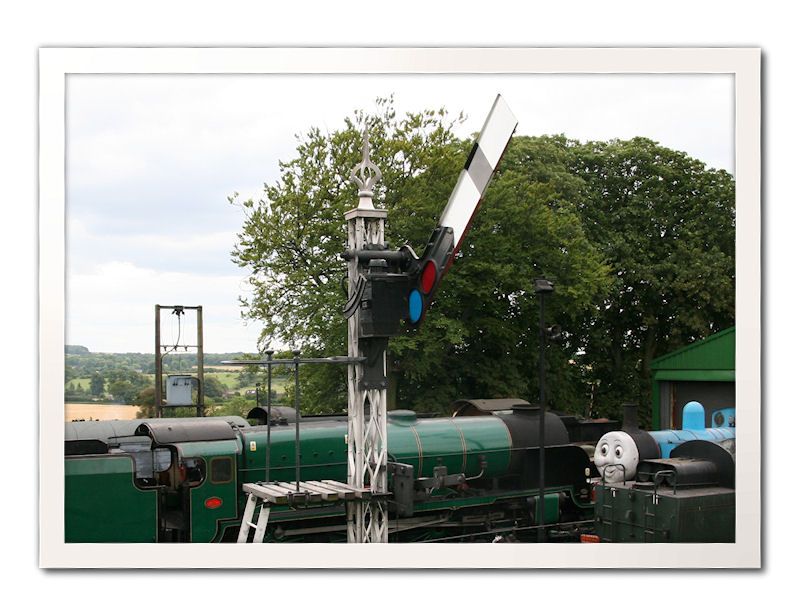
The Up Starter at Ropley
And here again is the model.
Control of the signal will be by servo I think, although more research needs to be done on this area as I'd like something I can use with the NCE Power Cab which controls the layout. This would allow 1 person operation if necessary as everything can be controlled via the handset.
I must also add my thanks to Missy, Jon Fitness and SteveAtBax who have all posted some extreamly useful content on RMweb about building signals in various scales, but the information techniques shown have helped me a great deal!
Finally, this will most likely be the last entry on the blog before Christmas, so I'd like to wish everyone reading a safe and enjoyable Christmas, and by way of thanks for all the comments and feedback here is a previously unseen photo and angle of the Std 5 arriving at Ropley with the engineers train.
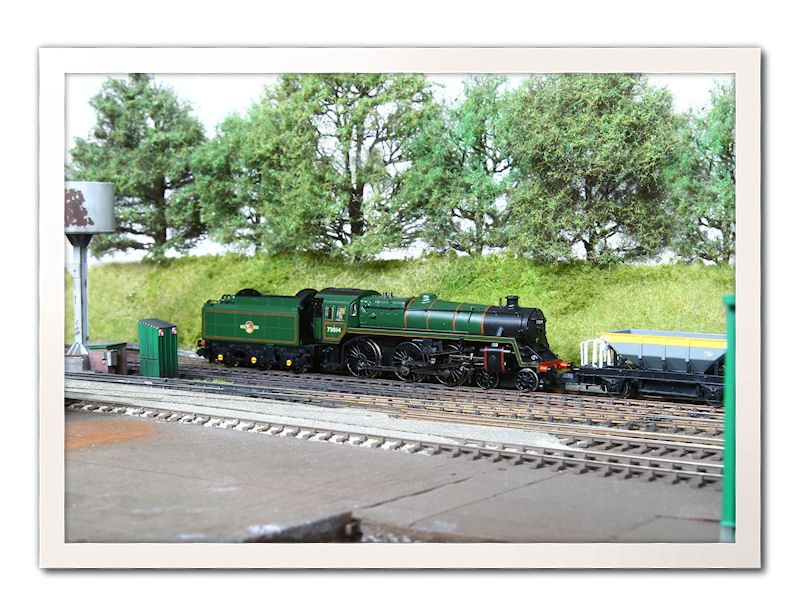
Merry Christmas!??
Tom.
-
 15
15

6 Comments
Recommended Comments
Create an account or sign in to comment
You need to be a member in order to leave a comment
Create an account
Sign up for a new account in our community. It's easy!
Register a new accountSign in
Already have an account? Sign in here.
Sign In Now