

Entry posted by TomE
1,825 views
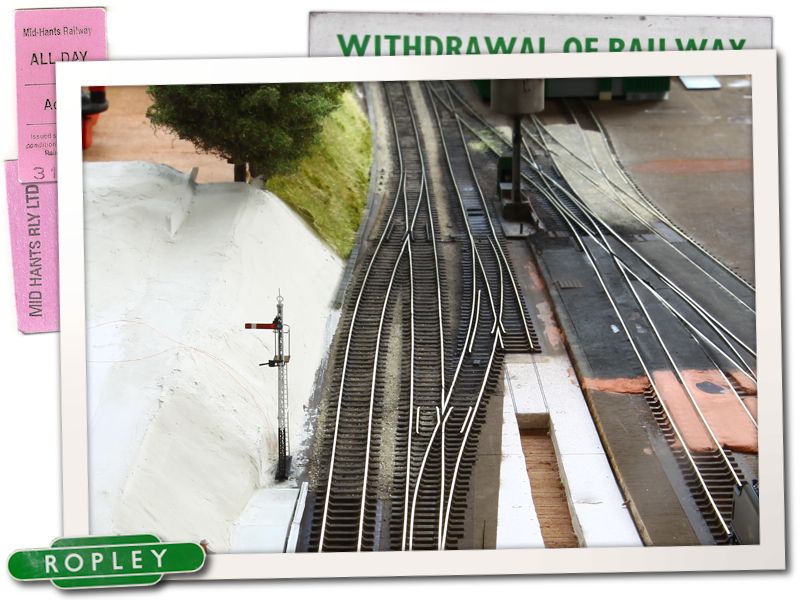
Ropley overview. Visible progress is being made with the embankment to the left now in place.
Happy New Year all!
Well, the first blog post of 2013 and I finally have some visible progress with the layout to show! Over the New Year period, a few days off work have seen several major steps forward made which have totally transformed the look of the model. Firstly though we'll briefly go back to signals.
The last blog entry showed the first stages of the Up Starter signal, and this is now largely complete. You can see a few updates on its construction in the 2mm Scale section here. Also now started is the Down Inner Home signal recently installed as the final stage of the prototype's resignalling. This will eventually allow bi-direction running through the station giving the line much greater flexibility. Due to the road bridge further up the line, this is quite a squat affair for sighting reasons, and has been installed in to a cut out in the embankment. This area was modelled before the signal was installed at the real location, so it was necessary to do some small scale excavation to make room for the model.
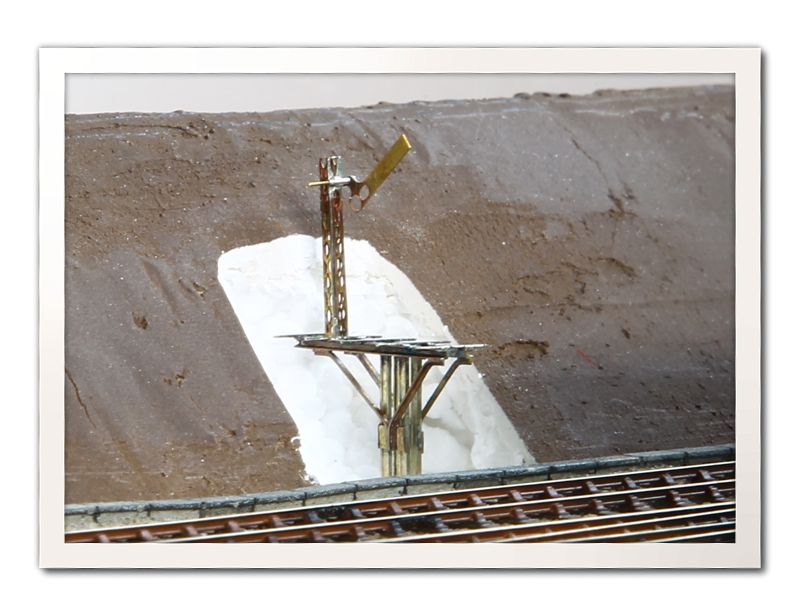
The Down Inner Home signal being placed.
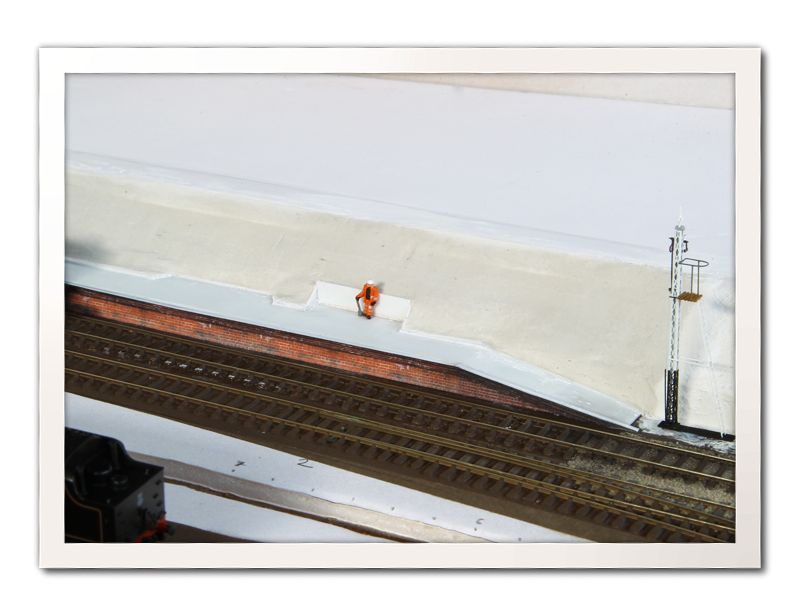
The photo below shows the Up Starter temporarily placed to make sure it is in the correct location. The finial is only held in place with blu-tack at the moment so if it is accidentally caught, it won't snap off!
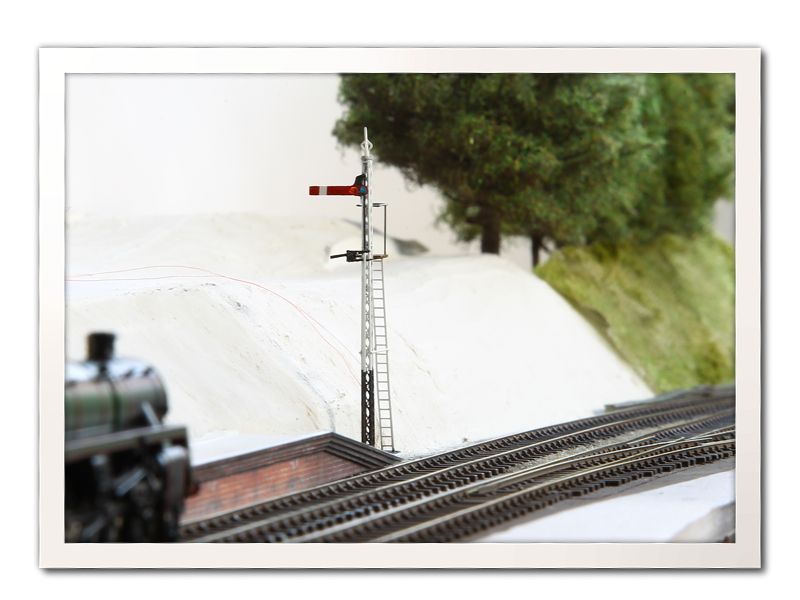
The Up Starter in position.
The biggest progress has been with the embankment which is now in place for the entire length of the layout. This has also required the section of platform which extends on to the area being modelled to be made. Starting with the embankment, foamboard was used to create the basic shape of the ground from the backscene to the edge of the slope. This was laid onto spacers cut to shape, which allowed the slight curve of the ground toward the rear to be replicated. It may be difficult to see from the photos, but a thin strip of land at the top of the slope is flat where the footpath runs, and then the grassed area slopes up towards the rear.
At the start of the treeline there is a raised area to allow vehicle access from the top car park, along with a small raised viewing area
I chose to use foamboard in an attempt to keep weight down, and hopefully it will prove strong enough to cope with the occasional exhibition. The actual embankment is formed using polyfiller mixed with PVA for added strength. It needs a sanding in a few places, and I'll certainly never make it as a plasterer, but it does the job!
The newly installed embankment.
A basic platform structure was created from plasticard and fixed into position. On top of this, a 1mm thick layer was added which featured the cut outs for the platform seating and the water crane. The seating areas are made up from old sleepers, and these will be added later into the cut outs. This layer provided the edge for the embankment along the platform as you can see below.
The basic platform structure in place, showing the cut outs for various platform furniture.
The actual platform surface will be a second layer of 1mm thick plastic cut to the correct shape and fitted into these cut outs. Also visible in the photo is the platform edging. This is a separate layer made up using my own brick paper produced using photos of the actual platform at Ropley. This area differs from the more common flat fronted platforms found in the area, and indeed slightly further along this platform, as it was an extension built only a few years ago. The brick paper was fixed in place by soaking it in Mek, and the stepping made up in layers before being cut to shape. I'm quite pleased with how this has turned out as I wasn't entirely convinced paper was the right material for the job, but it would be much more difficult to reproduce the brick colour of the real thing by using embossed plastic and paint.
In the photos, this is only temporarily held in place and still required the two cut outs for point & signal rodding/wires adding. The platform surface presents a further challenge as it is made up of patterned edging stones so some more thought is required on how to replicate these in such a small size.
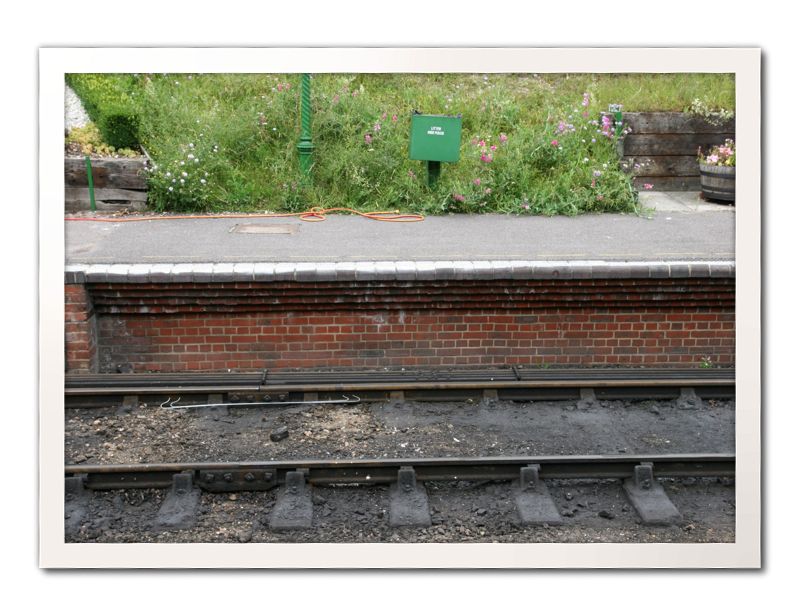
The photo from which the platform edging was produced.
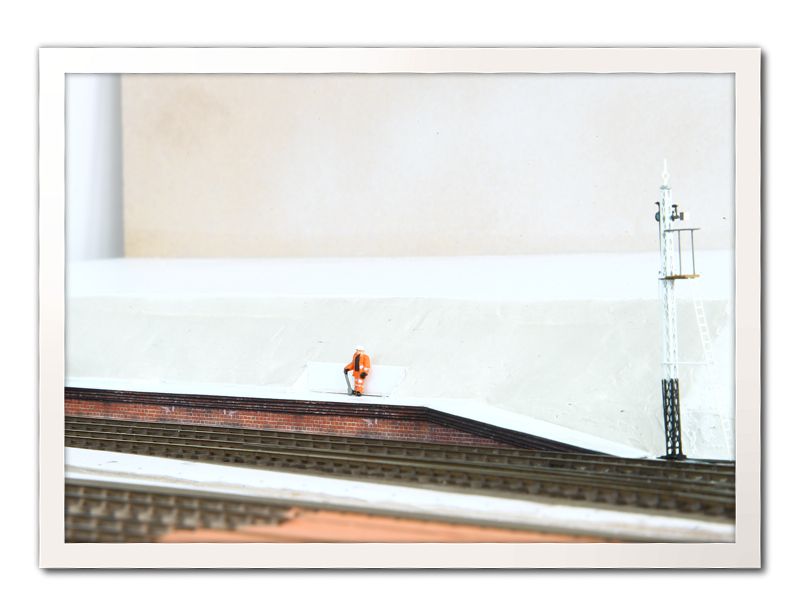
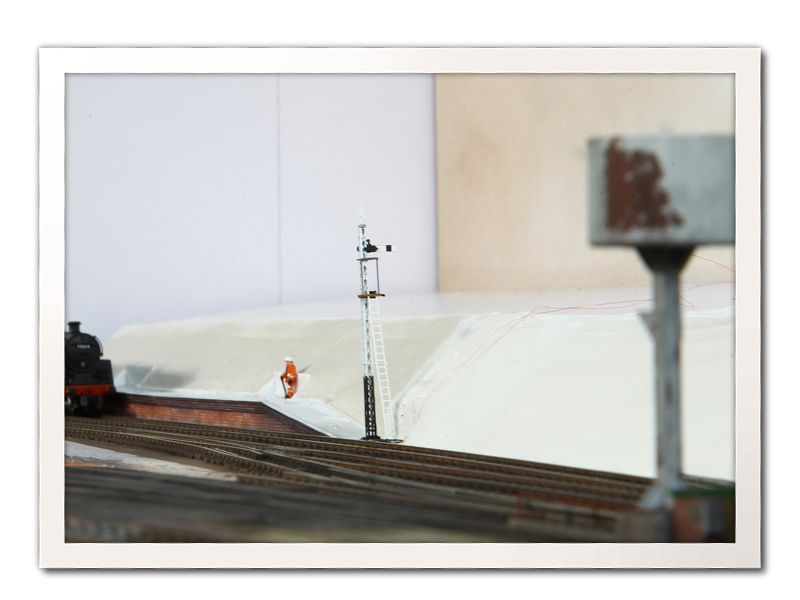
Hi-Viz man takes a break to admire the newly formed topography!
This little spurt of activity has really made a significant change to the look of the layout and means I can start to progress scenery away from the water tower area. It does however raise a few challenges, amongst which is replicating the fencing which runs along the top of the embankment, something which is not available commercially. The grass here is also very short, so replicating this with static grass may be difficult with the shortest available still being slightly too long!
Cheers all,
Tom.
-
 21
21

11 Comments
Recommended Comments
Create an account or sign in to comment
You need to be a member in order to leave a comment
Create an account
Sign up for a new account in our community. It's easy!
Register a new accountSign in
Already have an account? Sign in here.
Sign In Now