

Das Yard!
Entry posted by TomE
1,974 views
Hi all.
Whilst I wait for a suitable day to start work on the base board for Ropley, I’ve been giving some though as to how to re-create the yard area in all it's ashy & grimy glory.
The trackwork outside the main shed is pretty much buried in ash & muck, as shown in this photo
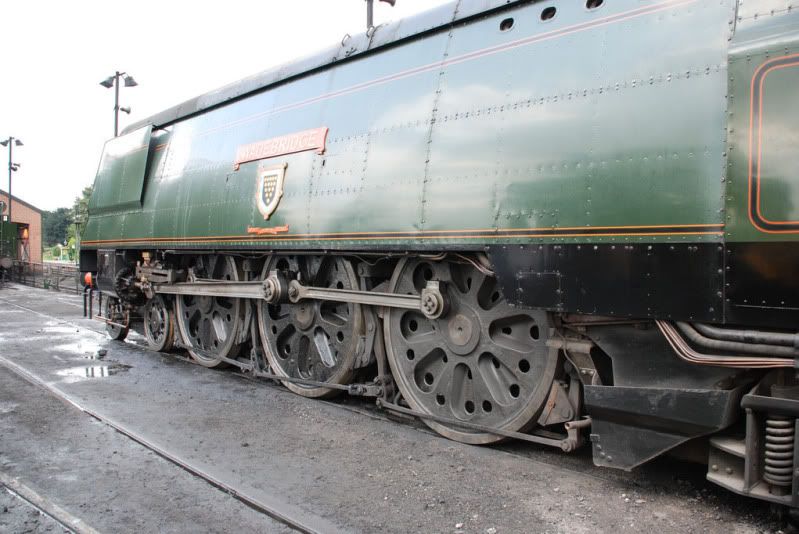
Image ©Kentishman
So, the question was how to go about getting the same effect in N gauge.
I've never modelled inset track before, so this was a whole new experience for me. The first obvious criteria to bare in mind is that engines still have to be able to run over this area of track, and at even slower speeds than on the normal lines, so good contact with the rail is essential. Naturally due to the scale there would have to be a fairly large 'groove' in the ground to allow the N gauge flanges to run along.
My first thought was to simply use card or plastic inlaid between the lines, but very quickly decided this would give a much too uniform appearance and be practically devoid of any texture. I then came across Chris Nevard's article in Model rail about using air drying clay for producing a similar kind of effect, and decided that this might be the best method to try.
So, a quick trip to the local Ryman’s to pick up some DAS clay, and a short length of easitrac laid on a short plank of wood and I was ready to begin experimenting!
There wasn't really any scientific method to applying the clay, small lumps were simply pushed onto the line until it was level with the tops of the rails. After this a steel rule dipped in water was slowly run along the line to even off the clay, and then a damp finger used to smooth out any areas lifted up by the ruler. Once this was done, an old wagon was run up and down the line until grooves had formed to allow the wheels to sit correctly on the line. I found it necessary to repeat running the ruler & finger over the clay, then running the wagon up and down a few times until all looked nice and smooth. A large brush was then used to gently stipple the surface to give some texture.
After the clay had dried overnight, the first step was to give it quick sand with some P120 grade wet & dry paper. It was then sprayed with plasti-kote Suede texture paint before a layer of Halfords grey primer. At this stage, the fibrous nature of clay became apparent as the test section took on a slightly hairy appearance, but this was simply tapped down whilst still wet and actually adds to the texture. Finally, the whole lot was give a wash of thinned Humbrol matt black.
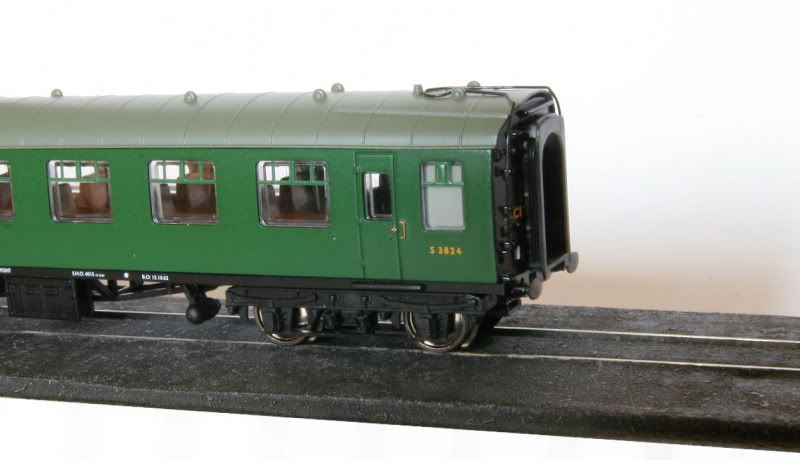
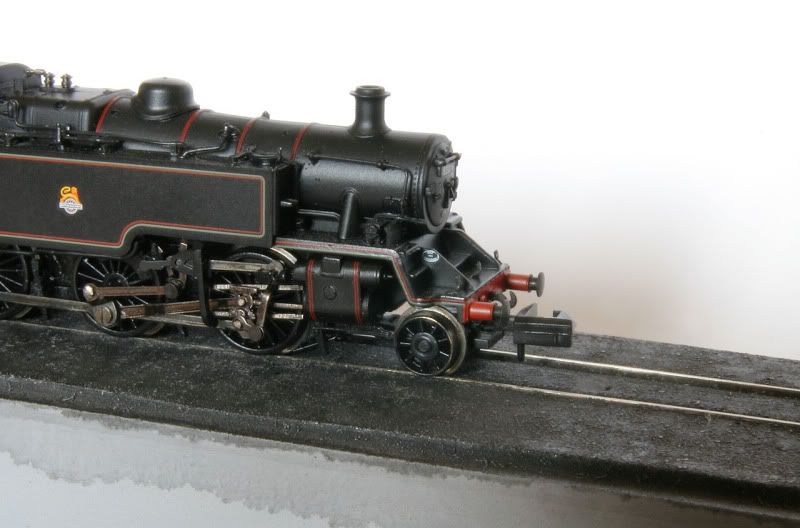
I'll leave you to judge from the photos if the method has been successful, but I'm quite pleased how it turned out. By creating a few indentations here and there I think I'll be able to recreate puddles of water using either PVA or Kleer.
Cheers all,
Tom.
9 Comments
Recommended Comments
Create an account or sign in to comment
You need to be a member in order to leave a comment
Create an account
Sign up for a new account in our community. It's easy!
Register a new accountSign in
Already have an account? Sign in here.
Sign In Now