Jump to content
 
  • entries
    129
  • comments
    741
  • views
    181,767

Ropley - Balls.....


TomE

1,951 views

Polystyrene balls! The damn things get everywhere! ;)


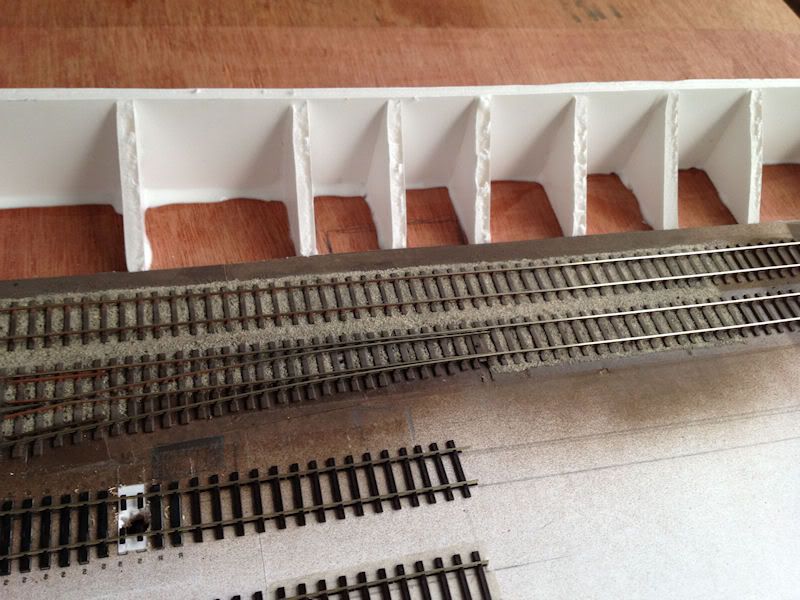
As hoped I've managed to make a start on the embankment that runs along the Northern side of the running lines. The basic shape for this has been made from Foam Board in order to keep the weight down, and then wedges of polystyrene cut to shape and glued into the gaps. A thin layer of a PVA/polyfiller mix was then spread on top and this will be lightly sanded before being painted.


Here's the basic construction taking place:

photo6b.jpg


The polystyrene foam wedges in place (post vacuuming!):


photo4b.jpg


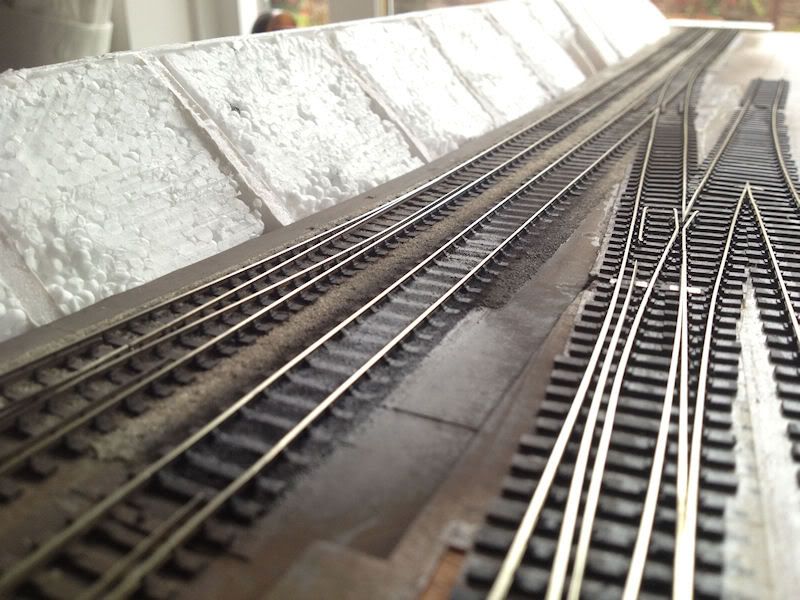
And the current state of play, with a top layer now drying out:


photo5b.jpg


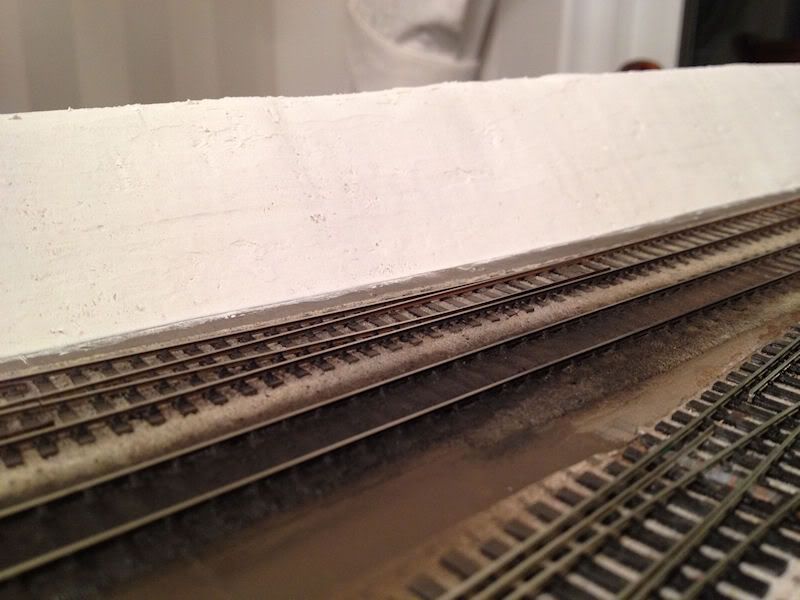
The rest of the embankment will be formed once the backscene is fitted, and I'm still contemplating how best to do this, so more on that another time!


I've also managed to fit the 2 Cobalt point motors picked up at Warley, so the Barry slip is now fully operational! I am glad I went with the Cobalt motors. It's quite cosy under the main point formations, and tortoises wouldn't have fitted into the available space:


Just a warning, electronics experts should look away now.........


photo2b.jpg


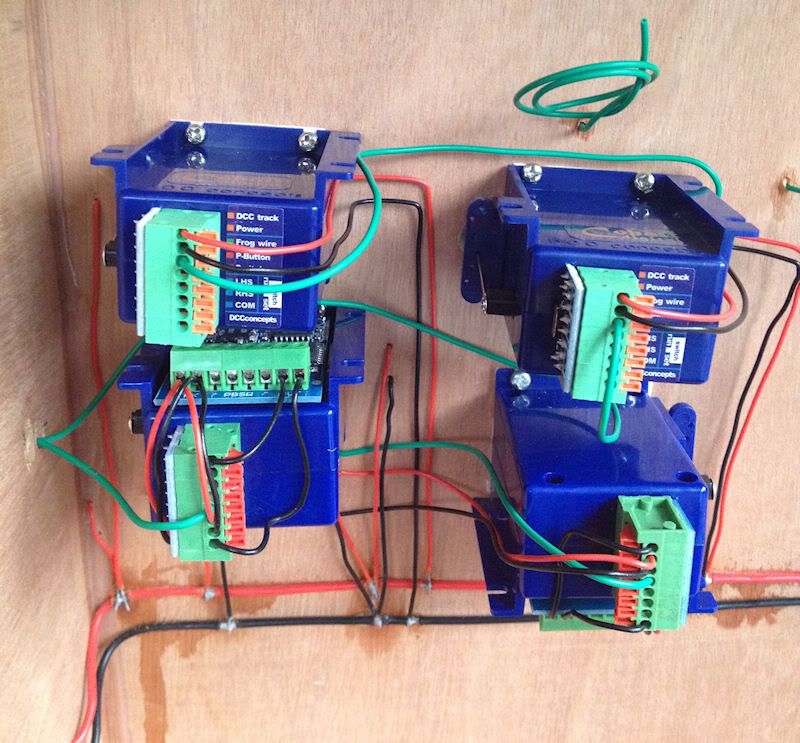
The two new motors are at the top, and you can see that only 3 wires are needed to get a fully operational motor. The green wires run to the frogs, and the black and red wires to the main bus. That said, even the older motors with the AD1 decoders don't require that much wiring!


I should really crack on and finish the one remaining point that can be seen in the photos above, so that will be the next job I think.


Cheers all!


Tom.

  • Like 1

7 Comments


Recommended Comments

Both the scenery and electrics look very tidy, and (I might have said this before) the track flow is just amazing.


Can I ask why you used the foamboard framing with polystyrene infill? It obviously works very well but it seems like you could get by with one or the other and save yourself some hassle.

  • Like 1
Link to comment
  • RMweb Gold

Thanks Will.


I used the foam board in order to get the right contours for the embankment. In the past i've found that just using foam carved to shape it's easy to remove to much and having the foam board helps as a guide when cutting the polystyrene infill blocks.


Tom.

Link to comment
  • RMweb Premium

Hi Tom,


Did I see that the DCC fitted Cobalt motors are about £27 each? Did you consider the Traintronics TT300 motors which are a fiver cheaper (and also smaller). Interested in your comments as I'm trying to decide which one to use in a new layout.

Really enjoying your blog by the way, some nice track laying there.


David

  • Like 1
Link to comment
  • RMweb Gold

Hi David, and thanks :)


I don't have any experience with the TT300, although I understand they are quite capable units and have the benfit of being slightly shallower than the Cobalt. Me personally, I'm more than happy with the Cobalt. So far they are proving to be extreamly reliable and easy to install and program, especially with the NCE Power Cab I use. You simply flick the switch into 'learn', allocate the id number to that unit, then flick the switch back and you are done. It's a 2 minute job and just a few button pushes to get a fully operational point.


You can pick up the digital Cobalts for £23.50 from Bromsgrove models at the moment, which looks to be around the same price as the TT300. I got mine from Gaugemaster as they were the only place selling them at Warley, so paid a bit more, but no postage costs.


Hope this helps,


Tom.

Link to comment
  • RMweb Premium

Thanks, Tom, I'll keep Bromsgrove in mind.

By the way, I may have missed it somewhere in your blog but what are the Cobalts attached to in order to move the switch blades?


David

Link to comment
  • RMweb Gold

Hi David.


There is a PCB tie bar between the point blades with a hole drilled in the middle. The cobalt actuator wire is then fed through this and cut off at the right length. When you install the motor its just a case of centering the motor and the point to make sure it throws enough Both ways.


It's the simplest way of doing things I think although there is nothing to stop you mounting it offset to one side if needs be.


If you haven't already, take a look through the Cobalt instruction PDF, it's really quite comprehensive and has some great ideas & suggestions: http://www.dccconcepts.com/PDF_Downloads/cobalt_manual.pdf


Tom.

Link to comment

Create an account or sign in to comment

You need to be a member in order to leave a comment

Create an account

Sign up for a new account in our community. It's easy!

Register a new account

Sign in

Already have an account? Sign in here.

Sign In Now
×
×
  • Create New...