

Entry posted by TomE
2,317 views
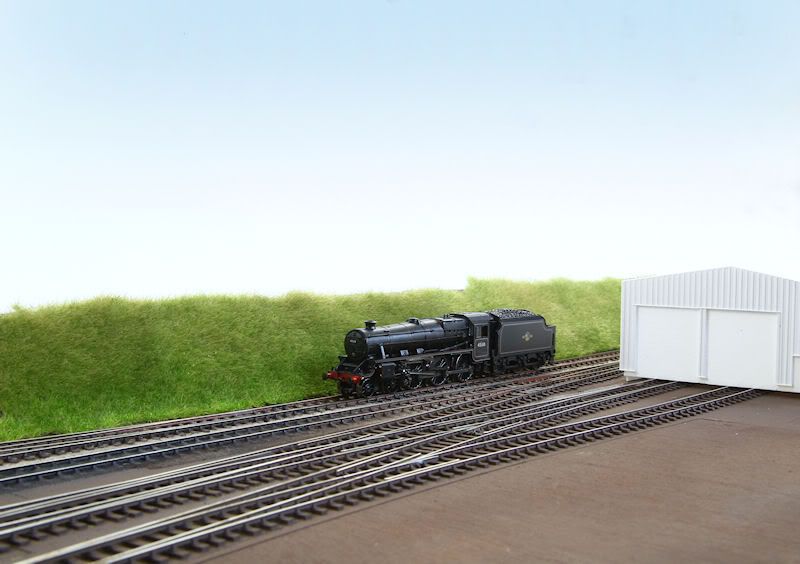
MHR Resident Black 5 heads towards Alton to collect it's first train of the day.
Hi all, and belated seasonal greetings!
Well it's good to be back on-line, even though I can't help but think a few more bouts of enforced downtime might do wonders for modelling productivity levels!
Anyway, since the last update, a fair amount of progress has been made on various areas of Ropley. The Christmas break gave me chance to pretty much finish the trackwork the Ash pit being the last major part left to complete. As previously mentioned, this will be built 'off board' then dropped into place and I now have a pretty good idea on how this is going to be achieved, but more on that in a future entry.
The whole board received a coat of Railmatch Sleeper Grime over Christmas, allowing me to seek out any uneven or wobbly bits of line and adjust as necessary. There were only a couple of areas thankfully, and overall I'm quite pleased with how the stock runs through the 'bodged to N gauge' 2mm pointwork!
Here's a view of the Western end of the layout as it currently stands:
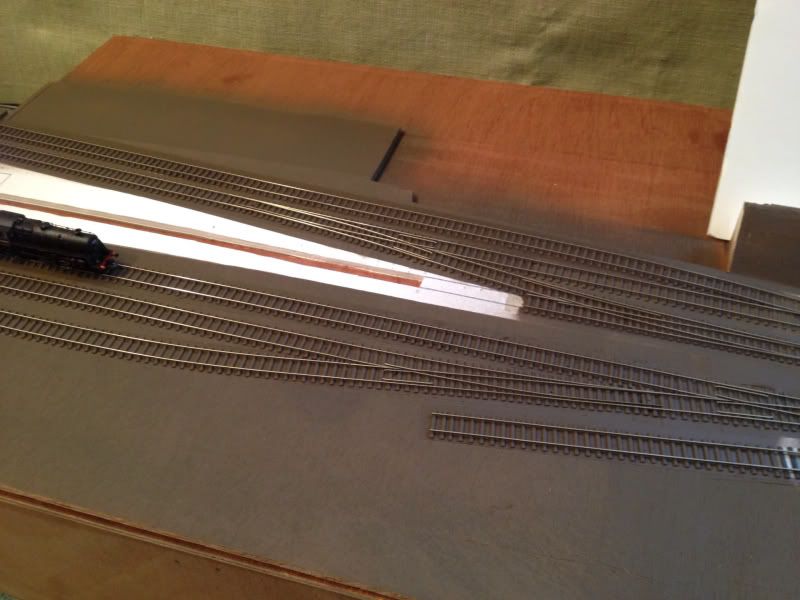
Still a couple of check rails to fit (Ok, I just realised I missed them, d'oh!) but otherwise complete bar ash pit.
I've also made a start on fitting fishplates at the Eastern end of the layout. I ordered a fret from the 2mm SA shop just to see if it was feasible, and even though they are tiny, I think it makes a nice detail at close quarters! I have tried to fit these in as close to prototypical location as possible using photos of the real location.
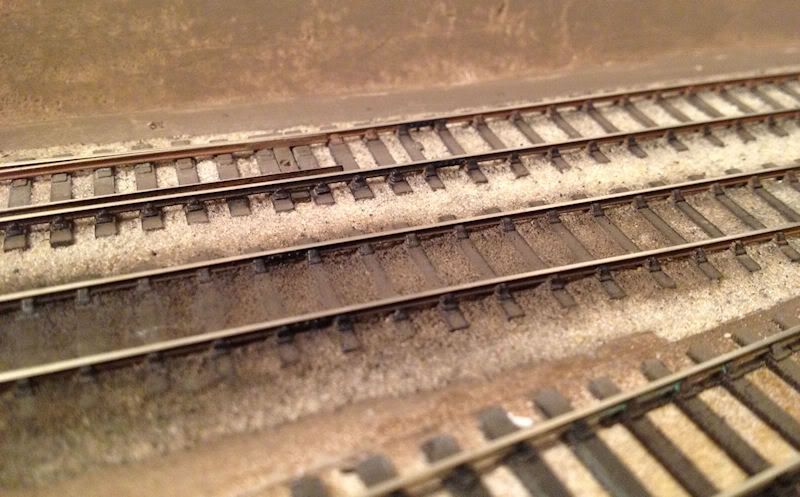
The Fishplates have been drybrushed with black paint to represent the oily appearence of the real things
I've also spent some time experimenting further with the scenic side of things, and mainly the use of static grass for the embankment. A little while ago I bought one of these flyswat applicators on e-bay, thinking it would be worth a go for the £12 or so they were being sold for. The one thing I wanted to avoid was the uniform astro turf look you sometimes see when static grass has been applied, so I also purchased several different shades and lengths of grass to try out.
So I could get some idea of what things would look like when in place on the layout, without gluing anything in place without first practising the teqhnique, I spread some PVA onto a clear plastic wallet, and then started by applying mininatur Winter fibers, followed by summer fibers, and then finally a layer of some short bright green fibres I picked up at a local show a while back. In the tub they look far to bright to use, but when mixed with the other colours they do a half decent job of representing the newer growth coming through underneath.
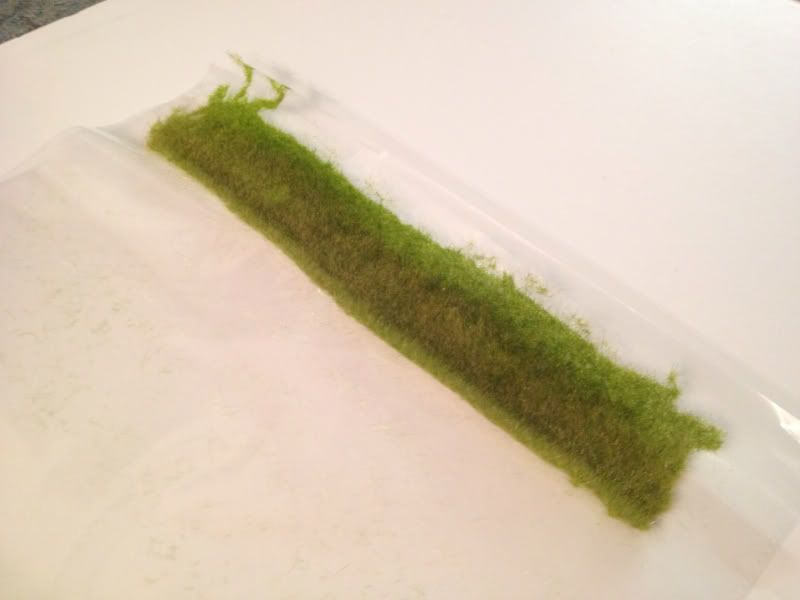
Here the fibres are applied to the plastic wallet.
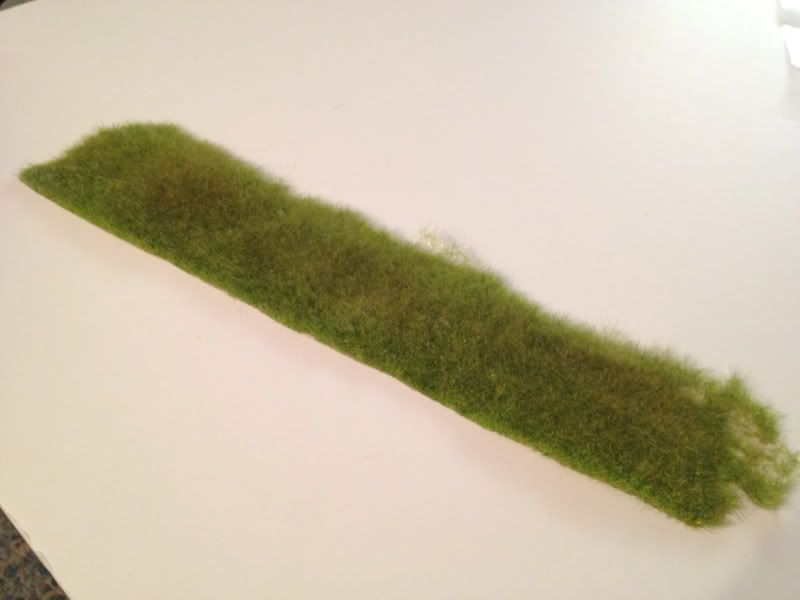
And here is the grass pealed off the wallet in one strip once the PVA is dry.
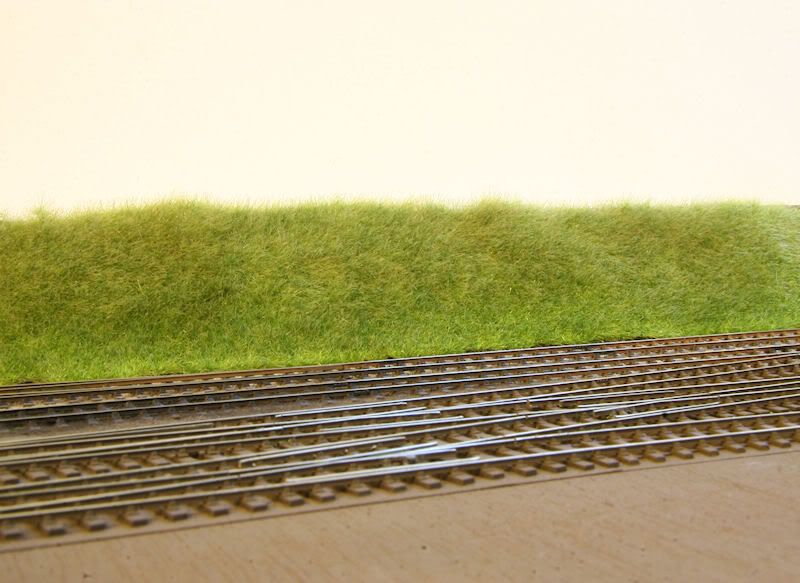
Finally the strip rested in place on the embankment.
I'm quite pleased how this turned out, but I've ordered a few more colours to try and add some further variation and get a closer match to the real location. I also need to try integrating the method used to create brambles shown in this previous blog entry. If anything I think the result here proves I didn't need to spend upwards of £70 for my relatively short section of embankment!
The one thing I didn't really get chance to work on was the carriage shed & boiler works, although I have confirmed I got my measurements right and it looks in proportion when placed in the correct position.

Here's a view you won't see once the tree line is in place along the top of the embankment!
So, thats where we're up to at the moment. January is going to be a busy month with work so things might not progress much, but hopefully in Feburaury some leave will see another progress spurt!
Finally, thanks to Andy and Jim for their work on the site over the past few days. Their efforts to keep things running so we can ramble on are much appreciated!
Cheers all, and Happy New Year!
Tom
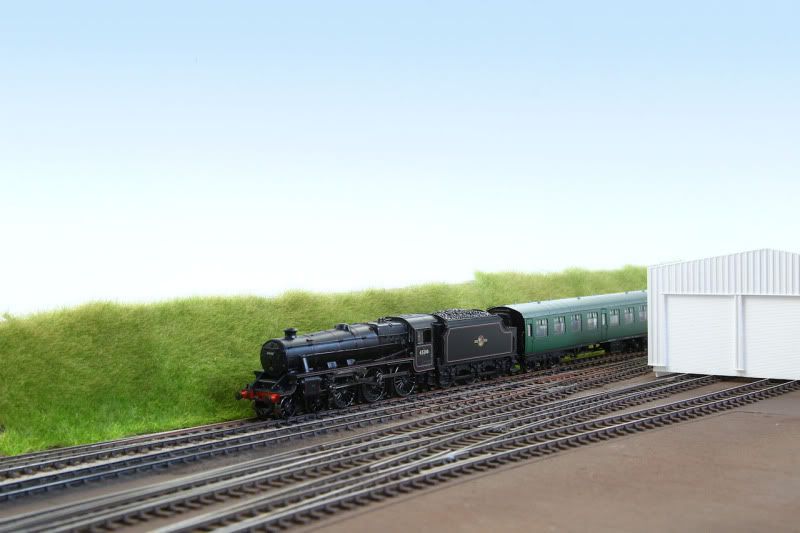
Having collected it's train, the Black 5 slows for Ropley Station on a lovely Summers day.
-
 6
6

8 Comments
Recommended Comments
Create an account or sign in to comment
You need to be a member in order to leave a comment
Create an account
Sign up for a new account in our community. It's easy!
Register a new accountSign in
Already have an account? Sign in here.
Sign In Now