

Servo'd up part 2

Entry posted by invercloy
918 views
All the servos are now fitted to the layout, I've used some brackets made by Motrak Models to hold them against the underside of the baseboard. A piece of piano wire is then looped and threaded through the servo horn, and passed through the baseboard and the tiebar of the point.
Only one point was too close to a baseboard member to be mounted like this, so I had to resort to using wire in tube and operating it from an offset position. It took me 3 attempts to get it right, but I wasn't going to let it beat me! The difference in throw is noticeable from the other points, but the adjustability of the ESU Switchpilot control board allows for this as it has adjustable limits of travel for individual servos.
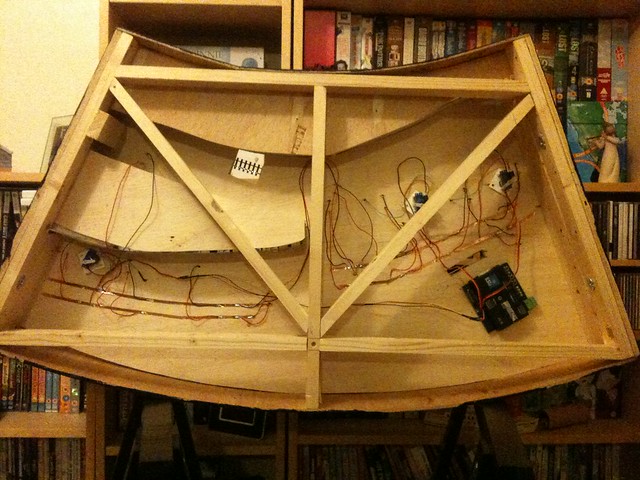
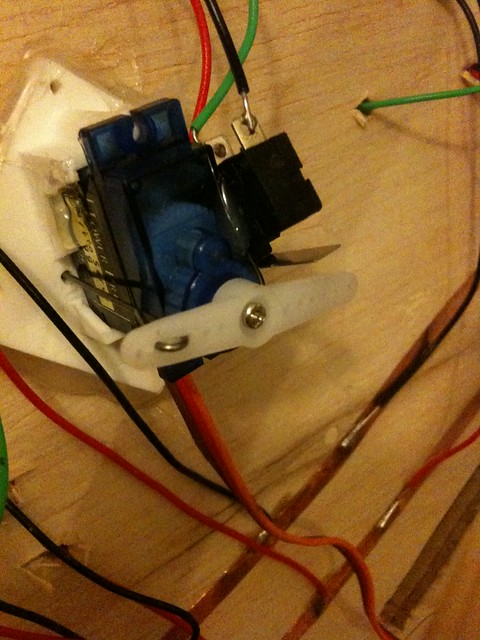
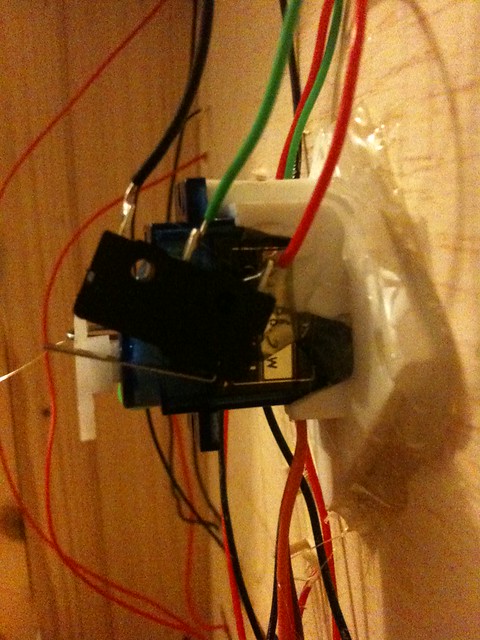
When the servo has been installed a microswitch is connected to both the positive and negative bus wires, and the frog of the point. The opposite side of the servo horn then operates this, thereby changing the polarity of the frog as the servo is thrown.
The micro switches have only been mounted to 3 points so far, but all need to be done by next weekend as I'll be hoping to run the first train the length of the layout... 

0 Comments
Recommended Comments
There are no comments to display.
Create an account or sign in to comment
You need to be a member in order to leave a comment
Create an account
Sign up for a new account in our community. It's easy!
Register a new accountSign in
Already have an account? Sign in here.
Sign In Now