

Hens Teeth – Replacements for Hornby Cab Deflectors
.thumb.jpg.60c53fcbcaa34017b05b8919d1a9e6d2.jpg)
Entry posted by Silver Sidelines
2,244 views
I have been busy buying some more ‘excellent’ items, you know, the ones that drop through the letter box with broken parts or bits missing.
The cab wind deflectors which are featured on a lot of Hornby’s newer models seem to be particular problem.
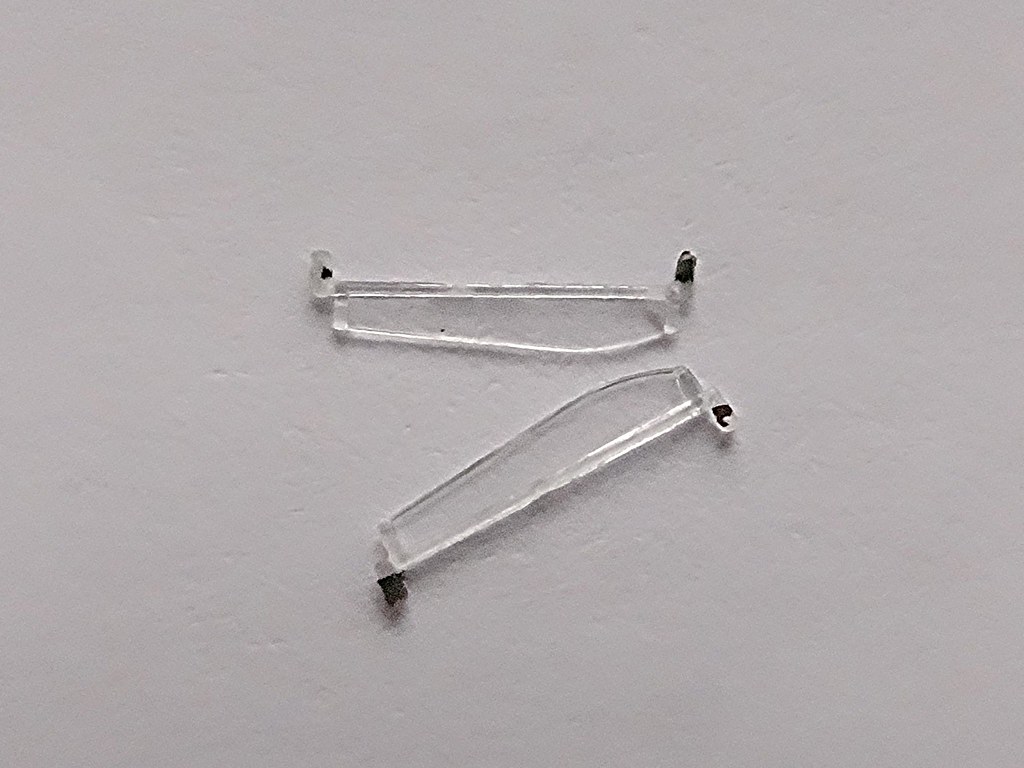
Hens Teeth – Genuine Hornby cab wind deflectors
Note that the spacing of the fixing spikes is greater than length of the protruding deflector
When I spoke recently with the Customer Service Department at Hornby I was informed that the cab deflectors were not spare parts and that replacements are not available. I would have to make my own.
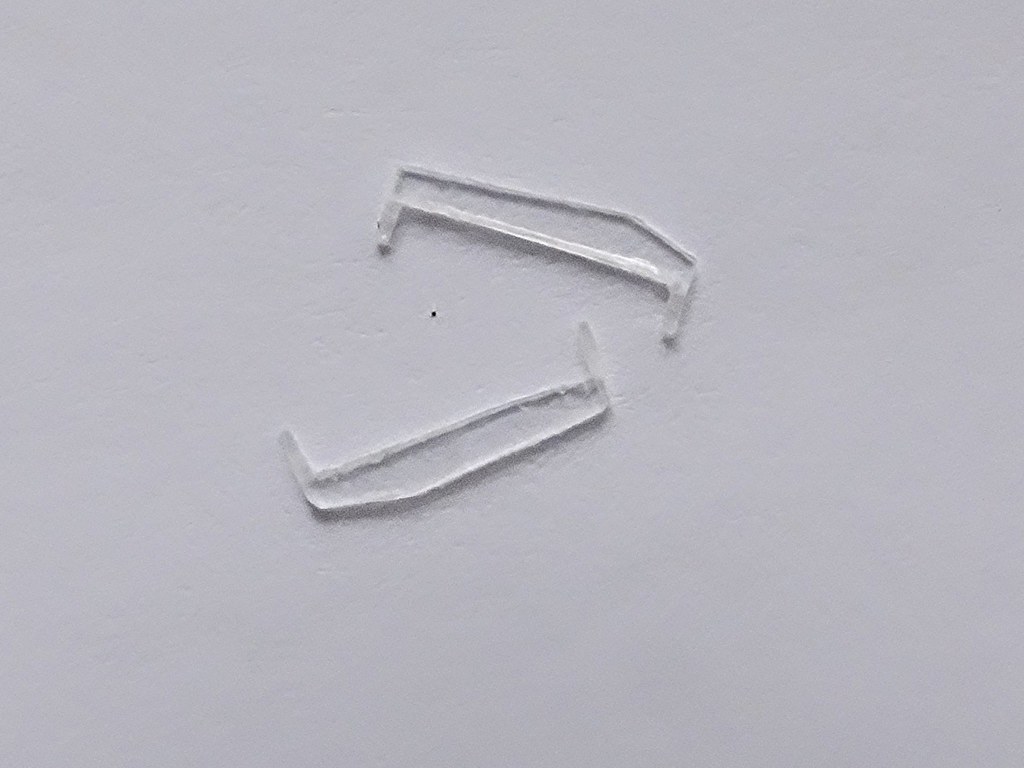
Some I made earlier - homemade replacement deflectors
I guess the orthodox approach is to buy plastic strip or to use clear plastic packaging. I must have been doing a lot of thinking because whilst shaving I suddenly realised that the clear plastic shield on my disposable razor looked about the right sort of thickness for a Hornby deflector.
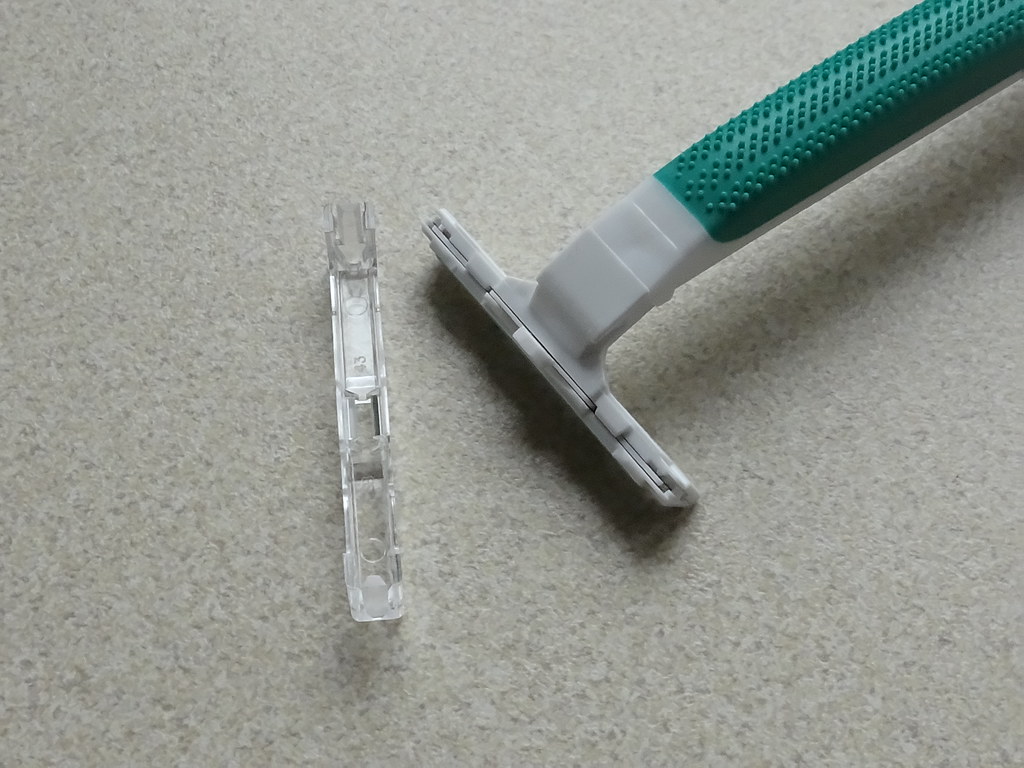
Wilkinson Disposable Razor
It also has a readymade chamfer to help it slide on and off the razor which would be a good match to the profile of the Hornby moulding.
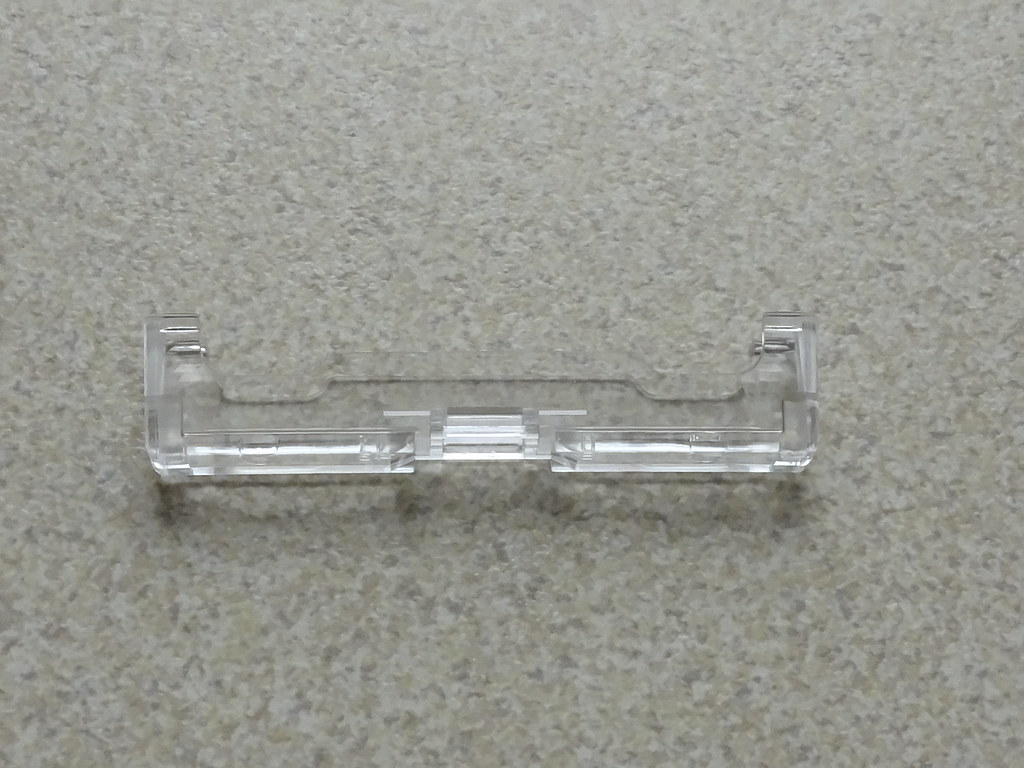
Plastic Shield
Tools that I found useful for this exercise were a triangular file, a snap off knife and a small steel rule. I also used a 0.5mm twist bit.
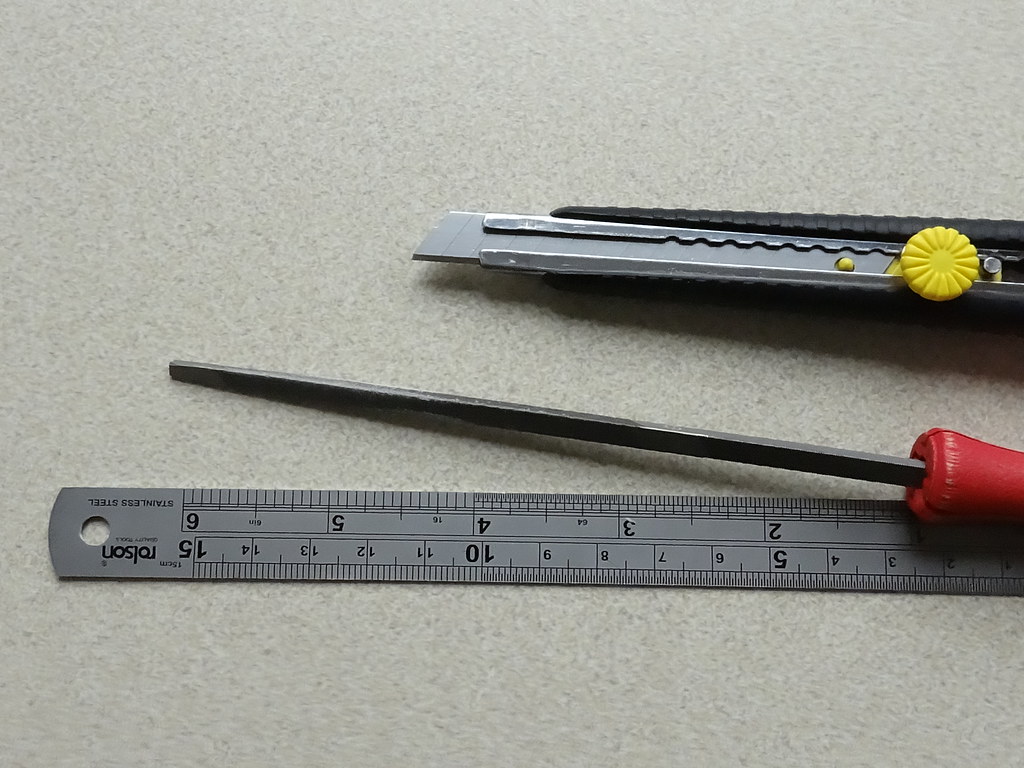
Snap off knife, triangular file and steel straight edge
First I would make a pattern by butting a piece of a card up against the cab side and tracing around a genuine Hornby deflector. Note the extensions at either end for the fixing spigots.
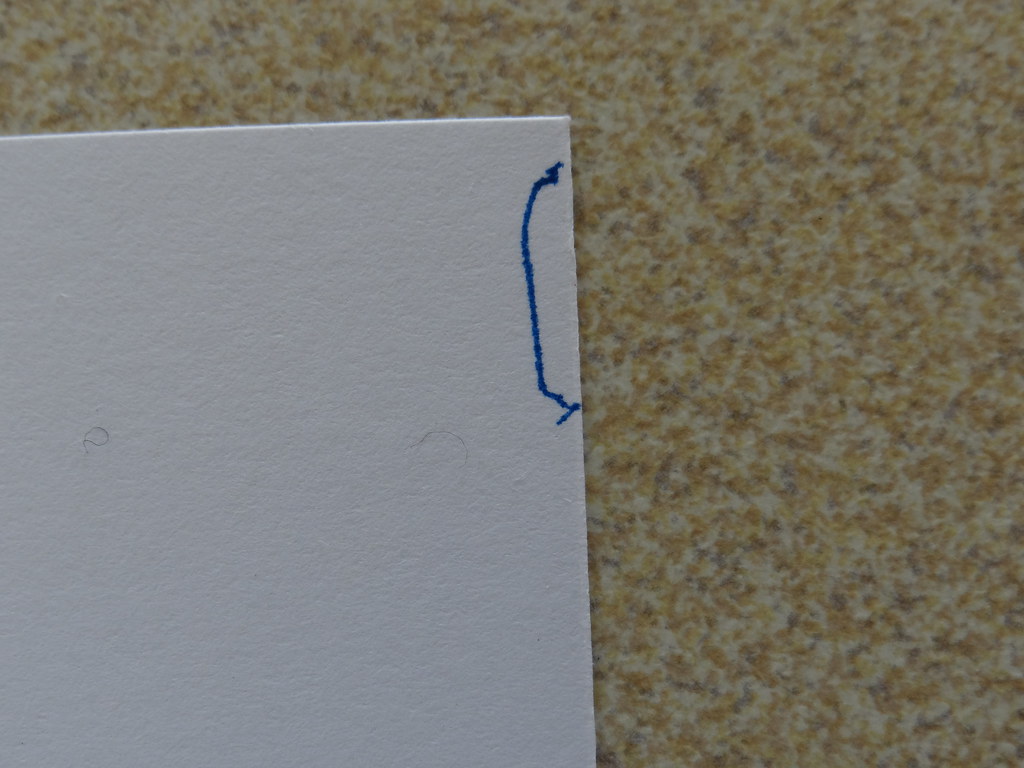
First trace round the Hornby deflector
The tracing will be too big by the thickness of the pen or pencil and this will need to be taken into account when cutting and trimming the card template.
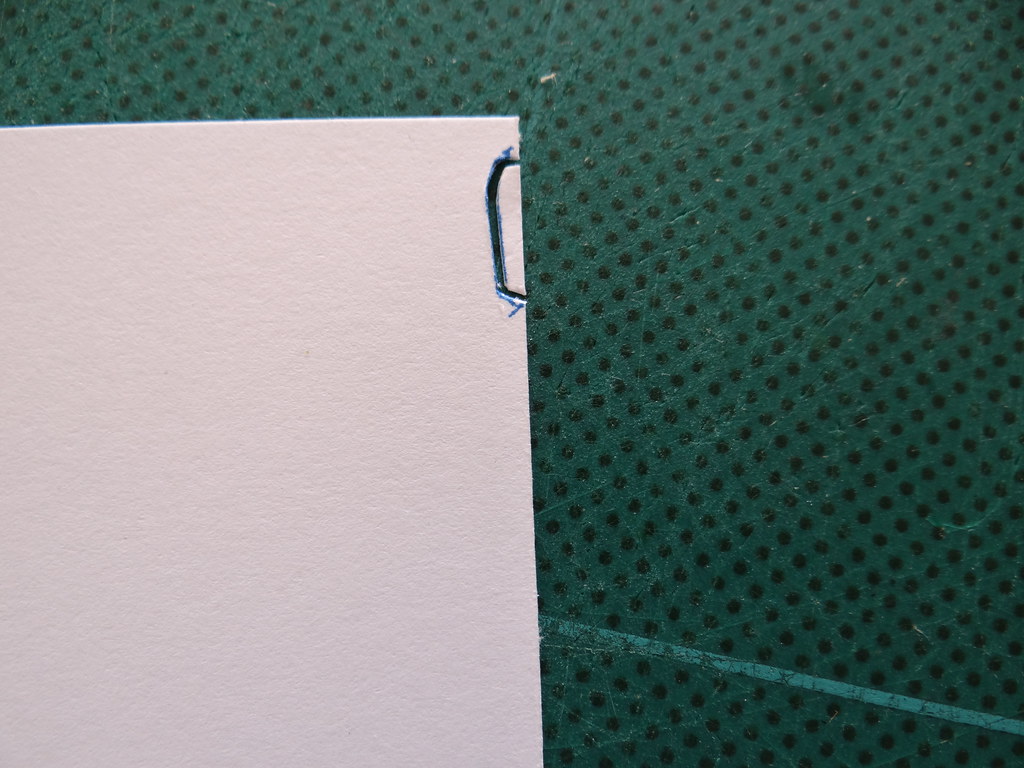
Cutting the card template
After the initial trimming I used some Blutac to hold the template up against the genuine deflector to make final adjustments to the shape.
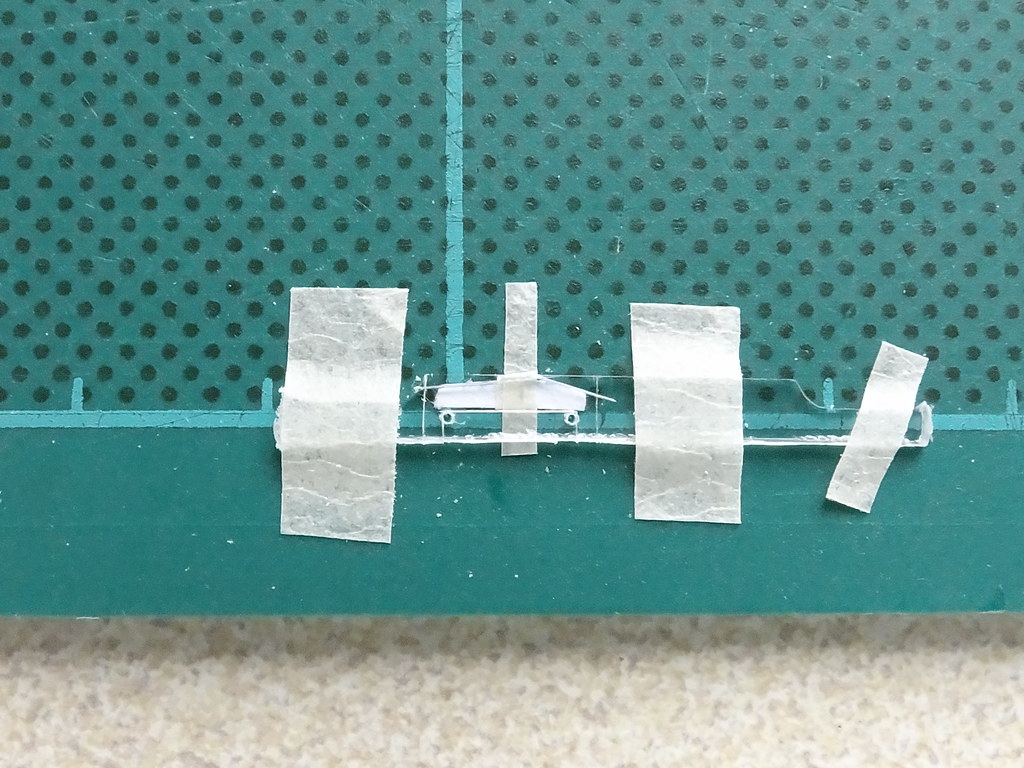
I then used a strip of masking tape to fix the card template to my cutting mat. I placed the plastic section cut from the razor cover over the template and added more strips of tape to hold it in place. I used a sharp knife to trace out the shape of the deflector increasing the length at either end to copy the arrangement of fixing spikes used by Hornby.
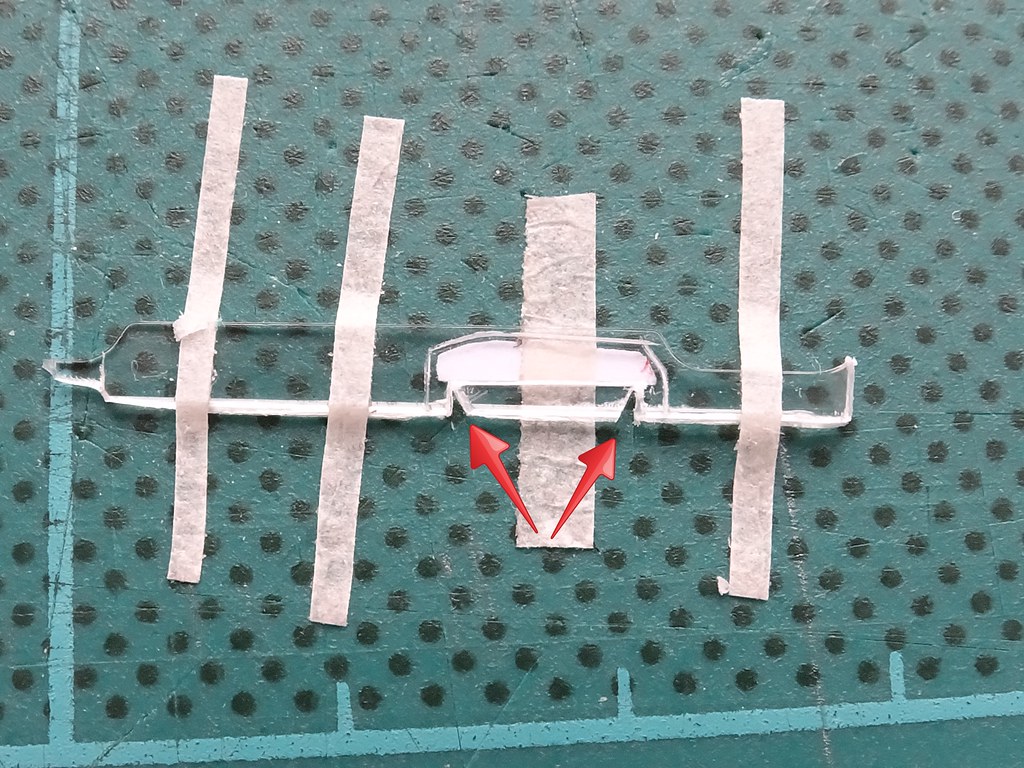
Template and plastic taped to cutting board
The clear plastic does not like to be bent and great care needs to be taken to avoid over stressing the points marked with the arrows. If you are too rough the plastic will start to fracture at the ‘head’ of the cut, turning the plastic cloudy and at worst causing a break. The clear plastic is best cut starting small and carefully paring surplus material away. An alternative approach is to use a 0.5mm drill bit to make some initial holes. This technique is borrowed from prototype engineering where it is common practice to drill a small diameter hole at the end of a crack in a steel girder to stop it running. I made some deflectors using the the drilled holes and some without.
Drill before cutting to avoid stress concentrations
I separated the deflector from the rest of the plastic using a triangular file.
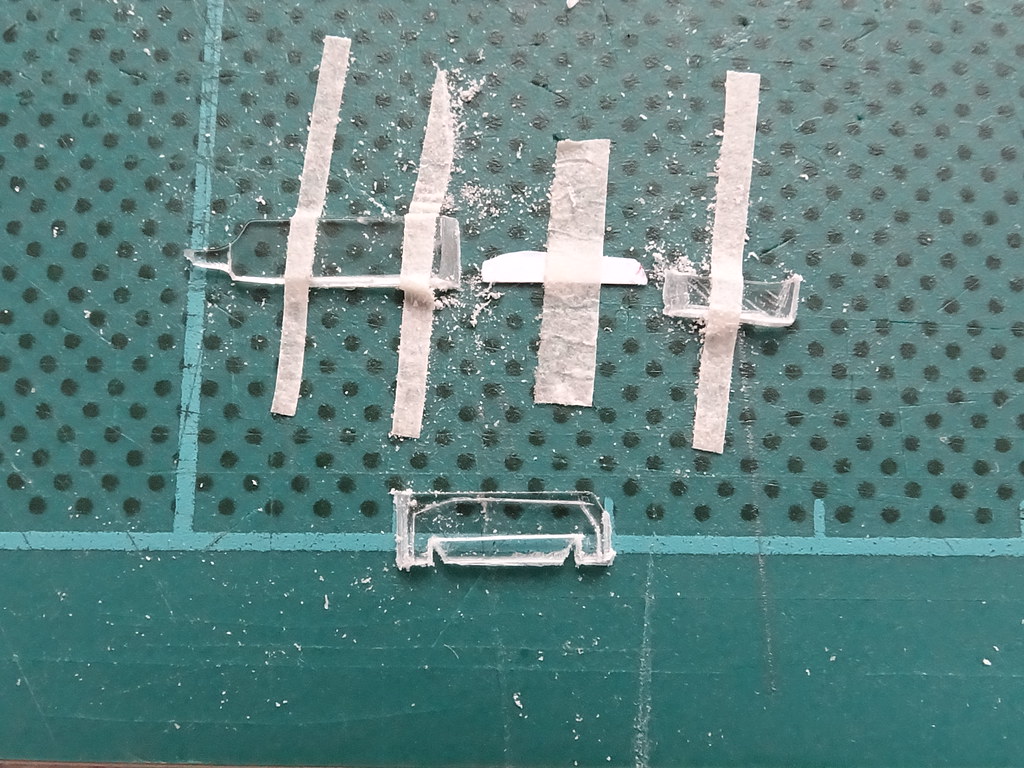
Cutting the deflector free
Once cut free the deflector can be pared to shape. I found it better to cut the deflector slightly oversize and to concentrate first on getting the fixing spikes correctly sized and spaced. The red arrows below highlight where the greatest care is needed. I used Blutac again to hold the deflector whilst I tried it for fit against the Hornby fixing holes.
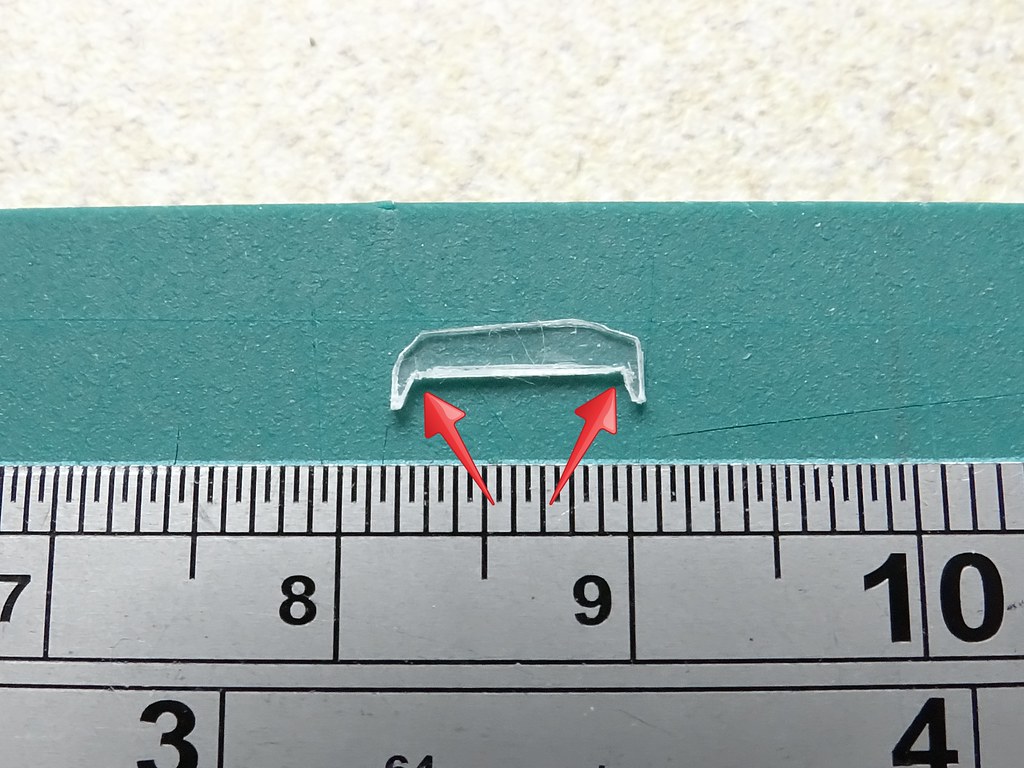
Getting there
When I was satisfied with the fixing spikes I placed the deflector back over the card template, gently holding it in position with the steel rule whilst I trimmed the outer edges down to size.
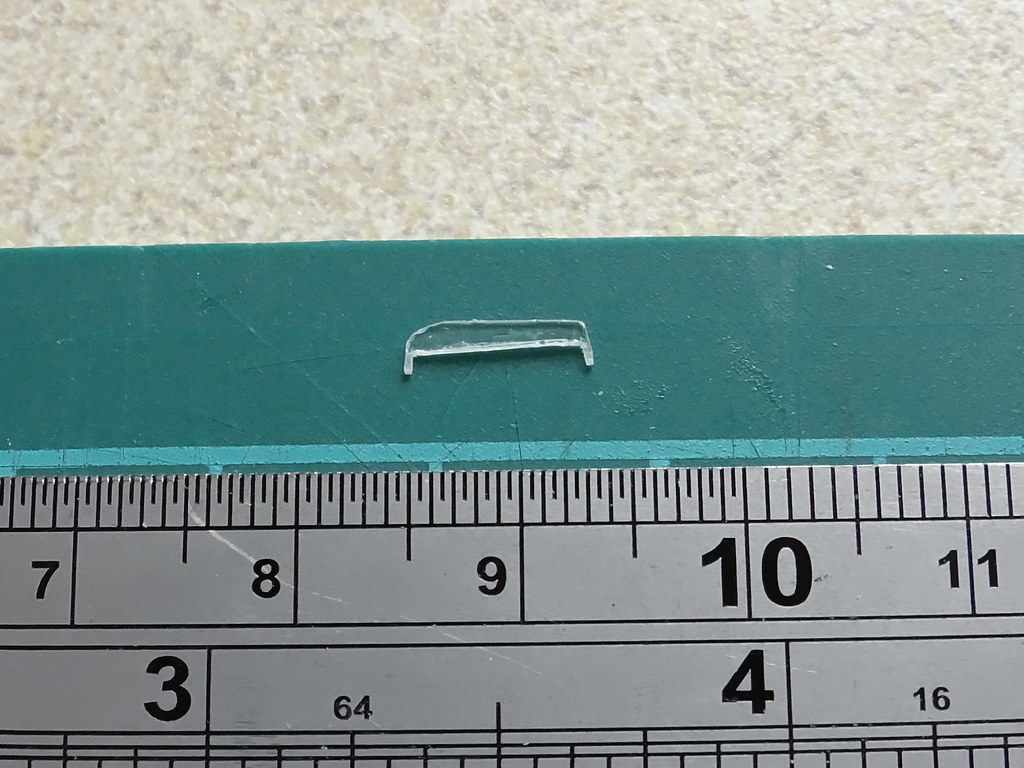
The finished product
Before fitting the replacement deflectors all traces of any broken deflector need to be removed. I was lucky and I was able to push out the remains of the original plastic spikes with a sharpened wooden tooth pick. I then used a 0.5mm drill bit to clean out any traces of Hornby adhesive
Made carefully the deflectors are a push fit and do not need any adhesive. Should the deflector need removing (for example reshaping), it can be gently pushed back out from inside the cab using a wooden tooth pick.
I had three deflectors to make. I made my first ‘good’ deflector at my second attempt and it took about 30 minutes. However I subsequently made a number of ‘duff’ deflectors – so lots of time and patience required
.
Below are some views of William Wordsworth with one Hornby deflector and one homemade deflector - I am rather pleased.
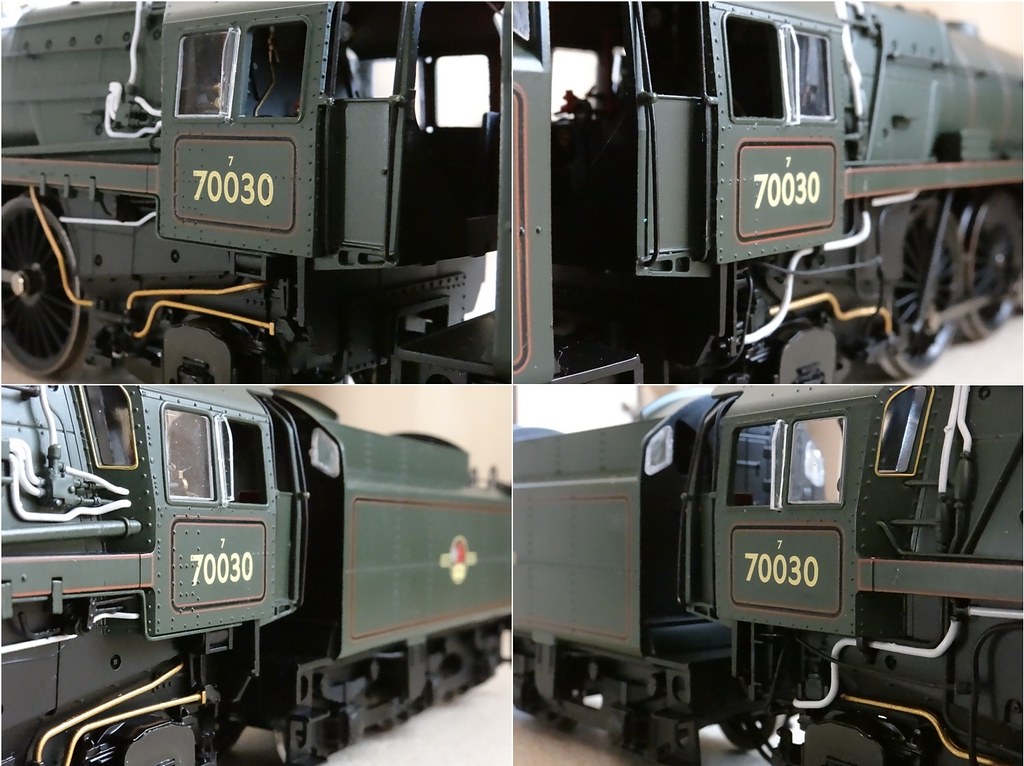
Spot the replacements?
Not everyone will have the time or the patience to make these deflectors. I still think that Hornby should have provided deflectors as spares and that the demand would be sufficient to make and sell them at a profit. Perhaps a business opportunity for someone else?
-
 4
4

6 Comments
Recommended Comments
Create an account or sign in to comment
You need to be a member in order to leave a comment
Create an account
Sign up for a new account in our community. It's easy!
Register a new accountSign in
Already have an account? Sign in here.
Sign In Now