

The Peco Streamline 3 Way Point.
.thumb.jpg.60c53fcbcaa34017b05b8919d1a9e6d2.jpg)
Entry posted by Silver Sidelines
12,492 views
The Peco Streamline 3 Way point is an extremely useful space saving device. This Post is prompted because I had to sort out a couple of problems with the installation of my own three way point. I was also aware that other modellers here on RMweb were finding difficulties with the operation and installation of their 3 way points.
The design of the point is symmetrical and has the appearance of a LH point being placed directly on top of a RH point. As a consequence the construction of the point is quite complex and the point requires careful handling especially during installation. When first marketed by Peco the point was only available with ‘Insulfrog’. The view below shows my first ‘Insulfrog’ point but reinstalled on my second layout.
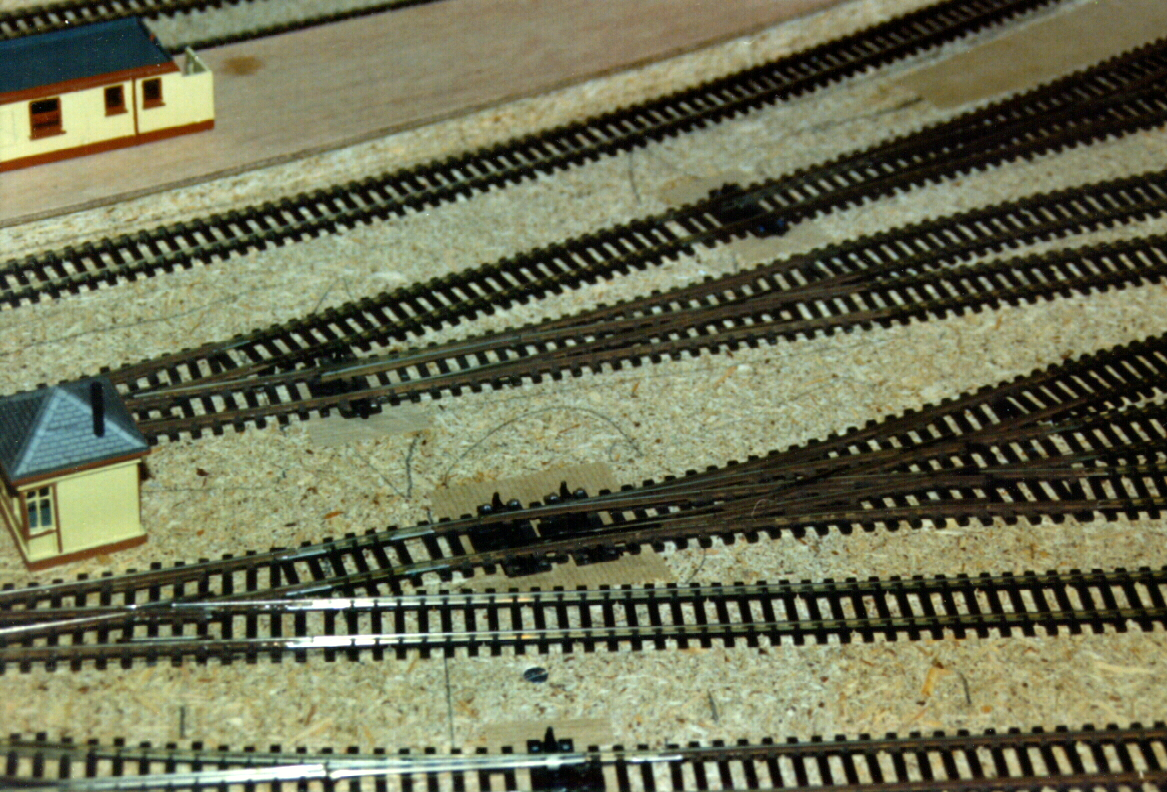
Peco Code 100 3 Way Insulfrog Point – the Park View Layout 1990s
The big advantage of the ‘Insulfrog’ point is that it does not require any separate electrical switching and hence is suitable for manual or simple mechanical operation. My same point was reused again on the current layout. However I would say that a big disadvantage of the ‘Insulfrog’ point is that with three dead plastic frogs some locomotives, notably six coupled varieties with no electrical pickups on the tender or carrying wheels will always stall when using the point. I decided to replace the point with the ‘Electrofrog’ version.
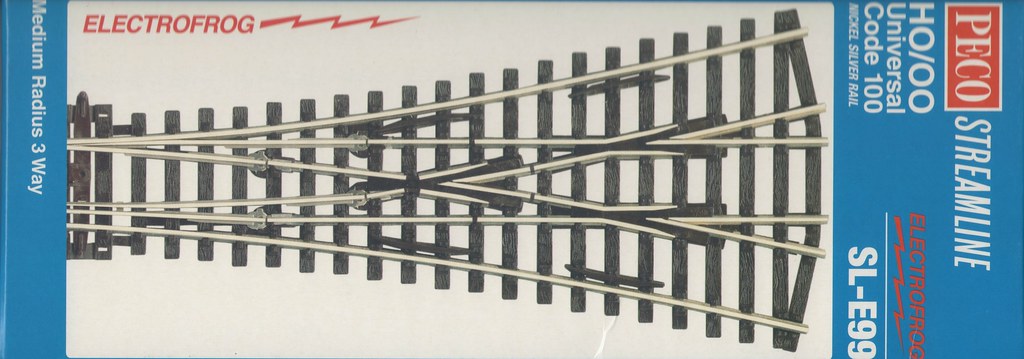
Peco Code 100 3 Way Electrofrog Point – box
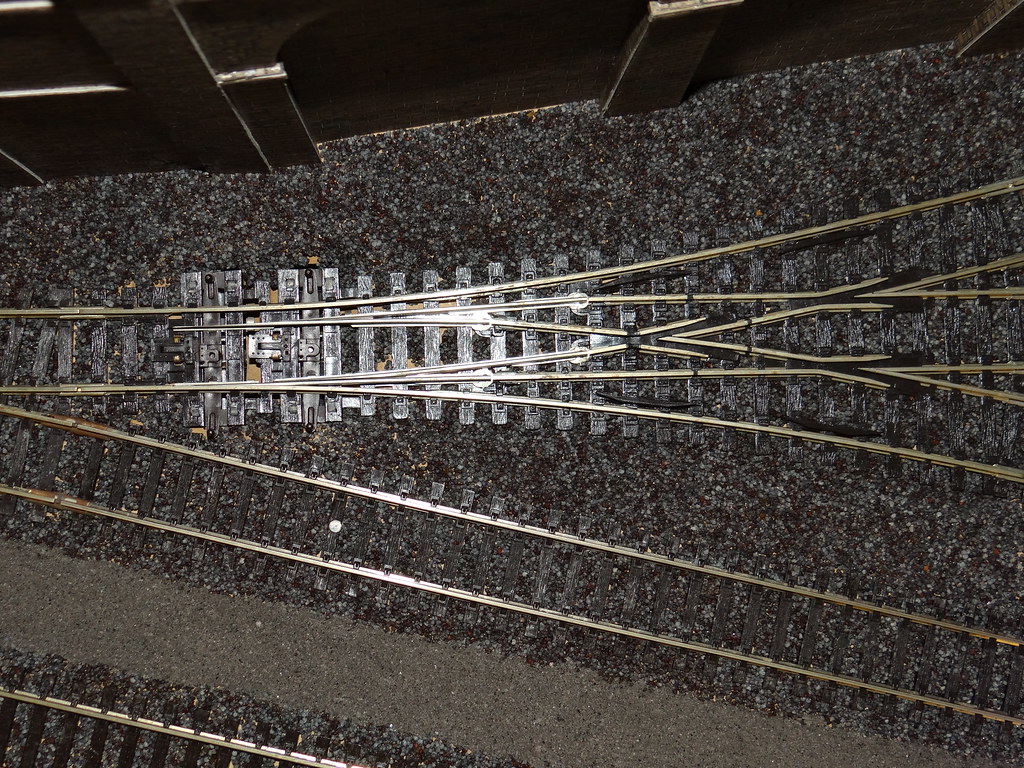
Peco Code 100 3 Way Electrofrog Point – in situ
The ‘Electrofrog’ point is more complicated than its ‘Insulfrog’ cousin and cannot be used straight from the box. In order to maintain the correct polarity of the live frogs additional external electrical switches are required. The 3 way point is fitted with the necessary electrical leads but it is left to the purchaser to supply the necessary switches.

Peco Installation Instructions
Peco have designed the 3 way point around their own products. Changing the polarity of the live frogs requires the use of two single pole double throw (SPDT) switches operated at the same time as the point blades are being changed. Peco recommend that the Electrofrog point is operated by two of Peco’s own PL-10 Turnout Motors together with two PL-13 Accessory Switches which are made to clip onto the underside of the Peco Turnout Motor.
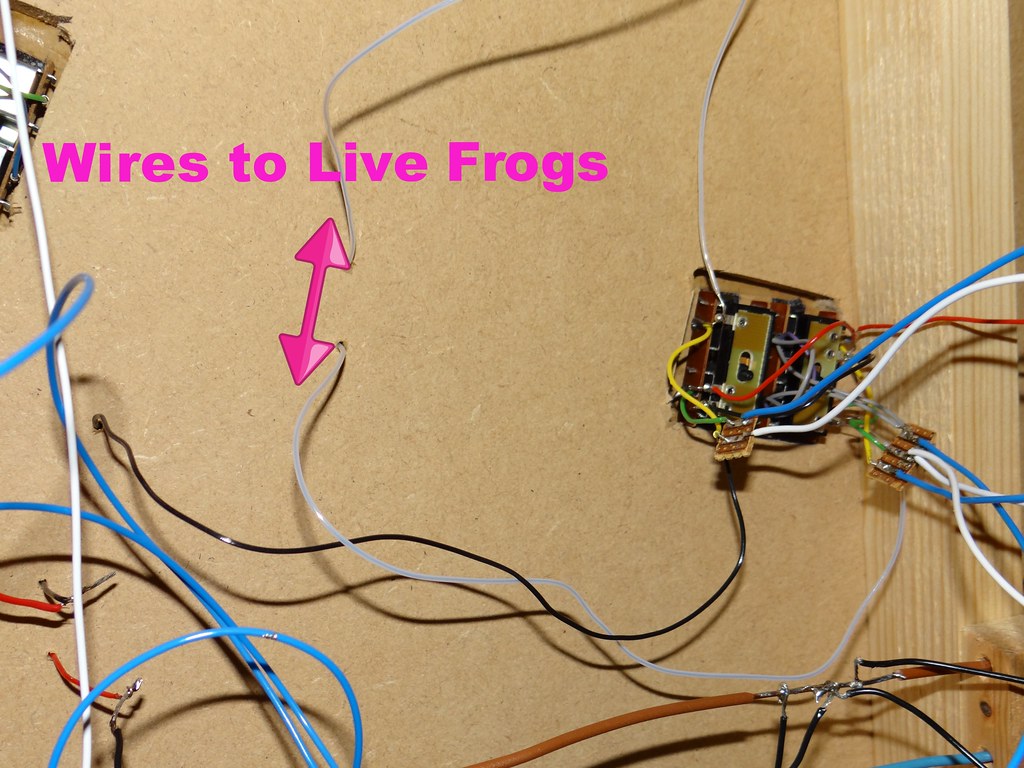
3 Way Electrofrog installation from below
First a general view of my installation from below showing the sleeved leads provided by Peco dropping down from the live frogs and attached to the two clip on PL-13 Accessory Switches beneath the Peco PL-10 Turnout Motors. The second view here below is a more detailed image showing the two point motors with accessory switches. I have attempted to colour code the wiring both to assist with installation and then tracing of any subsequent faults. The track feeds are the red and black wires. The yellow, green and grey wires are the connections to the point motors.
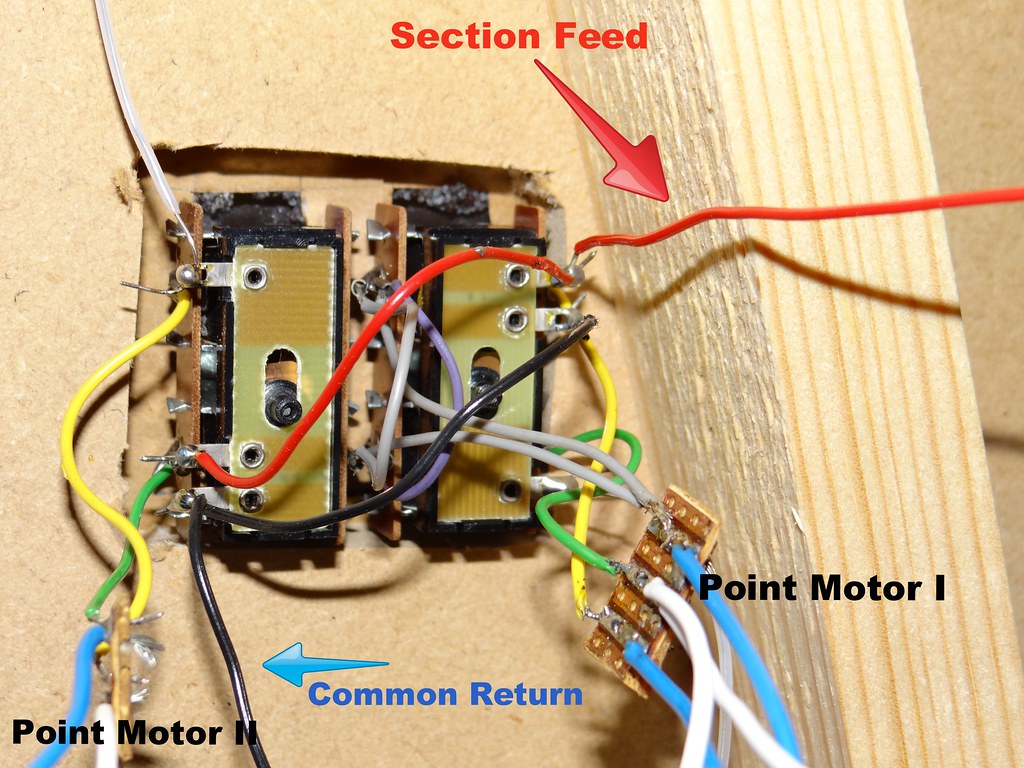
Detailed view of wiring to Accessory Switches and Point Motors
Operation of my installation is by three momentary contact push button switches.
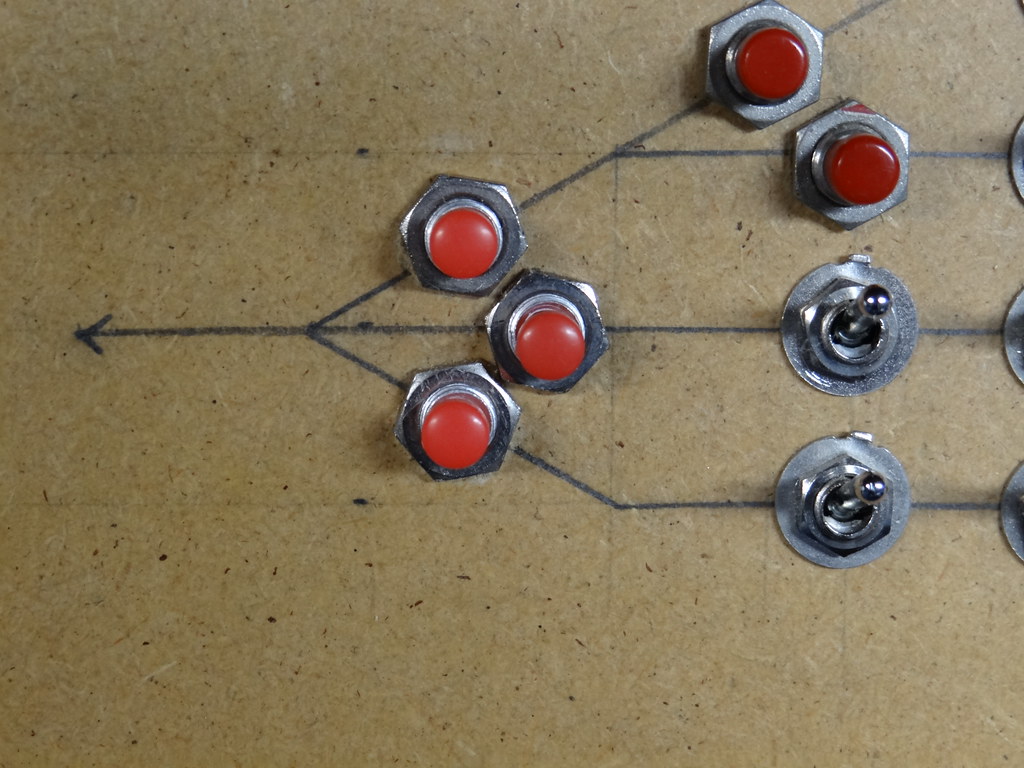
Top side of control panel
Whilst the individual switches are very cheap, they are obviously not quality products and their operational life seems to be very variable.
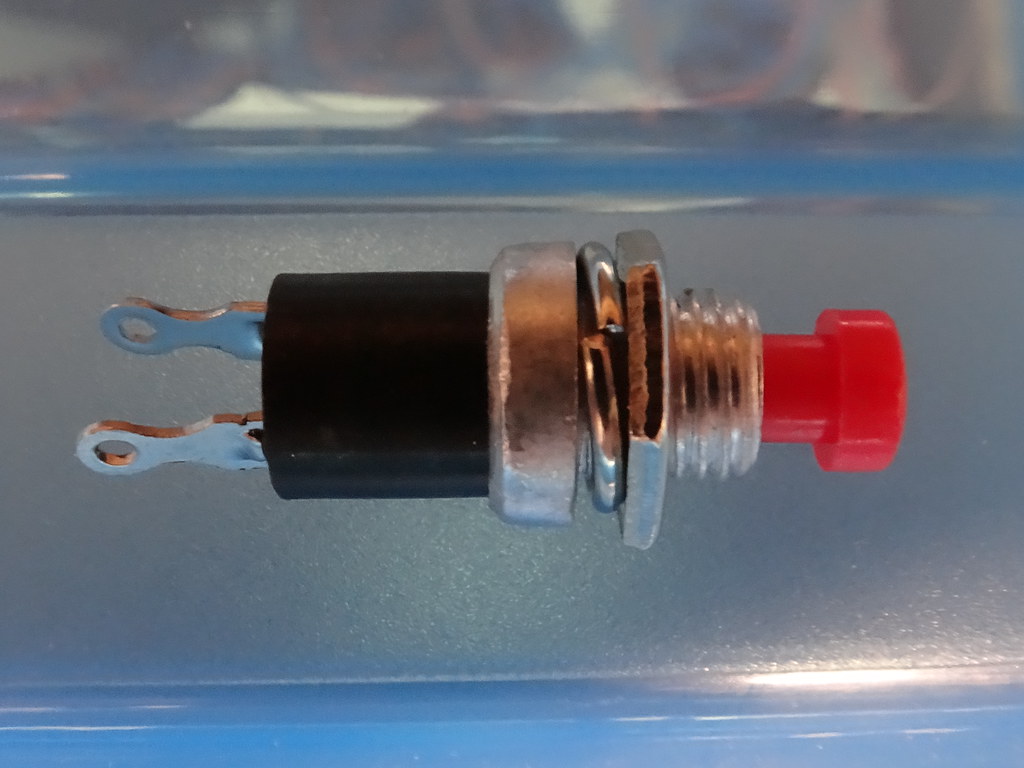
Push button switch
When first fitted my 3 way Electrofrog point worked nearly very well. However after ballasting I began to experience problems where the tracks at the frog end of the point ceased to be isolated. Coupled with this behaviour was the realisation that locomotives were derailing because the point blades were not tight up against the relevant stock rail.
Some of this behaviour was probably self inflicted. When I replaced the ‘Insulfrog’ point with the ‘Electrofrog’ version, to save time I dropped out the old motors (from the 1980s) without disturbing any wiring and then refitted them (from underneath) to the replacement point. Peco recommend that the motors and switches are all fitted and tested prior to track laying. I didn’t and whilst the Peco turn out motors are good they must be perfectly aligned to give a good clean throw of the points. Add in the extra load from the accessory switch and it becomes rather obvious why my point blades (and the underlying switches) were not fully opening and closing. Paste and surplus ballast around the point blades must have been the last straw in terms of friction and the load to be overcome by the point motor.
It should also be noted that I do not use a Capacitor Discharge Unit (CDU). With my single push buttons, selecting the middle road, uses one button to energise both the point motors. It was becoming noticeable that this switch for the middle road was not functioning – obviously the high current to energise two motors with attendant switches was proving to be all too much and the switch contacts were burning out?
In the short term I have renewed all three push buttons. I have checked and re-soldered all the connections. Above ground so to speak I weakened the operation of the ‘over centre’ spring at the toe of the point. This can be achieved by pushing the spring cover back and increasing the separation from the tie bar. Finally to guarantee trouble free operation I always select the ‘middle road’ prior to setting either the Left or Right hand tracks.
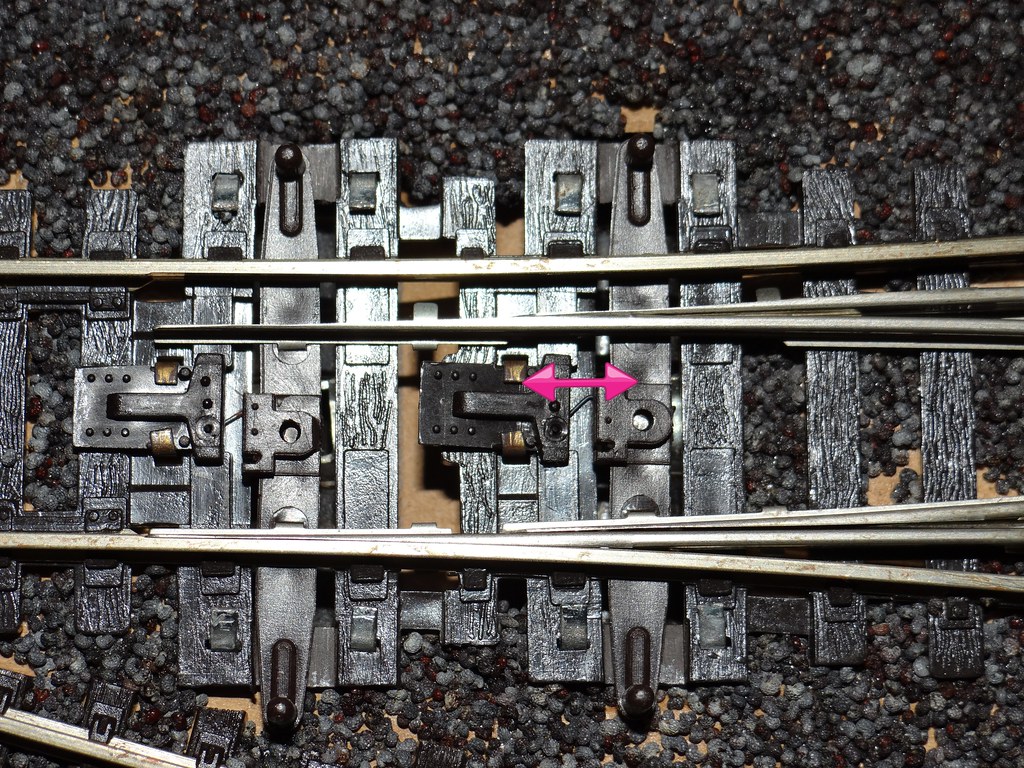
Close up of ‘over centre’ springs
So far so good, longer term I guess I should invest in a Capacitor Discharge Unit.
-
 2
2

3 Comments
Recommended Comments
Create an account or sign in to comment
You need to be a member in order to leave a comment
Create an account
Sign up for a new account in our community. It's easy!
Register a new accountSign in
Already have an account? Sign in here.
Sign In Now