


Entry posted by Knuckles
1,157 views
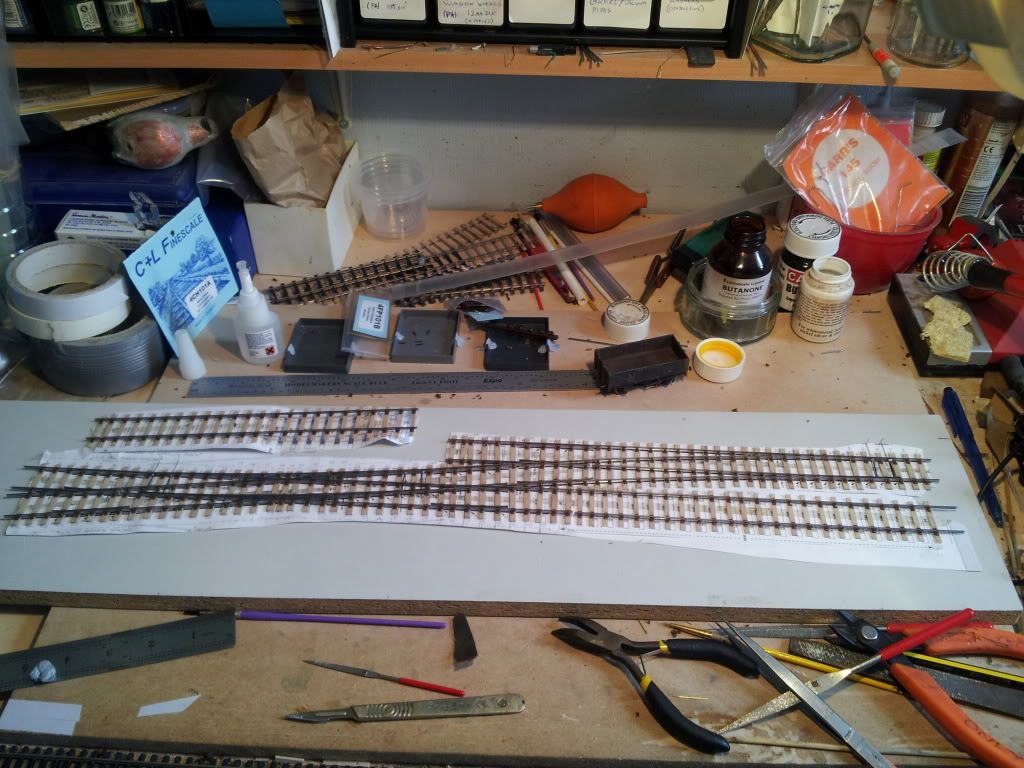
Ok here we are. 99% (100%) finished, so this is basically my last full post on it.
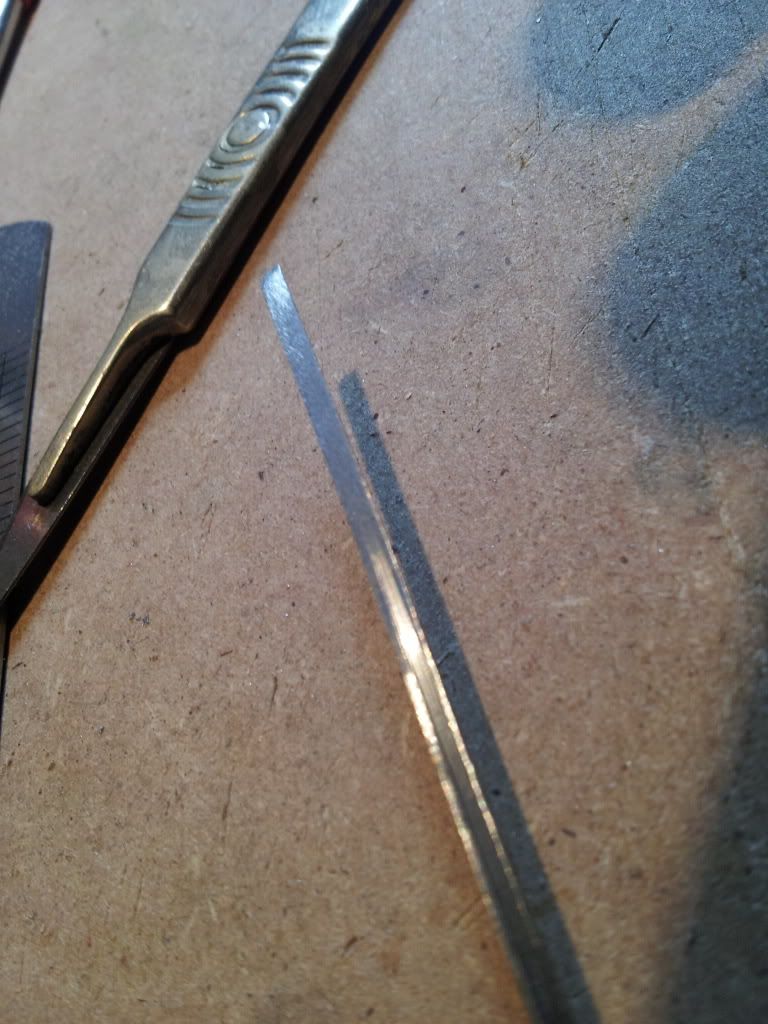
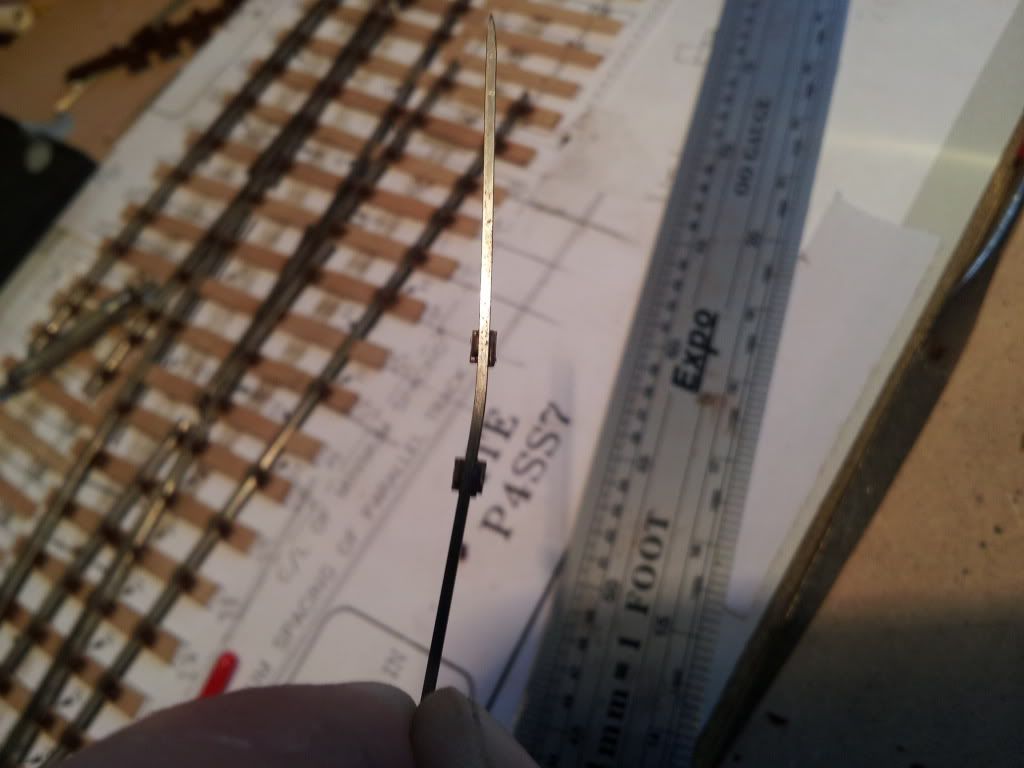
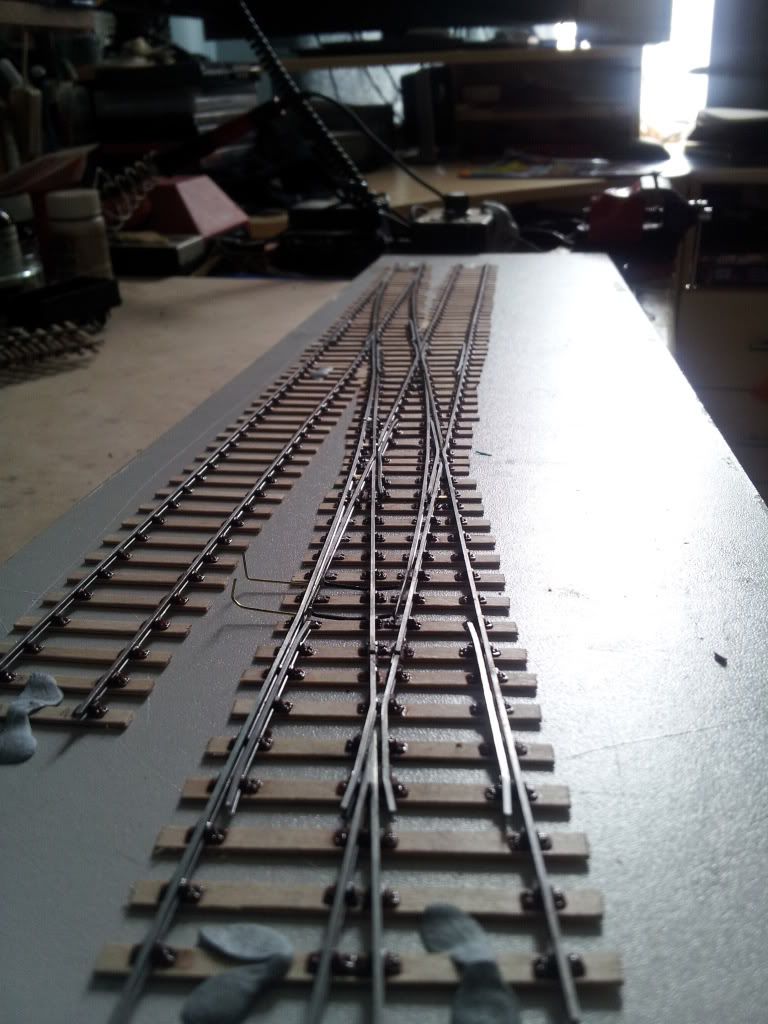
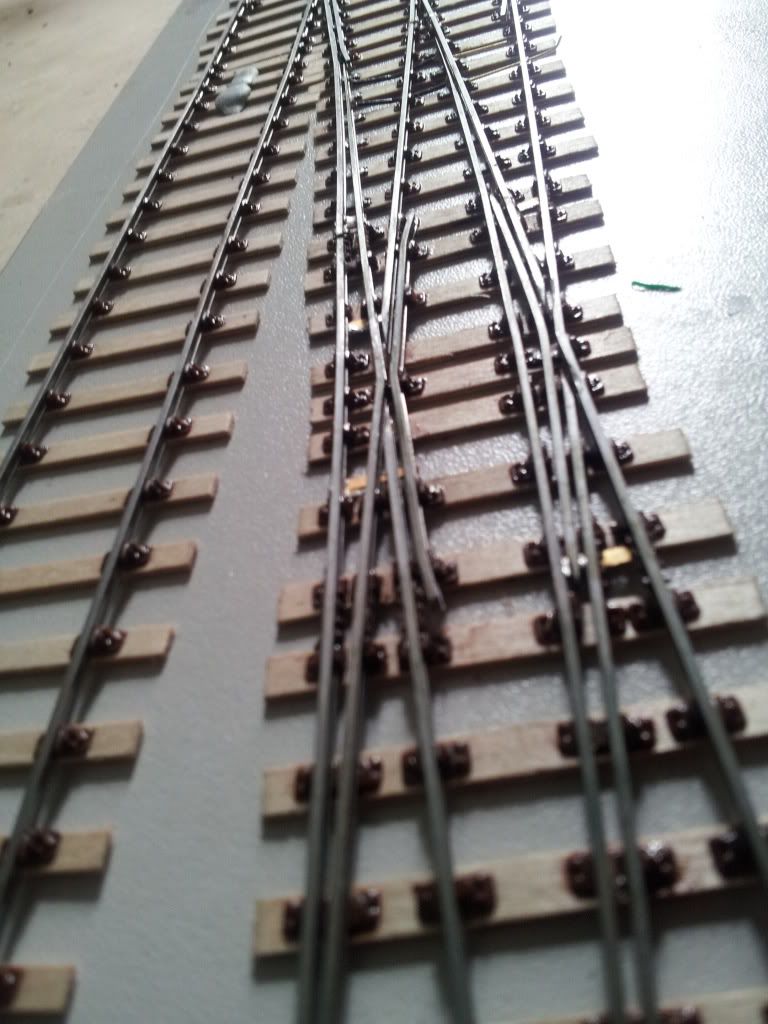
Having the closure rails in place has given me a datum to gauge and fit the 1st double edged sword (point blade..what else?), I used the previous method I invented beforehand which was to bodge it with a mini drill and sander, then tweak and bend to suit afterwards. It's worked every time, just isn't quite as neat as maybe doing it with hand files but as I said before I felt like I was pidelling in the wind as it was taking longer than I could endure. As I said before as long as things work that's the primary concern here for I can hone skills and neatness with later more practiced efforts.
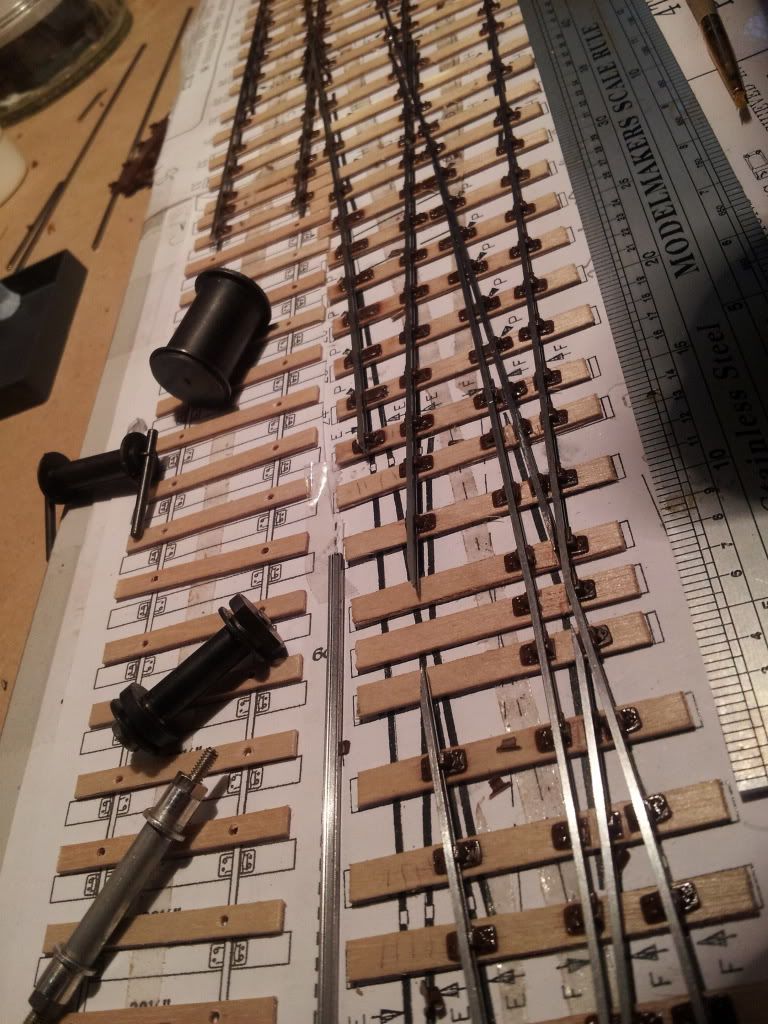
Chairs filed rather thin for the other blade.
Fixed in place.
On this Check Rail I call these the 'Rizla Check Chairs', first they are as thin as Rizla papers, and secondly you have to double check they are actually there, that's why it's called a Check Rail. 
With the check clearencies I've had some bother here and there. I've been using the guage but it's still not 100% perfect and it's even evident in some of the pic's, they are all ok with the gauge but some are a tight fit and others are a willy in a welly. There is also evidence in some areas of mini drill disk abuse to open them out, but this isn't reccomended as it's made a bit of pigs ear of things. Functionally things seem ok, but visually not so much.
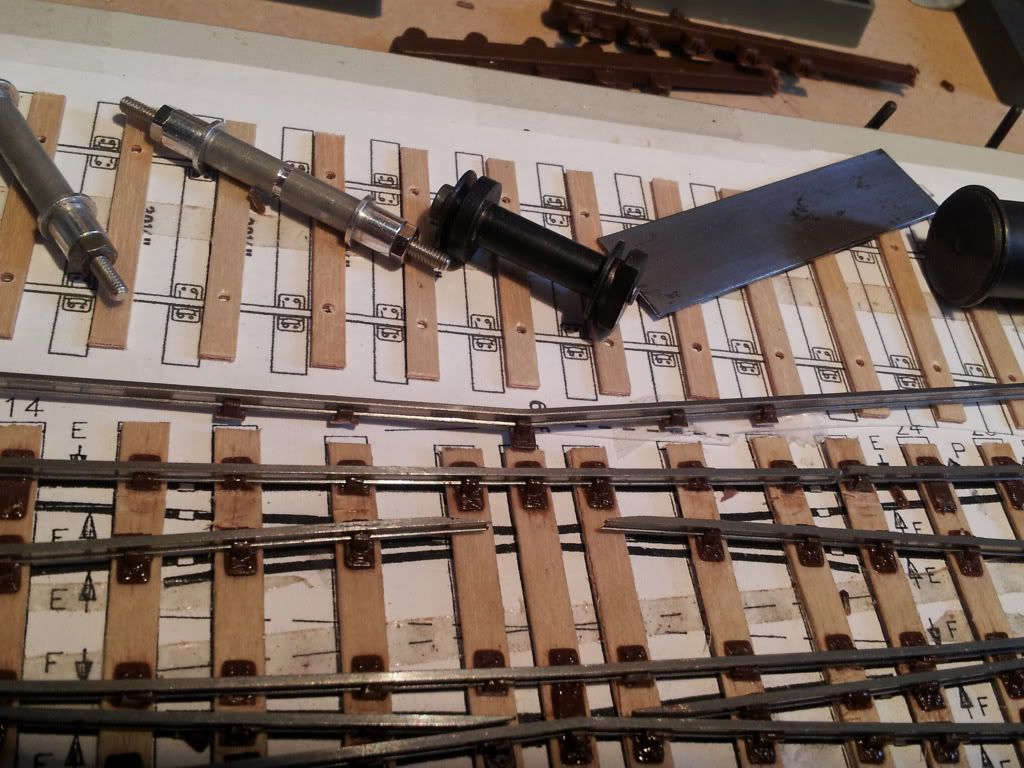
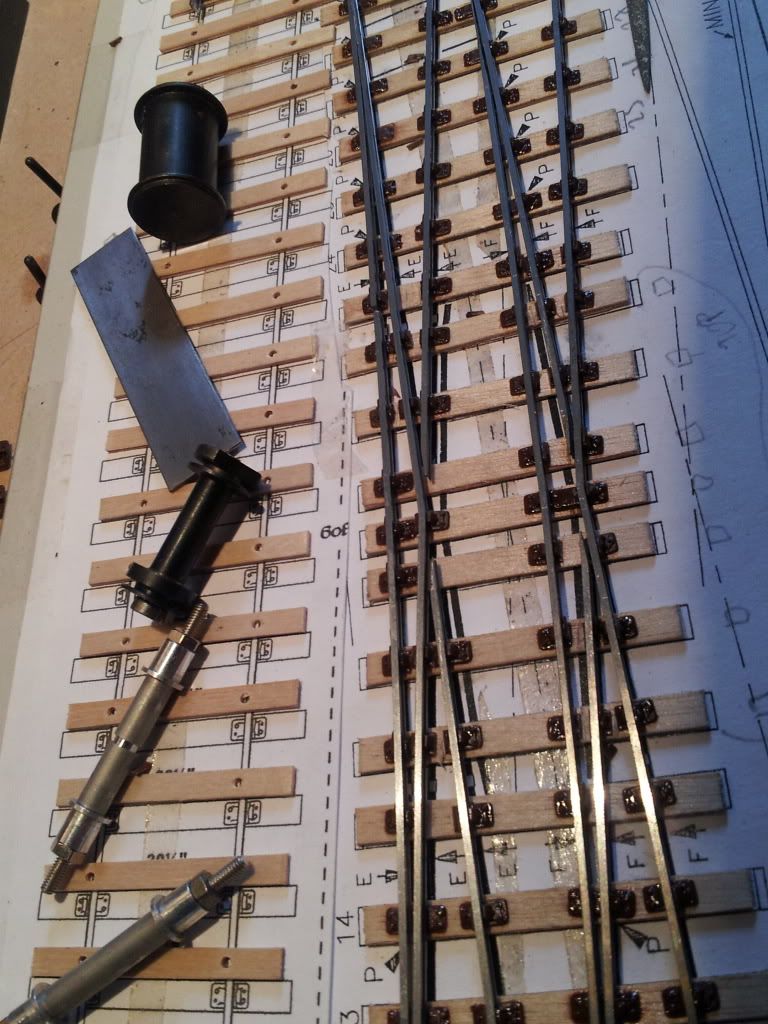
I finished off the little bits, added all the other check rails and also soldered the Stretcher bars in place from C&L. I did solder one blade to the Stock by accident (a common issue I've read) but it wasn't hard to sort out. Luckily I only ued a tiny bit of solder as the Swan Morton blade happily split them. I also added the fish plates, a couple of brass ones soldered and folded but mostly plastic from C&L.
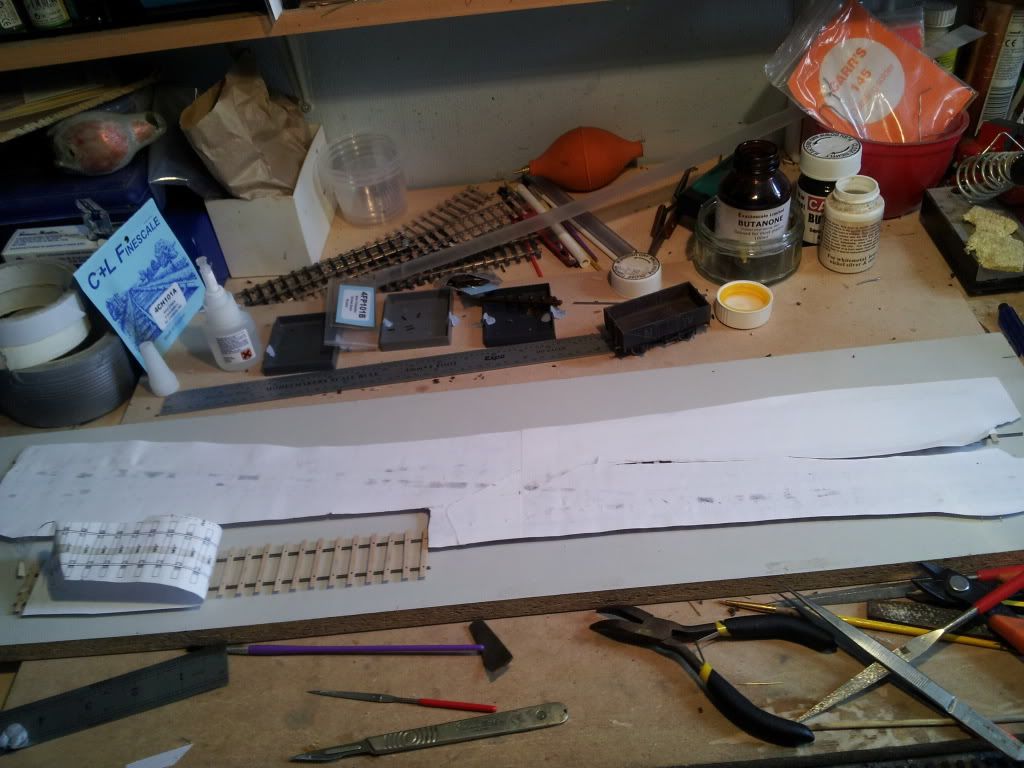
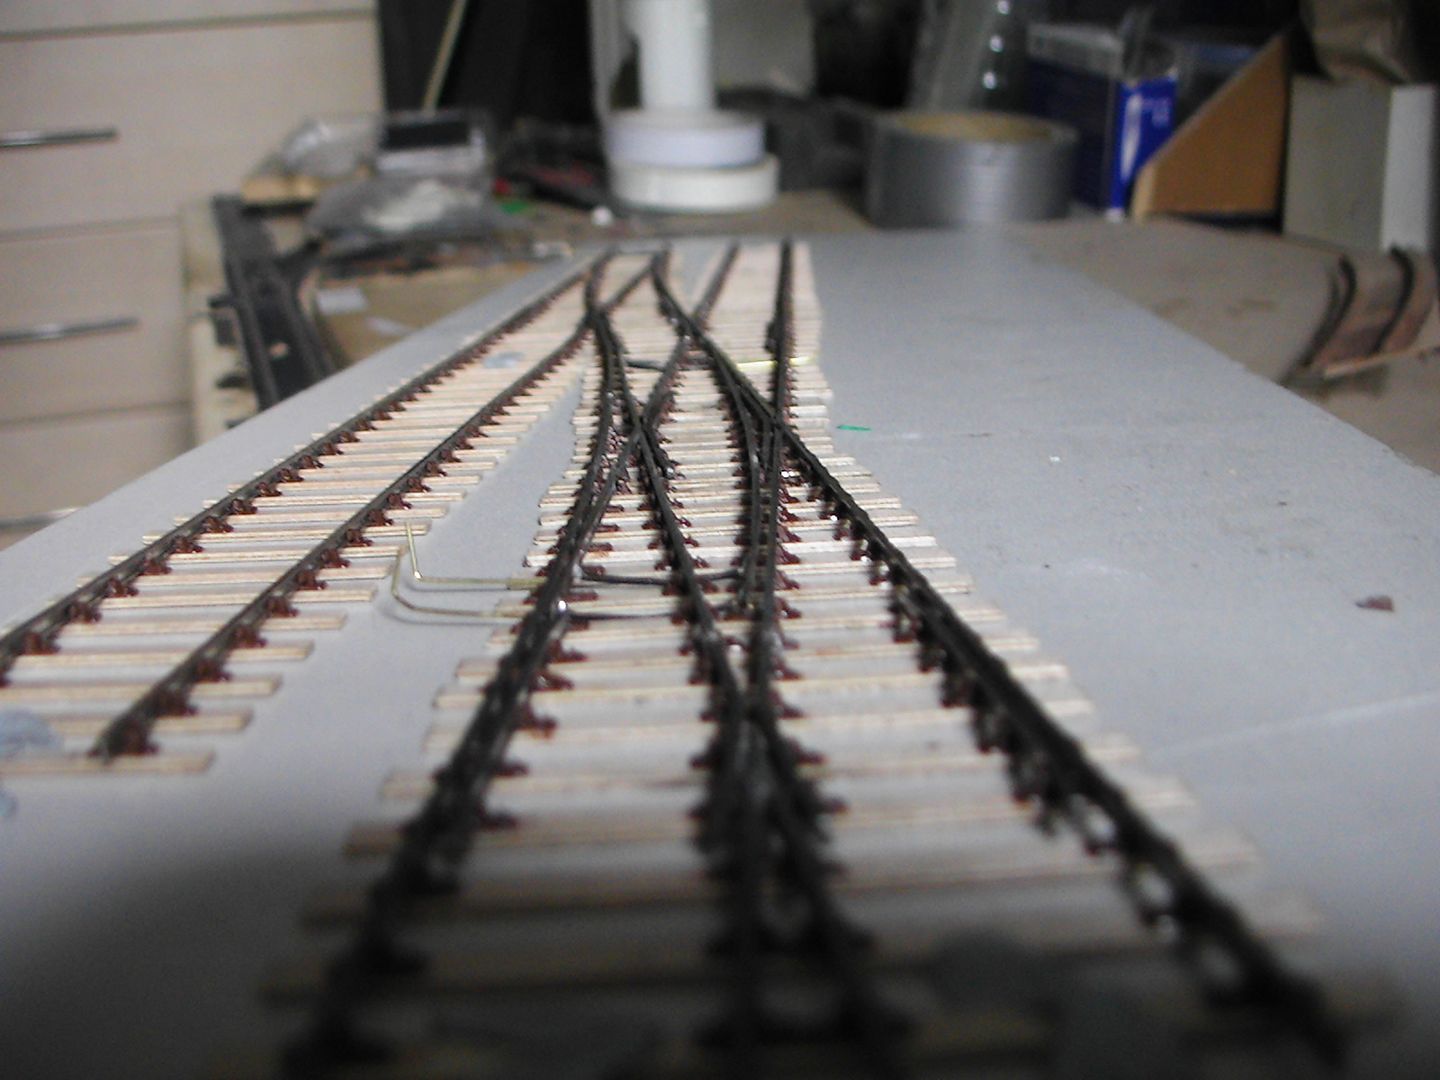
It was now time to remove the template/s so I knifed around the edges then tipped it upside down...
Carefully peeled the paper away at an angle to reduce chances of it all going pear shaped and gently one timber/sleeper at a time pulled them off. I used a small file to hold the timbers/sleepers down as i did it. only 3 or 4 slide timbers escaped and fell off so that's good going I think. 'Powerbond 806' to the rescue.
After this I refered to the master template for the electrical bonding. Seeing that I split a rail earlier worried it might effect the electrical functioning of the V, and seeing the template said to bond it I did so. I think when it comes to it I'll have another look at Keiths picture edit and cut a rail or two if nessasary. I've tried to plan things beforehand as I built it but ignorance and lack of experience has gotten the better of me here. Never mind.
I used some scrap brass etch from a tender kit I made and used that as both the mechanical and electrical joint all in one. I also found as I was building the formation that 1 point blade, a V, and one of the center check rails didn't want to stay still, partly because of a lack of support on the latter. This didn't worry me as I knew I had to bond them later, and I'm glad to say the plan worked; the bonding has leveled things out as they should be, they do however show up and look rather obtrustive, but I guess after paint and ballast I can live with that.
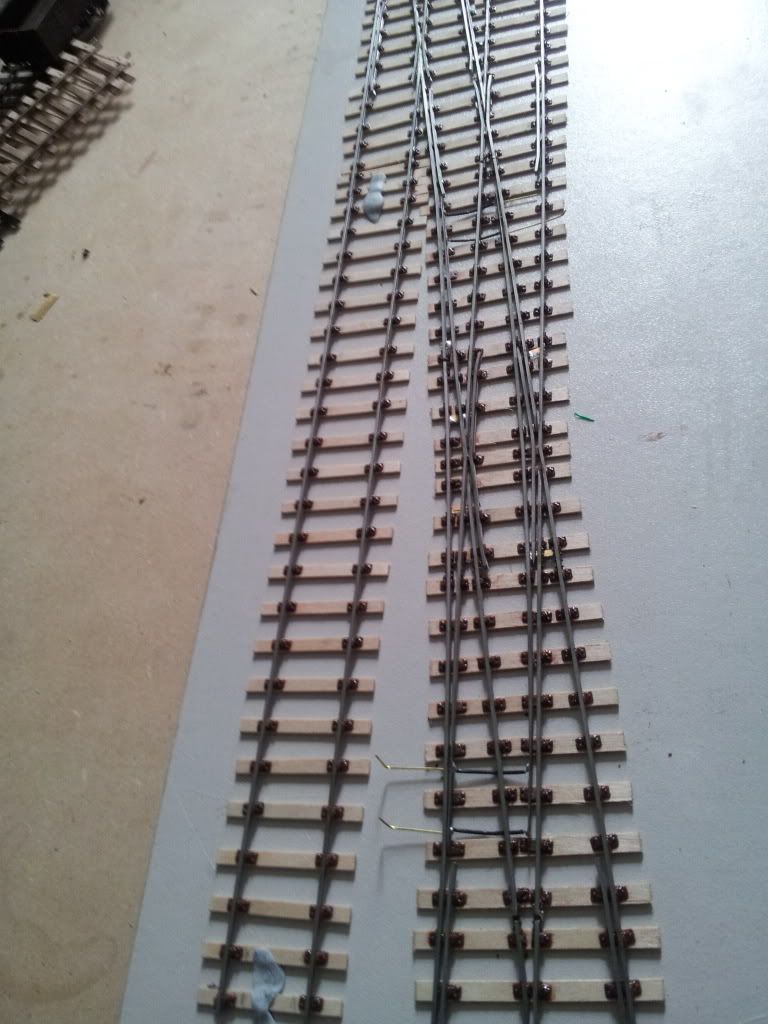
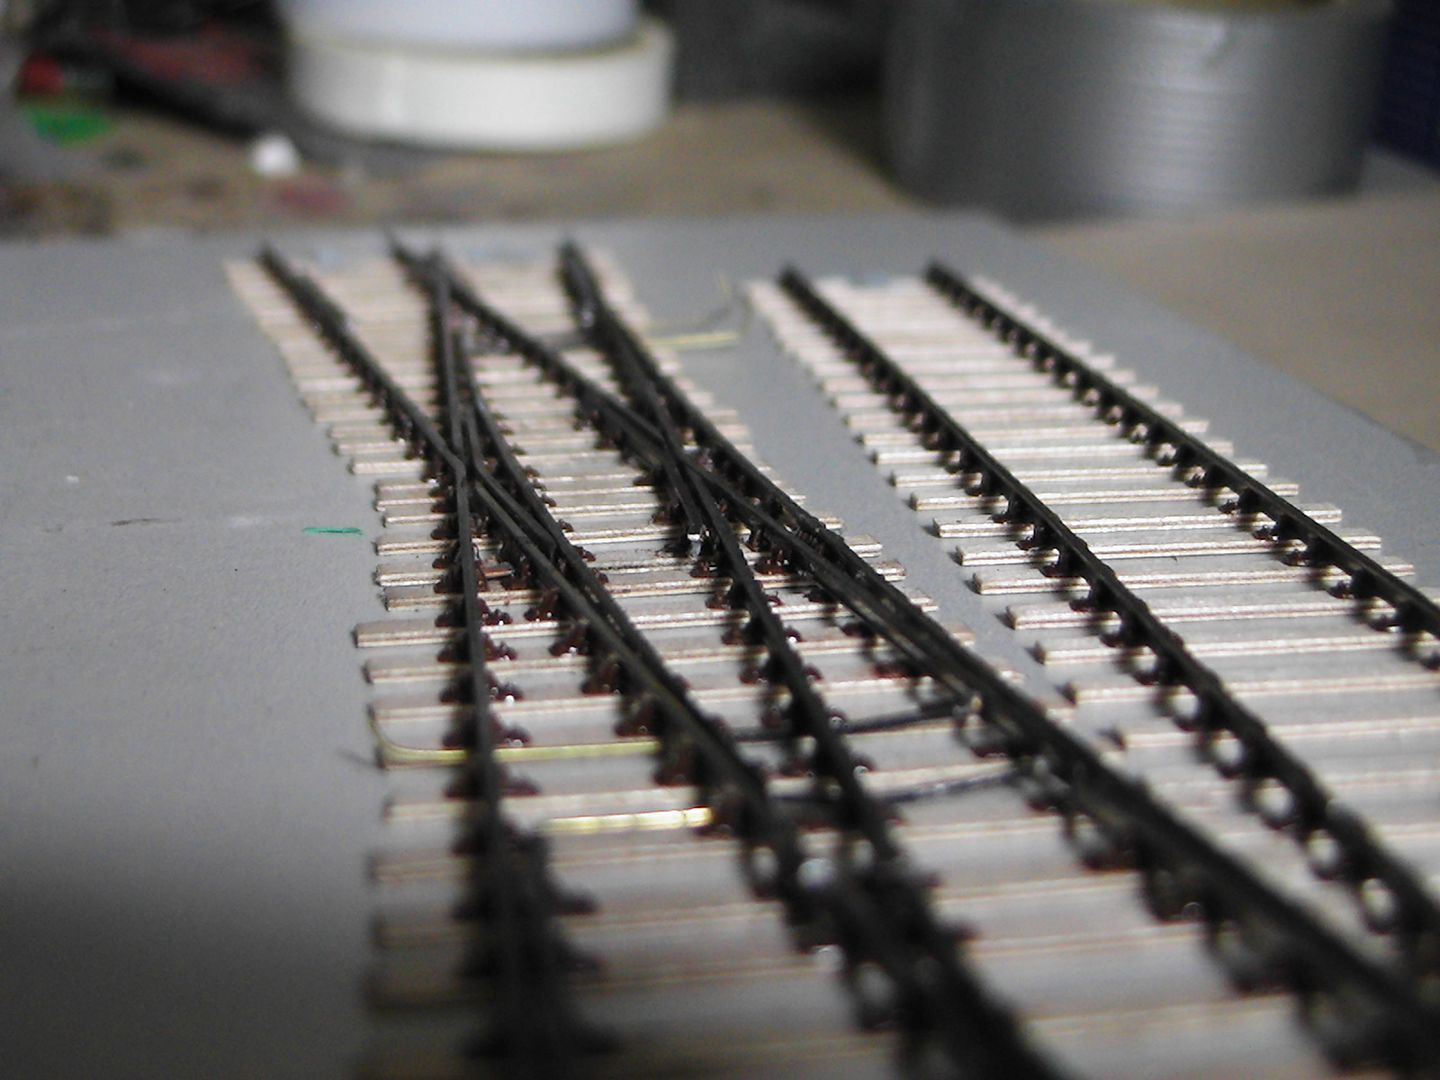
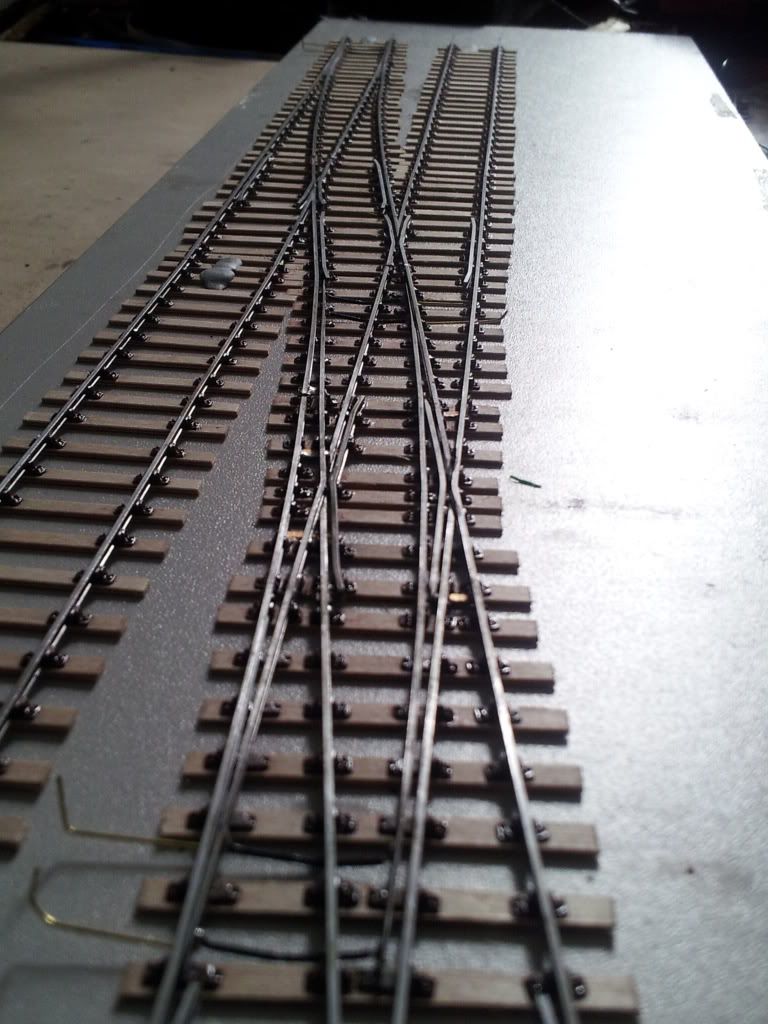
This is basically complete, the only visual tings that need doing are to add a few fish plates on the single turnout (some are fudged due to mistakes with only 3 bolts), file off the excess bonding brass and paint it, make some fake rail cuts at the joints and, yes, I've made chair mistakes again, getting the keys the wrong way around but in the complex areas I've had no clue which ways the keys go so I've kind of just...made things up...not brilliant.
Also it seems by the photographs that the timbering is all out of sync again, being shorter on one side of the slip and longer on the other. :evil: Too late, live with it I guess. This I rekon is due to the gauging process of always having a rail to go by, and the formation pslightly changing angle and profile by accumalative errror, I don't know.
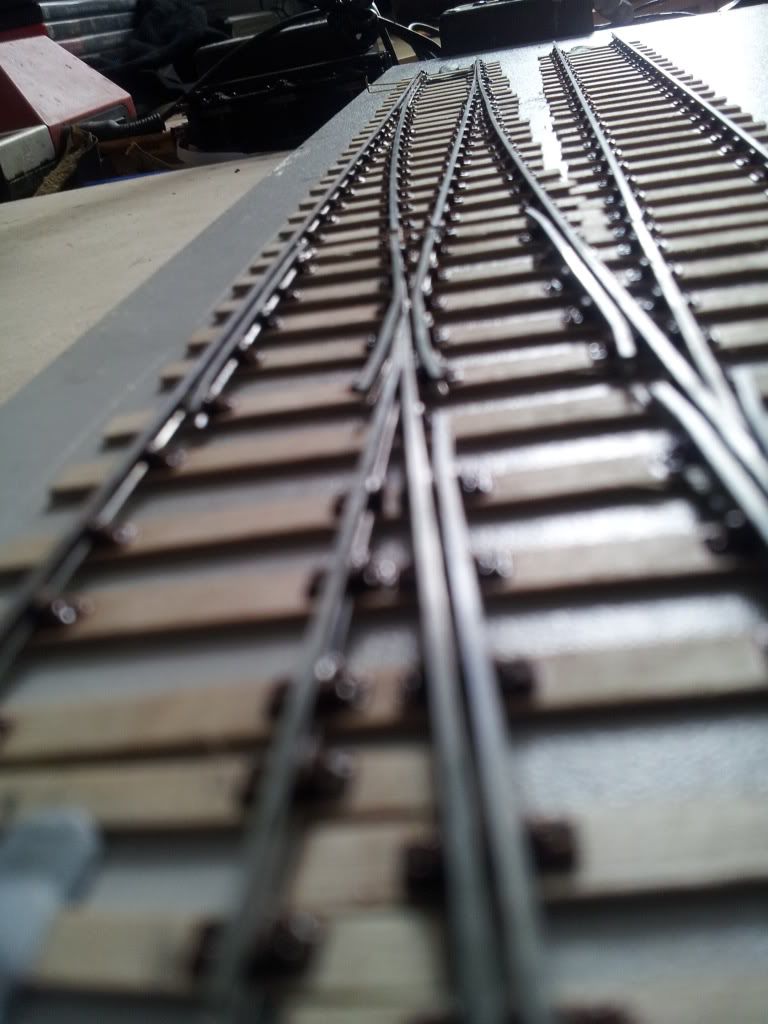
Overall though I'm very very pleased with this, my trucks now roll through fine in all directions and I pushed my converted Hymek through it with no problems. I did wire one end to the controller, put it on full power and let the flywheel take the loco through the formation (because the frogs are hungry and haven't been fed..ribbit) and there didn't seem to be any issues. So hopefully when I figure out how to wire it and install it one day it will still be ok.
Best thing is I have actually enjoyed this excersize and as long as these mistakes arn't a write off I'll be happy to look forward to installing it on my layout plan, other than a double slip it's the most complex formation in the whole plan.
TOU: (Turnout Operating Unit - Only spelled out it's entire meaning for the benefit of others as it took me literally a couple of monthsto find it's meaning)
Help? I've read the threads but unsure. In my pics above I've bent the ends of the stretcher bars to provide temporary hand operation just to test wagons etc. I've read these aren't strong enough to be used by stall motors or wire-in-tube. My question is why? They seem ok with a little finger pressure. Also suggestions greatly accepted as this, coupled with instillation on a layout will I guess be the real completion, other than painting.
As a n00b what you think?  Any ways to improve I'm all ears.
-
 6
6

6 Comments
Recommended Comments
Create an account or sign in to comment
You need to be a member in order to leave a comment
Create an account
Sign up for a new account in our community. It's easy!
Register a new accountSign in
Already have an account? Sign in here.
Sign In Now