


Entry posted by Will Vale
1,295 views
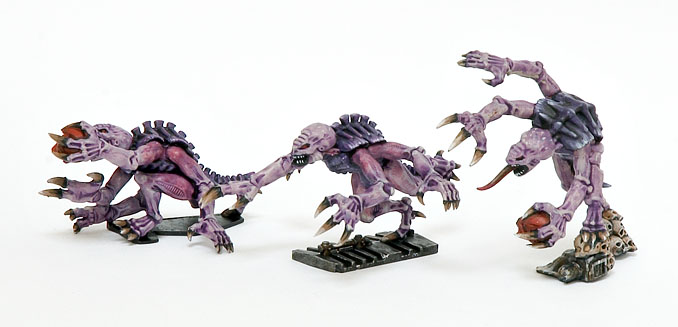
I've been distracted recently by the re-release of Space Hulk (a boardgame idolised by many of my generation) hence the lack of updates since I've been painting monsters - and working to finish a contract. It's over a decade since I did any figure painting so I'm a bit rusty, but it's definitely good practice for brushwork and related skills. I just need to figure out how to get some of the crazy paint colours onto a railway-related project - Warlock Purple for graffiti maybe?
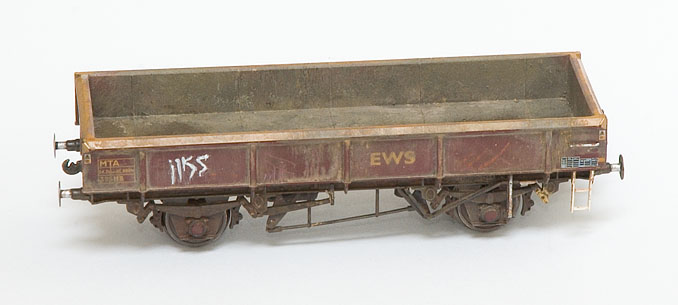
I've weathered the last one of the four MTAs, and done the interior for the grubby one. I then had to tone down the exterior from sandy coloured mud to something darker in order to match the inside, which was a bit fraught but appears to be OK. The tag is intended to draw the eye away from the mud a little bit ![]()
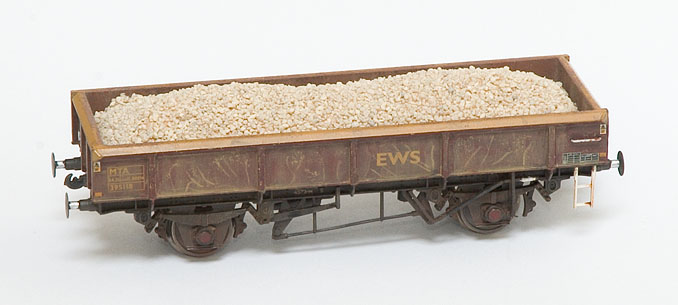
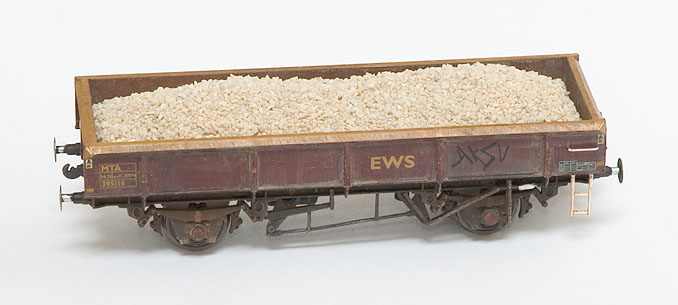
I also added a tag to one of the others and made some experimental loads (which look appetizingly like Weetabix or those sesame biscuits you get in health food shops). The loads need another layer of (finer) ballast but I can't get any locally at the moment. I'm also intending to build a plastic box to assemble them inside so that there's more of a 'meniscus' effect around the edges rather than the steep sides you see now - they look great from glancing angles but silly from above. For photos I could always sprinkle a bit of ballast around the edges of the load once it's in the wagon - I think removable loads and edge-to-edge coverage are always going to be rather at odds with each other.
Here's the complete rake - if you can call four wagons a rake...
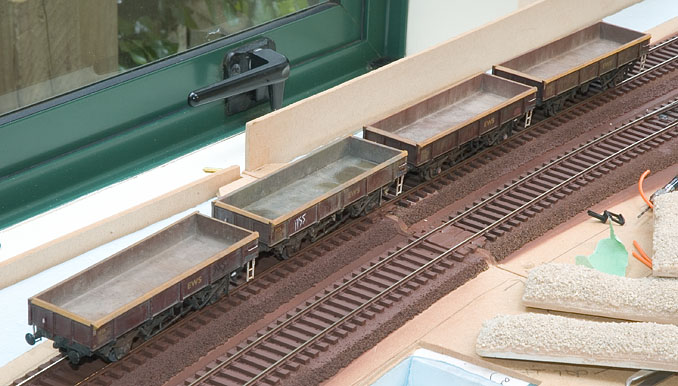
and here's another view of the grubby one to show off the still-drying-out wet mud on the inside. This is a few coats of Johnson's Klear over a very smooth dark patch of paint, with the first coat blotted out around the edge to get a damp-looking fringe. I then stippled a lot of paint and powder around it to make the drier mud. I've only done one like this since it's a bit of an experiment, but I do like the results:

I think I'm going to claim the MTAs are now finished. I'd welcome more tips but I'll aim to use them on the next lot of wagons (I have some PNAs and Seacows on my shelf) since all the shiny ones are looking a bit silly next to these. Then I might pluck up courage to do a loco!
3 Comments
Recommended Comments
Create an account or sign in to comment
You need to be a member in order to leave a comment
Create an account
Sign up for a new account in our community. It's easy!
Register a new accountSign in
Already have an account? Sign in here.
Sign In Now