

(Post 6 (LBSCR 'E2' Gearbox Construction))

Entry posted by Knuckles
1,619 views
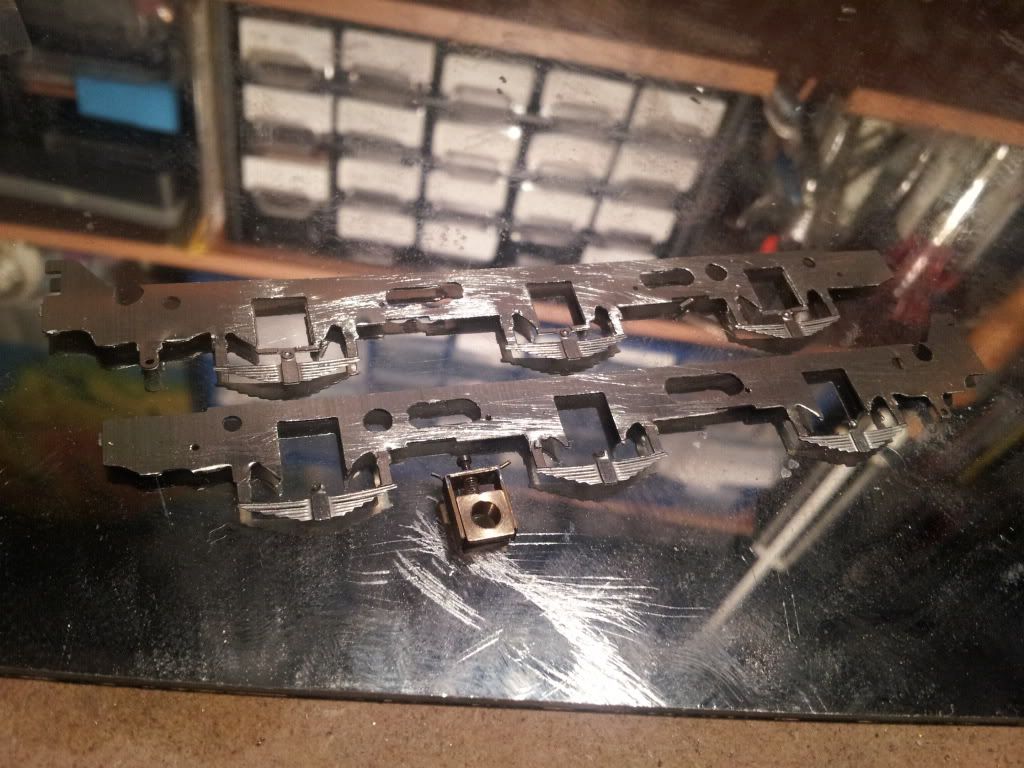
Before I do much more on the body I want to start the dreaded chassis.
I have already battled to remove the bits that needed to be removed from
the flat etch fret and in the process made a bit of a pigs ear out of it, but thankfully
after the suggestion of getting a good quality peircing saw I might be able to avoid
future problems here.
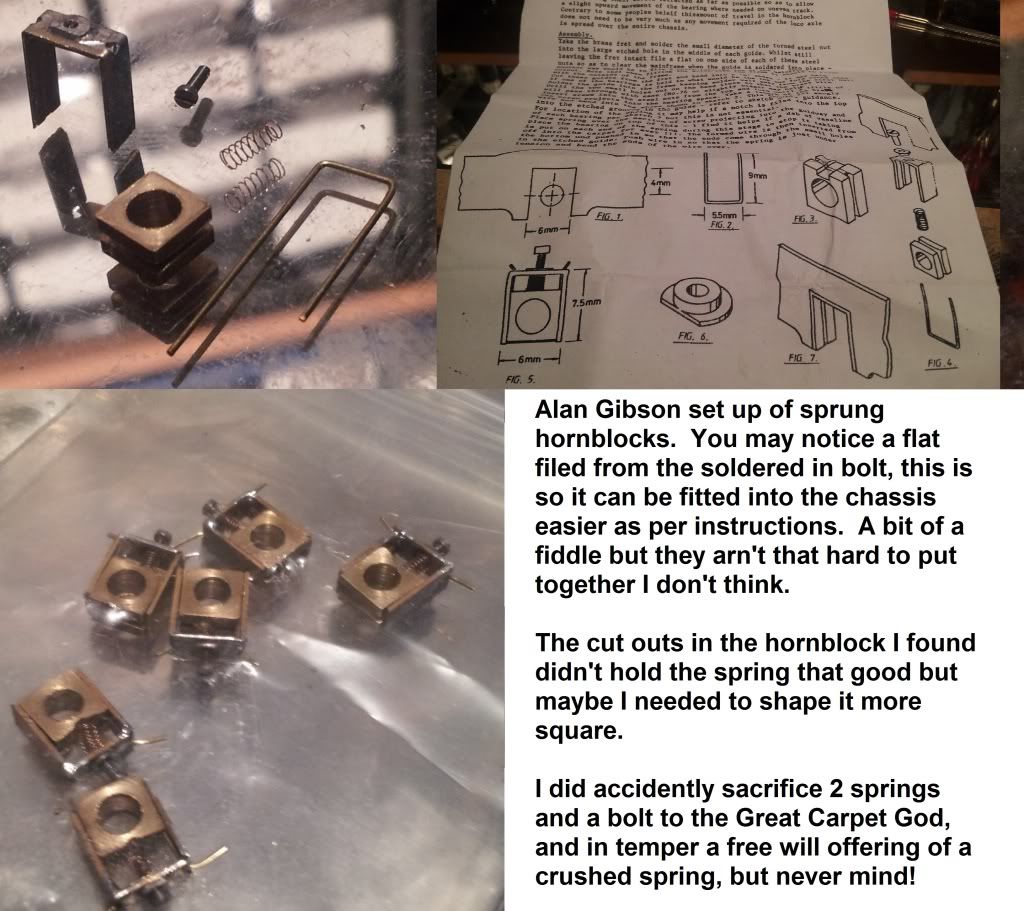
Mike G' graciously sent me some hornguides/springs and a coupling rod chassis jig,
I had already brought the Alan Gibson hornblocks so I'll use them here but will likely
have a go at the others on the 2nd E2 build. The jig I'm not 100% sure how to use but
I'm guessing the hornblocks need to be a sloppy fit so they can actually be adjusted
using the coupling rod positions as the datum. Is this correct?
Here is the assembly picture/s for anyone who hasn't used them before. My first time.
I don't know yet how well they will perorm but they went together alright and seem to move freely.
I did use Carrs Green flux at first as I often do but I forgot the nut and bolt is steel so it rusted a little!
So for the rest I used my other new favorite DCC Supplies No Clean Flux.
I brought it after my single slip rusted somewhat, and for the electrics, it doesn't flow quite as easily as the green stuff but certainly usable.
I'll probably use it to solder the chassis up to help avoid accidental contamination of axles etc.
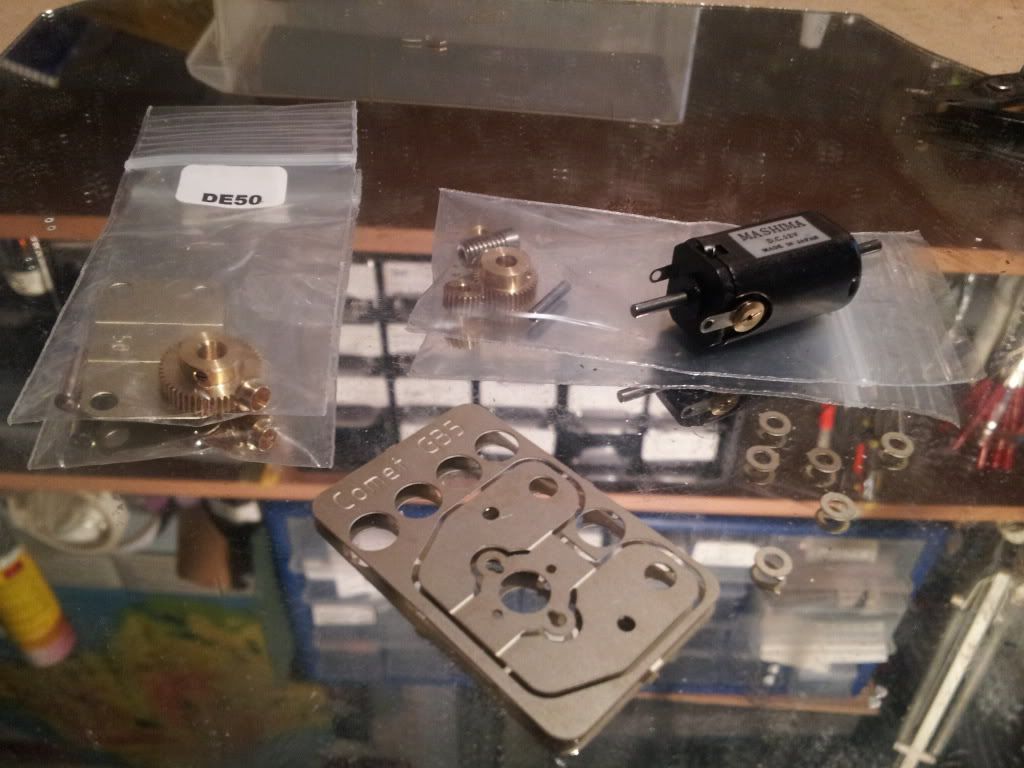
Here we have the 1624 Mashima motor, Comet Models GB5 gearbox and a 1/50 drive extender.
My limited experience shows me to be less picky or knowledgable in terms of wise descisions
with drive trains so because I have used Mainly Trains for years and it's quick and easy to order...that's what I did.
I did buy a different gearbox but after another look and measure
decided this might be better so I can give the rear wheel drive and hopefully detail the cab a little.
I think after a little research the 1/50 gear ratio will give good slow running with a little bit of speed, so if i'm correct
might be a good choice for an E2 locomotive, then again I might be completely wrong but I'll find out soon enough.
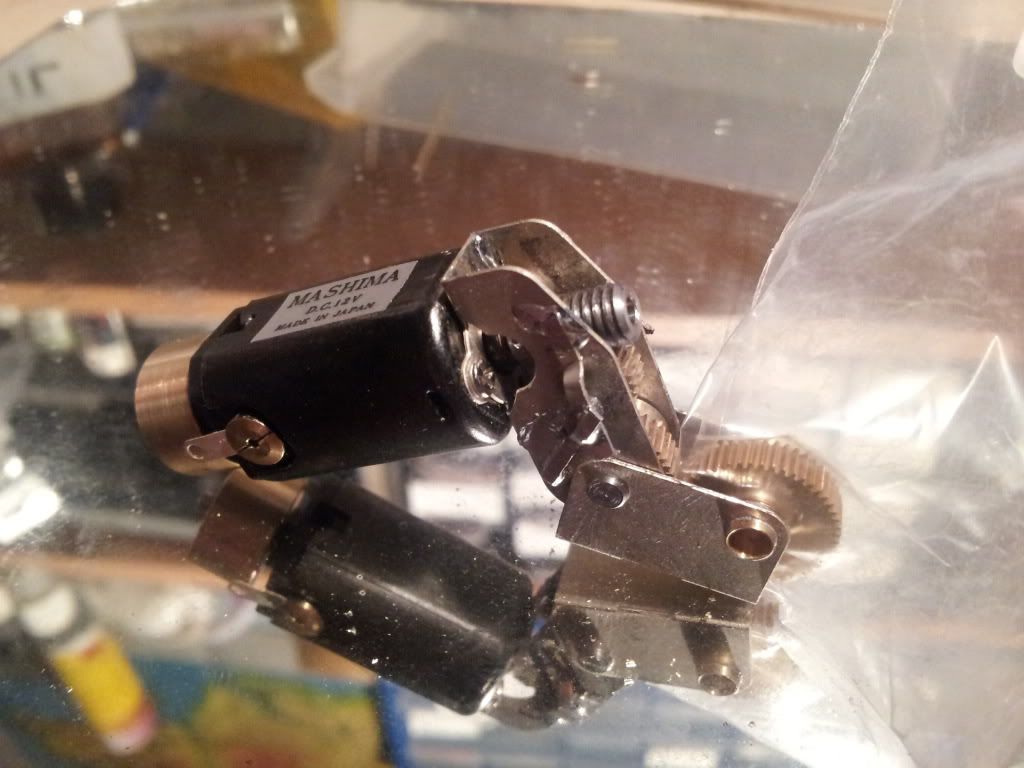
Easy job
The first gearbox I built was for my 00 gauge James model and I didn't have many problems,
but with this one I spent about an hour and a half at least pidelling about trying to get the initial
worm to mesh with the first cog. It binded up and wouldn't turn. I tried it with the cog grub screw
tightened and free and no difference. I then purposely after a long inspection bent the gearbox
slightly from the top above the screw fixings in the direction that would give more space
between the worm and cog (try your best to interpret that. I can't help anymore  ).
).
This helped a little and the instructions said they often don't tight the cog grub screw but use loctite, however this would mean I wouldn't have much adjustment
later and I found that it was working MUCH better with it loose. Problem is it span itself to peices about 3 times and I nearly made some more accidental sacrifices.
I needed to find a way to retain the ... erm, 'mini axle', yeeesh, that'll do. And so, in perfect expectations I concocted one of my famous Knux Bodges; a scrap etch retainer obstruction - looks messy, but so what, it's inside.
I also had to ream out most of the 1/8th holes including those in all the cogs, but this is easy when you have the tool, just be careful not to over do it.
I also fitted a flywheel and am really pleased with this. Always wanted to fit a flywheel to a kit, I really like them. A boon at speed if you hit a dead bit of rail and more realistic control eitherway.
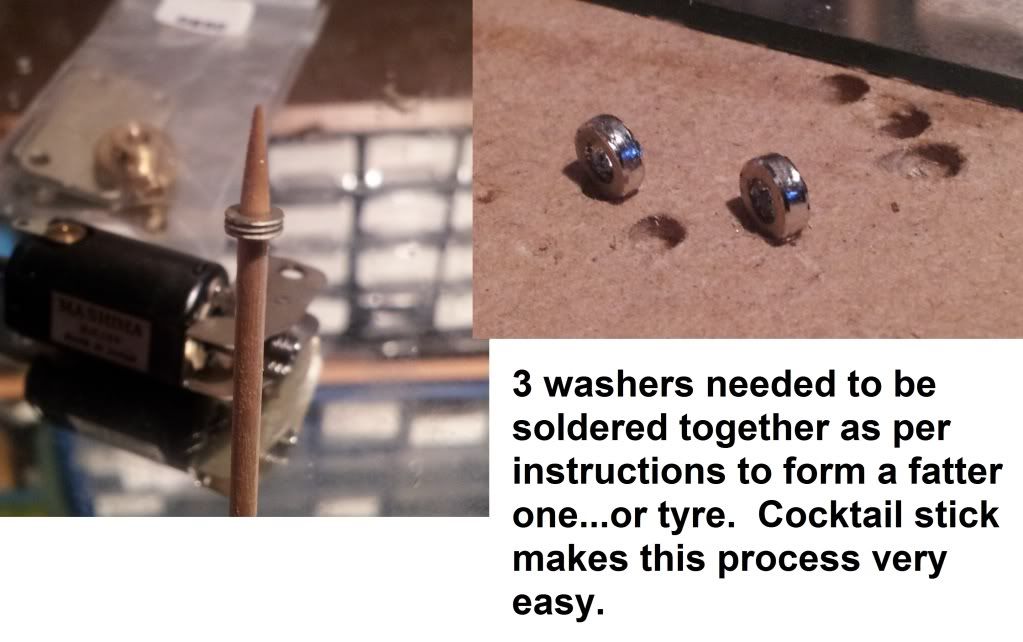
Finished pic. The final gear/cog isn't fitted as I need this on the drive axle so it's stil in the bag shoved in for the picture. I had to file most of the inner bearings off to fit one of these cogs mind. Unsure why but never mind.
And, now what? :shock: After consulting Ian Rice's book I think I need to squarely build the super structure before I put the hornblocks in, so I'm not going to rush things further because I need to be sure I do it properly. I have a bit of 90degree wood block to help and an engineers square.
That's all for now. 
-
 3
3

3 Comments
Recommended Comments
Create an account or sign in to comment
You need to be a member in order to leave a comment
Create an account
Sign up for a new account in our community. It's easy!
Register a new accountSign in
Already have an account? Sign in here.
Sign In Now