

Media Japonesa doble: Renfe Mercancías Series 269.2 locomotive by Electrotren

Entry posted by NGT6 1315
193 views
A'noon all!
A while ago, I concluded that the motive power inventory for this Spanish-themed scenario should comprise at least another pair of Series 269 locomotives, including the option of running them in multiple as is, in fact, increasingly common for the fleet of 269s currently operated by Renfe's Mercancías sector. Having outlined the background and specifications for this class earlier, I should like to refer you to this blog posting for these details, as this will really just be a "showcase" entry.
The pair of 269s I was aiming for was to consist of two examples of the 269.2 subtype, which as delivered was outfitted with switchable gear ratios for maximum speeds of 100 kph in freight service, and 160 kph for passenger service.
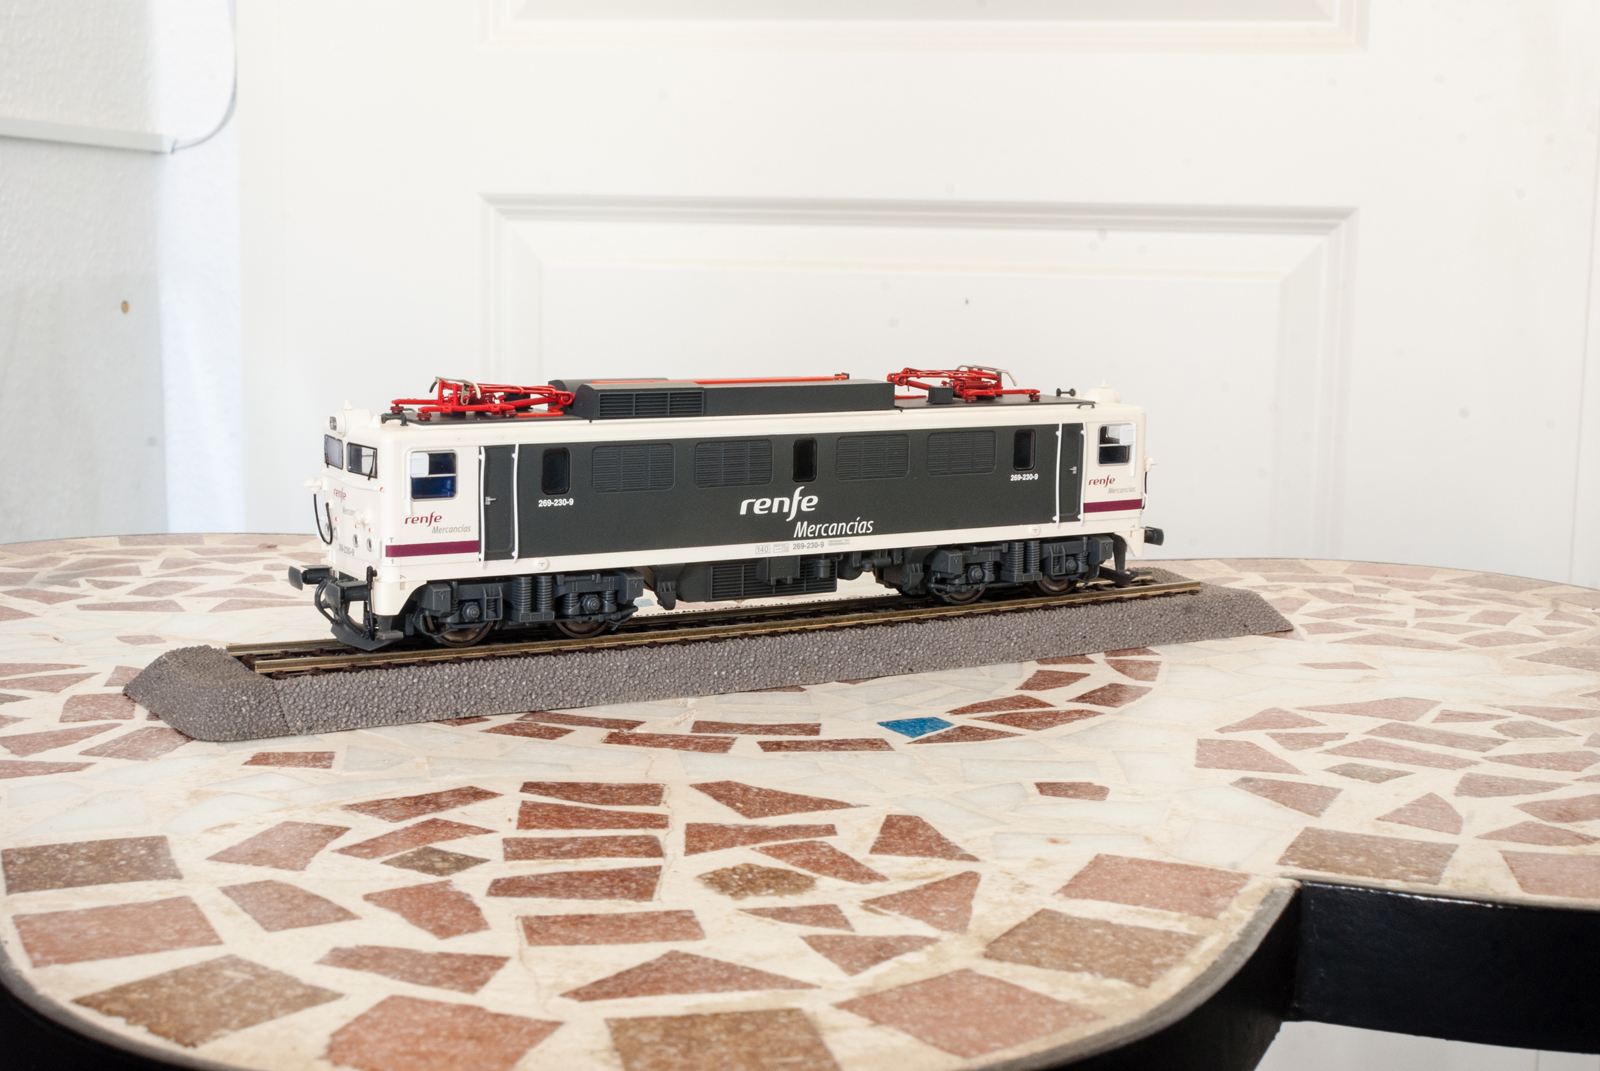
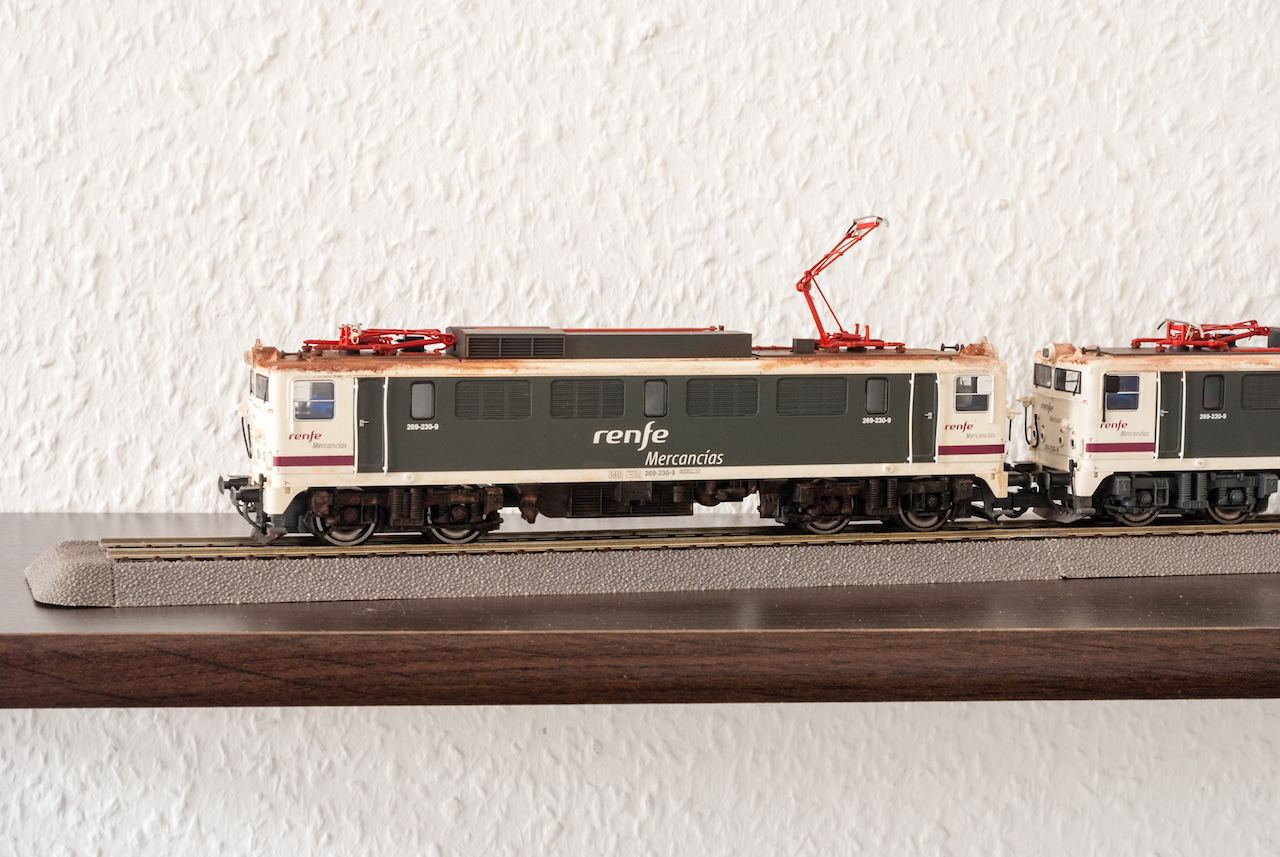
The first of those two models I managed to put my thumbs on was marketed as a special edition under the Altaya brand for Spanish hobby publisher Planeta DeAgostini, depicting 269-230 in the present "Operadora" livery with dark grey body sides and "Mercancías" lettering. While not actually marketed under this reference, Electrotren seem to have booked it as #2631.
For the second model, I intended to obtain Electrotren #2621, depicting 269-239 in the same livery. For some reason, I but ended up with a second example of 269-230, possibly as a result of errant packaging. This did cause me a bit of head-scratching as to what to do, but I eventually decided just re-lettering the second loco with custom wet transfers might be the most logical choice. I intend to turn the second 269 into 269-267, thus also putting some numerical spacing between the two locos!
I understand the real 269-230 has since been rebuilt and renumbered as 269-972, while 269-267 had, for a time, running in tandem first with 269-287 and then with 269-278. But, "it's my railway" shall apply here!
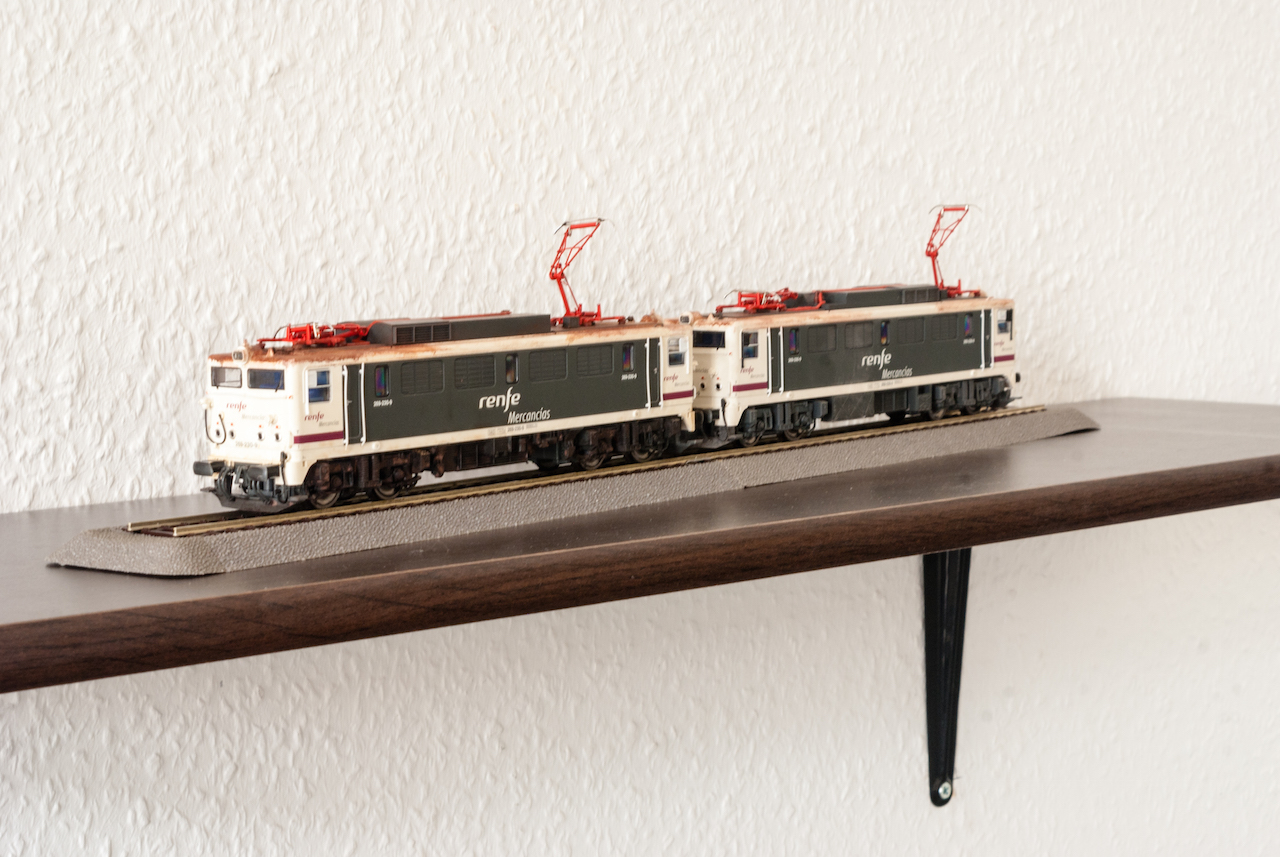
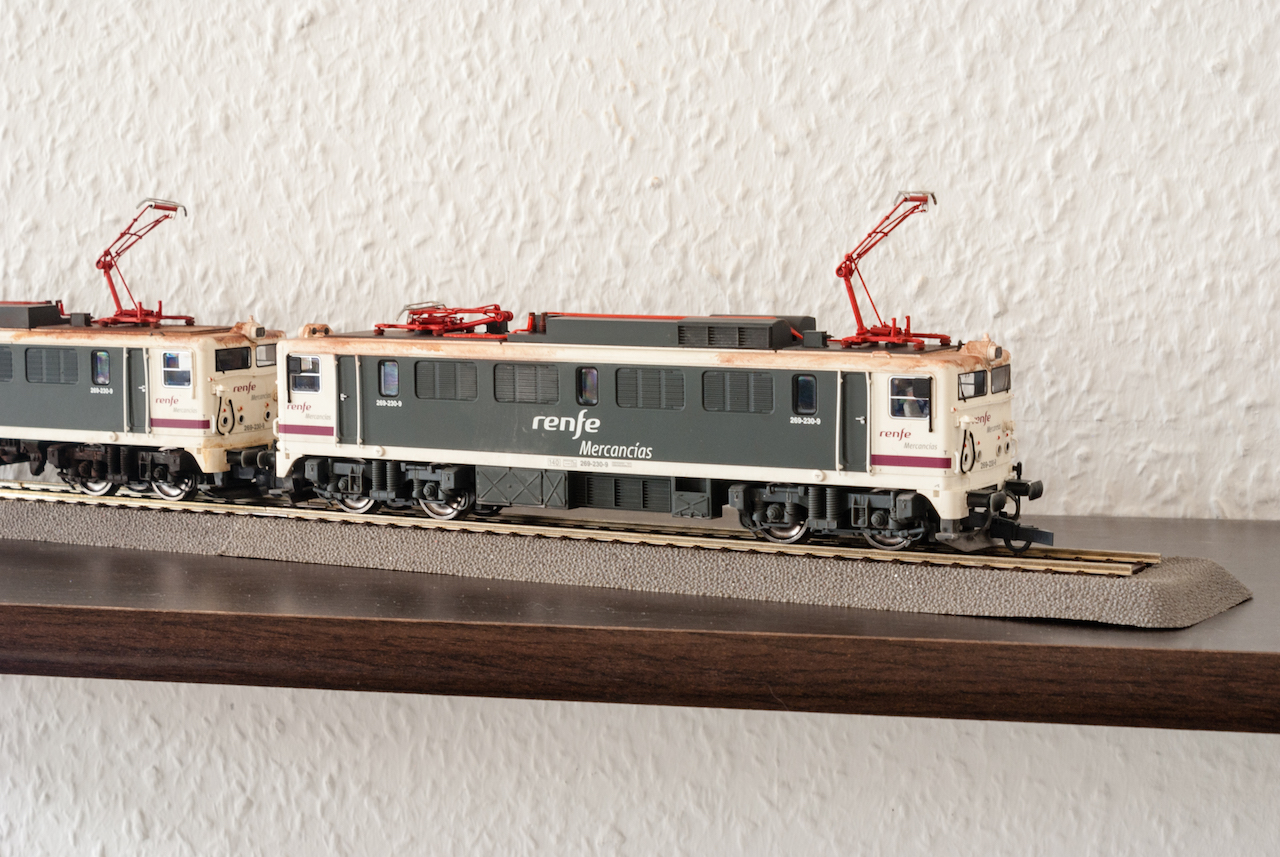
I would intend to run these locomotives both singly and as a pair as required, and quickly resolved to represent them with different levels of weathering – perhaps suggesting that one of the two would have emerged from a full revision with paint renewal just two or three months ago and not have had the time for collecting very much new dirt.
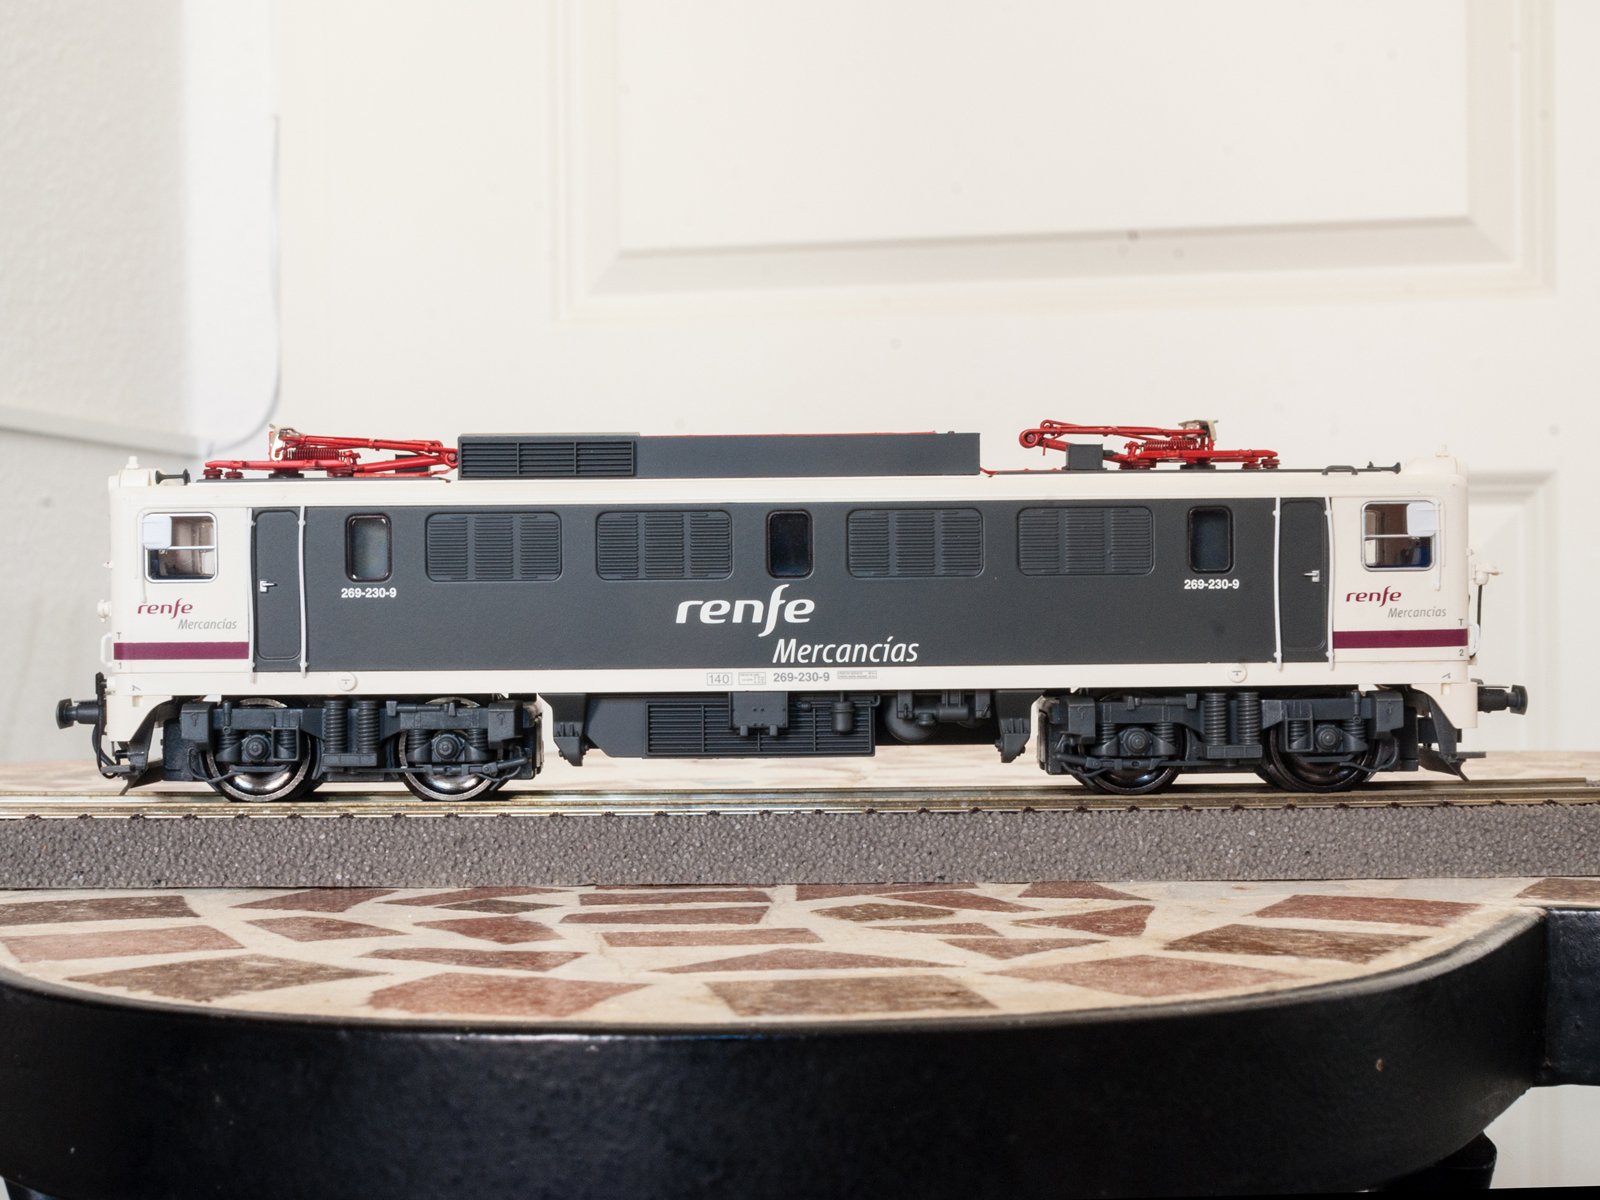
As such, the first couple of photos – which I think do not require much new explanation – show 269-230 mint and out of the box:
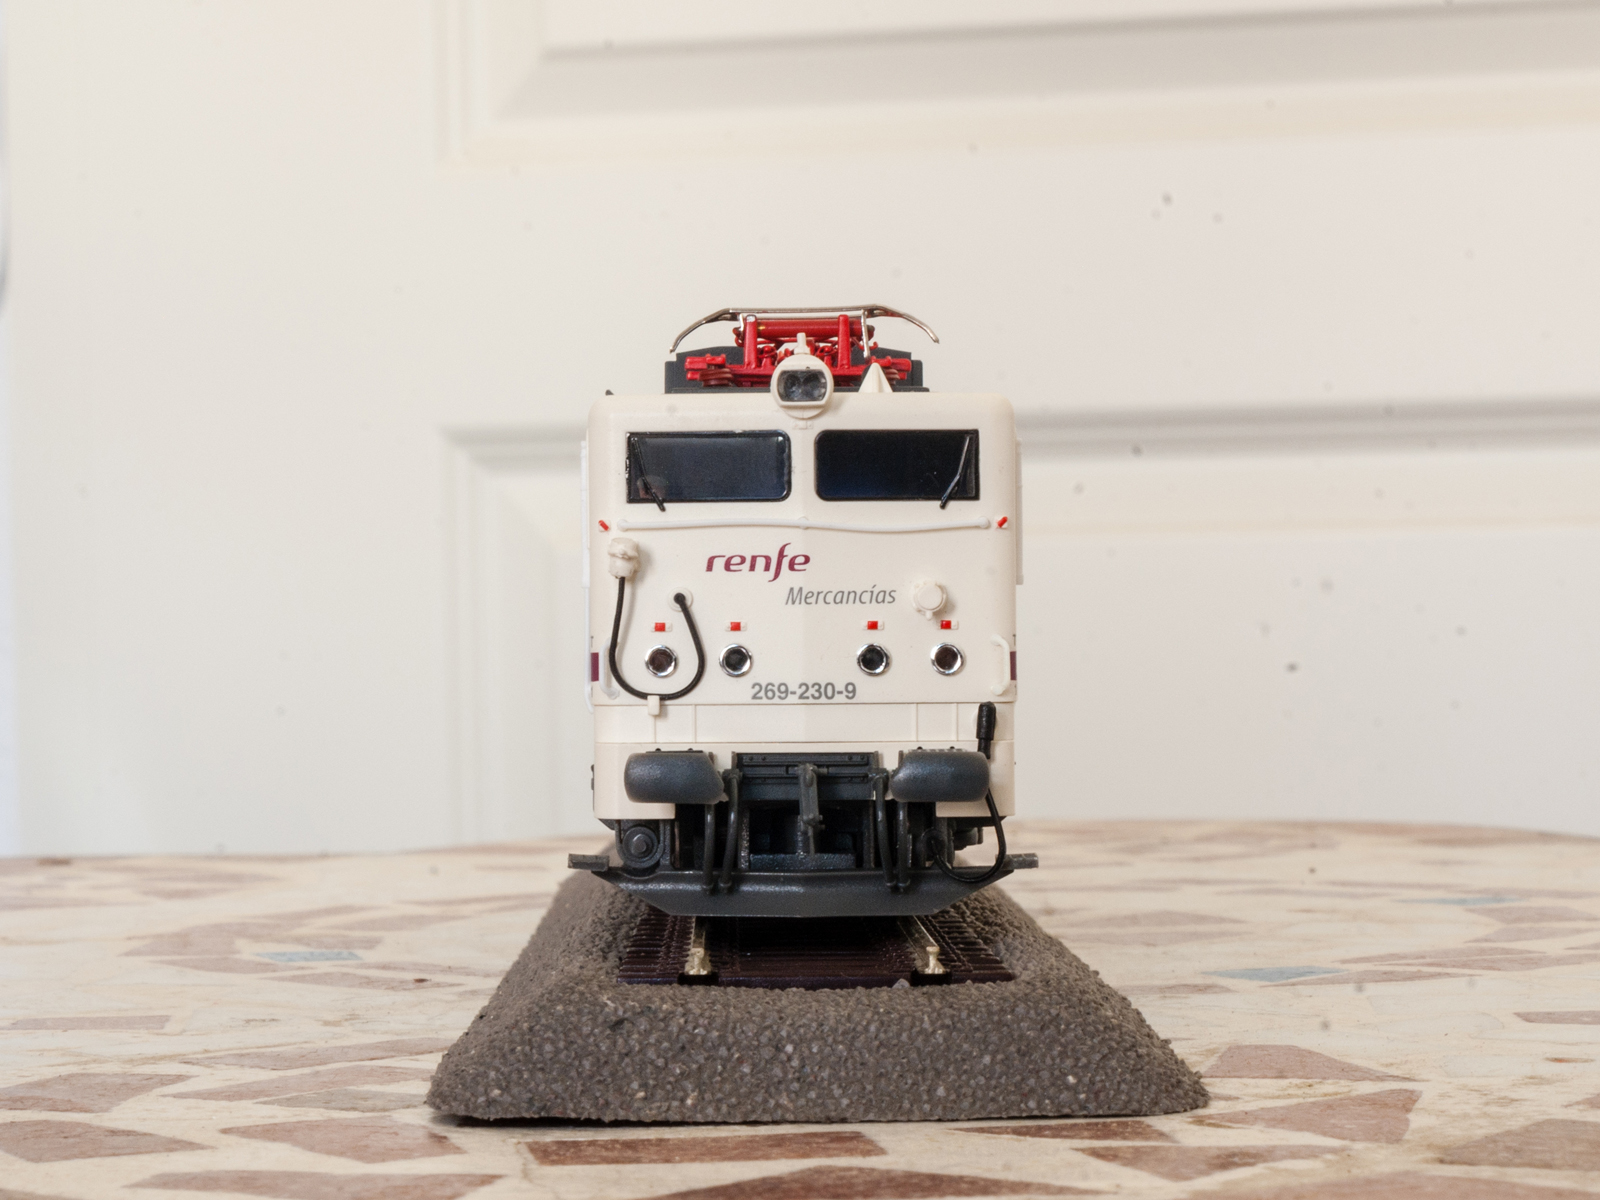
Yes, I should adjust the horizontal grab rail a bit…
There was one item which when first having taken closer looks at the 269s did strike me as lending them a slightly odd appearance but which I could not immediately name. Only after closer scrutiny did I realise the rooftop equipment is arranged slightly asymmetrically, with Pantograph 1 actually being set slightly ahead of the bogie centre.
This might be further clarified by the following top-down view:
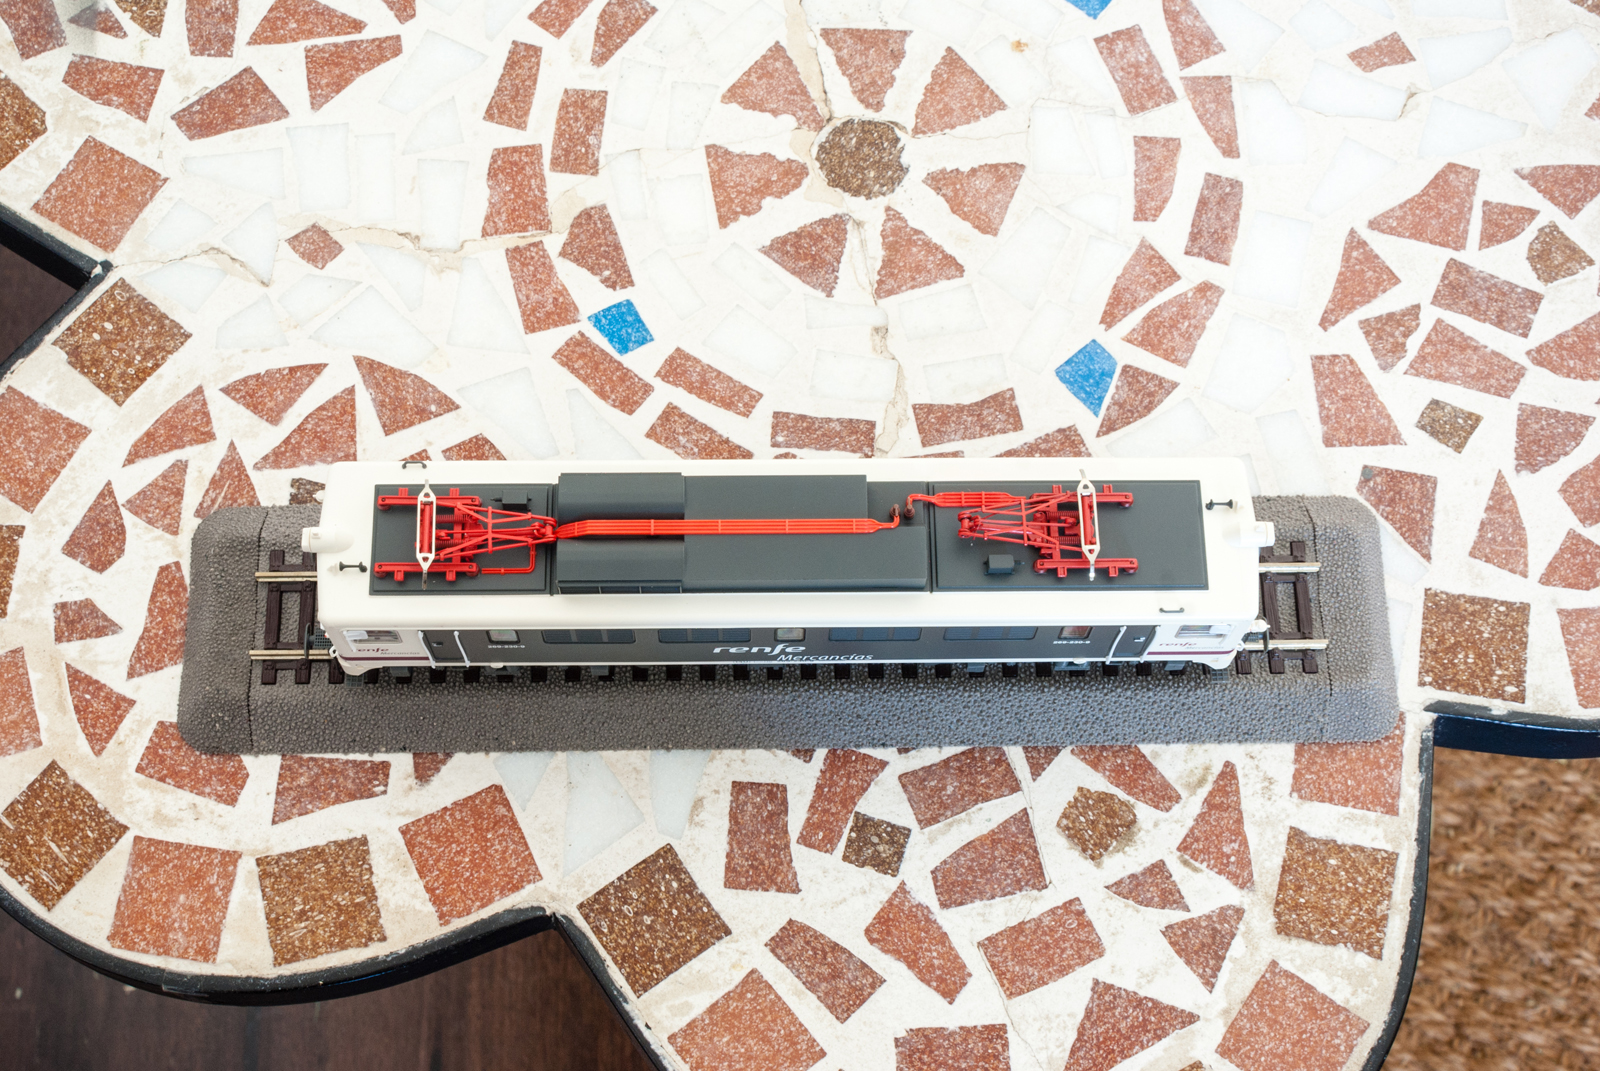
I suspect that for some technical reasons pertaining to onboard equipment, the rooftop fairing needed to be offset towards Cab 1, necessitating the pantographs being placed accordingly.
And the following photos shall illustrate the pair of 269s after the first few passes of weathering:
I believe I should modify the distribution patterns for the reddish-brown rooftop staining caused by abraded and oxidised material from the pan heads and OHLE contact wire a bit further. Examining prototype photos had suggested this material is usually spread fairly evenly immediately above the cabs but would be washed around the sides of the rooftop fairing by moisture and aerodynamic effects.
This locomotive shall be the one to be turned into 269-267 eventually, and will remain more lightly weathered.
My most frequently used weathering technique is using oil paints – usually black, ochre and burnt umber – mixed and diluted with turpentine as required, and then daubing the model in question to various extents using a wide, soft artist's brush. After allowing this layer to partially dry, I wipe off any paint I determine to be excess using the same kind of brush, dipped in pure turpentine.
For equalising dirt distribution further, I then use cosmetic sponges, which are available in different shapes and sizes. Of these shapes, I found those shaped like a rhomboid or a slice of cake work best as they comprise straight corners with which to operate!
I frequently combine this daubing-and-wiping technique with MIG pigment powders, mixed as required and preferably dusted on while the oils are still partially wet to improve resilience to handling.
For imitating aerodynamically determined dirt flow patterns, I have resorted to first putting spots of dirt washes in the proper places, applying some pure turpentine around these spots, and then using my airbrush – obviously without paint jar attached – for "blowing" the dirt into likely patterns based on observation of distribution patterns on the real vehicles.
I think I should also tone down the wheel faces a bit as these areas would not be bare, shiny metal on real locomotives. I'll need to investigate which kind of paint will best adhere to bare metal, and which tone I might need to mix.
I would, of course, welcome any suggestions, especially for the wheelsets!
-
 2
2

0 Comments
Recommended Comments
There are no comments to display.
Create an account or sign in to comment
You need to be a member in order to leave a comment
Create an account
Sign up for a new account in our community. It's easy!
Register a new accountSign in
Already have an account? Sign in here.
Sign In Now