


Entry posted by Will Vale
346 views
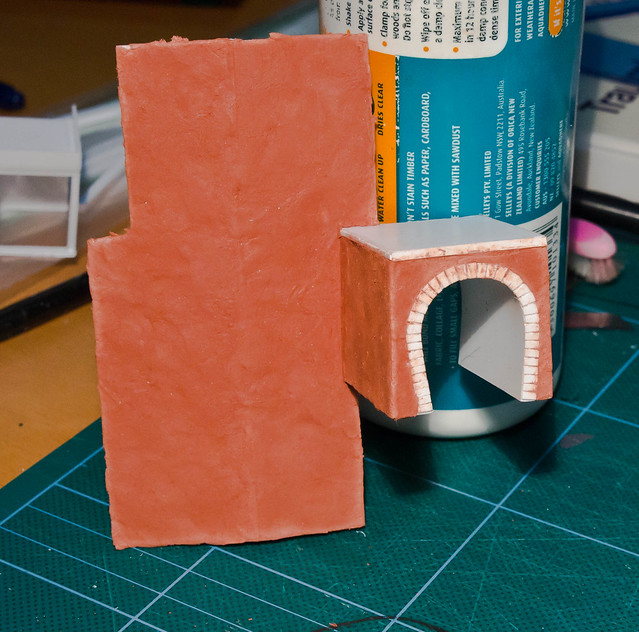
Retaining wall and tunnel by Will Vale, on Flickr
For the Flying Kipper, obviously 
Not much to report last week - I slowly layered up some more foam for carving the Hirschsprung itself, but didn't get much more done than that until Sunday, when i had a blitz on the remaining structural engineering works. I built the retaining wall and east tunnel portal for the Unterer Hirschsprung Tunnel, as seen above. Then I knocked together some 2mm section to make the rock shed which was added rather more recently.
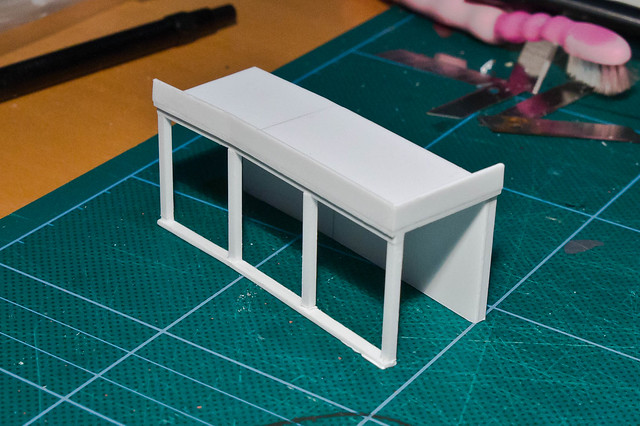
As you can see from the prototype photo, this butts up against the original portal and extends the length protected from falling debris - the cliff is past vertical at this point.
The other big thing I've been putting off and really needed to get around to was building the bridge over the Engenbachdobel. This is a 56m span deck girder bridge, and is scale length on the layout - quite a treat. I counted the bays on the girders to get the pitch, and found the nearest size of Evergreen strip and U-channel (with the strip such that it fits into the U). One packet of each was assembled in A-B-A-B fashion with the strip spacing the U channel out. I glued it all edge on to make a sort of ribbed sheet, and strips of this were cut out and fixed to a hefty styrene core. This is a perhaps pretty odd way of going about it - I was worried about getting the ribs vertical, and thought that working with long lengths first would make this easier than trying to line up lots of short lengths accurately.
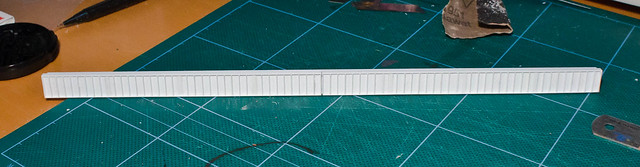
It worked, but my home-made ribbed sheet tended to roll up which made it rather tricky to handle. I cut the pieces over-length and after leaving it all under two feet of books overnight, it was possible to trim and file the edges flush with the core. I then filed away certain ribs and replaced them with splice plates. On the prototype these aren't completely evenly spaced, but I had 38 bays per girder rather than 32 (owing to rounding to a slightly thinner strip/channel size) so I went for a regular 8-2-8-2-8-2-8 spacing, with the splice plates over the pairs of bays.
Finally some 0.5mm strip capped off the top and bottom. It all looks amazingly (to me at least) regular considering what a massive botch job the construction really was. Hooray for files and sandpaper!
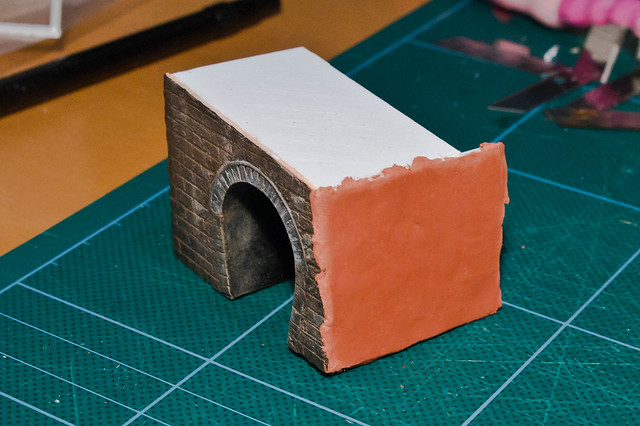
I did one other smaller job too - the tunnel at the RH end of the layout needed a bit of retaining wall/rock shed which was revealed in a photo angle I hadn't previously found. I added a second wall to it which has been covered with clay. Carving time tomorrow...
I've started running into an interesting problem - this blog and my Flickr photos are coming up increasingly when I search for place names in the layout area. It's making research a bit circular, although looking for German-language results helps a bit!
2 Comments
Recommended Comments
Create an account or sign in to comment
You need to be a member in order to leave a comment
Create an account
Sign up for a new account in our community. It's easy!
Register a new accountSign in
Already have an account? Sign in here.
Sign In Now