

9. The Retaining Wall

Entry posted by John Geeee
1,318 views
The OO Garden Shed
By John Geeee
I look on my layout as eventually being a series of Diorama scenes all linked by railway track. I am certainly learning all the time so I never consider any scene to be complete untill I can master all forms of the art of railway modelling. Therefore as I learn a new skill I revisit one of the scenes and try to improve it, as seen earlier with the way I think I was improving the yard surface.
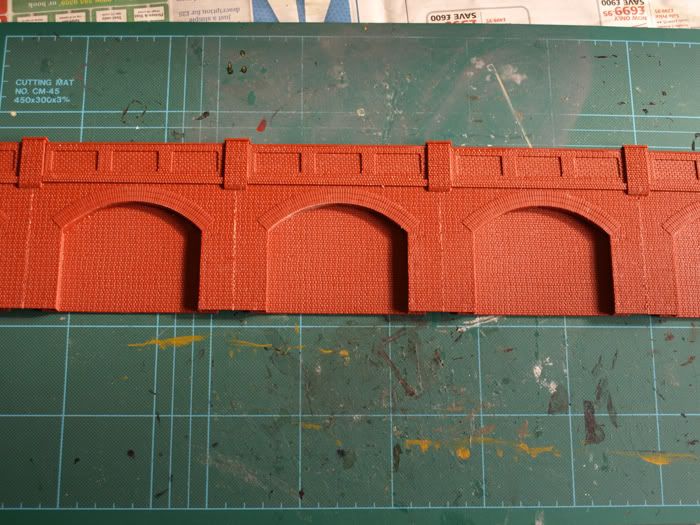
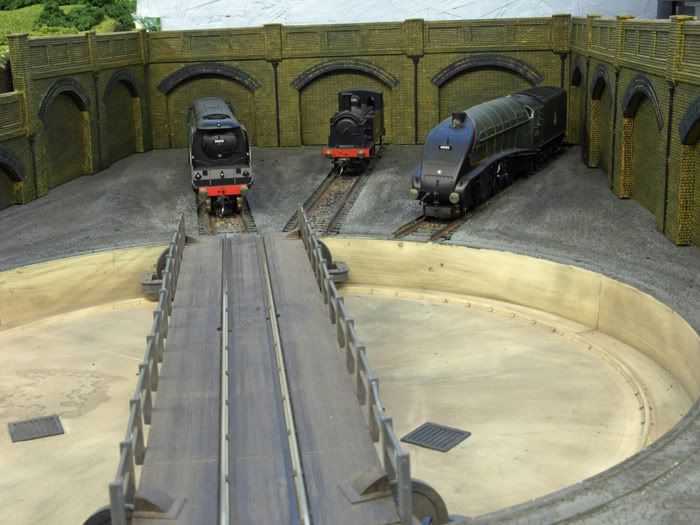
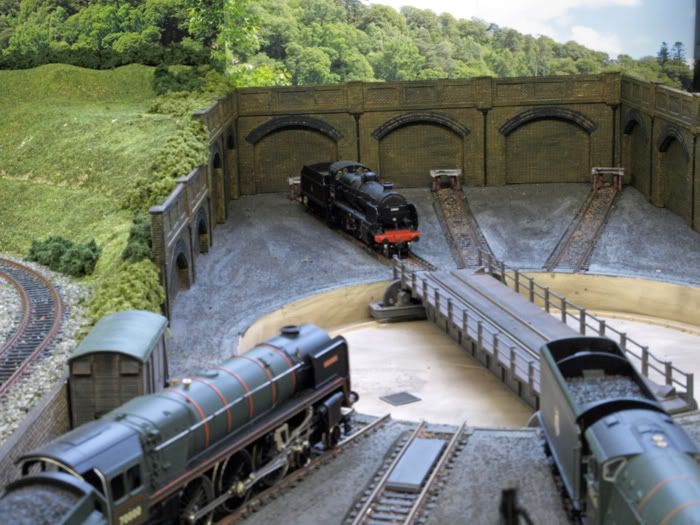
For the area past the new turntable I decided to create a small corner area with retaining walls. I used Wills retaining walls which are easy enough to put together. Parts of them were cut to size to hide the back of the corner hill area.
After construction the walls need to be painted. I decided I wanted to try and do a dirty sandstone type of colour effect rather than a red brick or blue brick effect.
I use cheap artist acrylics for painting my plastic kits. In their straight out the tube form they paint the plastic very well and dry relatively quickly. They can also be diluted with water to form a wash. I have also used them diluted for airbrushing various parts of the scenery.
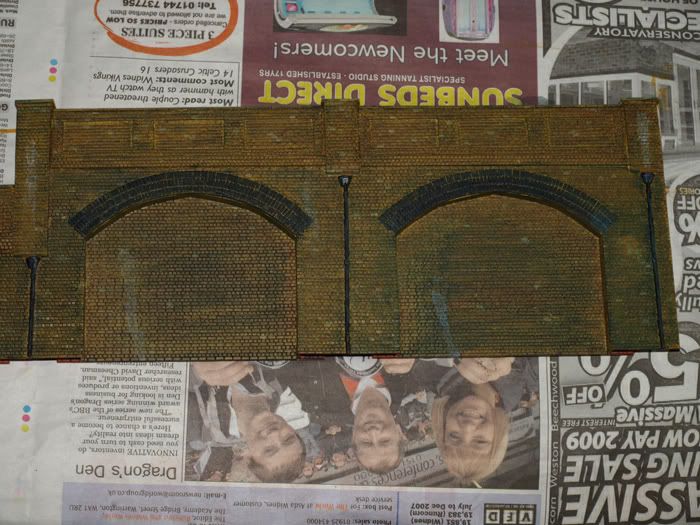
Here is a completed wall section, I still have to add some water drainage down pipes:
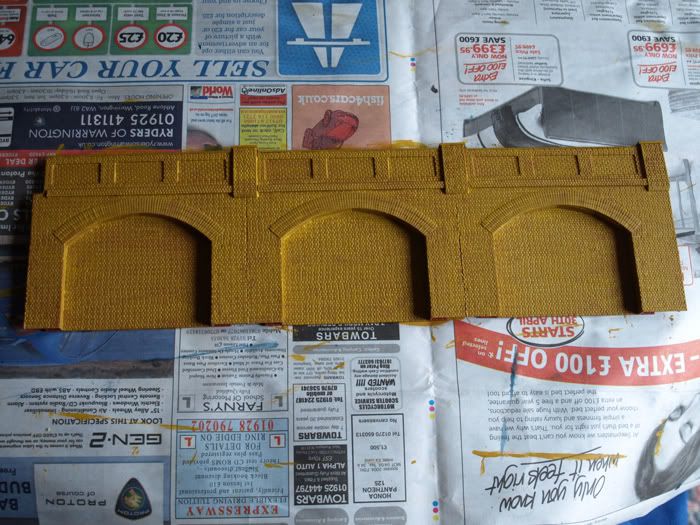
The Walls are first painted with a Yellow Ochre basecoat:
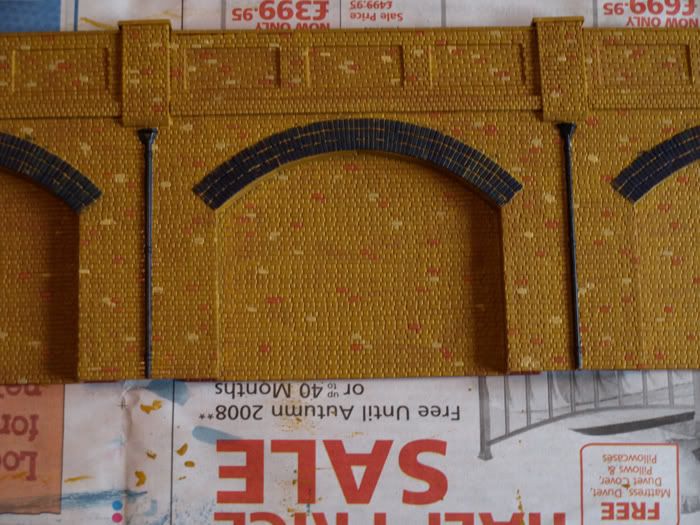
I then added the drain pipes. I painted the arch bricks in a prussian blue and then picked out some bricks in different shades to break up the brick pattern:
Finally I made up a dirty wash to liberally brush all over. I apply about 4 or 5 washes to gradually build up the dirtyness, allowing each wash to dry before adding the next. This stage needs a bit of patience because it can take a couple of hours for the wash to fully dry. If you add the next wash too soon it will just dissolve and remove the previous one. I used a misture of browns and blues for the washes on these walls. I think it created a bit of a "green" tint unfortunately. I have since found that I get a better effect by just using a burnt umber wash on brickwork, or at least that gives my favoured appearance. I find that if you apply the first couple of washes with the plastic horizontal you can get small pools of brown concentrating on some of the individual bricks so that when it dries some bricks start to take on a dirtier appearance which I think adds to the effect rather than having a totally even wash.For the final couple of washes I apply them and then stand the plastic vertically so that the wash runs down and a stronger colour builds up at the base which is where most of the dirt would build up on the at ground level.
After tehfirst couple of washes:

After a few more washes. I have also tried to add some other "water" stains. Well it was my first attempt at painting stonework  :
:
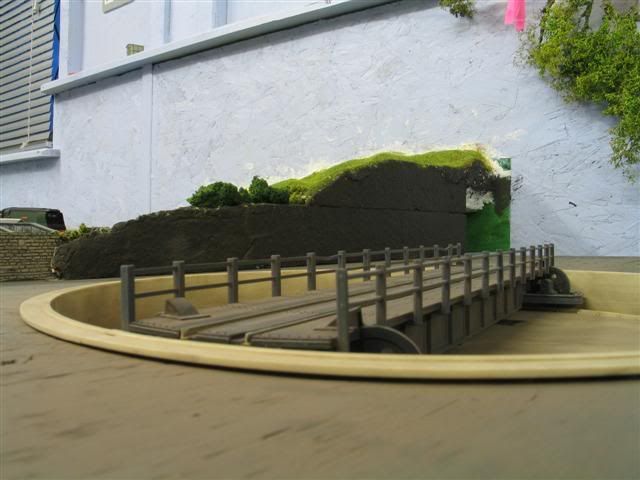
So I fitted the walls in place using a bit of silicone sealant on the back to fix them to their surroundings and then added some greenery to the back of the left side walls to blend them into the corner hillside behind:
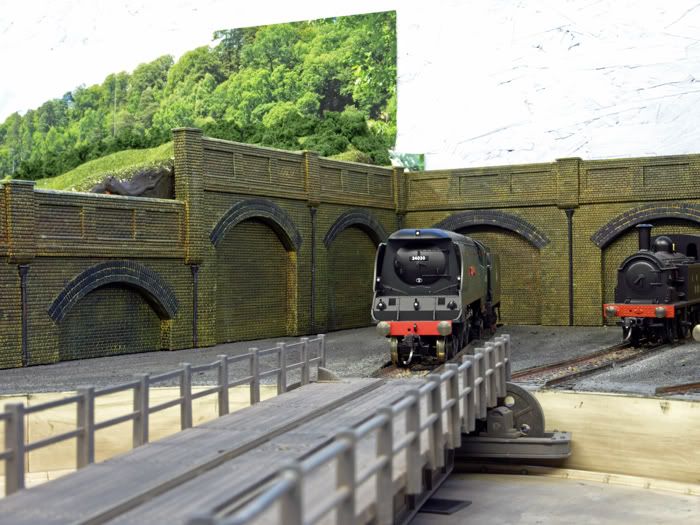
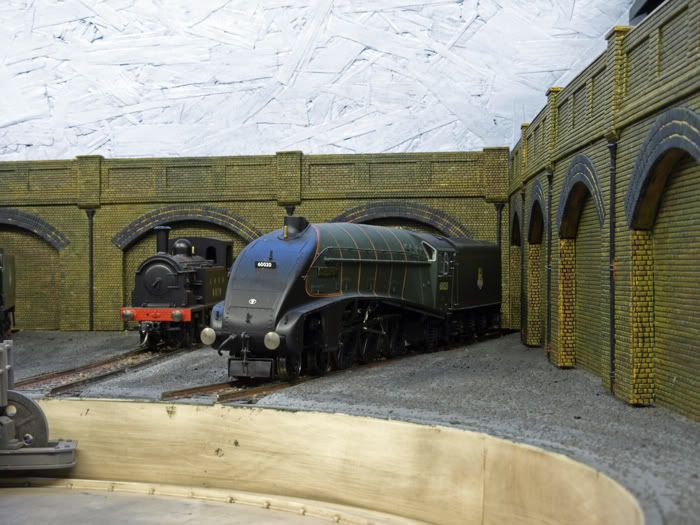
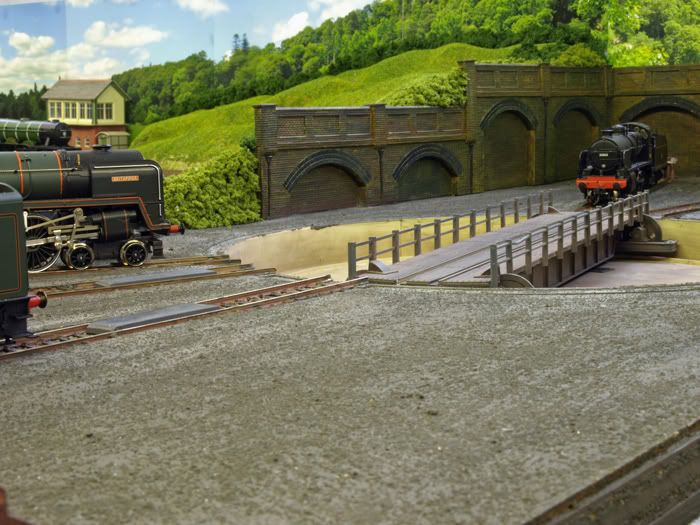
I may still get the paintbrush out again on theses walls one day, but for now they wil do.
Next up - A cattle dock and coaling stage.
2 Comments
Recommended Comments
Create an account or sign in to comment
You need to be a member in order to leave a comment
Create an account
Sign up for a new account in our community. It's easy!
Register a new accountSign in
Already have an account? Sign in here.
Sign In Now