

Reviving a Bachmann LT Pannier and Adapting it for DCC
Entry posted by SRman
545 views
After putting it off for a long time, I decided to resurrect my old Bachmann London Transport 0-6-0 pannier tank. Now this model was one of the old split chassis types so converting it to DCC required hard-wiring a decoder and creating a way for the chassis halves to connect to the decoder red and black wires.
Pulling it apart was quite easy, as even the chassis halves are only held together with two screws and two spacers. There were no bits that needed grinding off as the motor brushes simply pressed against each of the chassis halves and relied on the pressure for contact.
I chose a 9 pin connector that accepts several different types of decoder and cut off the white, yellow, blue and purple wires and shortened the red, black, grey and orange ones (there are never going to be any lights fitted to this model!).
Soldering the grey and orange wires to the brushes was straightforward, remembering to include a little heat-shrink tubing to slide over the brush connections to insulate them from the chassis completely.
I drilled a couple of holes, one each to the rear of each chassis half, sized to accept a 12BA brass screw. These screws were to allow me to solder the red and black wires to the chassis halves (one wire per chassis half). One of the screws was a little tight and actually sheared off but that was OK too, as I was still able to solder the wire to the brass stub.
Before soldering the red and black wires, I reassembled the motor and chassis. This was a bit fiddly as the spacers kept shifting before I could tighten the screws but I eventually managed to get it all together. I then soldered the red and black wires to those screws (or stubs!) mentioned earlier.
This is where the 9 pin connector comes in. I tested the set up with an old Digitrax DH123 decoder that has burnt out its lighting functions but still works for driving a motor. This decoder is expendable, as far as I am concerned! Anyway, it all worked perfectly first go. I tested on the programming track first and all seemed well, then tested using low voltage DC current and the wheels went round, so then I placed it on the main lines and ran it back and forth.
Having established that all was well, I swapped the decoder for a newer Train$ave budget decoder which also uses the 9 pin connector. While a little larger than i would like, it *just* fitted into the pannier's cab. Being black it is well hidden - there was little cab detail to see anyway as the motor/chassis block intrude well into the cab to start with. I had to grind away a little of the wheel splasher mouding in the cab floor to allow my solder connections on the sides of the chassis to clear them but all wnet together smoothly after that.
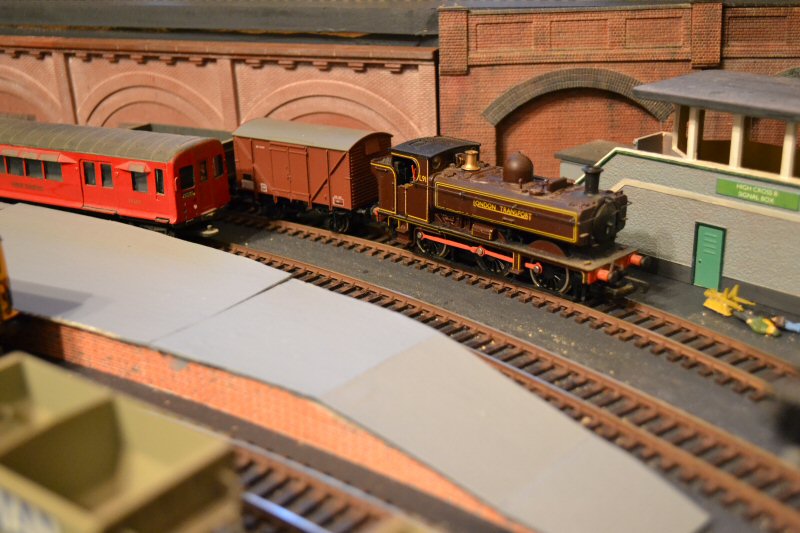
It is trundling happily around the layout even as I type this. It always had a bit of a rocking motion, in spite of my trying several different wheel sets quite some time ago. I settled on the best combination of wheels I could find, hence the appearance in the phot with the centre wheels having their rims painted out but the newer replacement wheels still having polished rims.
All of that took place last night. My final tasks this morning were to replace the solid buffers as the fairly close couplings were causing derailments on tighter curves due to the buffers coming into contact. I replaced them with some standard Bachmann round sprung buffers. I had to drill out the holes a little to allow fitment. A touch of glue, some red paint on the shanks, and a bit of matt black on those shiny wheel rims and it is now complete ... until I do a little more weathering on it.
The photo shows it before I painted the wheel rims and replaced the buffers. The BR van was a stop-gap to prevent the buffer problem untill I replaced them on the engine.
0 Comments
Recommended Comments
There are no comments to display.
Create an account or sign in to comment
You need to be a member in order to leave a comment
Create an account
Sign up for a new account in our community. It's easy!
Register a new accountSign in
Already have an account? Sign in here.
Sign In Now