


Entry posted by Knuckles
764 views
Little progress report now. I booked a half day off at work today (mega rare) so used most the time to do some serious track bashing. I don't think I have done everything in the official order but things seem to be going ok so far, I just remember to not glue everything down so it can be gauged later, already had to slice some chairs off due to forgetting! I'm using the top stock rail as the initial datum with which V's and other parts of the formation can be gauged downwards from.
The first V I ever made (a few days ago) was done on a peice of graph paper with a 1 in 7 line and angle drawn, held in place with bluetack for positioning and soldering. In truth I think this is easy enough and a jig isn't that nessasary. It's the angle filing that's a pig, I decided however to make a jig seeing as it's supposed to make easier. Below is my 3rd attempt.
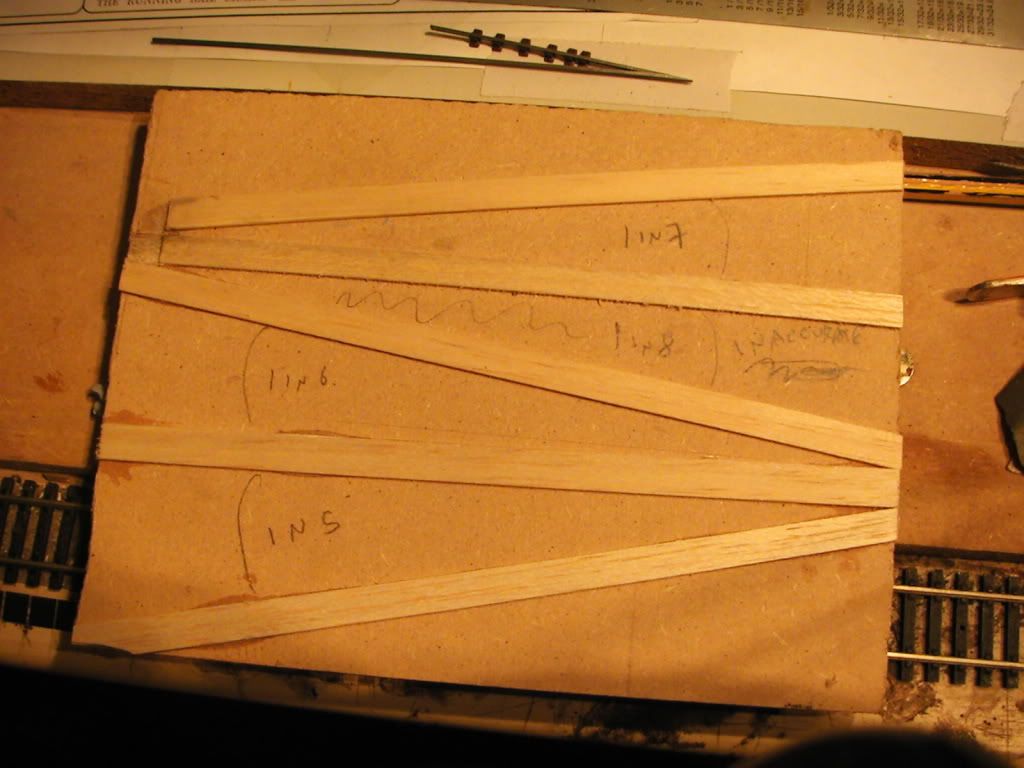
I'm still not that happy with it though, the balsa strip doesn't keep shape that well so will probably remake one. Again though, it's the filing of the V's that takes about 6 attempts - well, for me it is doing anyway. Another problem I'm having is the tip turning into silver leaf due to it being so thin. It bends, and crisps away into ###### all ruining your angle, that's another to watch out for. :?
Anyway, I'm babbleing.
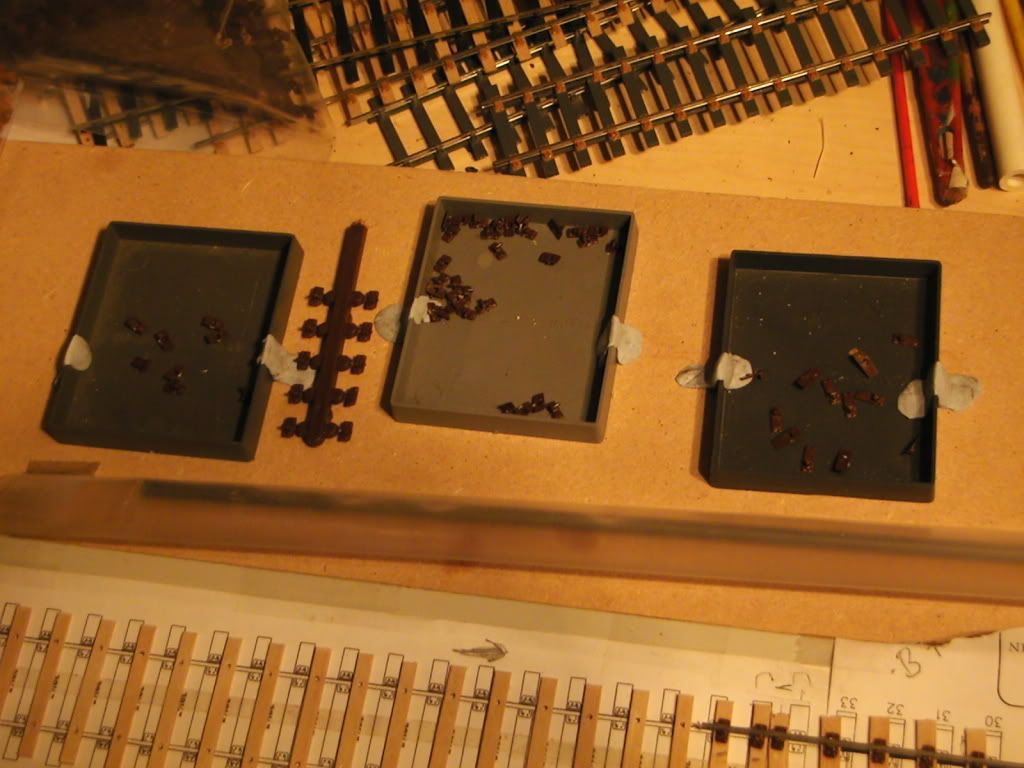
Thankyou again Slater, your 3-link coupling containers are brilliant! (As are your couplings)
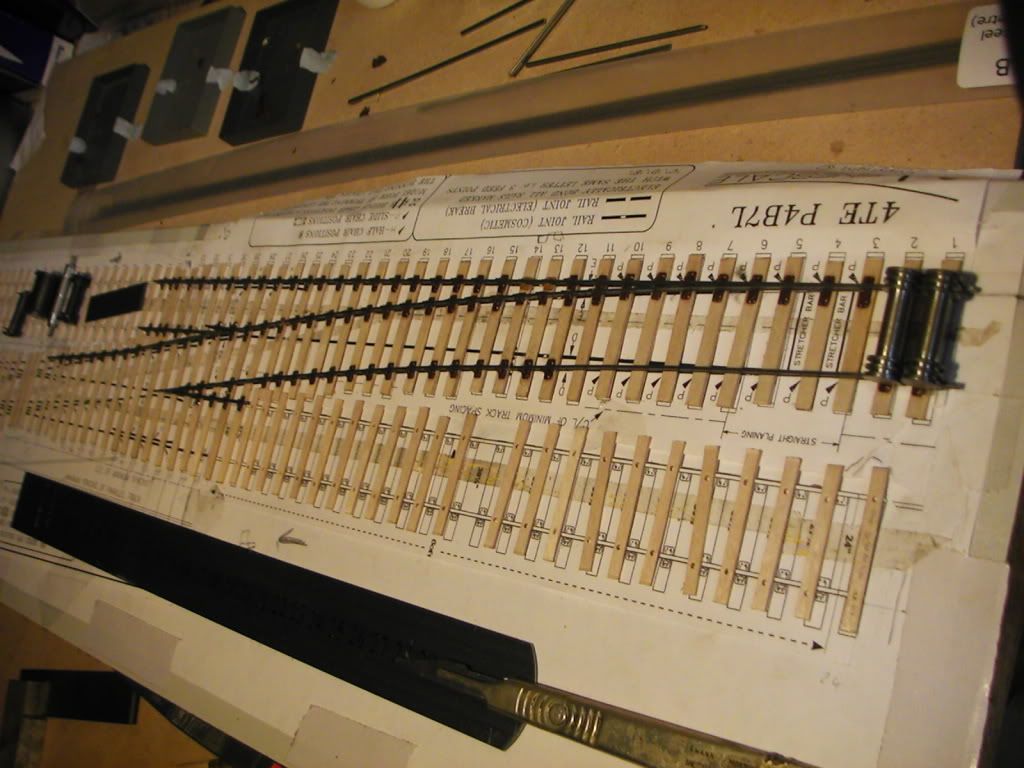
2nd V to go bottom, 1st was fit last night (top middle of formation)
In place by the 1st V is my wing/knuckle rail. This isn't perfect just the flair area seems abit more loose. I need new pliers I think as they don't bend things accurately.
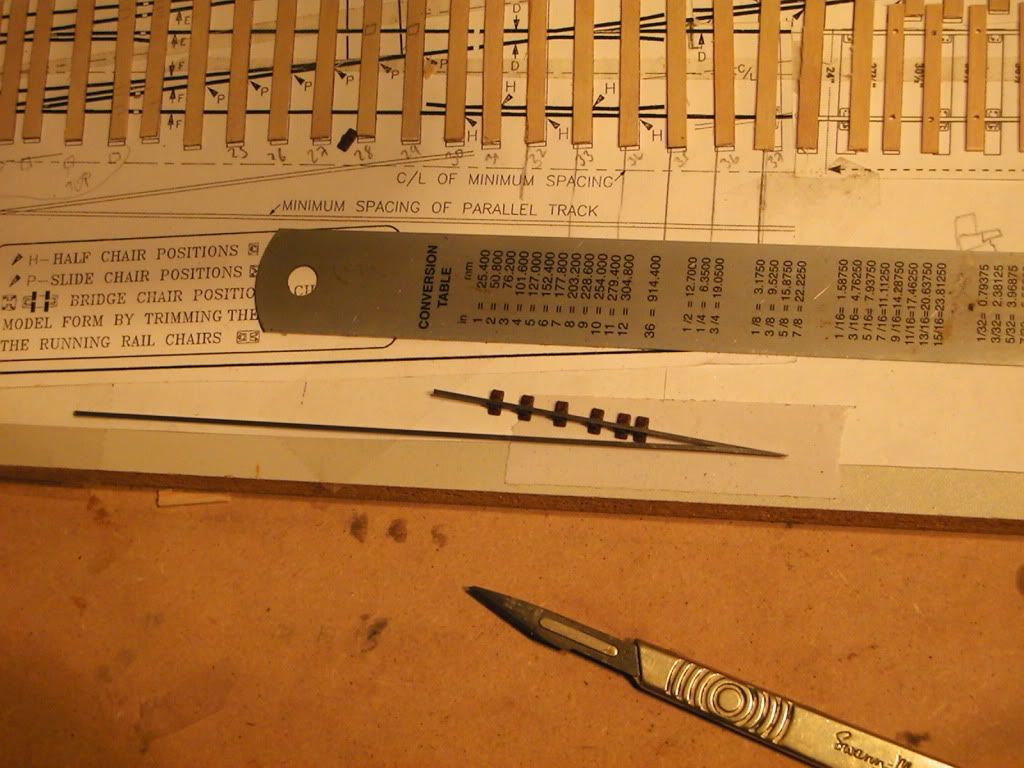
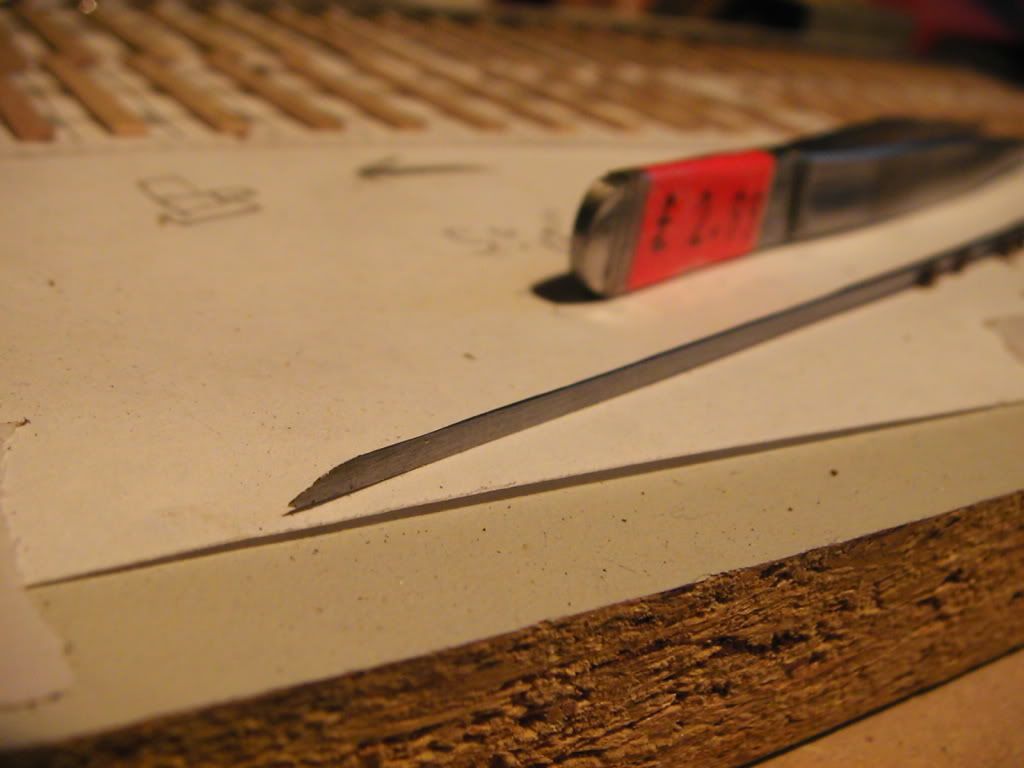
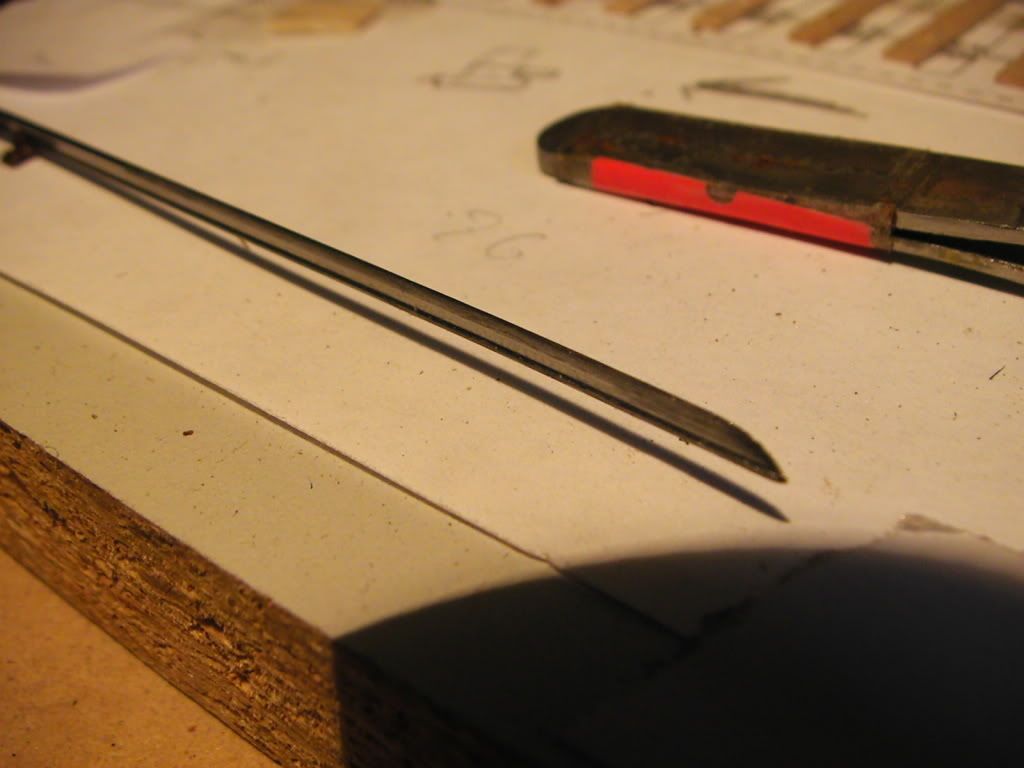
Wanting to do it 'all by myself' and wanting to avoid the extra cost I decided to have a go at making the switch blades, I started by filing an awful lot on the desk and hurting my wrist holding it down. Upon repeated checks it was clear I was piddeling in the wind so I got the mini drill out, selected a fat sander and voila! One switch blade. One side is flush, the other retains the bottom lip but removes the top. I have however made a wee cock up at the end due to me zipping it too thin and it disintegrating into nothing, but I'll get by. As long as things function that's all I'm primaraly concerned with at this stage - extra asthetics and perfections come with practice. I do understand that this little mistake means the wheel will enter the blade at a slightly different time but I'll offset it slightly by the other blade. Oh yeah, I did the curved one, think I was supposed to do the straight one 1st, eugh, seems to be working anyway!
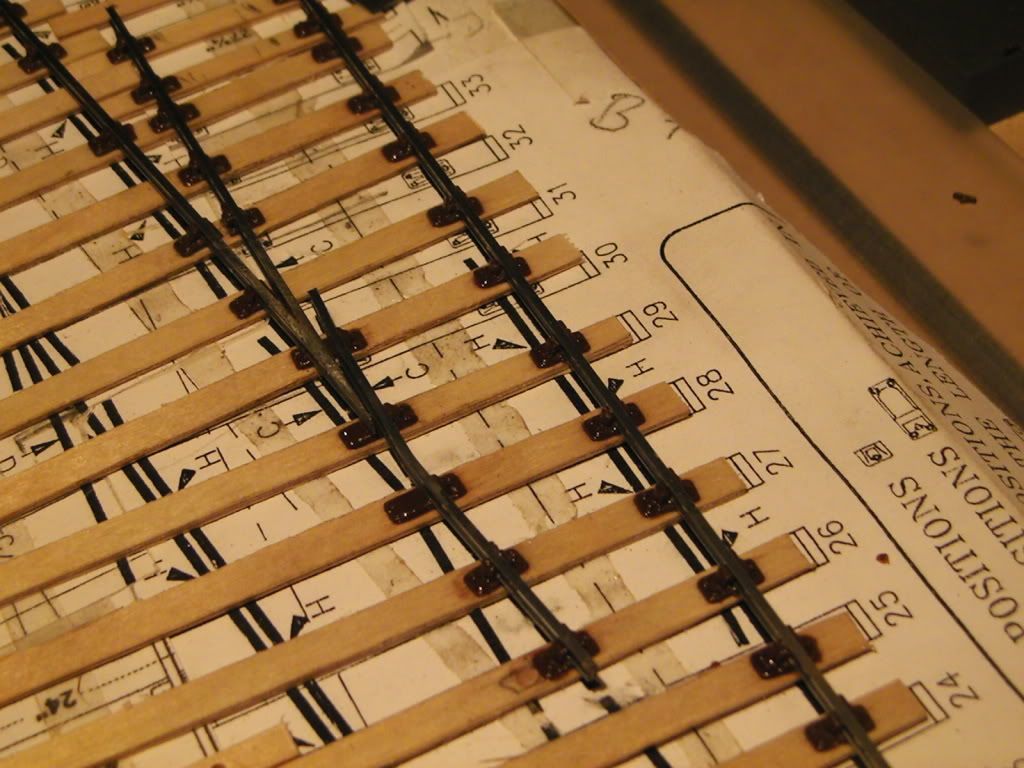
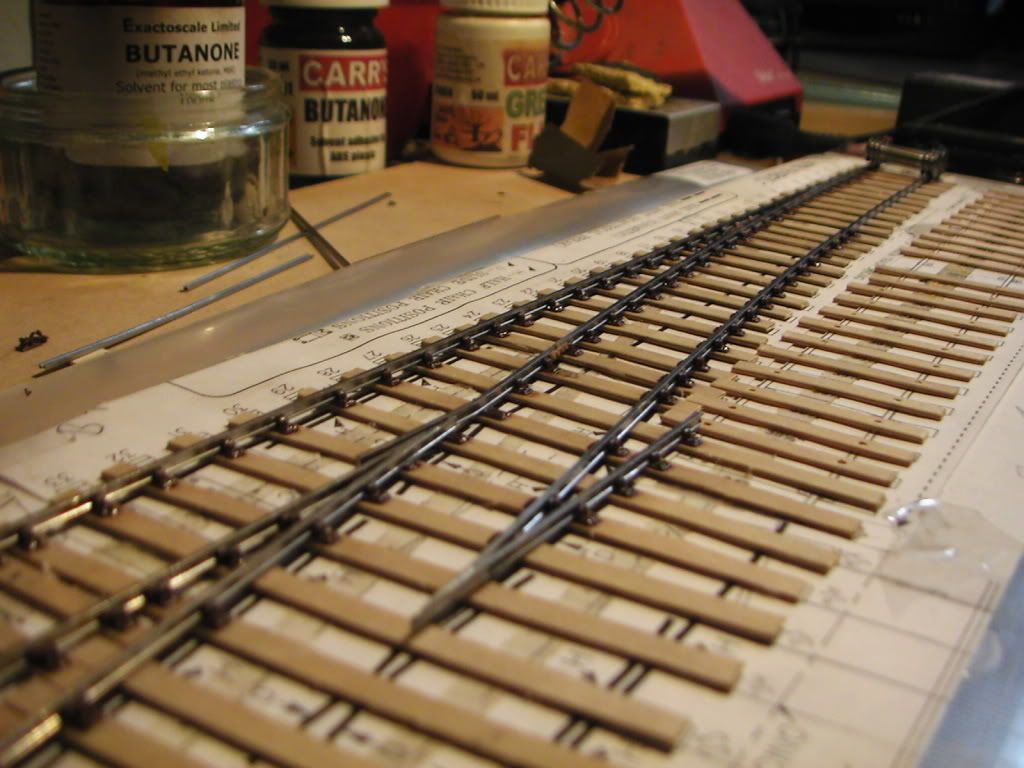
I've been using an Exactoscale +1 roller in the switch area and also remembered to add a 'set' this time. I have however found it a pain due to the rail energies going all over the place and me spending ages tweaking and re-checking everything, but that is how P4 modelling is, isn't it?
Formation thus far. My trucks seem happy and I can't feel any horrid jolts so that's encouraging. Frog roll tests seem perfect.
8-) Again if I make a royal balls up of this project it'll be good practice, but if I can pull it off then I'll be a very happy bunny. So far we are ok. (or I am  )
)
-
 4
4

1 Comment
Recommended Comments
Create an account or sign in to comment
You need to be a member in order to leave a comment
Create an account
Sign up for a new account in our community. It's easy!
Register a new accountSign in
Already have an account? Sign in here.
Sign In Now