Jump to content
 

LSWR stone wagon


Mikkel

4,639 views

IMG_2380retro23bok.jpg


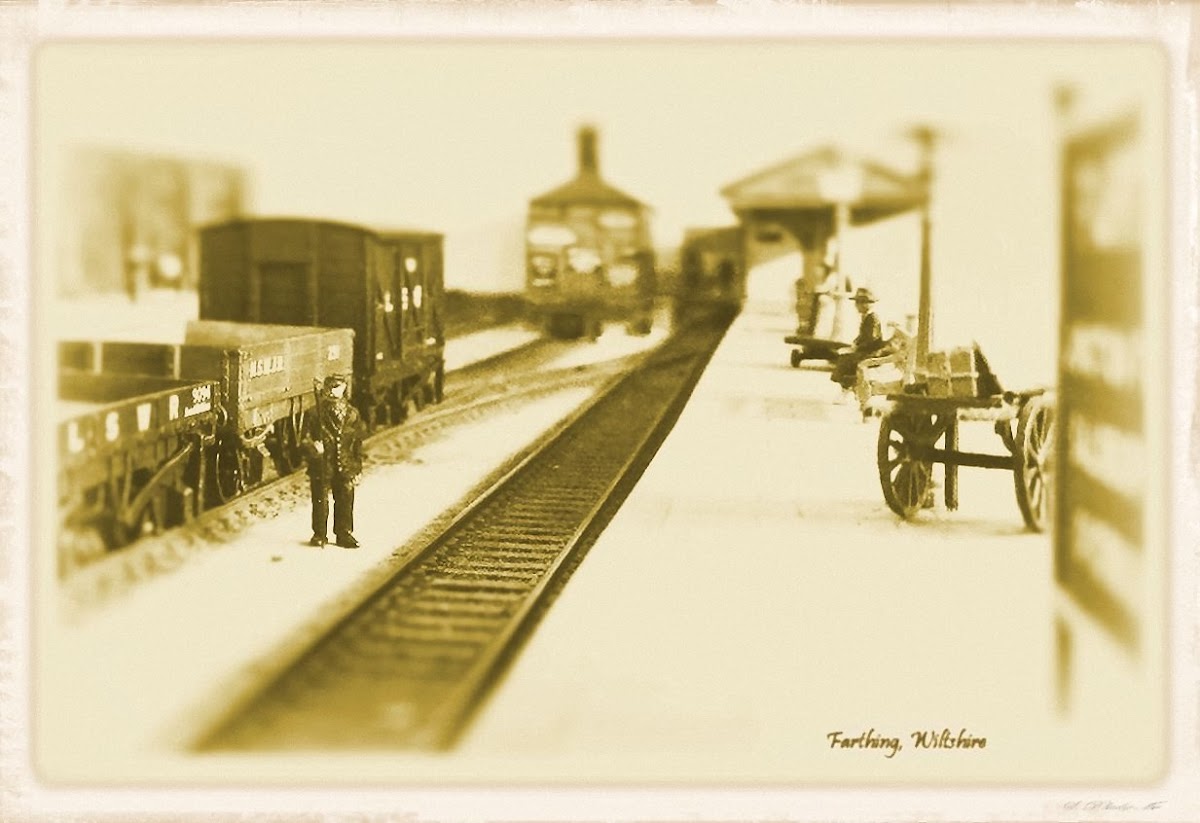
I’ve always been fascinated by this old photo, which is reproduced in Matthew Bagnet’s “The Railways of Farthing” (not sure about copyright, hope it’s OK).


IMG_2380retro23bcrop.jpg


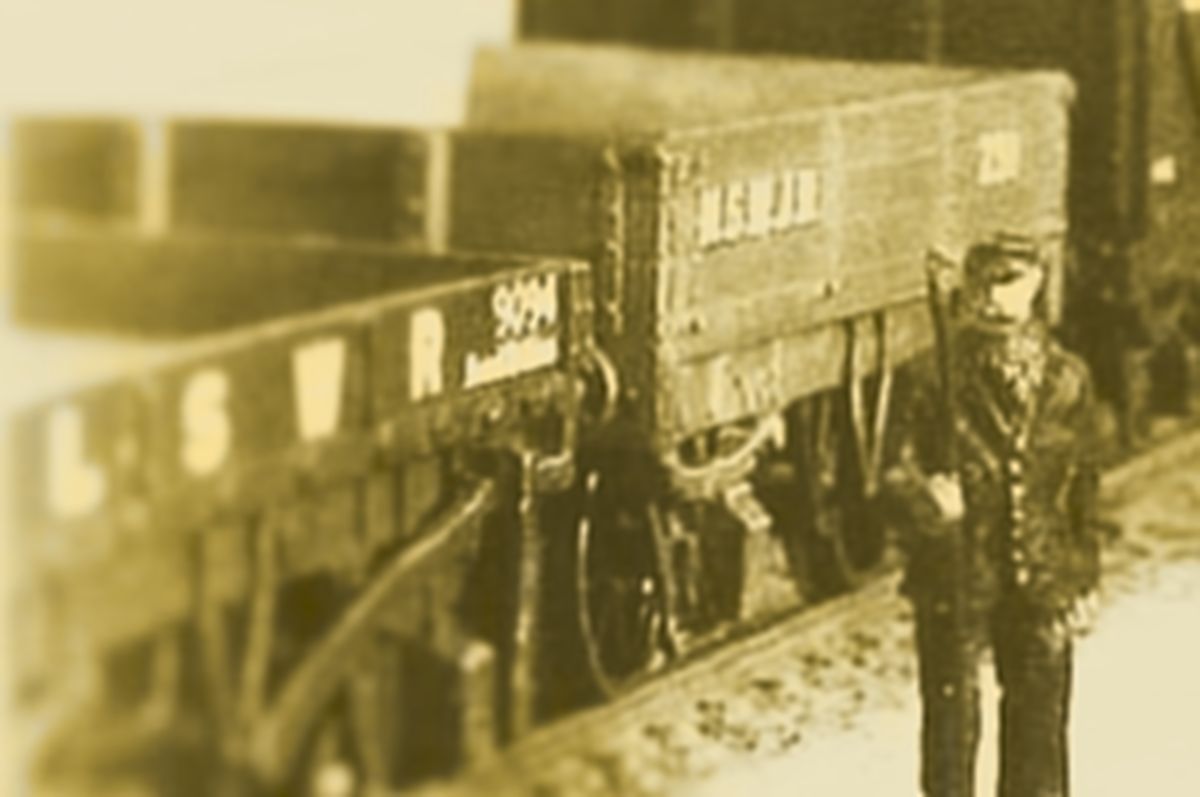
This enlargement (apologies for the poor quality) shows the presence of some interesting "foreign” wagons at Farthing, including an MSWJR 3-plank open and an LSWR one-plank stone wagon. I’ve already modelled the former, so I thought I’d do the LSWR wagon as well.


IMG_2354.jpg


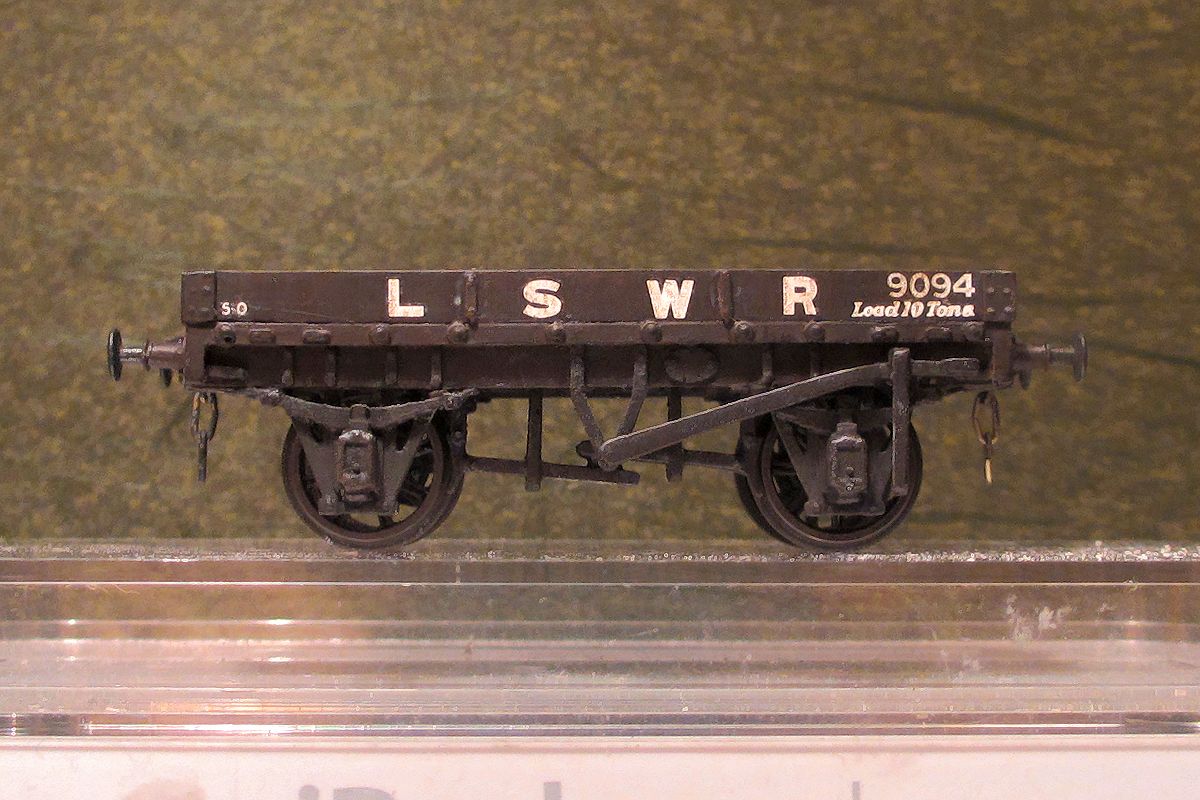
So here it is in 4mm scale. I built it using the resin kit from Graham Baker of Gramodels. Below is a description of how it was done.


IMG_1207.jpg


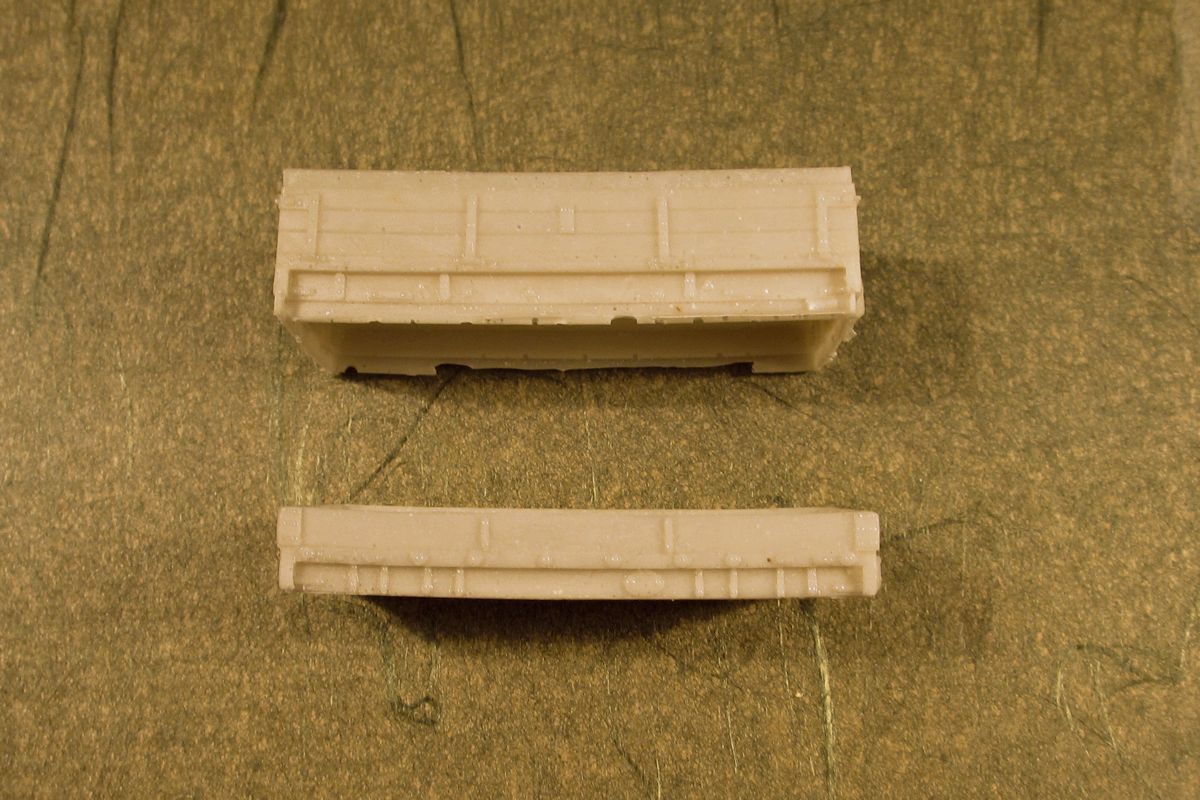
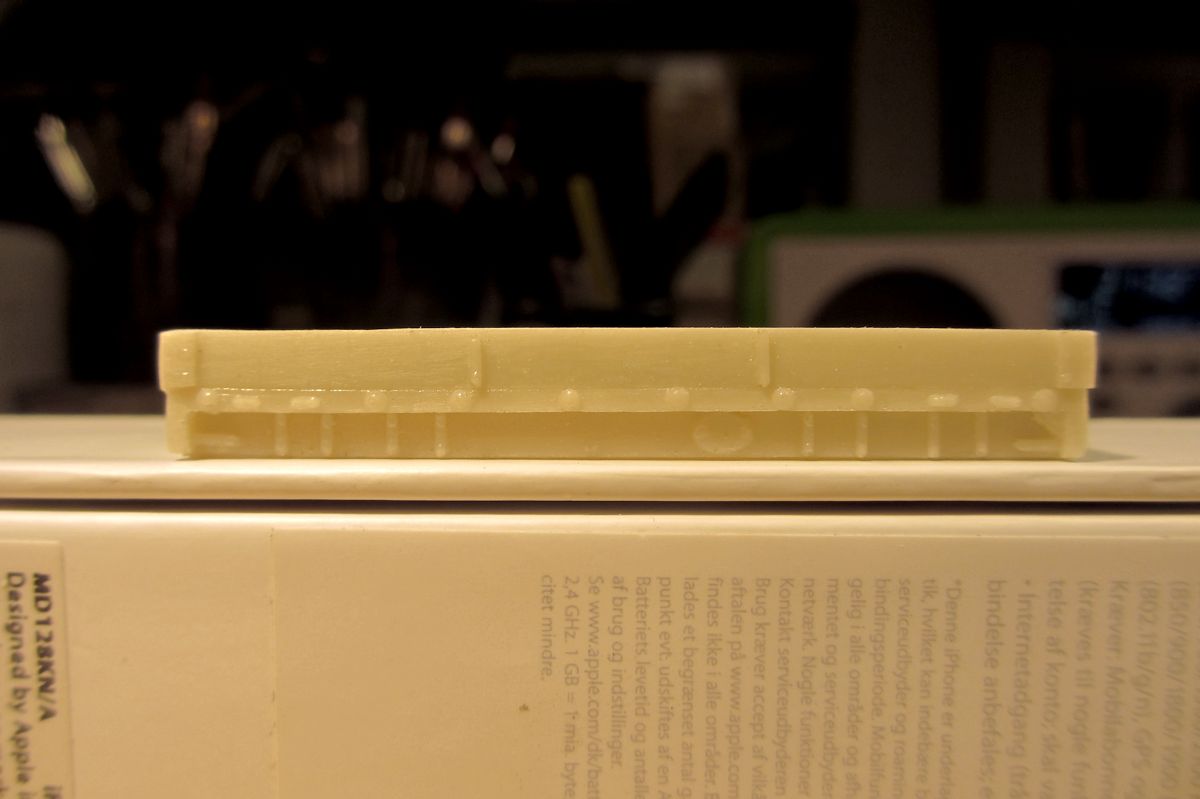
The kit consists of the body only. The photo above shows a 3-planker that I had also ordered, and the one-planker (with flash cleaned off) below it. As you can see, both wagons sport a graceful curve.


IMG_1213.jpg


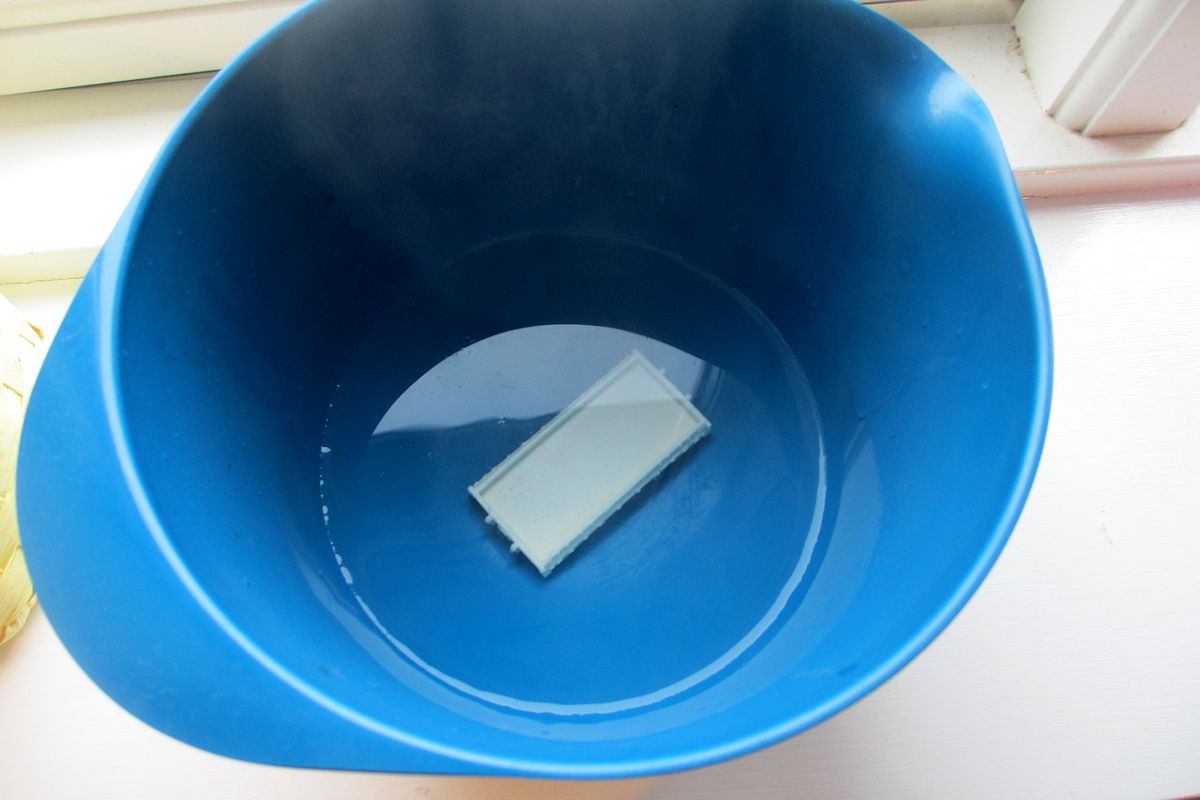
Fortunately the instructions deal with this: Take one bowl of hot water and add the body...


IMG_1221.jpg


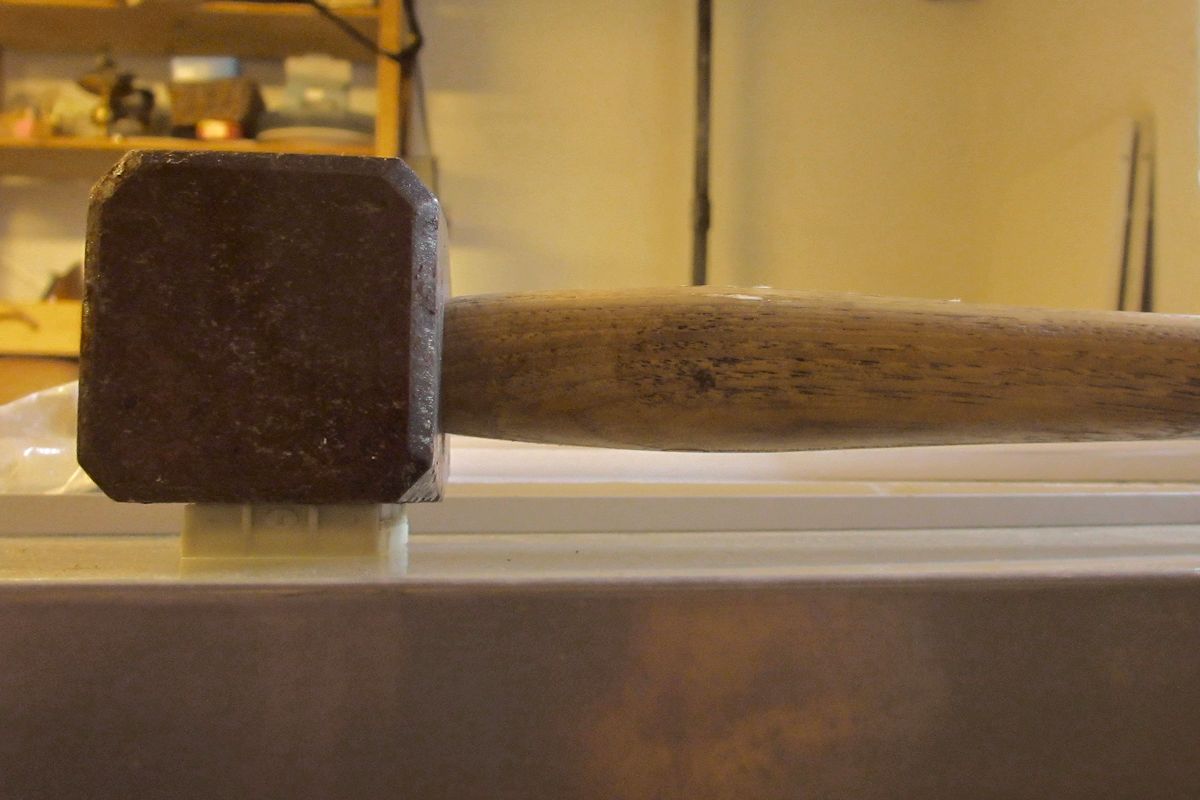
…bend body back to shape on a straight surface, and apply weight until cool.


IMG_1247.jpg


...serve with a pragmatic state of mind and a healthy dose of modeller’s joy.


IMG_2173.jpg


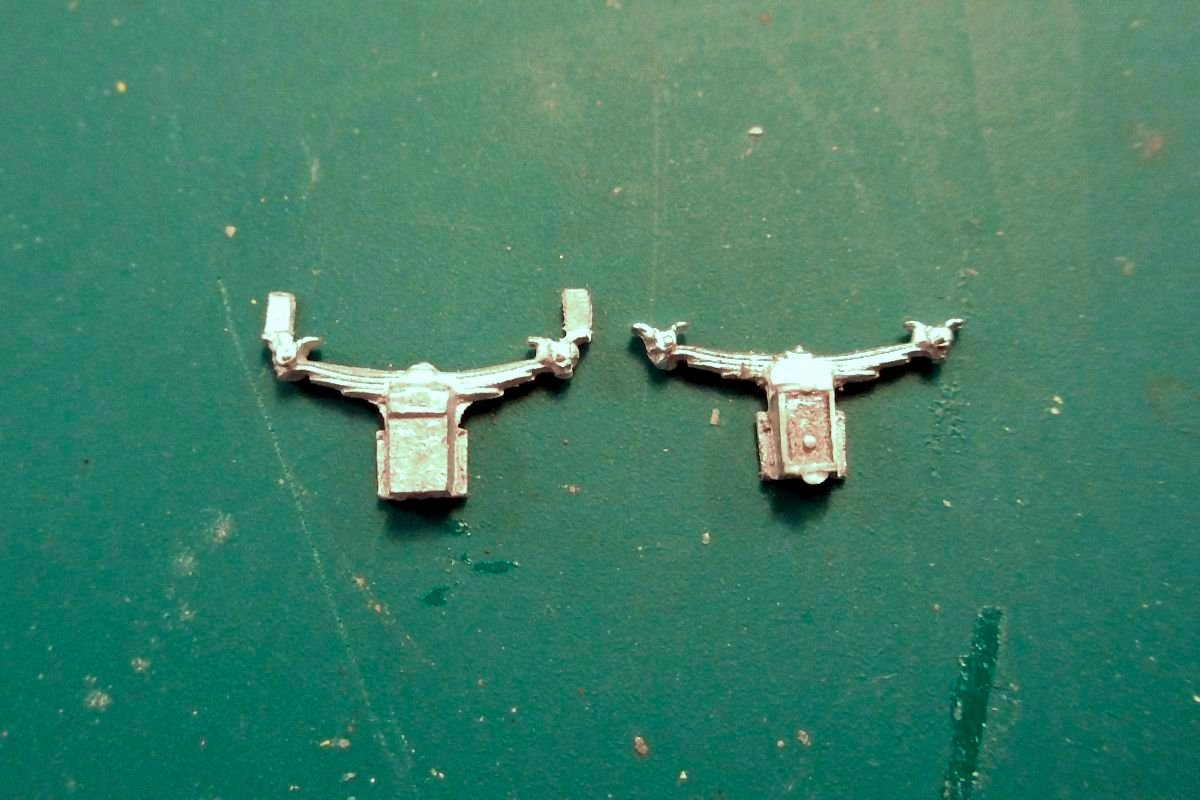
The kit gives you the body, and you have to source the other parts yourself. I first had a go at building my own Panther’s axleboxes (above right), using a modified GWR grease box (above left) as a basis. They were a little coarse though, and I’m not sure the LSWR would have approved of their GWR origin!


IMG_2188.jpg


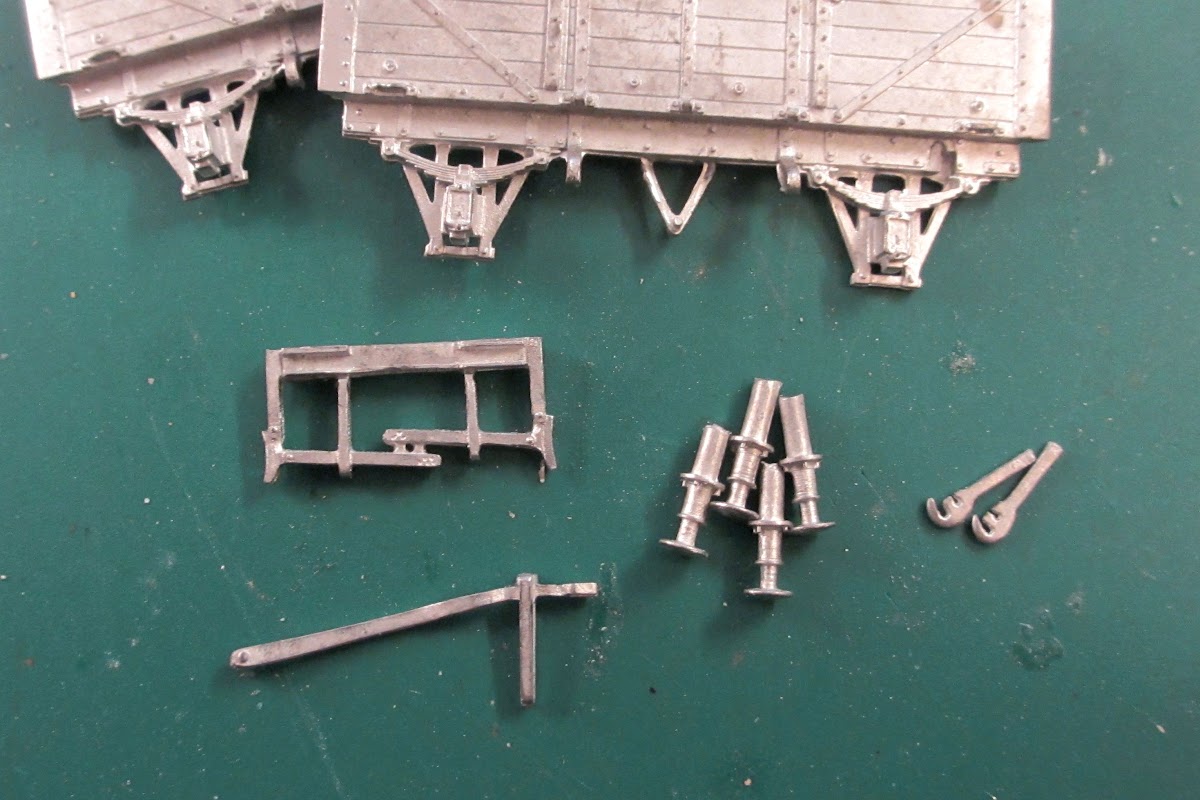
Instead, I cannibalized the W-irons, axle boxes, brakegear and buffers from a spare ABS kit for an LSWR 5-plank open. The ends will be used for another project, so not too much was wasted.


IMG_2180.jpg


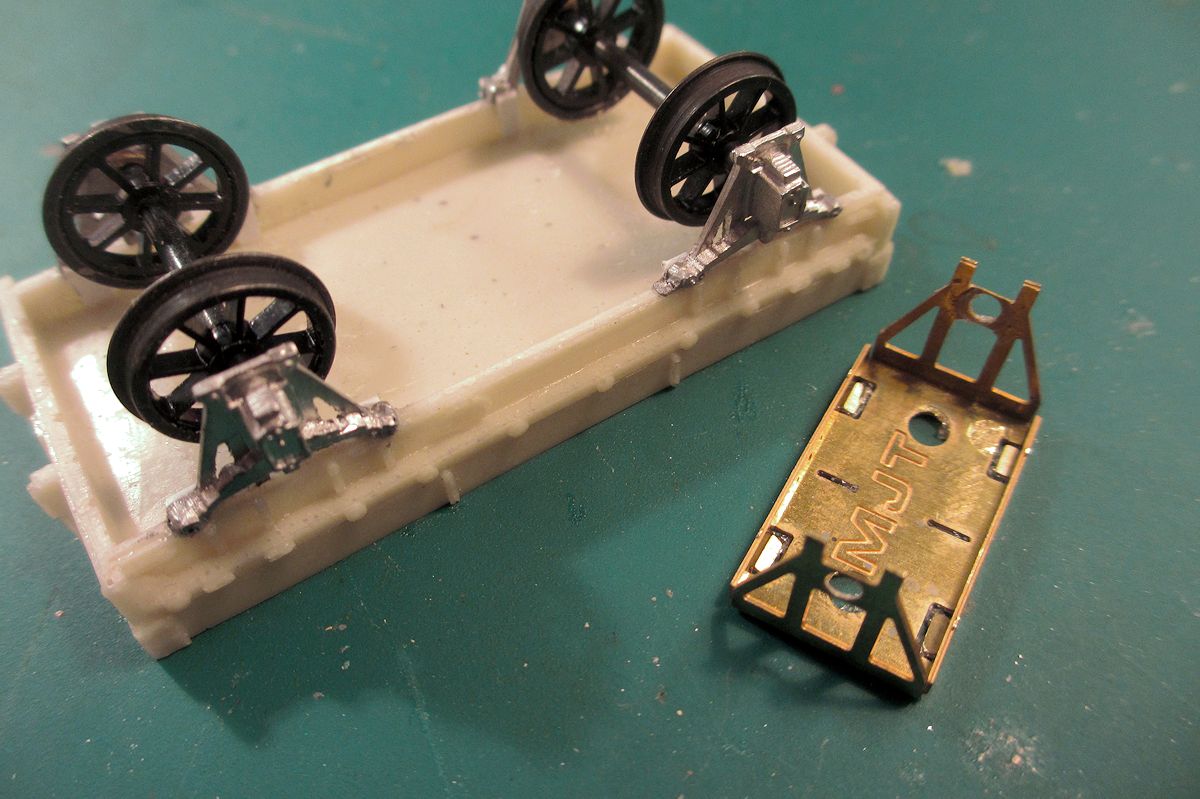
I used an old MJT unit to align the ABS W-irons. I really do need to get myself a decent jig for this sort of thing.


IMG_2192.jpg


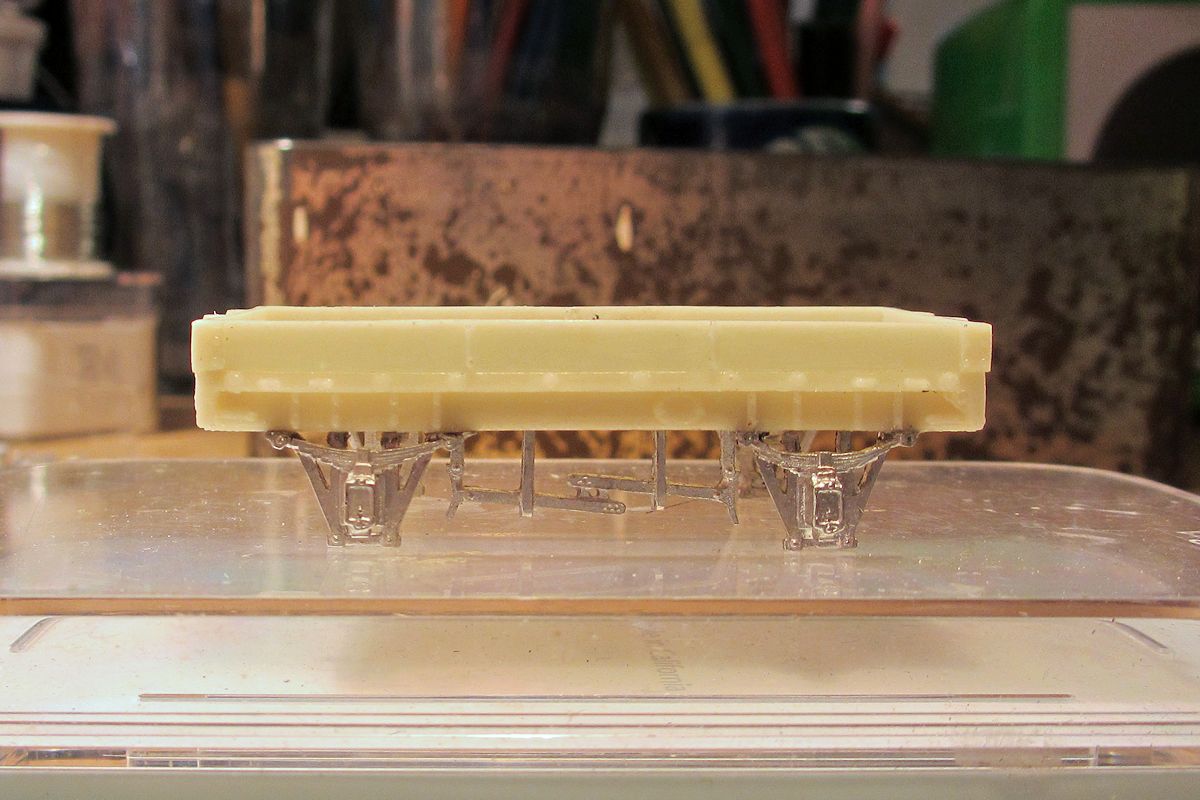
I’m not 100% sure about the brake arrangements for the wagon. My best guess so far is double block single side brakes, right rod over left.


IMG_2238.jpg


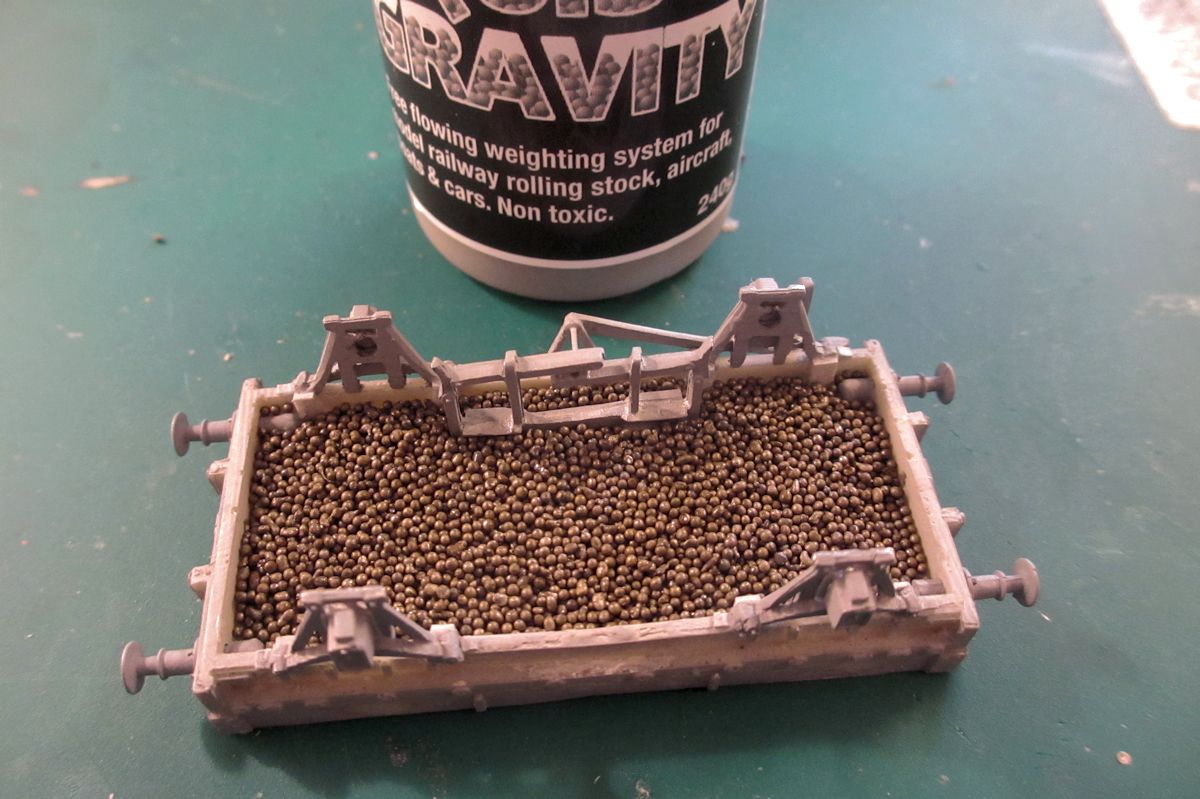
This is a very light weight body so lots of liquid lead added.


IMG_2243.jpg


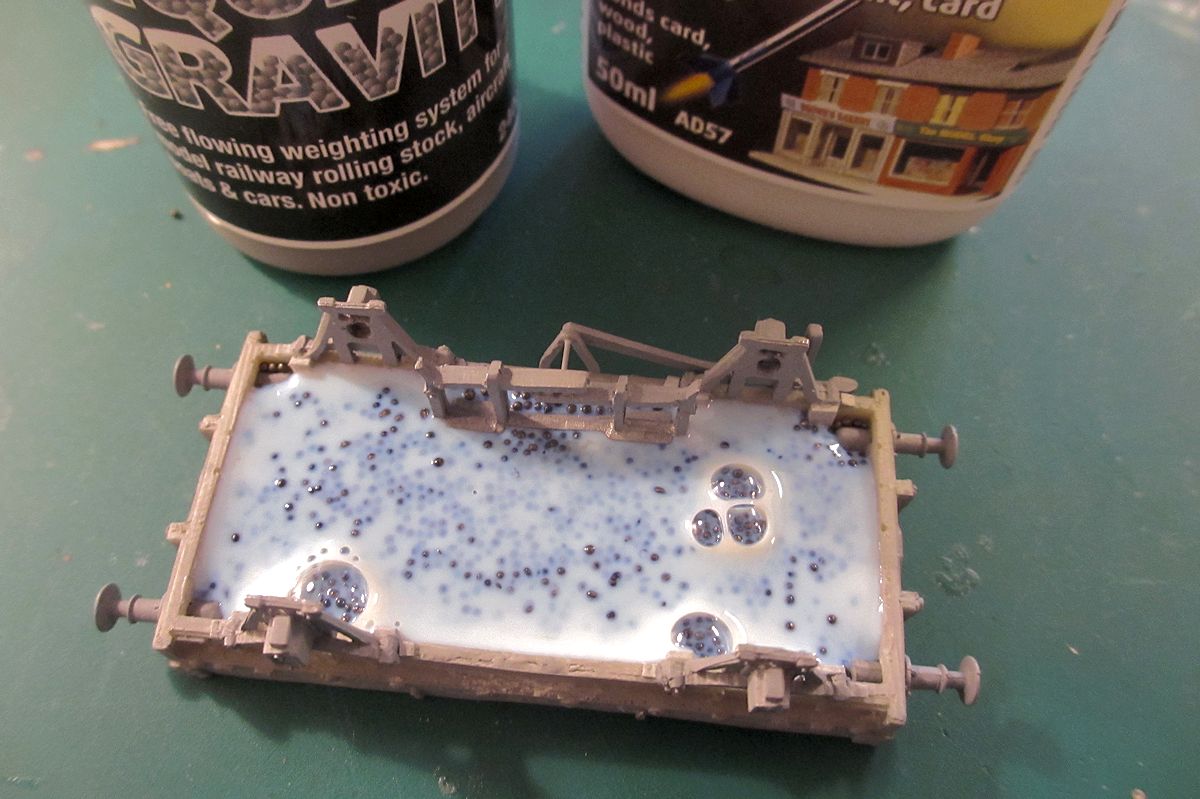
I’ve seen debates about what glue to use for liquid lead, as some glues seem to bring about an expanding reaction. Deluxe materials recommend their own card glue and I have to say it works a treat.


IMG_2237.jpg


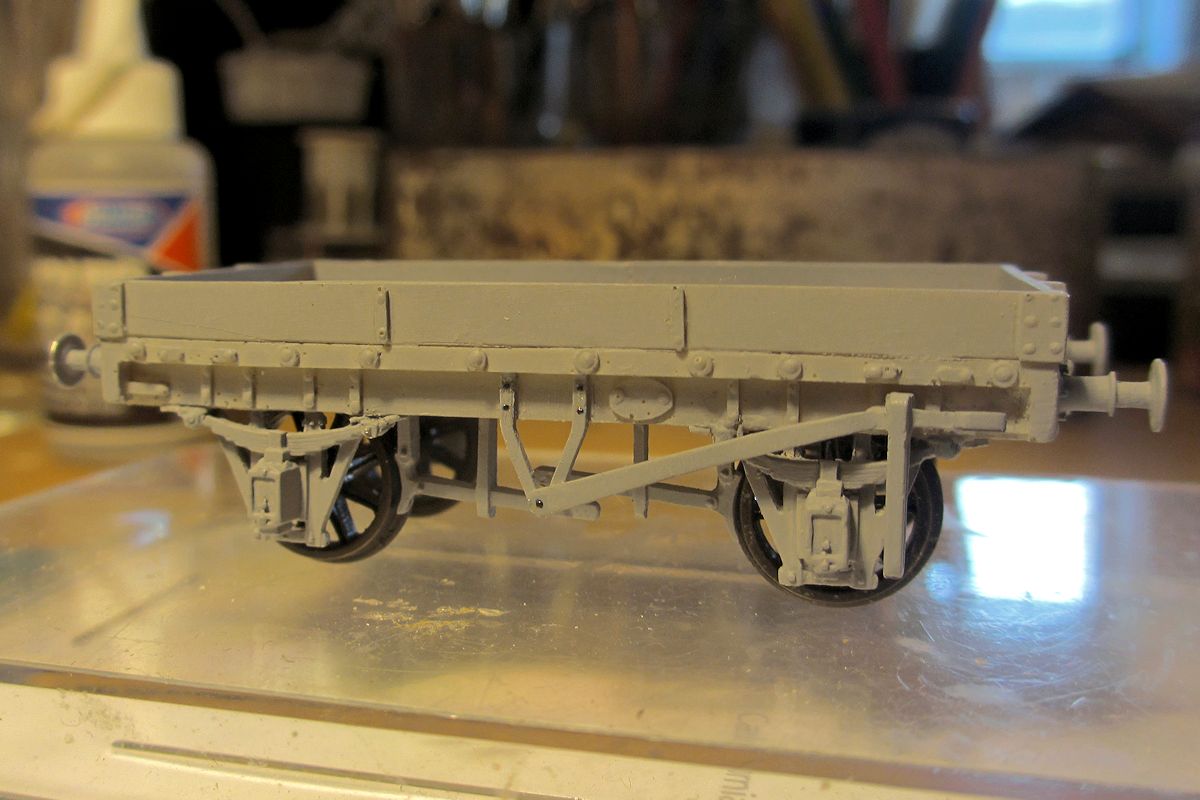
Standard open spoked wheels and a few rivet transfers from Archer’s to complete the build.


IMG_2310.jpg


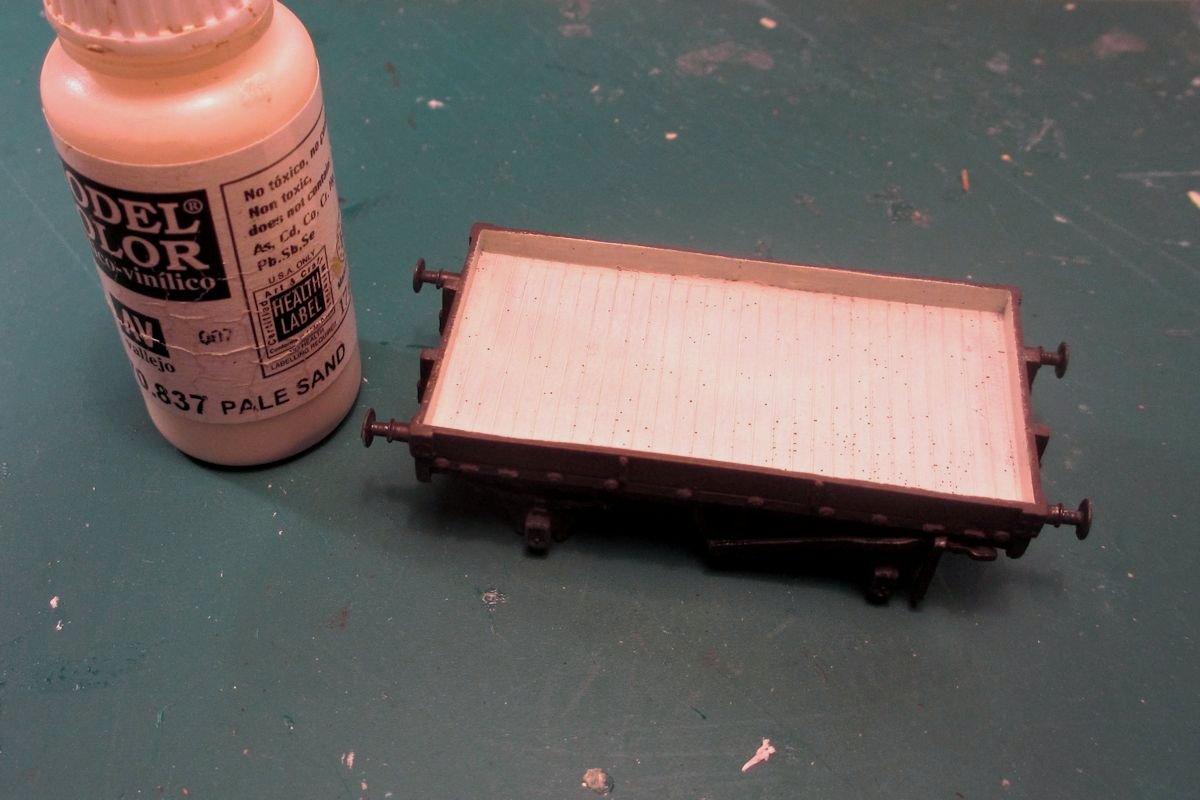
I used to spend a lot of time trying to get the interior of wagons right with multiple shades of paint. To save time I now use a less subtle but quicker method. First step is to paint the interior 1-2 coats of Vallejo pale sand. This looks wrong but provides the necessary light base.


IMG_2311.jpg


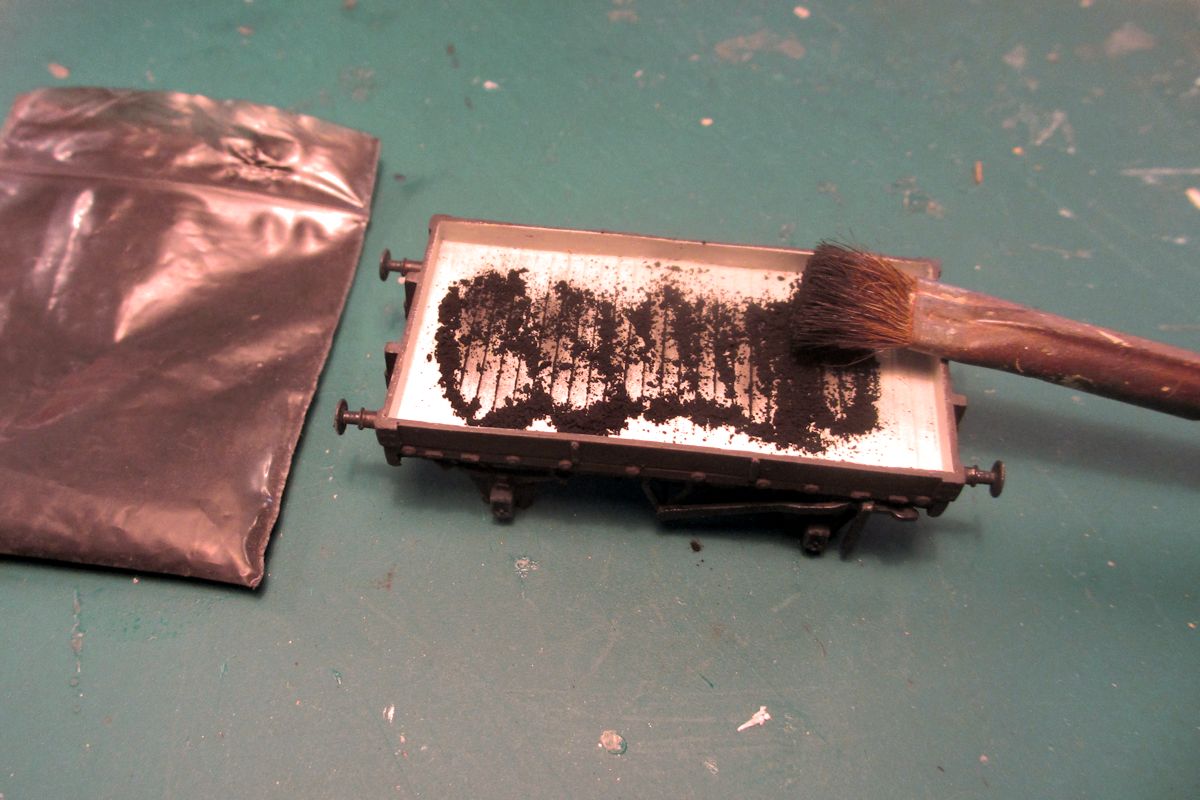
When fully dry, I add a liberal dose of Carr’s dark black weathering powder. Lighter shades won’t work so well at this point, it has to be that rich dark powder that really gives off colour.


IMG_2314.jpg


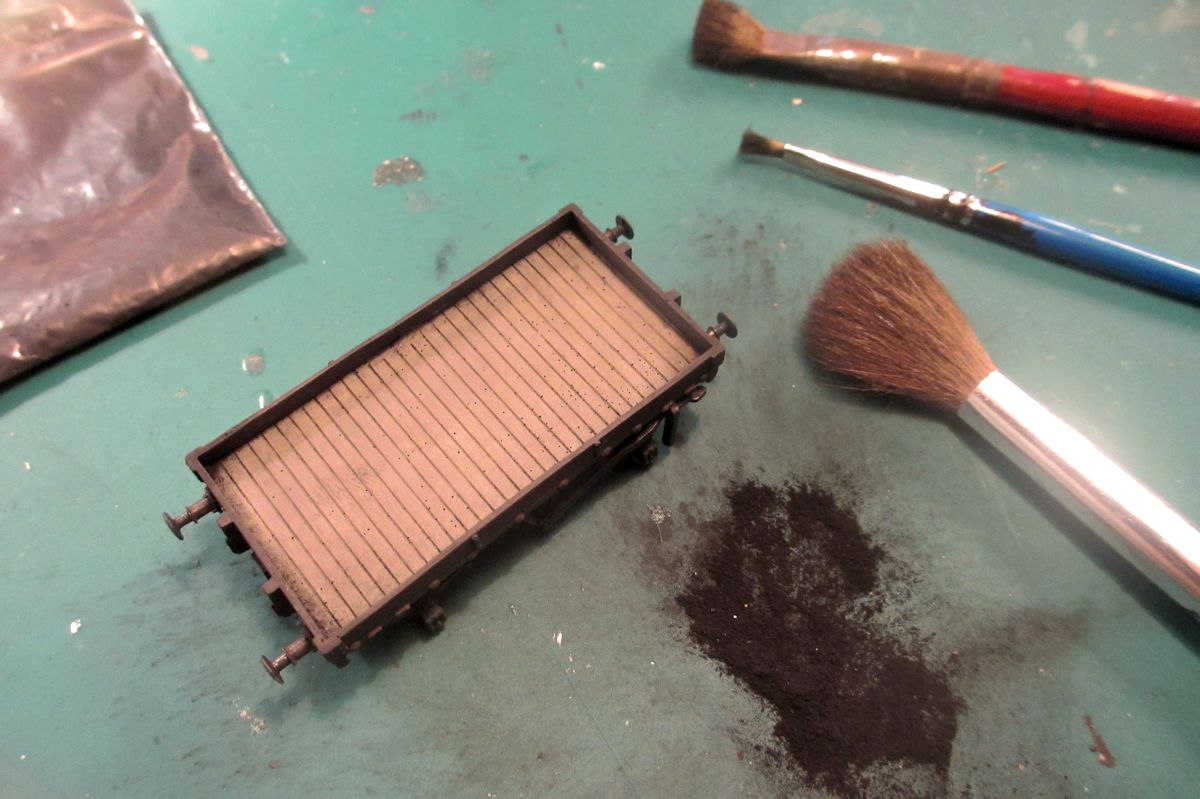
After brushing all around the interior with a soft brush, I remove the surplus weathering powder, giving this result.


IMG_2323.jpg


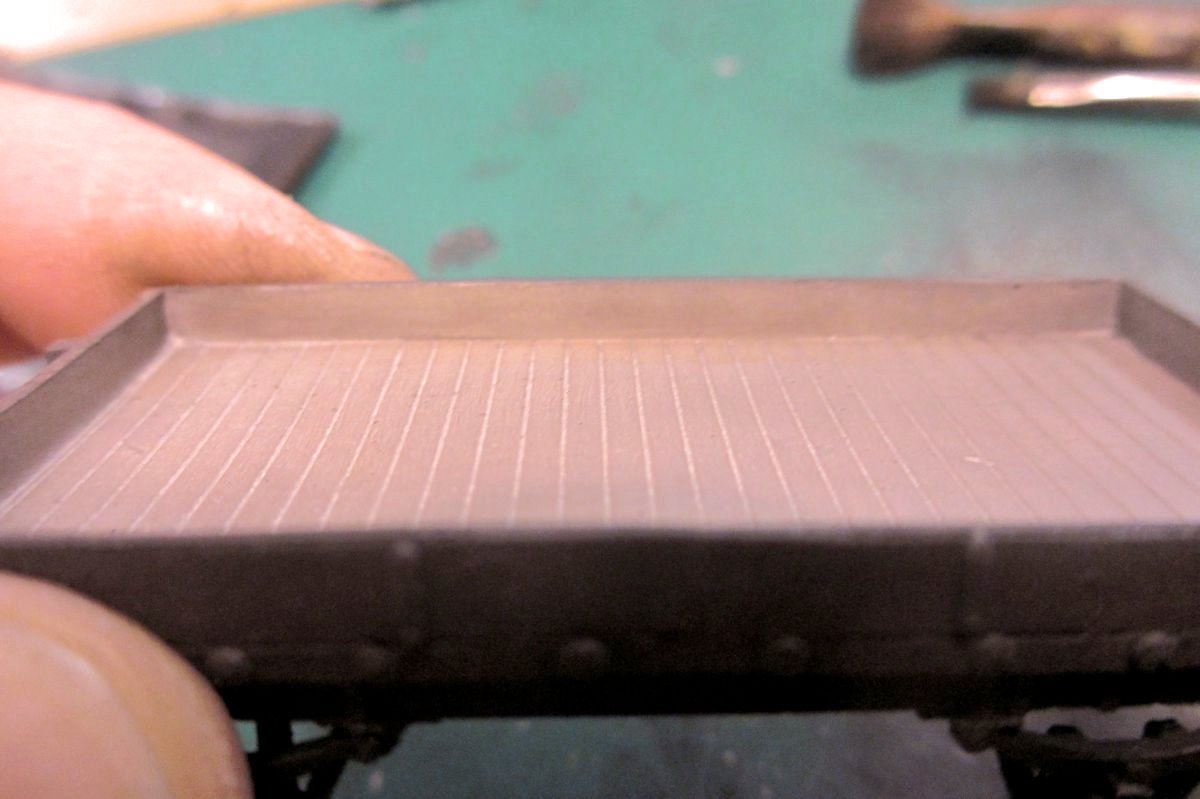
Ligther shades of grey weathering powder can be used to add shades as appropriate for the type of load. I plan to add a stone load in due course. Jonathan has kindly shared some photos of Ron Rising's LSWR wagons with stone loads. Looks great I think, see: http://s1307.photobu...s?sort=3&page=1


IMG_2441ok.jpg


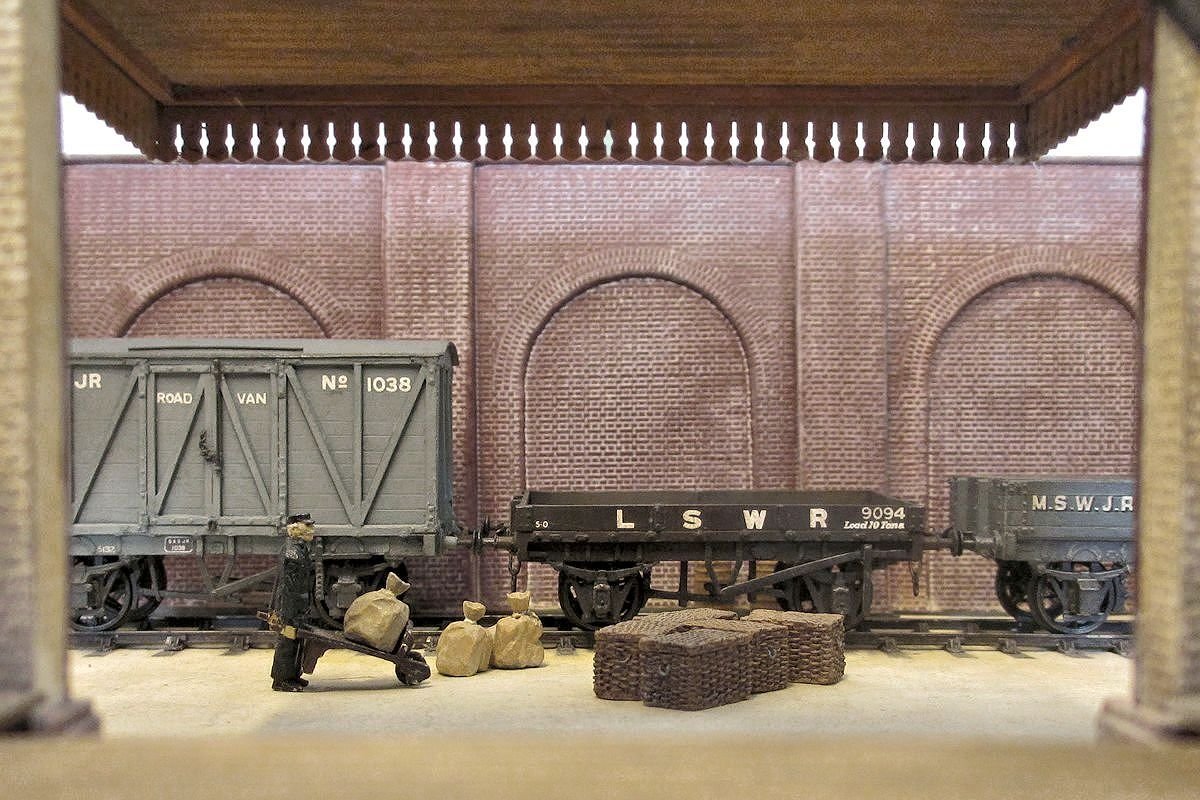
There goes the neighbourhood! Wagons from the SDJR, LSWR and MSWJR being shunted outside the goods depot at Farthing.

  • Like 23

19 Comments


Recommended Comments

  • RMweb Premium

That's a great tip for the inside of wagons. I'm going to try that!

Very good as always.

Link to comment
  • RMweb Gold

Lovely stuff Mikkel - like the bucket of hot water and mallet approach :O


Neat idea for adding weight too ;)

Link to comment

Great article Mikkel - but without being a 'killjoy' have you seen the 'Coopercraft' kit for the 1-plank wagon?  Comes complete & doesn't need a mallet!

Regards


Ian

Link to comment
  • RMweb Gold

That's a great tip for the inside of wagons. I'm going to try that! Very good as always.


Hi Andrew, glad if it's of use. Meticulous painting gives more nuances, but this is a lot quicker and once the wagon is on the layout I don't really notice the difference.


Lovely stuff Mikkel - like the bucket of hot water and mallet approach :O


Neat idea for adding weight too ;)


Hi Pete, yes we do it the rustic way on Farthing. My farming friends would applaude :-) 


Great article Mikkel - but without being a 'killjoy' have you seen the 'Coopercraft' kit for the 1-plank wagon?  Comes complete & doesn't need a mallet!

Regards


Ian


Hi Ian, but the mallet is the fun part! :-) 


I'm guessing you mean the Cambrian PO wagon? It's quite similar although strictly speaking the solebar details and axleboxes need replacement to be right. I suppose these could be filed off/removed and replaced. I don't know about the length?


The Gramodels resin casting may look a bit odd at first, but once straigthened and finished it is pretty close to the real thing, including main measurements, details on the solebars etc. I'm a little more uncertain about the 3-planker shown with it in one of the first photos above, it seems to be a few mms out in the dimensions although I may be wrong.

Link to comment

Just another beauty in your wagon collection..

The last picture shows the advantage of the earlier periods.

The difference in color and wagon signs.

Link to comment

Splendid early photo, Mikkel.  The shunter must have held his pose for ages as it's rare to see figures so sharp :)


As usual, you have captured lots of atmosphere.  I do worry a little, though, that if the kit was so warped to start with, will it not creep back to the curve again?


Mike

Link to comment
  • RMweb Gold

Just another beauty in your wagon collection..

The last picture shows the advantage of the earlier periods.

The difference in color and wagon signs.


Hi Job, yes the world of pre-grouping wagons is wonderful. And it's a nice way to explore the other companies, with baby steps :-)

Link to comment
  • RMweb Gold

Splendid early photo, Mikkel.  The shunter must have held his pose for ages as it's rare to see figures so sharp :)


As usual, you have captured lots of atmosphere.  I do worry a little, though, that if the kit was so warped to start with, will it not creep back to the curve again?


Mike


Uh-oh, I hope not! I know of at least one other of these wagons built some time ago, which is still as it should be. So I hope this one will behave! For me it's also about getting to know all these "new" materials and techniques. Although it's hard to keep up with you :-)

Link to comment
  • RMweb Gold

Lovely work Mikkel. ;)


Love the first two sepia snaps....almost believable.


The kit has come together nicely even with the attention of that hammer! :O


Cheers,


Mark

Link to comment
  • RMweb Gold

Thanks Mark. I'm a bit ambivalent about "aged" layout photos, but it can be fun sometimes.


I rarely look at the bay platform layout from the end, but when I do it reminds me just how much depth can mean to realism. Would be interesting one day to build a layout that is "deeper" than it is long. I seem to remember a layout in MRJ once, which was designed to be viewed end-on.

Link to comment

Thanks Mark. I'm a bit ambivalent about "aged" layout photos, but it can be fun sometimes.


I rarely look at the bay platform layout from the end, but when I do it reminds me just how much depth can mean to realism. Would be interesting one day to build a layout that is "deeper" than it is long. I seem to remember a layout in MRJ once, which was designed to be viewed end-on.

I think you have judged the depth of field very well.  i especially like the way the two figures are well-defined and 'make' the composition.


Interesting that Matthew Bagnet wrote about Farthing - i thought his line was musical instruments!


Mike


ps the photo of a 'Queen' heading a blanket train appears in "The Branch Lines of Oxfordshire" by Colin Maggs (Amberley, 2010)

Link to comment
  • RMweb Gold

Yes I believe Mr Bagnet was quite creative in several fields. Here is a cigarette card depicting him:


index.php?id=1518881&t=w


Thanks for the info on the blanket train! 

Link to comment
  • RMweb Gold

Just noticed that the ageing effect in the first pics has whitened out one side of the MSWJR wagon. It looks like the side has been opened on to the loading dock, as per the real thing. It would be interesting to model that, actually!


This one has the sides firmly in place though:


lswr%25201%2520planker%2520002.jpg

Link to comment

It's a lovely little wagon, and that rich sou'western brown makes a nice change from the local reds and greys.


However...in the shot from the goods shed, my eye was immediately drawn to those lovely wicker baskets as the colour and shading is absolutely spot-on. They really do look like they're made from wicker!


Link to comment
  • RMweb Gold

Thanks, and yes those wicker baskets are very good. Hornby's finest - with a bit of weathering. They were only in production for a short while, it seems. I think I bought up some of the last remaining stocks in the country!

Link to comment

Thanks for the link to this for the interior - Pale Sand apparently is the manna from heaven for alot of things. Unfortunately, Gramodels charging £6 postage minimum rules out this one for me - maybe worth a scratchbuild! May I ask the wheelbase and length over headstocks? :)

Edited by Lacathedrale
  • Like 1
Link to comment
  • RMweb Gold

Yes, pale sand is one of my 3-4 preferred colours!


Wheelbase is 9´0", length over headstocks is 18' 4". Note that there were both timber and iron underframe lumped under SR diagram 1308. There's a drawing for the steel underframe version in Illustrated history of Southern Wagons Vol 1, let me know if I can help with that.


Edited by Mikkel
Link to comment

I have Vol Two (LBSCR) and Three (SECR) but generally not much use for One - if it's at all possible to scan that single page I'd be most obliged. Speaking of iron frames I was quite struck by the number of LCDR goods wagons (such as they are - not many!) which were delivered with high ends, tarp rails and steel solebars. If I can help with any scans you might find useful please let me know.


EDIT: Actually, don't worry about the scan - one of my (many) layout ideas has a stone yard, so trio of these wouldn't look amiss and I can take advantage of the economies of scale with postage from Gramodels. Do you have any other insight on pre-1900 wagons that might be suitable from him?

Edited by Lacathedrale
Link to comment
  • RMweb Gold

William, see PM.


PS: A stone yard would be nice. A quarry is on my long-list too - In fact I think it's on many people's lists :) Bit of inspiration here:


gettyimages-76796100-2048x2048.jpg.ed8b24112dd81977fc48dd35dd2c498c.jpg

Caption: Men loading Bath stone quarry onto a tram at the wharf in Corsham, Wiltshire, 24th October 1928. Source: Getty images, embedding permitted.


Edited by Mikkel
  • Like 2
Link to comment

Create an account or sign in to comment

You need to be a member in order to leave a comment

Create an account

Sign up for a new account in our community. It's easy!

Register a new account

Sign in

Already have an account? Sign in here.

Sign In Now

×
×
  • Create New...