

National Power JMA Part 2 - Bashing the Bachmann HHA
Entry posted by lyneux
1,925 views
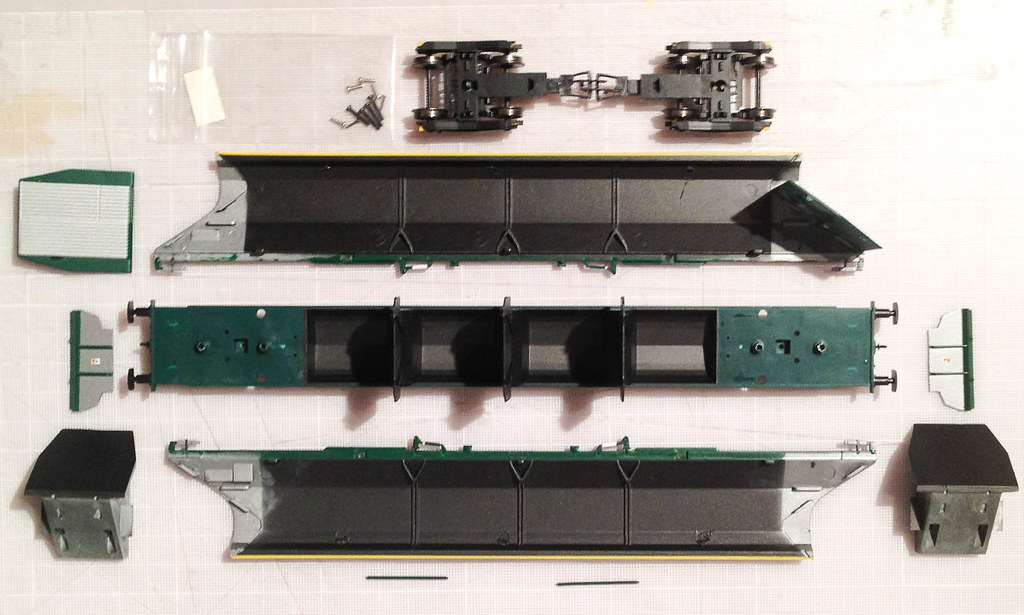
I'm not the first person to attempt to make an JMA from the Bachmann HHA, but given that I had already done a version of the bogie for this wagon, it seemed silly not to see how quickly a couple of them could be bashed into shape. The first step was to acquire and dis-assemble a Bachmann HHA. Take all the screws out from the bottom of the wagon and twist. The wagon snaps apart into the pieces seen below:
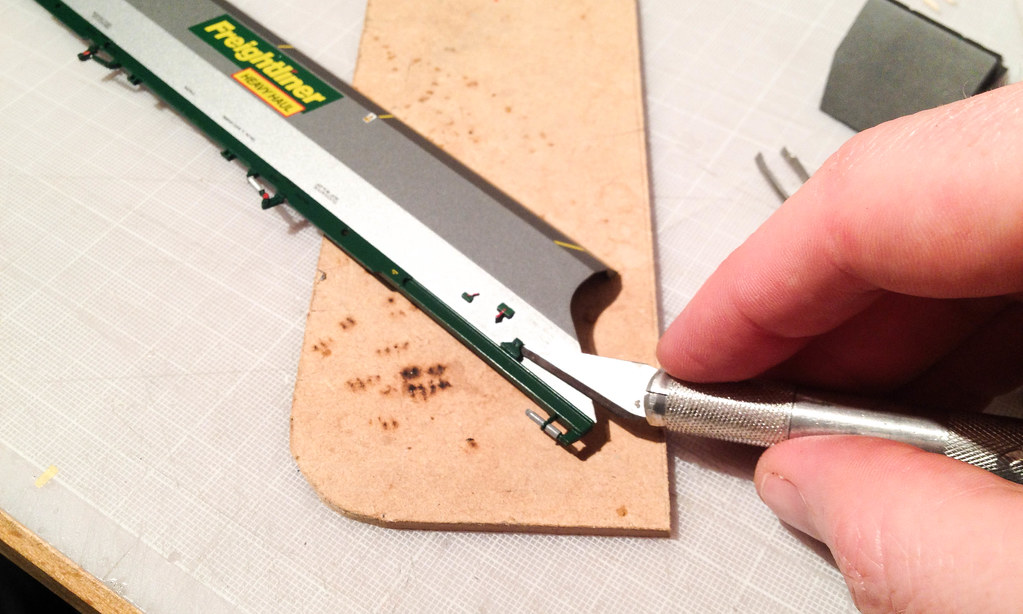
Next step is to chop the detail off the wagon sides:
- The grid at the end (international wagon data panel?).
- Buffers and coupling (one end only as this will be an outer).
- Brake handles and stop cocks.
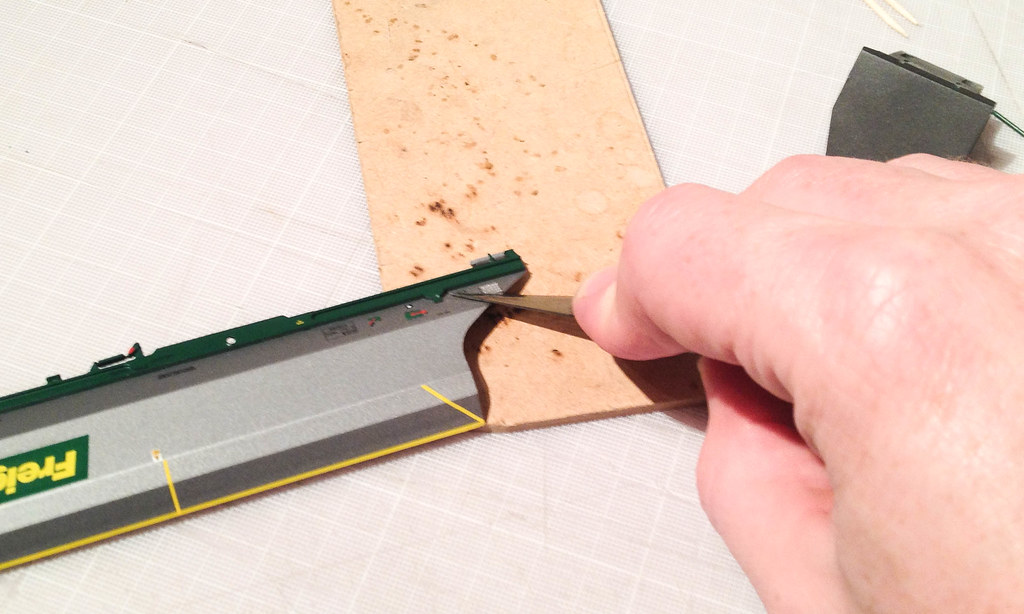
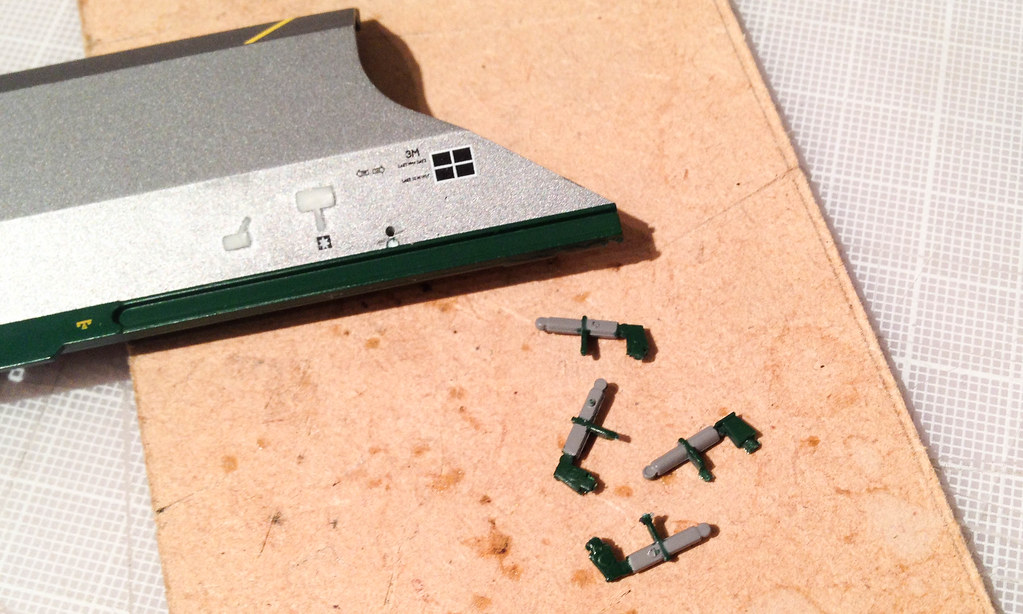
Ping off the yaw dampers and small plastic triangles attached to the side. These are just glued on so come off easily:
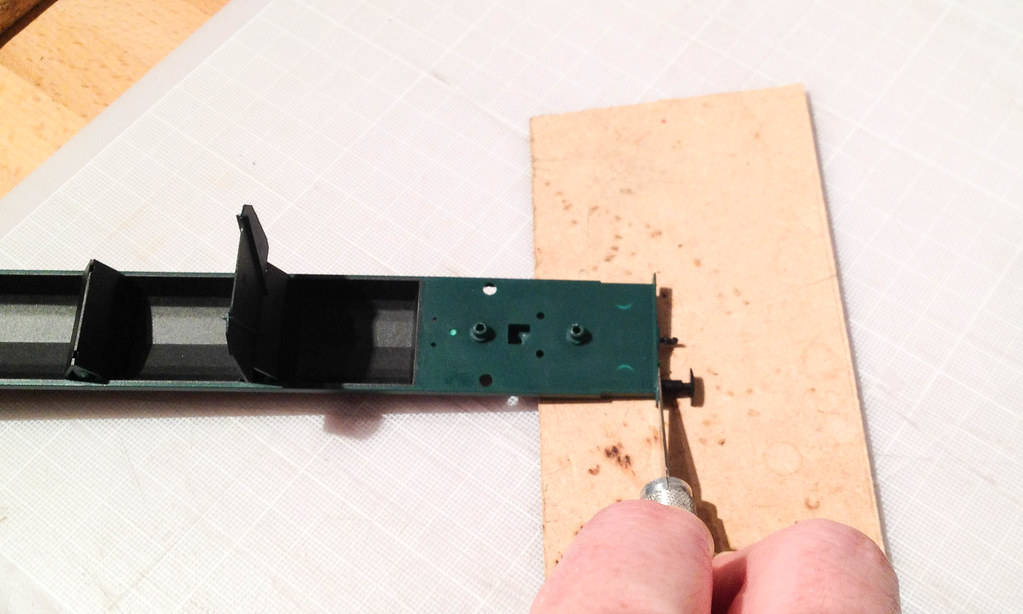
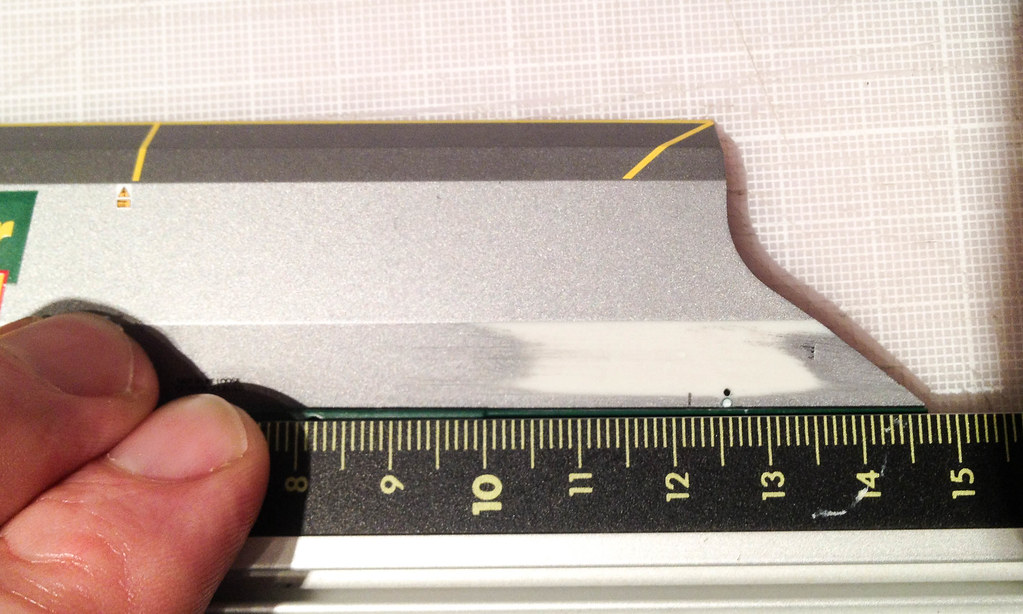
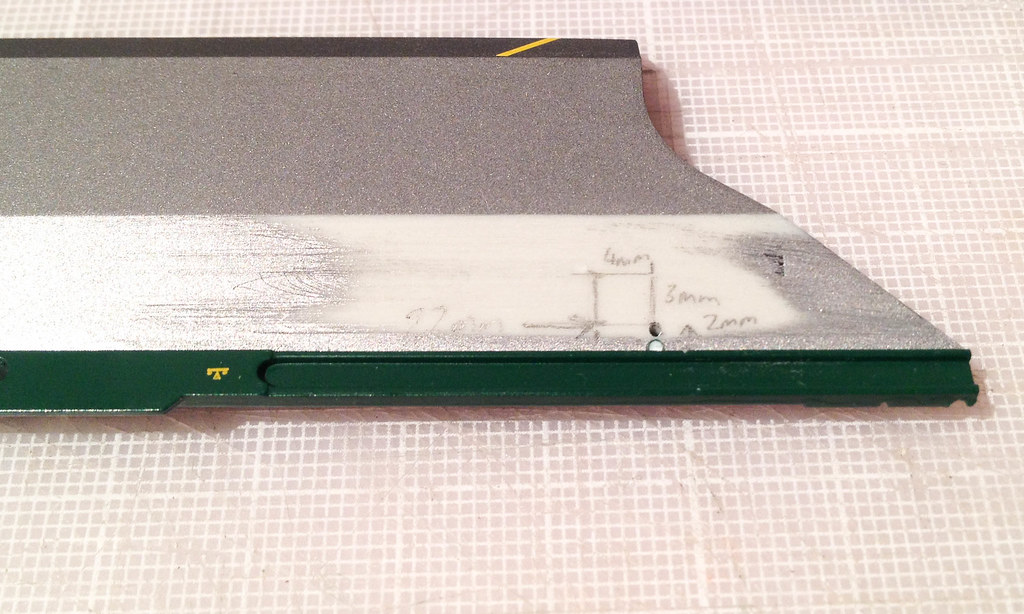
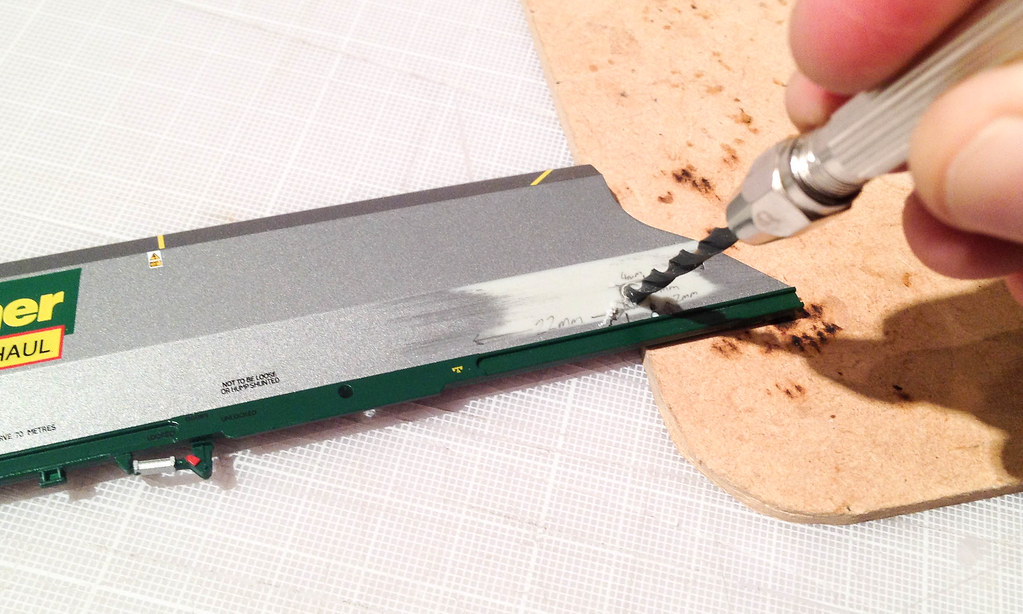
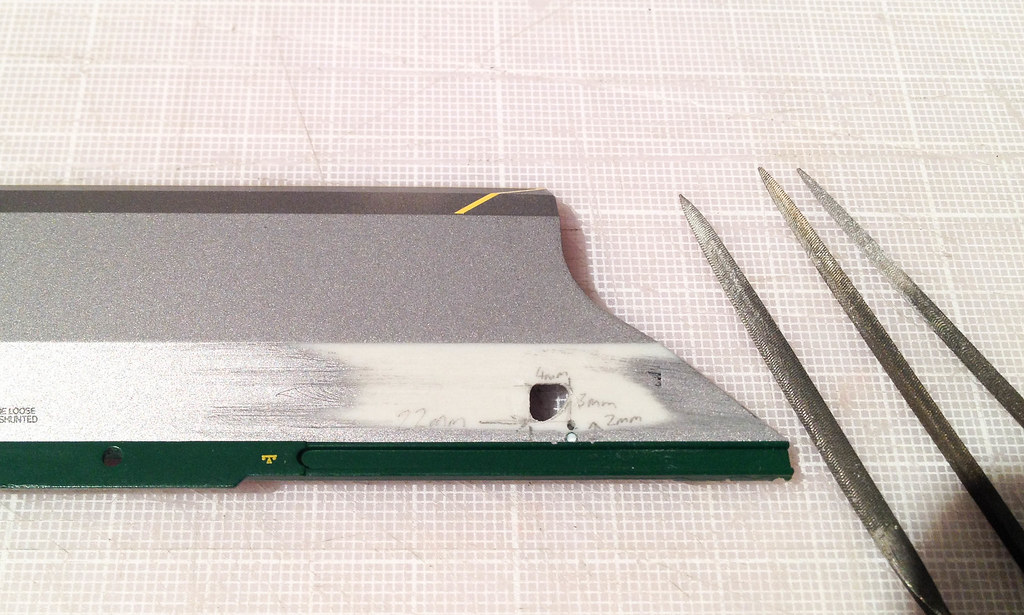
The first tricky part: cutting a hole for the brake actuator. Locate the plate with the two semi-circular cut-outs on the solebar. Mark a square on the body 22mm from the end of this plate and 2mm up from the solebar. It should be about 3mm high and 4mm wide. I drew this on in pencil as a guide. Then drill out using a 3mm drill bit, centring the drill against the left side of the square.
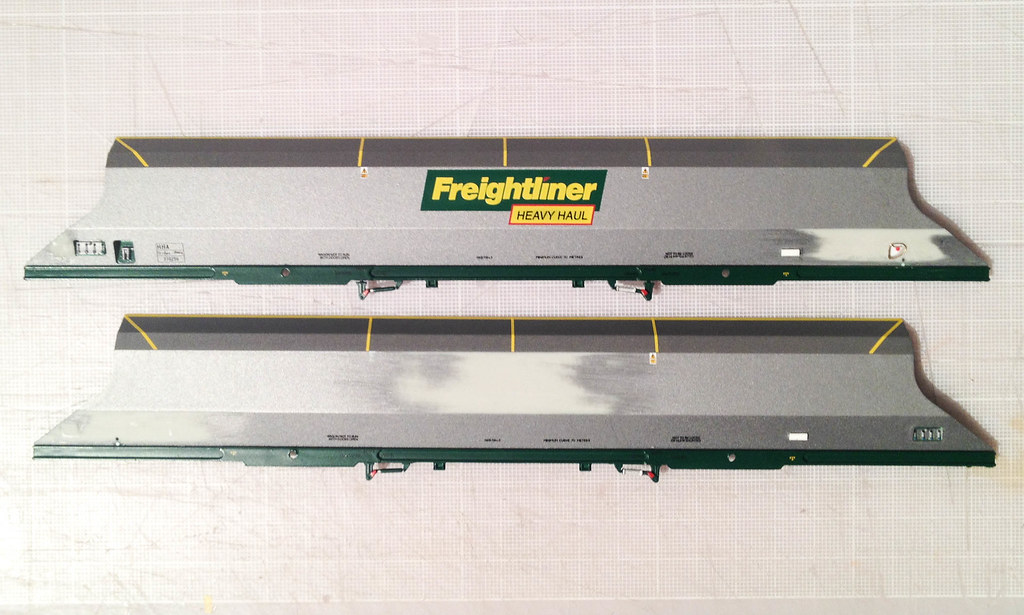
Using a square file and a round file I first opened the hole into a squarer shape and then cut towards the end of the wagon to open it out and produce the distinctive shape. I finished off the bottom right of the hole using a half round file. After this, I edged the hole with some 0.3mm brass wire (not too hard to bend to shape) and super-glued this on using sparing amounts applied with a cocktail stick. Finished result below:

I then added a representation of the lever on the brake distributer out of 0.3mm brass wire and a small circle of electric wire sheathing. I did think about fitting a Wizard models cast distributer in this position but the unprototypically thick plastic sides already mean that the recess is very deep so I'm going to settle for a representation of the red lever (which is about all you can see in the darkness of that cavity). There is a small mounting point (or something?) near to the right end of the wagon so I've represented this with a small piece of 40 thou square strip filed down to match the profile of the wagon side.
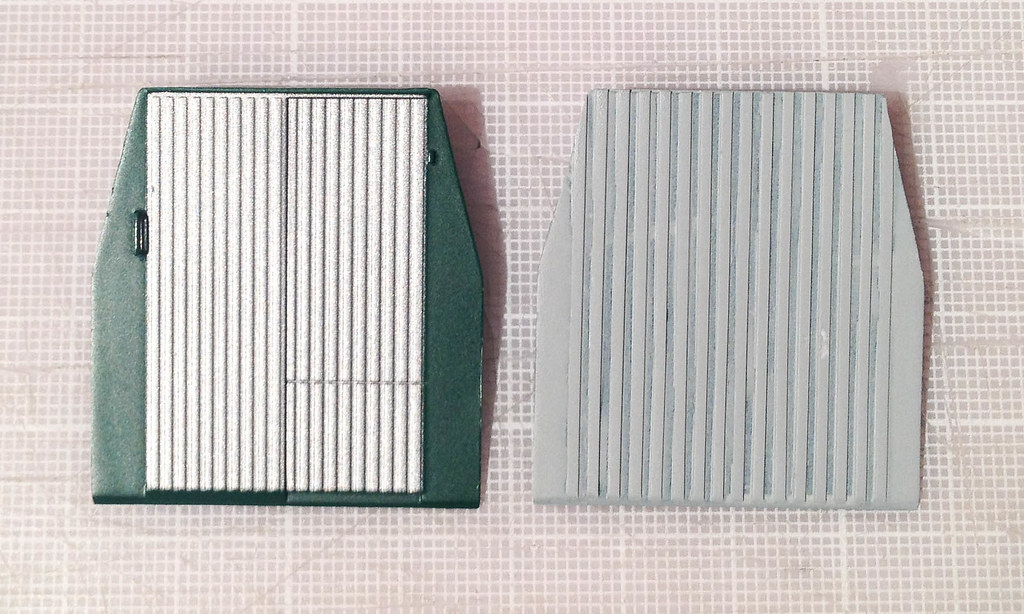
The end panel is totally wrong for the JMA. To correct this, I filed off all the moulded detail and filled any holes so that I had a completely flat panel. I then added 40 thou wide (10 thou thick) strip to represent the corrugations. I used a piece of 30 thou styrene to space them out and then primed the finished piece in grey ready for casting and cast it in resin as a one-part mould.
Here is a view of the end panels (original on the left and modified on the right):
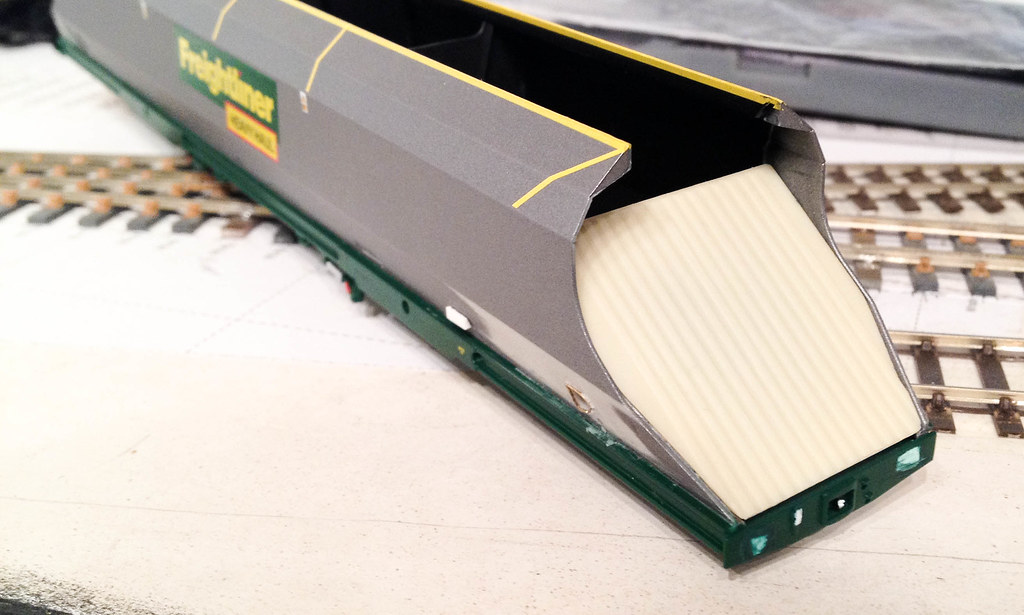
Here is one of the resin copies loosely held in place (no glue yet!):
-
 4
4

6 Comments
Recommended Comments
Create an account or sign in to comment
You need to be a member in order to leave a comment
Create an account
Sign up for a new account in our community. It's easy!
Register a new accountSign in
Already have an account? Sign in here.
Sign In Now