

P4 Wagons - Update and mini conversion.

Entry posted by Knuckles
1,885 views
The E2 project isn't abandoned, I just need to get around to doing the body.
Ok, so, I haven't been on recently much as has been established for a bunch of reasons. My modelling progress has ground down to a halt and I've made little progress on my layout. Well, really it's almost none as I have been 'waggoning' more than anything and before I make much progress on the layout I wish to get Dingham couplings fitted to a enough examples to accurately test if I like them. This means I need to establish a few wagons fitted with them to give the electro-magnets enough to play with. Is 4 enough?
Letters and numbers a bit messy as they are a swine to apply. Coal rave removable. (I just bent the legs outward to provide springing, easy!)
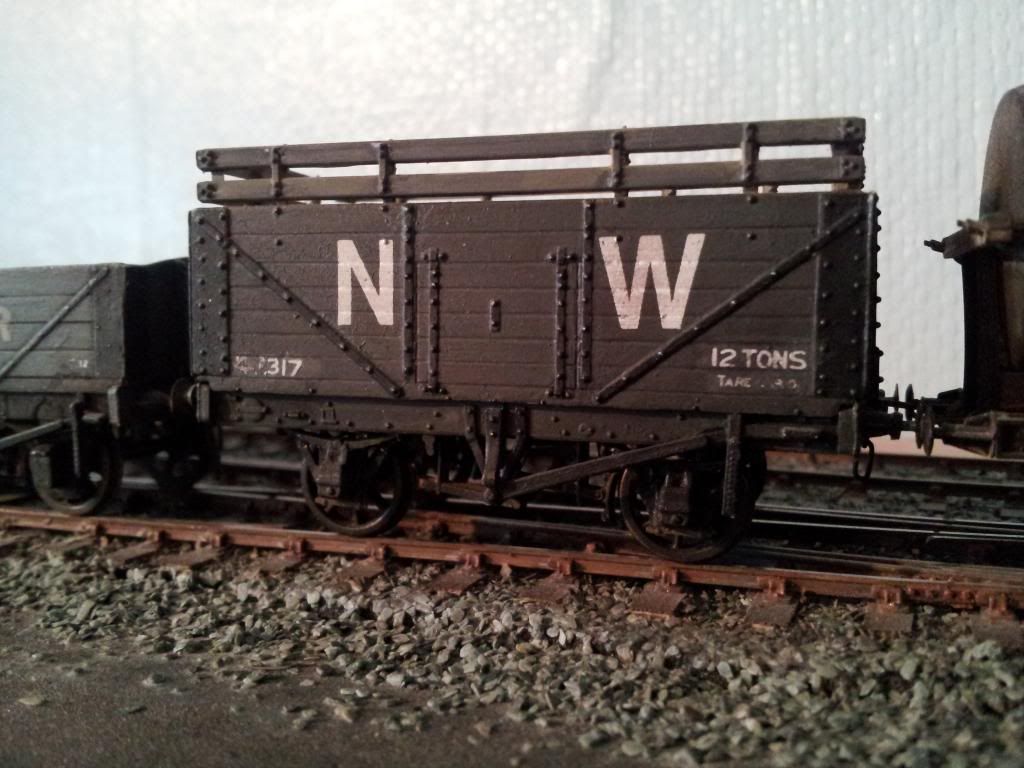
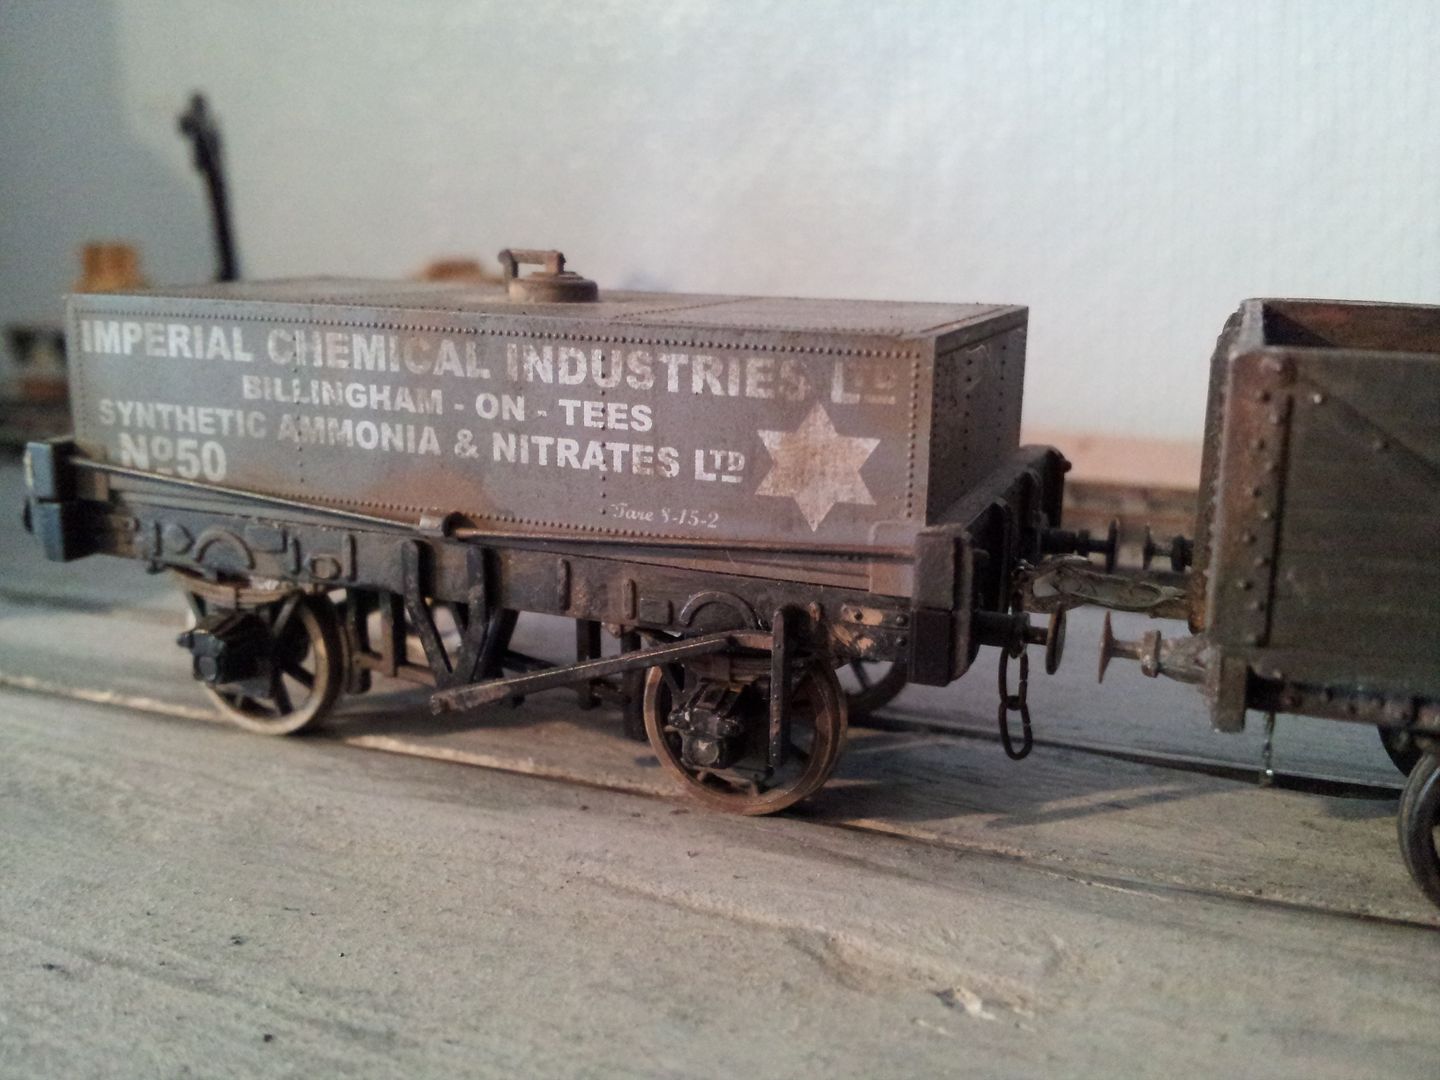
As you can see by my above two trucks, they have now both received tare weights and such like, yet probably not without error as my research in the matter seems to show more variance than standard answers, also to my surprise the bigger the truck and the more planks does not give accurate estimation of capacity as you can have smaller examples with a higher rating. Oh well. I've done my best and made up a style that I hope is believable; certainly they look much more complete now. "The 4mm Wagon PART ONE - Opens, Minerals and Hoppers (by) Geoff Kent" has been my main reference and research tool and what a great book it is too.
The following is a little example of how awkward things can get sometimes, but with perseverance a result can be obtained. I brought a second hand flat tanker and wished to convert it, sadly just swapping the wheels on this one gave ropey performance and so I needed some form of springing or compensation. Unlike the Bill Bedford units that I have been using a lot, I thought I'd try out some MJT Compensation Units. Partly for experimental reasons of product and method type, and partly due to me not wanting to hack the W Irons to bits. I've found this to be 'doable' on a kit but with an RTR example where everything is as one, it's a bit more difficult.
So...
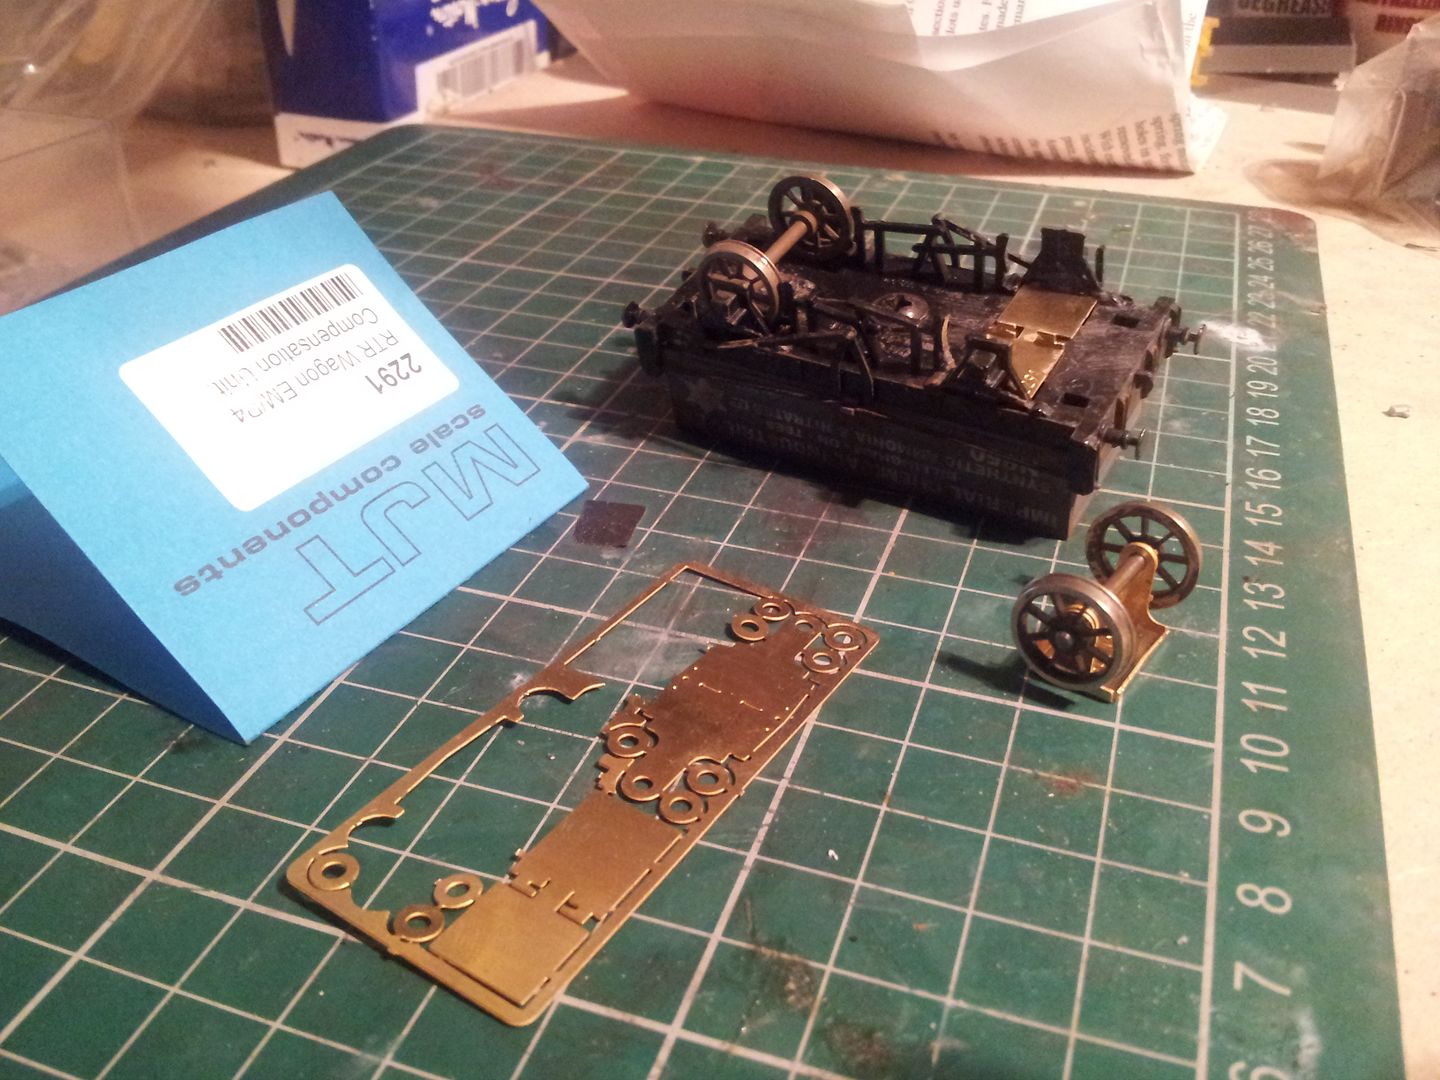
I removed a wheel-set, Ultrascale in this case (I have to say, as much as I like their loco' wheels, I don't like the wagons wheels - not going to waste though)
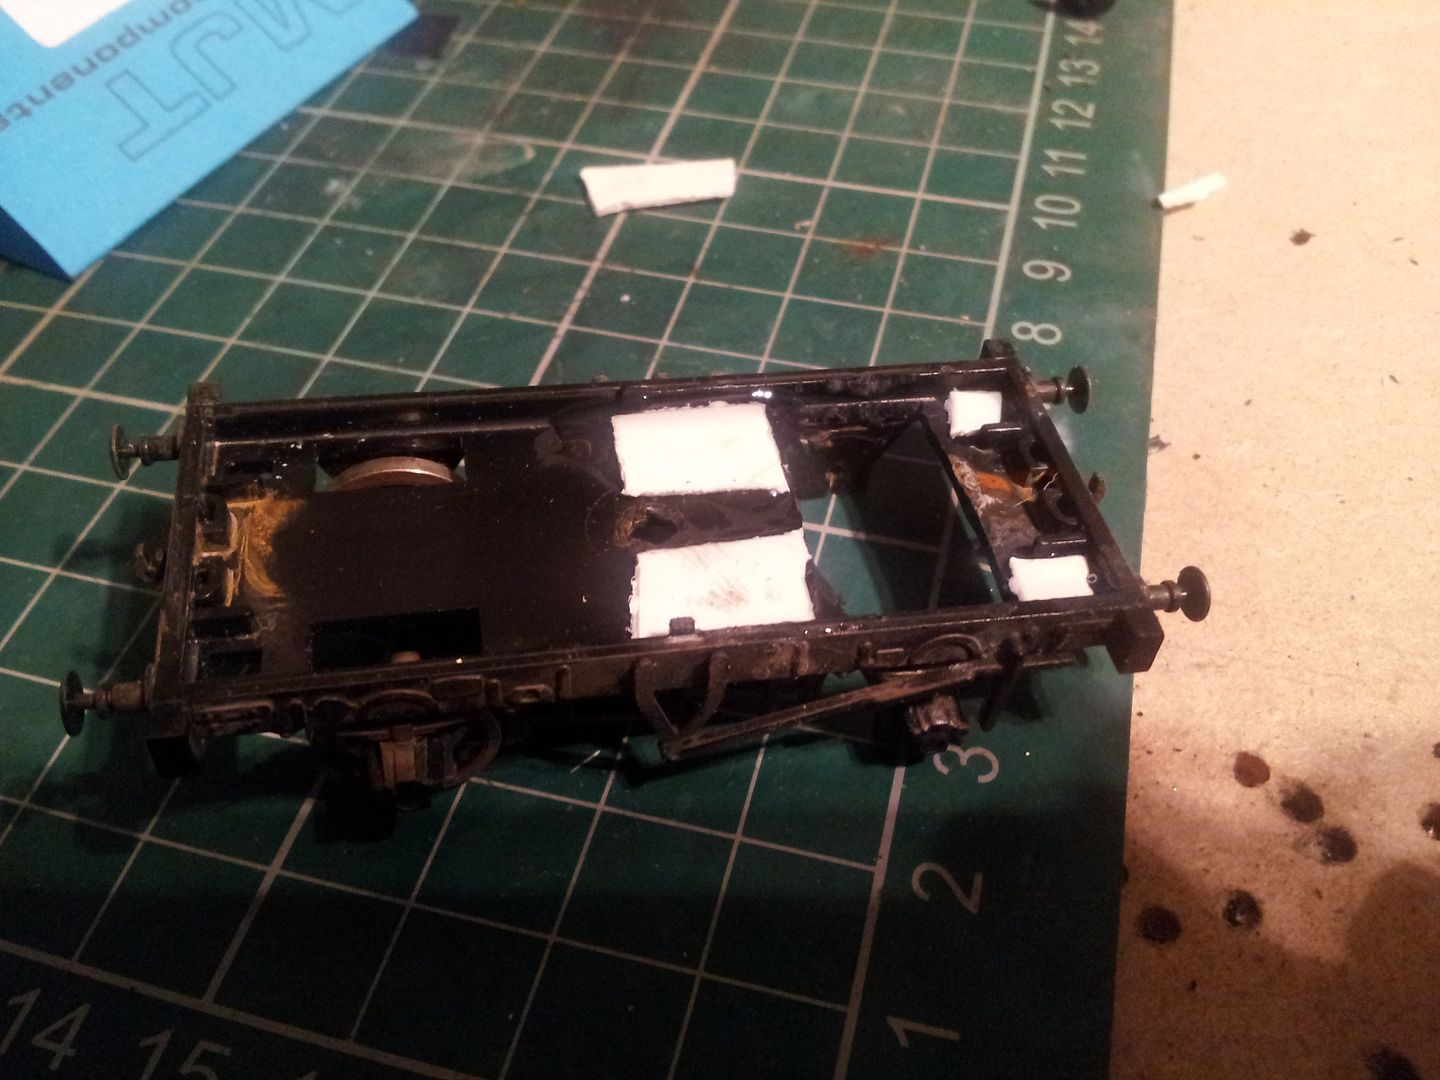
and after some filing and gentle hacking managed to get the pivot base in place, but...
Oh dear! Not going to be simple.
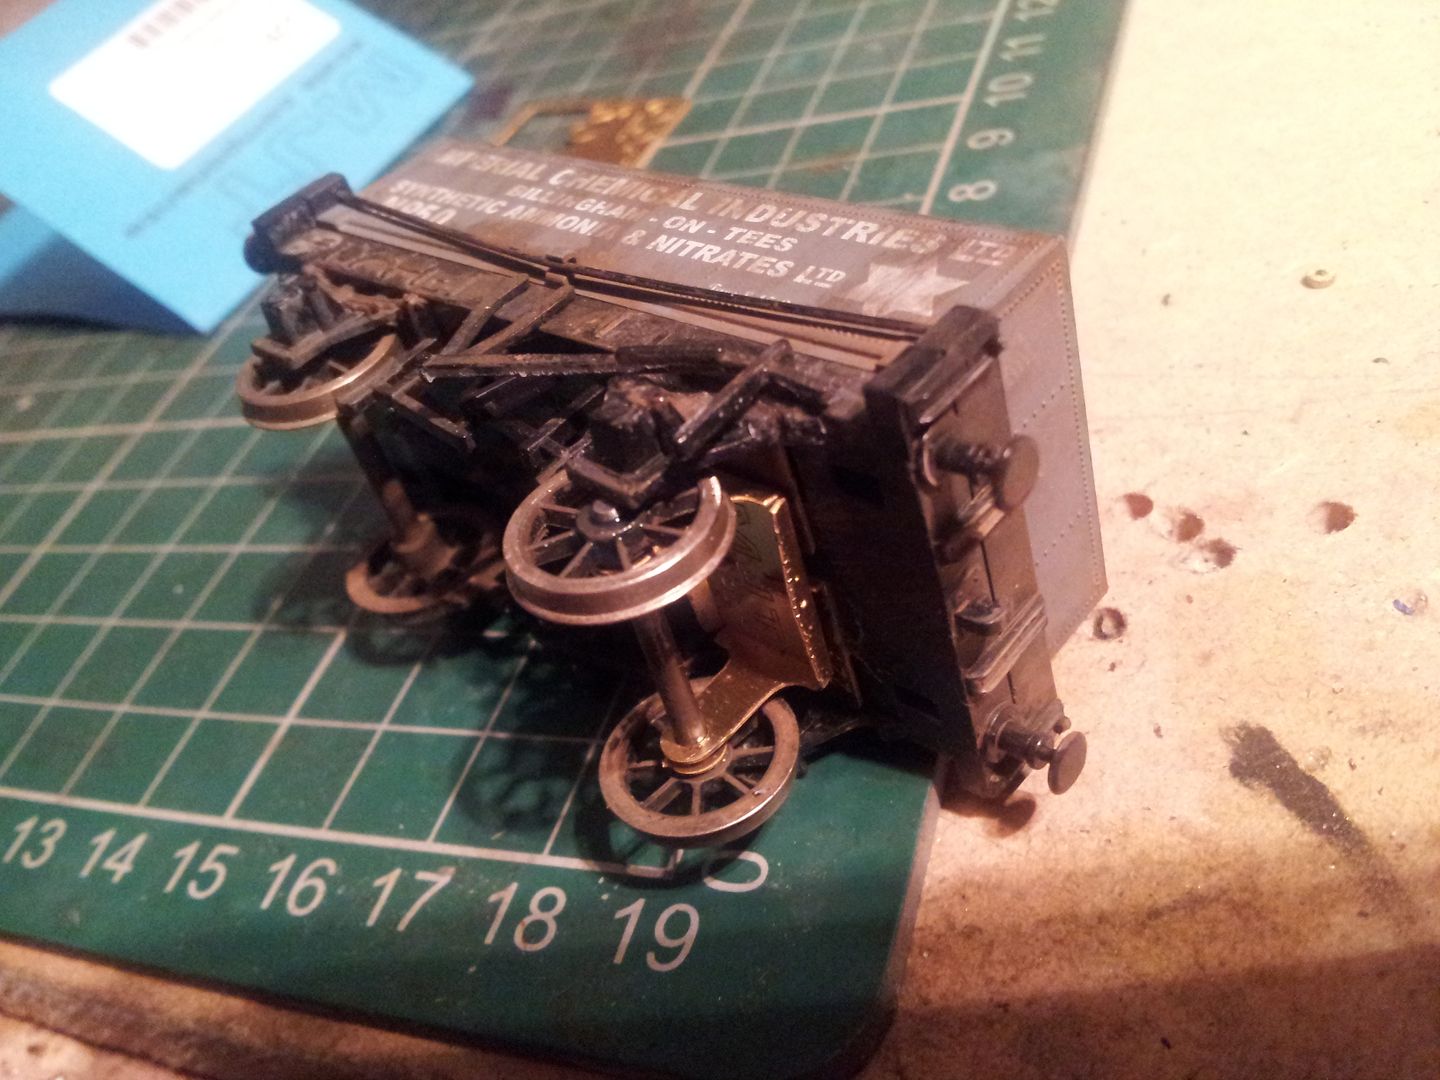
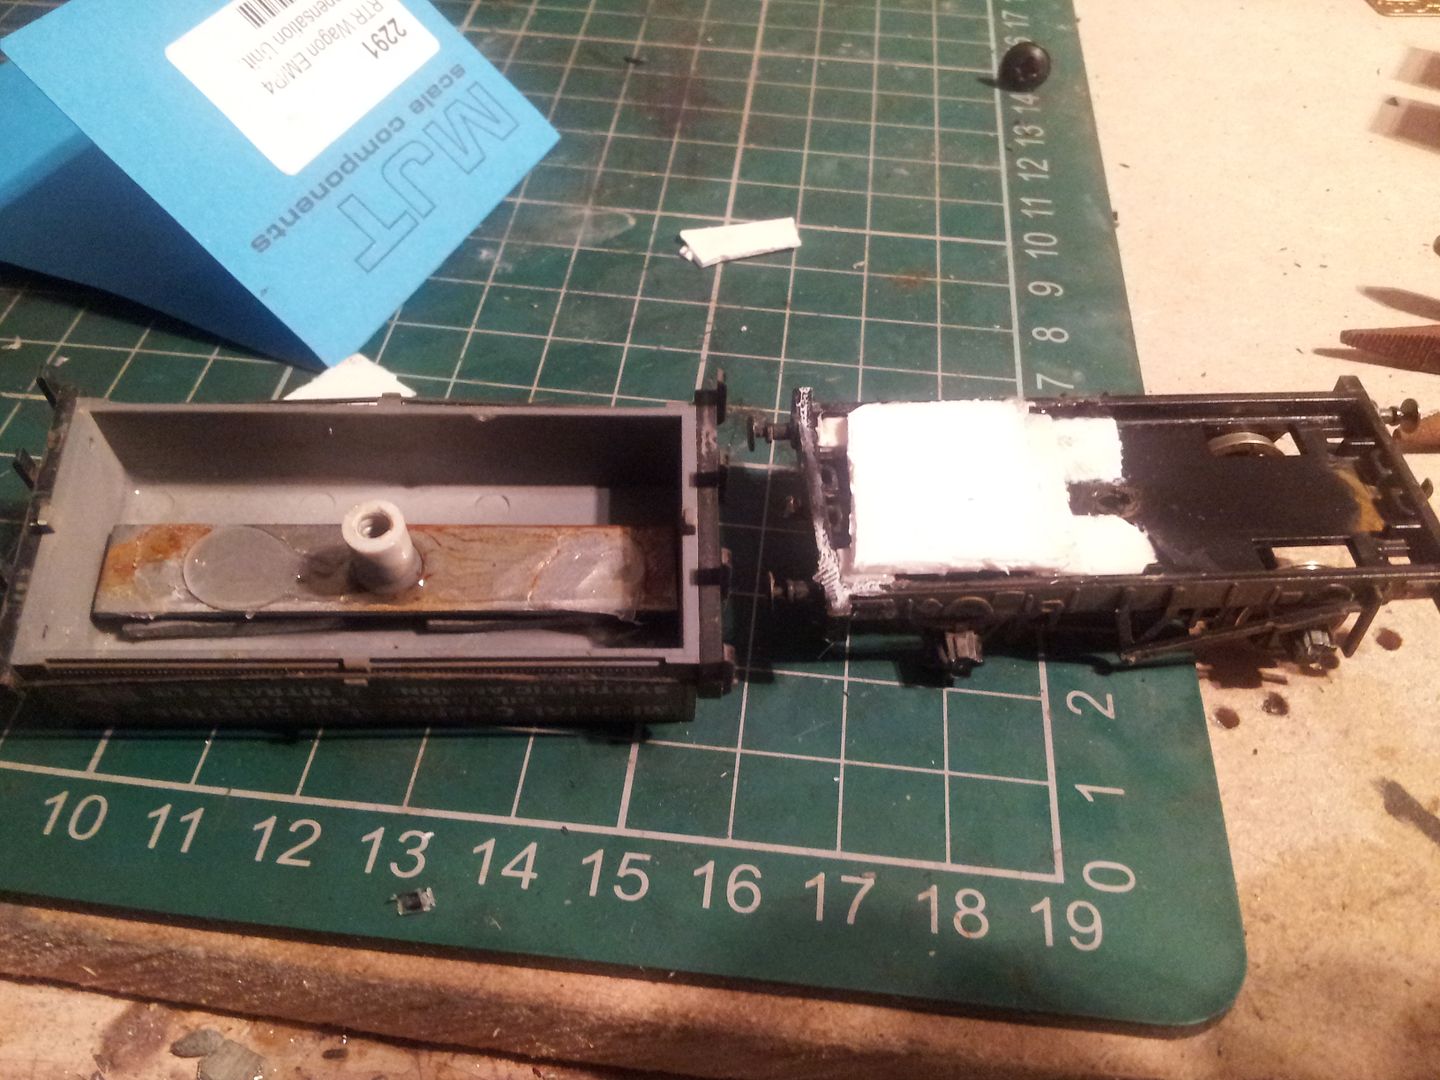
So, I guess it's time for some severity with another classic Knux bodge job. Body / tank off, cut accommodation hole for the unit to drop through, pack edges with plastic card. Very crudely I might add, as it's out of view I made zero attempt to do it nicely.
Ugly.
Superglue blooming is obvious. I took little care with the packing. As I hope you can see this was done to provide a base for a false floor within the tank. It was estimated and 'dummy ran' until the desired height was achieved. Due to the weight now being in the way I had to push glue it inside the tank further up. This also gave opportunity to trap some extra lead weight in there too behind the weight as you may be able to see. True, the centre of gravity is a bit higher, but not enough to cause issues.
Flipped over.
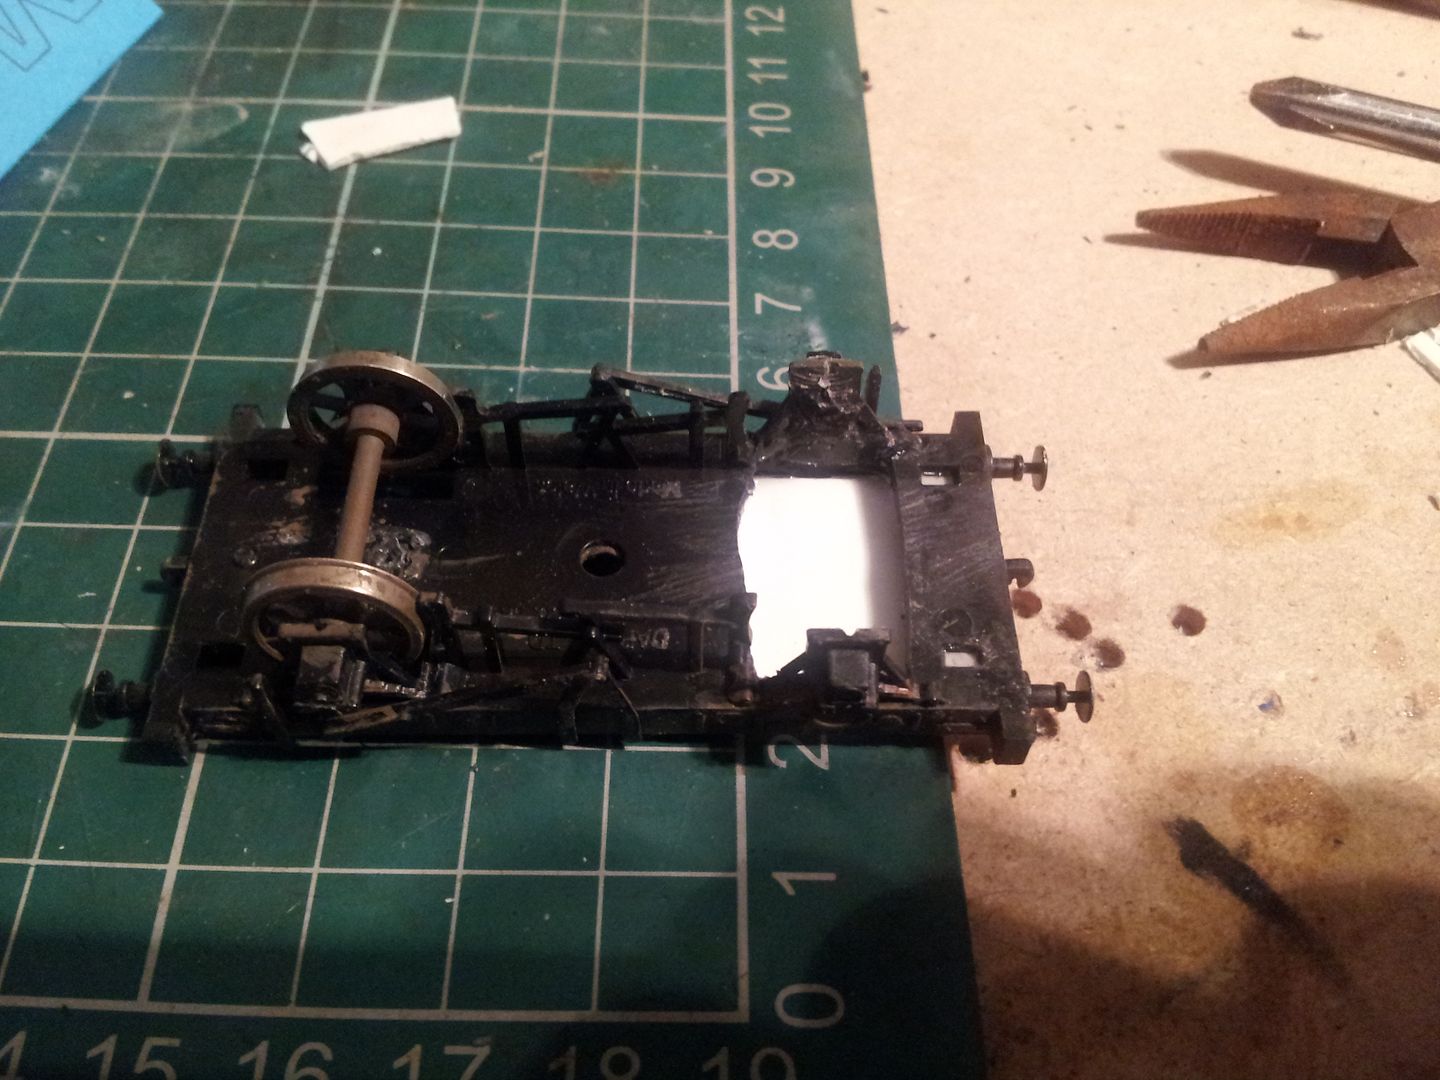
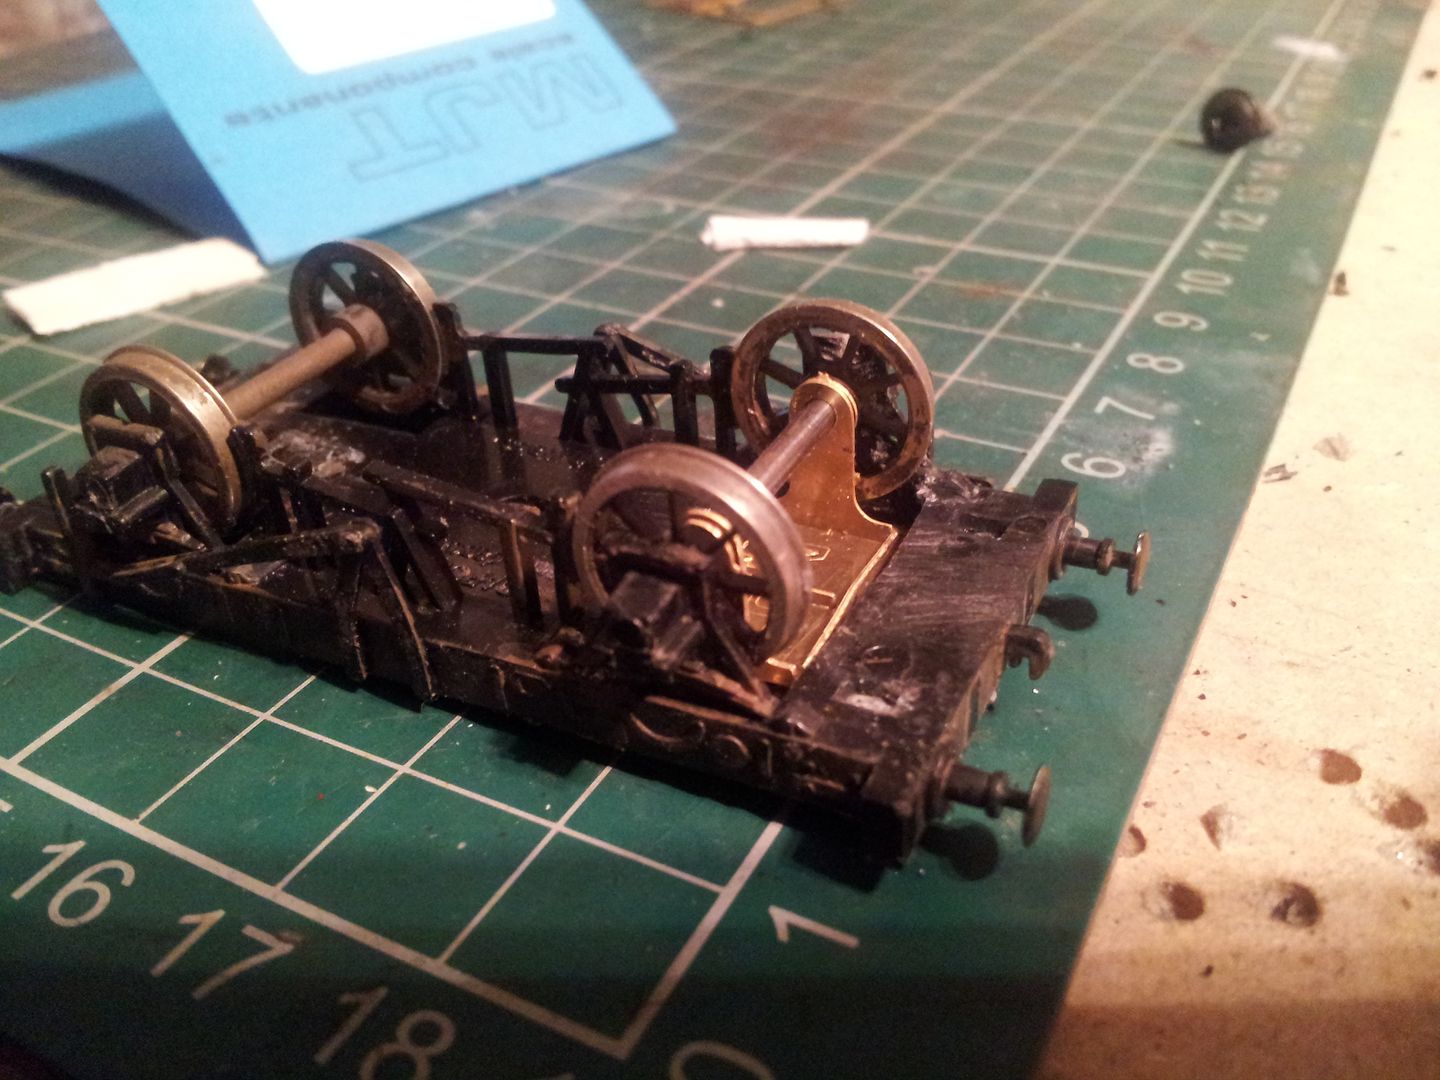
And err, done. Result! What a faff that was, it runs better now, just not as smooth and free flowing as springs, but it seems to do it's job so I'm happy.
-
Topside with Dingham couplings installed. On this wagon I had to deform the couplings slightly to change heights but they still work. Probably my error.
Next to another wagon kit that I built up. As yet this is the first time you have seen it, no tare weights yet though.
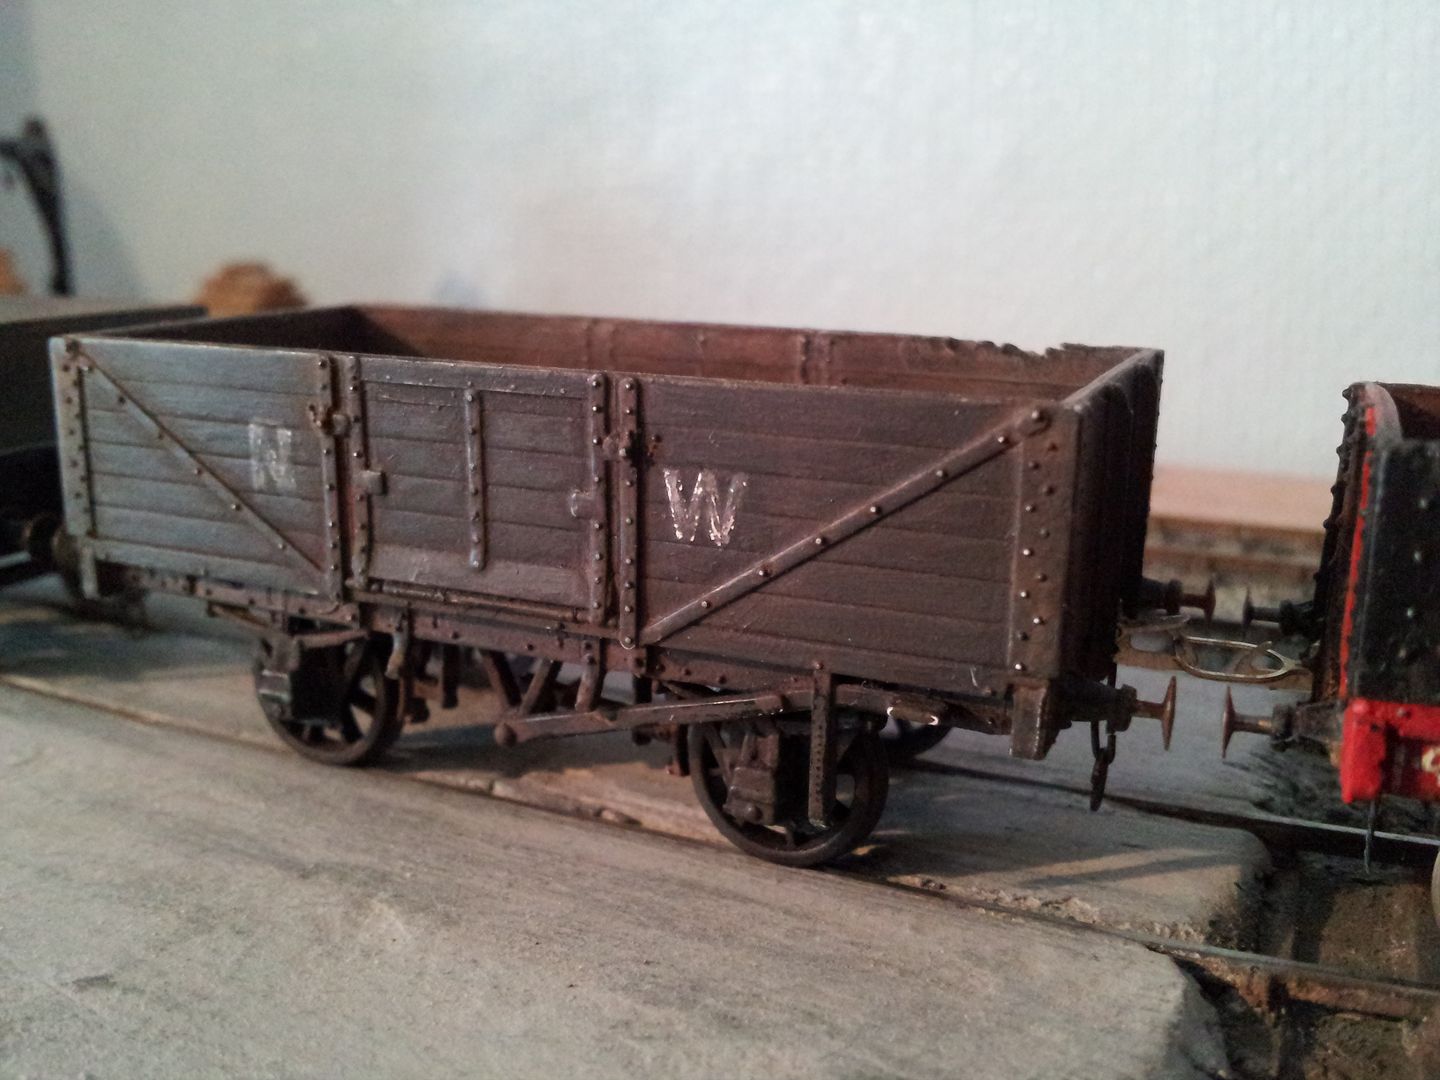
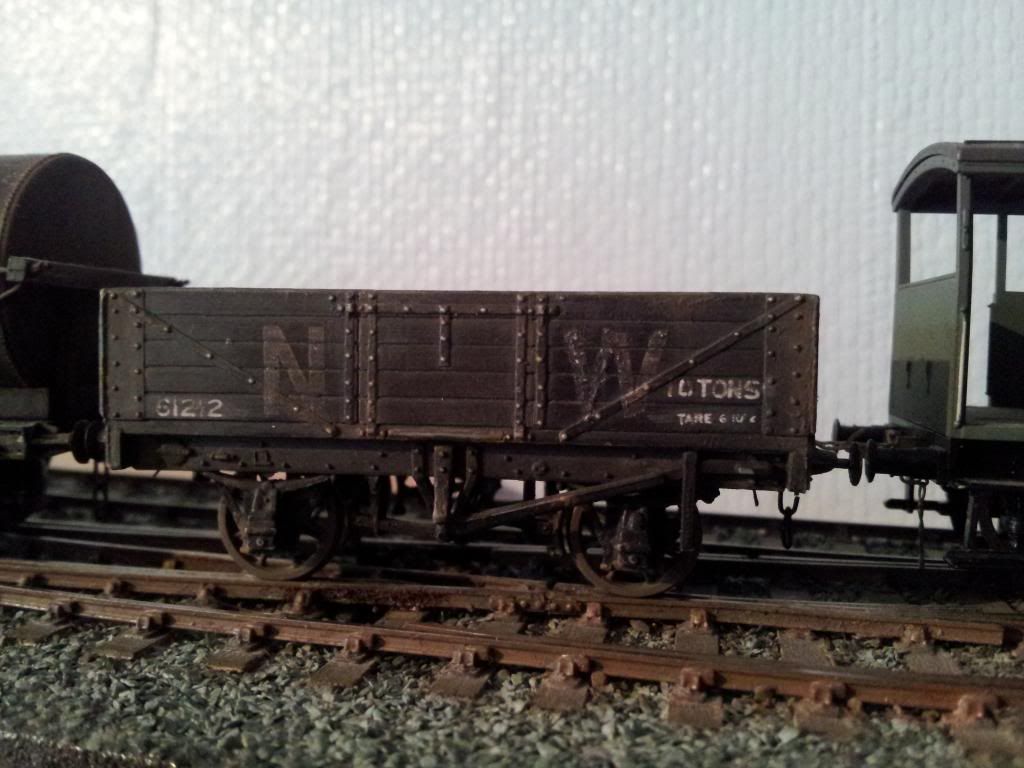
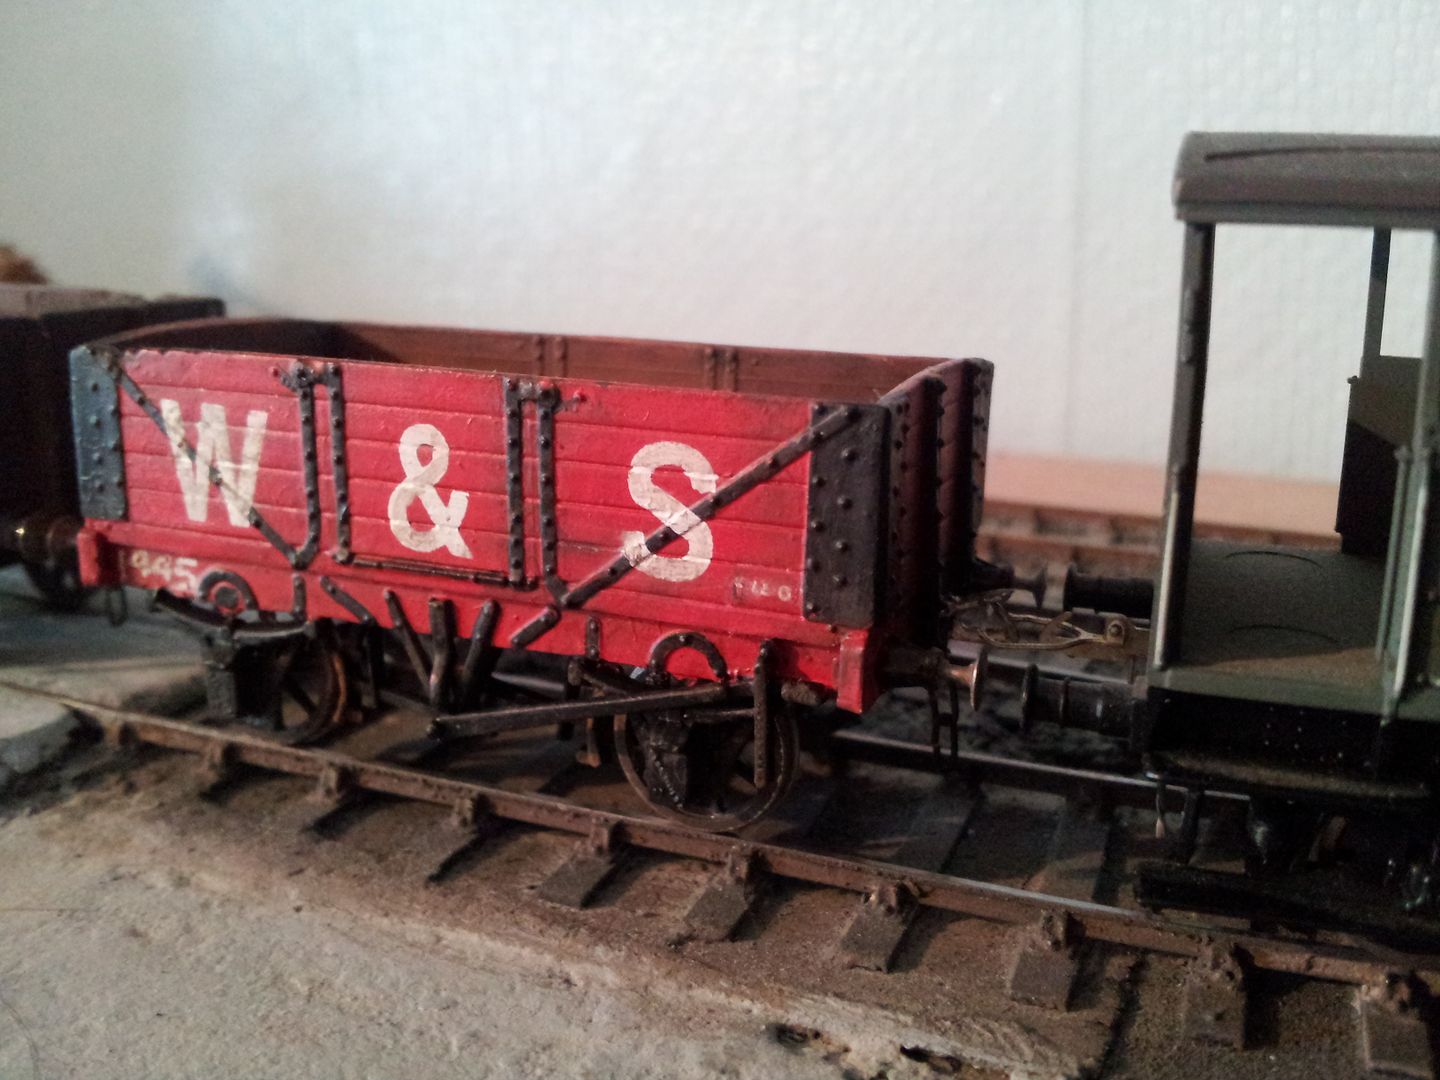
Next to another wagon I built. This is another fictitious livery. In my reference books there was a Sudrian pre 1915 NWR railway called the Wellsworth & Suddery, so I've had a stab at a 'might be'.
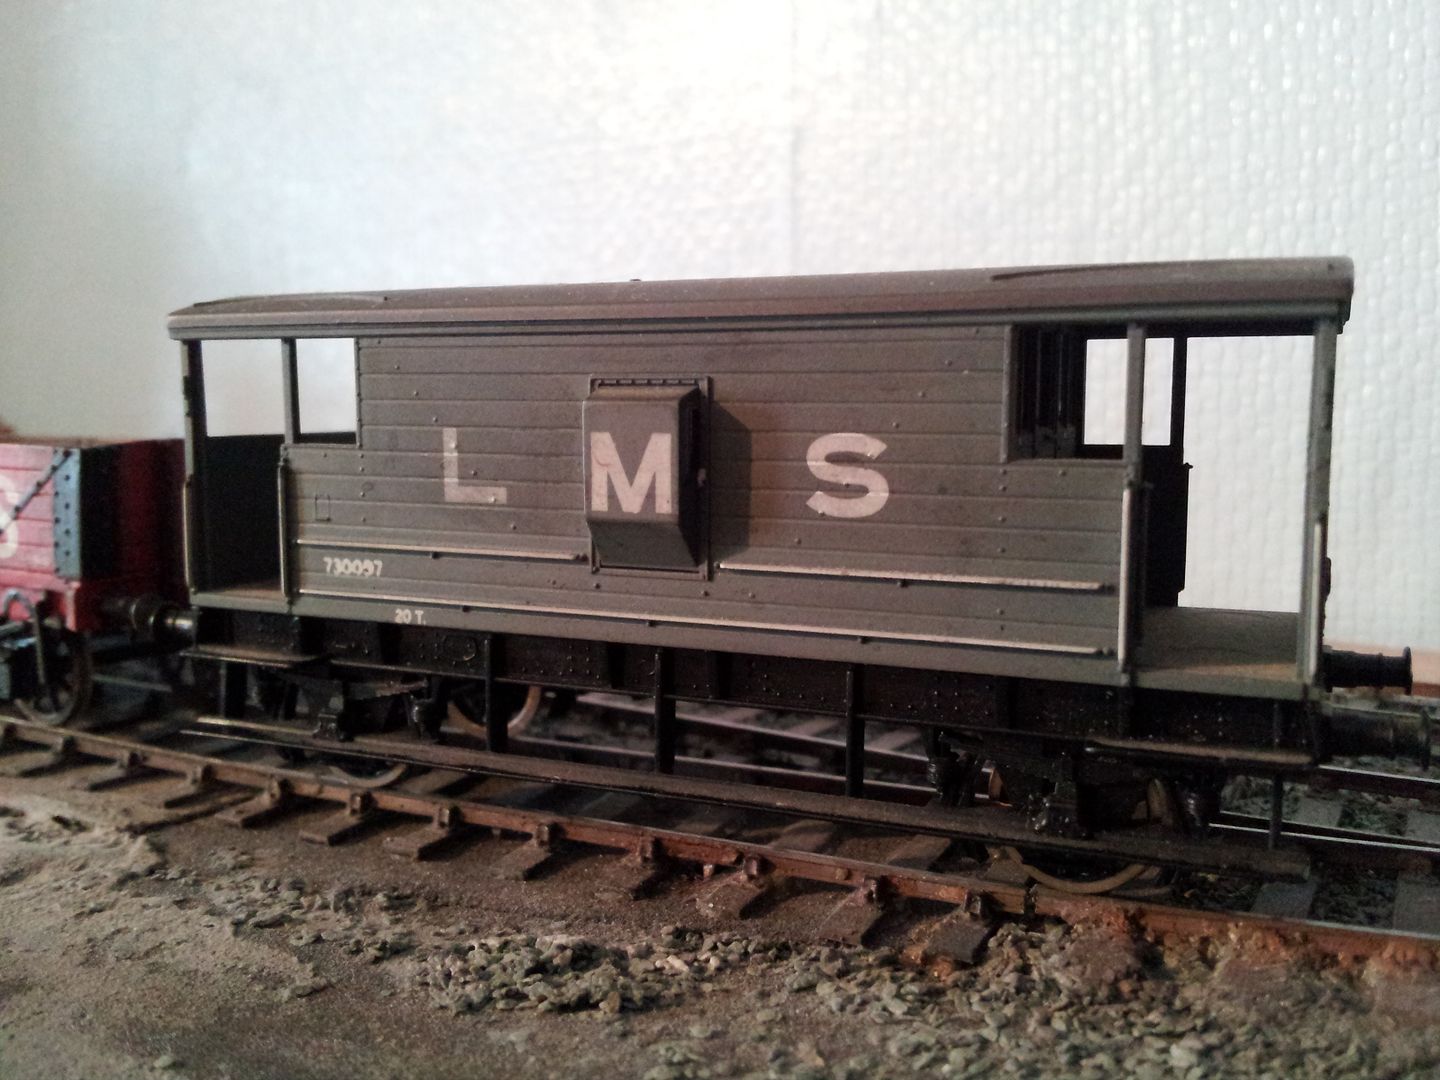
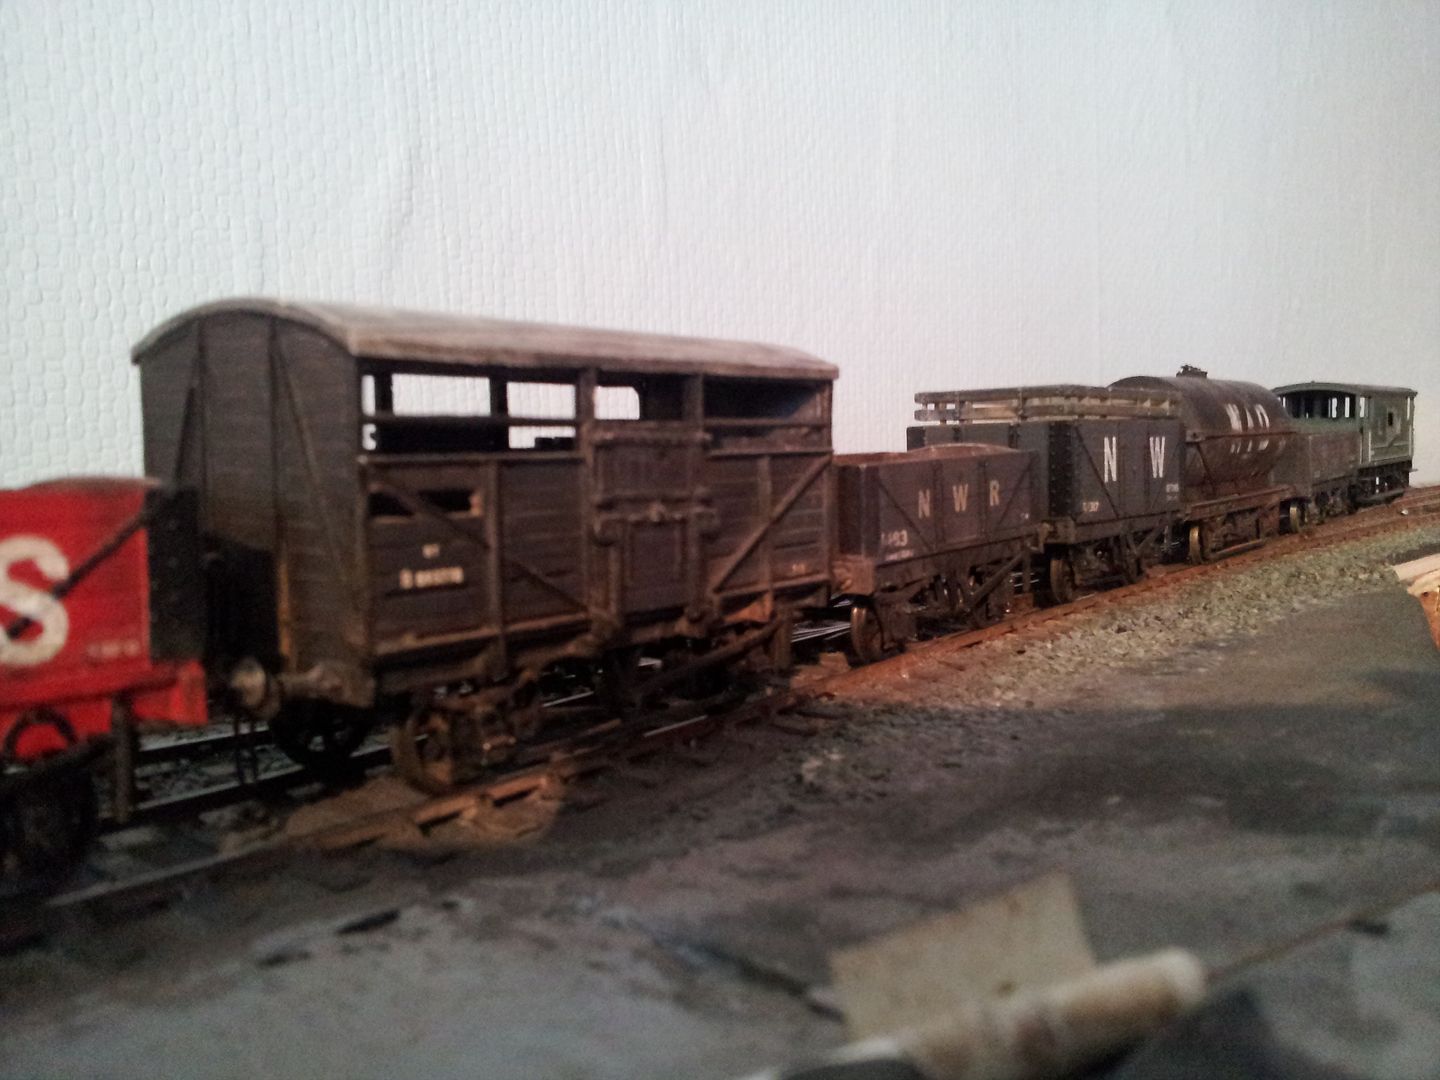
Next to an old 1978 Airfix brake van I brought from the model railway club for £2, (can't whinge) even better is the fact that when I popped some P4 wheels in, it decided to run beautifully and still does. Rare indeed! Clearly I need to paint the (I think) sole bars grey and the detail is dated to say the least...and the brake shoes are in line with the W Irons, but again, £2 for a sweet easy conversion. I can live with that. It offers scope for future fiddling's if I fancy also.
P4 wagon line-up thus far. The far left 3 are Dingham fitted, plus the brake van on the right. The rest are 3 links, most of which couple up to the Dingham's - yet a few have an attitude problem and will not co-operate. Never mind.
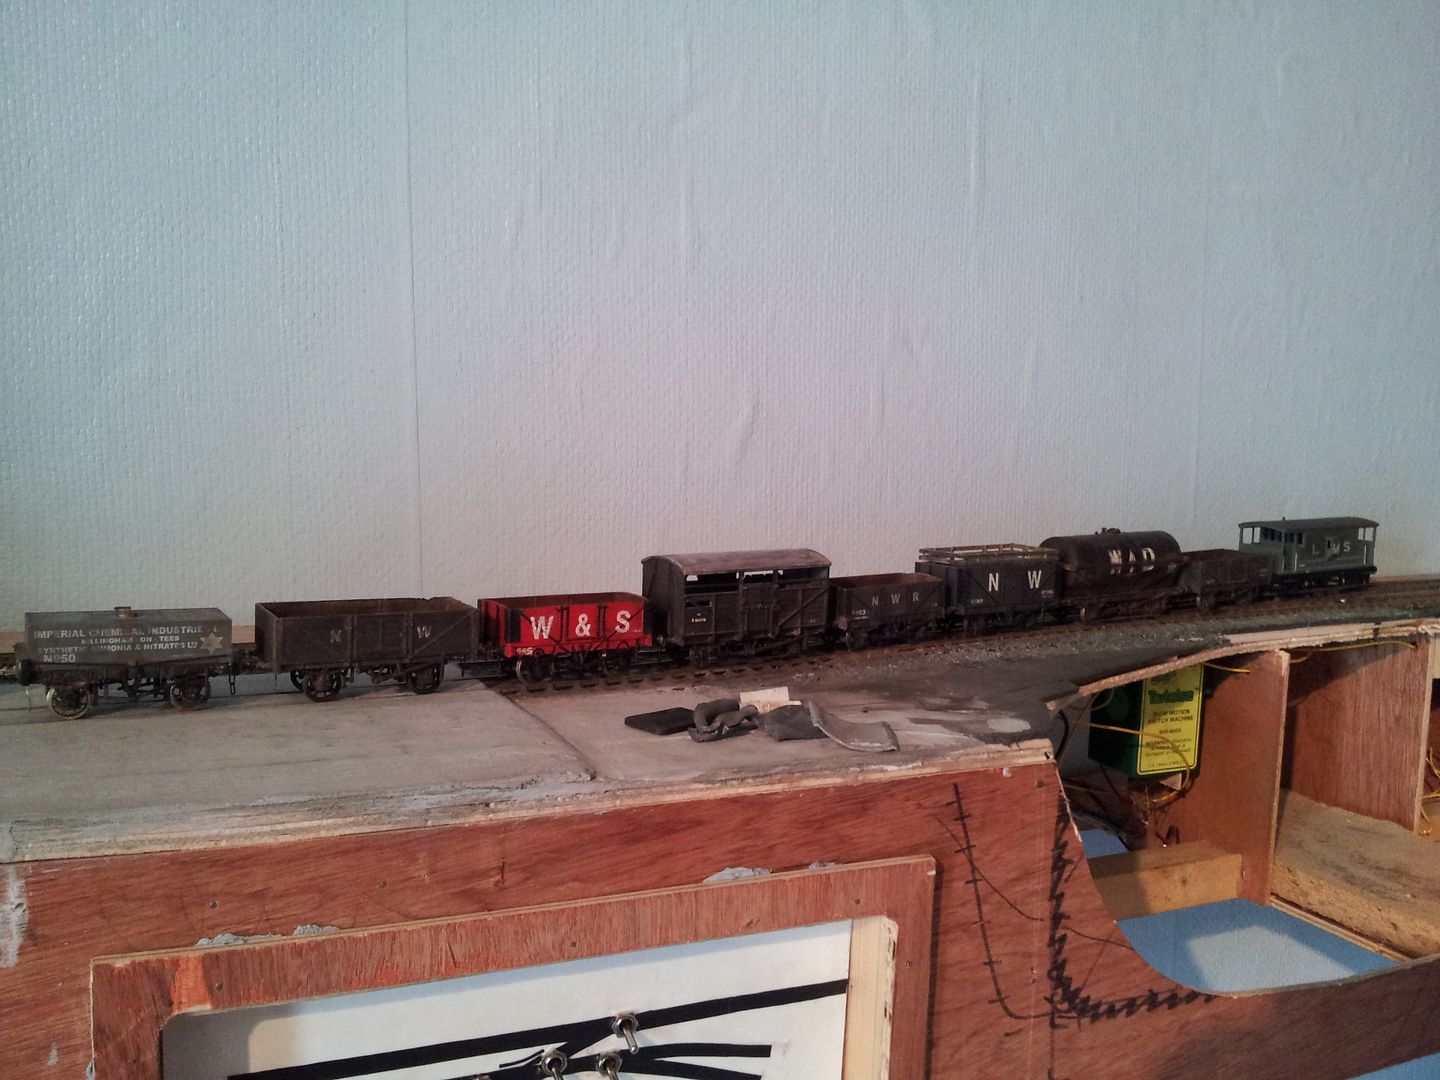
This pic I just think looks nice. I'm quite happy with my weathering and painting. The coal rave extensions on one wagon are removable.
Sorry if the picture quantity is undesirable. It has been a long time since I posted anything that may be interesting though.
What you think? 
-
 2
2

3 Comments
Recommended Comments
Create an account or sign in to comment
You need to be a member in order to leave a comment
Create an account
Sign up for a new account in our community. It's easy!
Register a new accountSign in
Already have an account? Sign in here.
Sign In Now