

PKP Px48 build from a GLR Models 3D Print Cont:

Entry posted by 46444
1,170 views
Evening 
Bit of an update on the Px48 build after spending three days in Cambridge on a course I've had the day off and in between things have managed to make some good progress fitting brass bits I've cut out.
Sorry about the photos-they're quick workbench shots taken with my HTC.
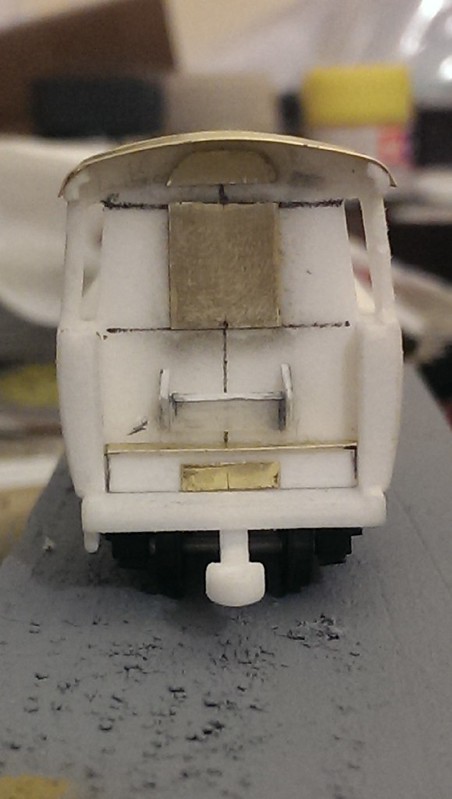
Here's a front view showing the roof profile:
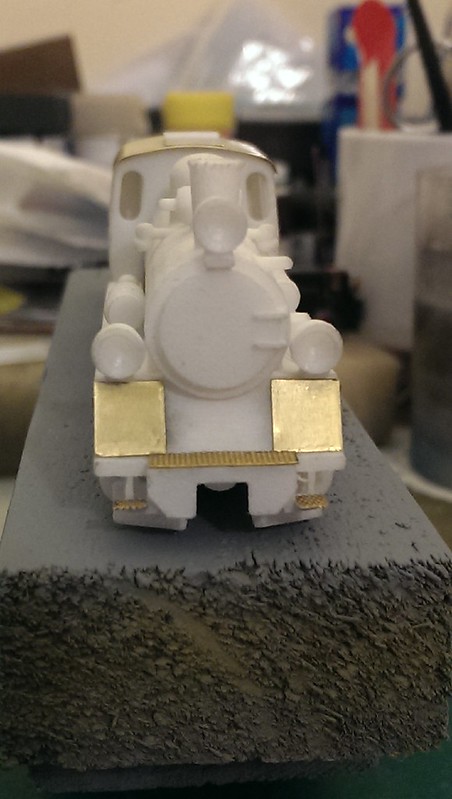
px48 12-12-2013 004 by kettering15b, on Flickr
On the loco I've added some thin brass overlays to the top of the cylinder casings and on the lower half of the firebox as per the prototype. I've also tried to thin the front steps down as well and add chequer plate overlays sourced from the Mainly Trains etch.
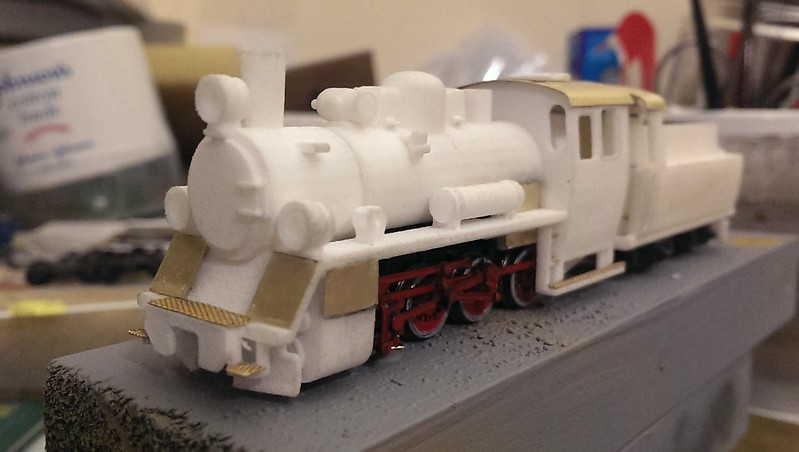
px48 12-12-2013 006 by kettering15b, on Flickr
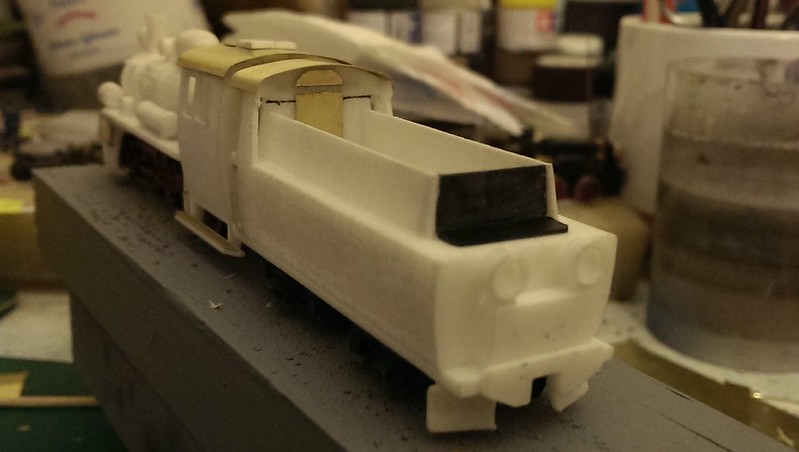
Here's a view of the loco and tender together. You'll notice I've cut away the tender cab roof plastic and just used the brass overlay I made to get that thinness to the edges:
px48 12-12-2013 007 by kettering15b, on Flickr
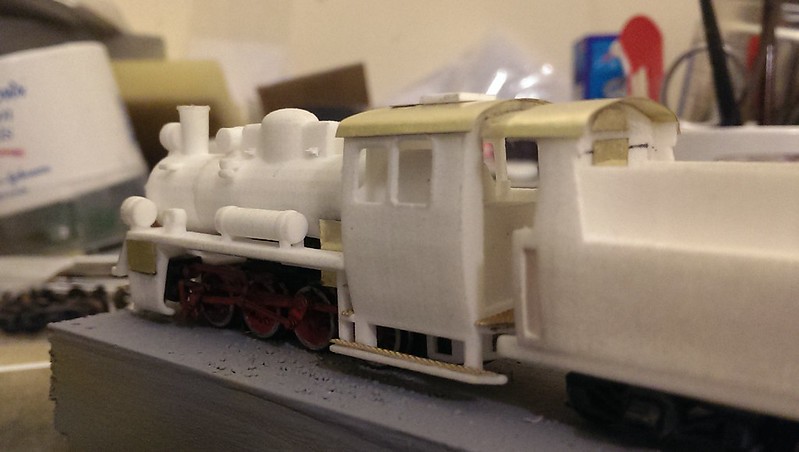
The tender needs some new wheels and I'll adjust the ride height slightly to clear the extended cab roof seen below:
px48 12-12-2013 009 by kettering15b, on Flickr
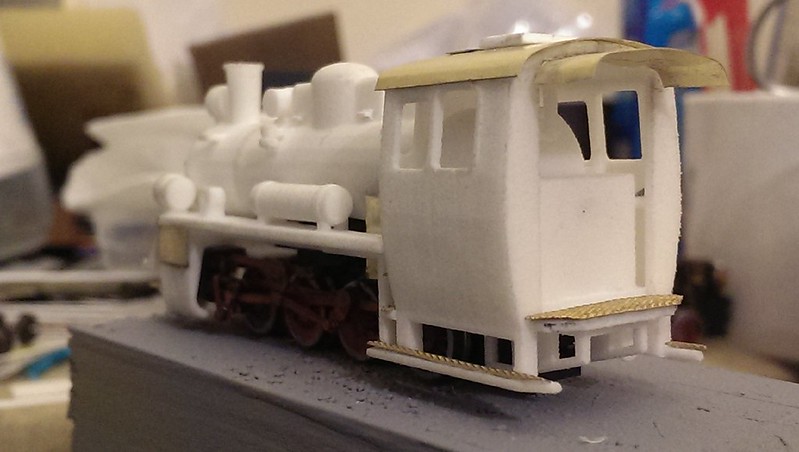
Here's a front view of the tender showing my dodgy brass cuttings for the doors and the vent above the door. I've added a shelf to the bottom of the tender cab and made up the coal hole from plasticard.
px48 12-12-2013 010 by kettering15b, on Flickr
The next photo shows where I've put the vertical back in the bunker space and added the water tank filler hatch. To do this I had to remove the rear light which will be moved back slightly.
px48 12-12-2013 012 by kettering15b, on Flickr
Finally an overview of the rear of the loco:

px48 12-12-2013 013 by kettering15b, on Flickr
Essentially the main work has been completed. There's a few other bits to add before I give the model a coat of primer. I'll then add the myriad of pipes and handrails and use some Archers rivet transfers before further priming and application of the red, green and black paint.
Cheers,
Mark
-
 5
5

6 Comments
Recommended Comments
Create an account or sign in to comment
You need to be a member in order to leave a comment
Create an account
Sign up for a new account in our community. It's easy!
Register a new accountSign in
Already have an account? Sign in here.
Sign In Now