 The LSWR was the biggest of the GWR's neighbours at Farthing, so I thought I'd better make myself some stock from that company for my 1900s goods depot. Last night I finished my LSWR sliding door van, to SR diagram 1410, built from the David Geen whitemetal kit.
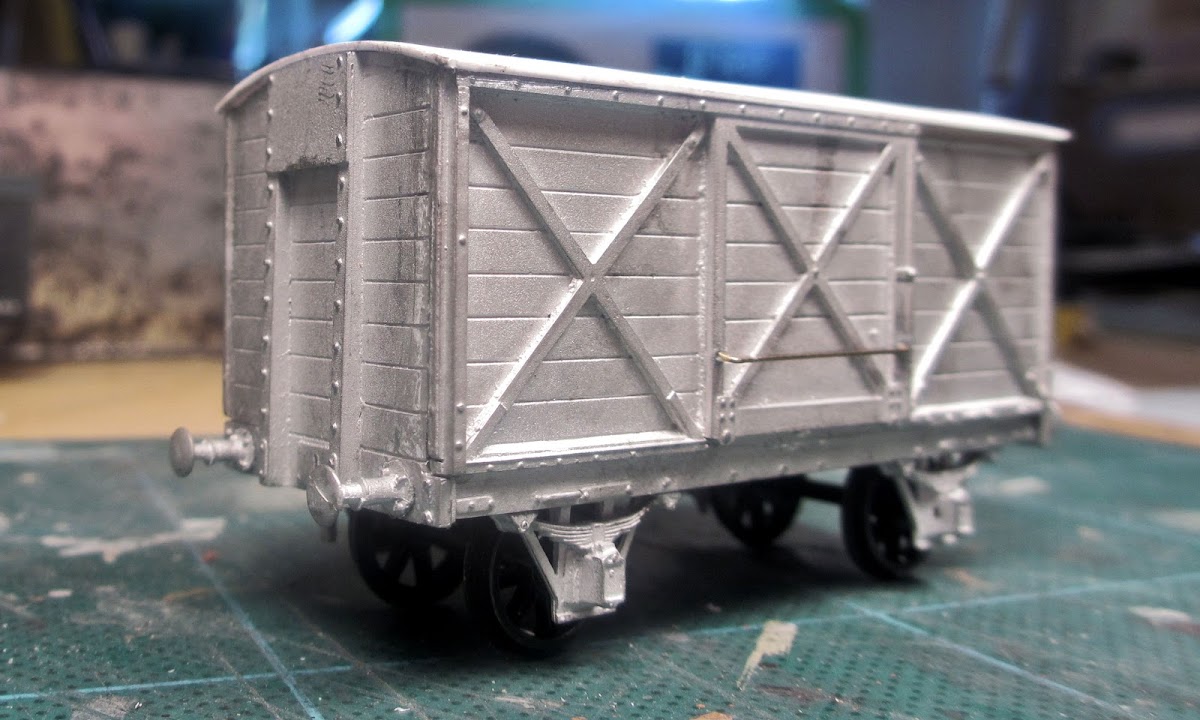
Above is the kit assembled as it comes. Having done that, I realized that a couple of details didn’t match the photos and drawings in my newly acquired “Illustrated History of Southern Wagons, Vol 1”. The kit has the door rail below the roof, while all photos I have seen show it in front of the roof. Likewise, the kit has the vent covers below the roof, while most (though not all) photos show them flush with the roof top.
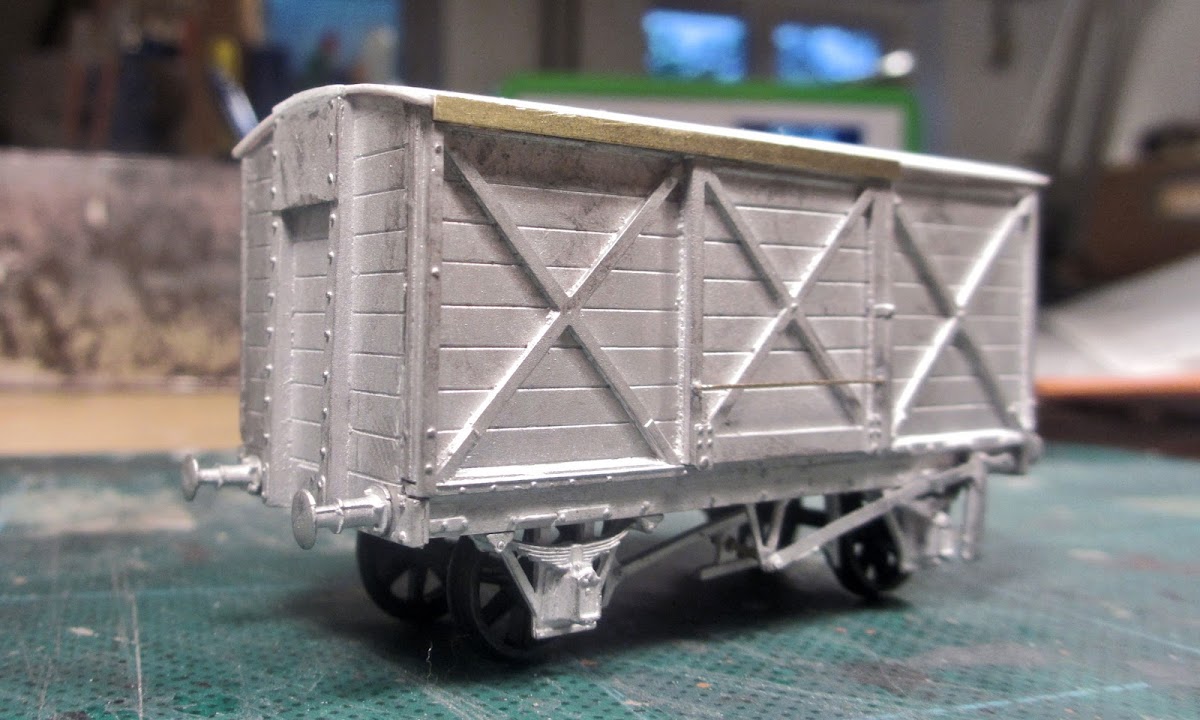
It's possible that the kit is correct for some vans at some point in time. Nevertheless, I decided to lightly modify it to match the photos I had available. I filed back the roof and original door rail, and added a new rail from scrap brass. The vent covers were extended to the roof top with a sliver of plasticard.

After a first light coat of primer, Archer’s rivets were added to the door rail – 12 little devils each side. For all its bad reputation, rivet counting can actually be quite fun! Can you tell I was in a hurry when I did the priming? ![]()
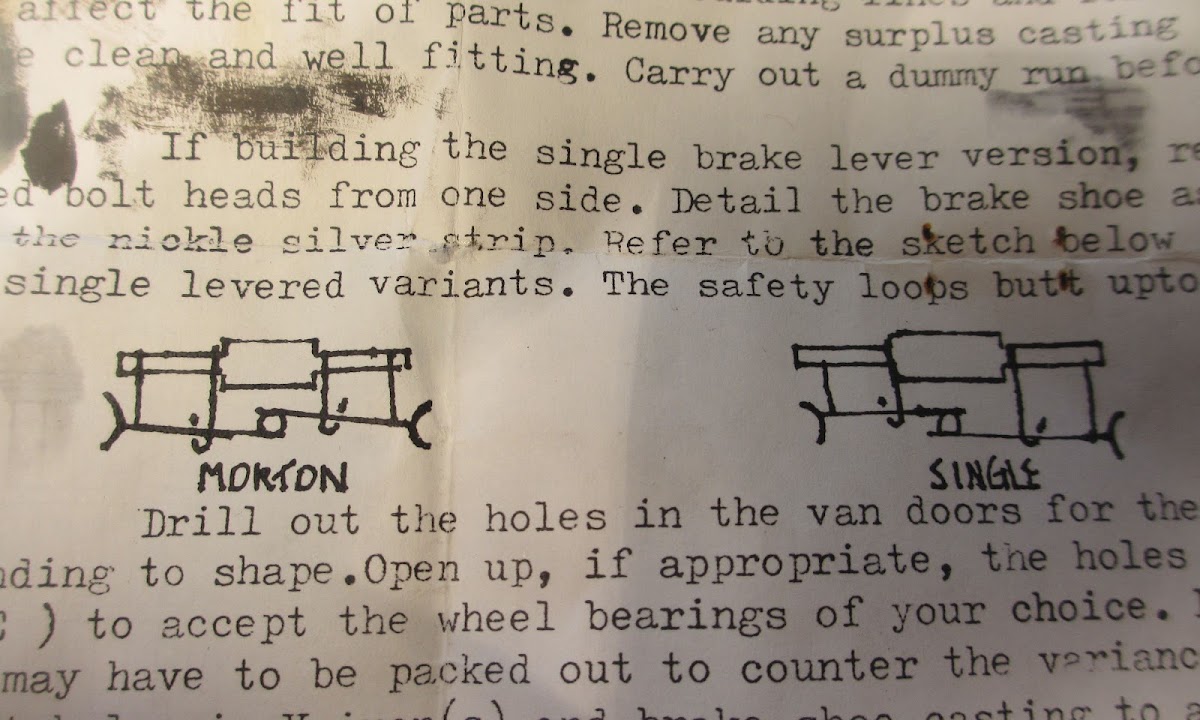
I was confused about the brake gear. A sketch in the instructions show that for a single lever arrangement, the arms should be fitted left over right. So that’s how I initially fitted them, but it seemed wrong: The only photo I can find of a 1410 van with single-lever, one-side brakes has them right over left, and so do other single-lever LSWR (and GWR) vans and wagons. So eventually I re-fitted them right over left. Did I get it right though?

Except for the primer, I prefer to brush paint my models. I like the flexibility of it. For this van I decided to experiment a bit. I first added a basecoat that was deliberately a little darker than the ideal colour.
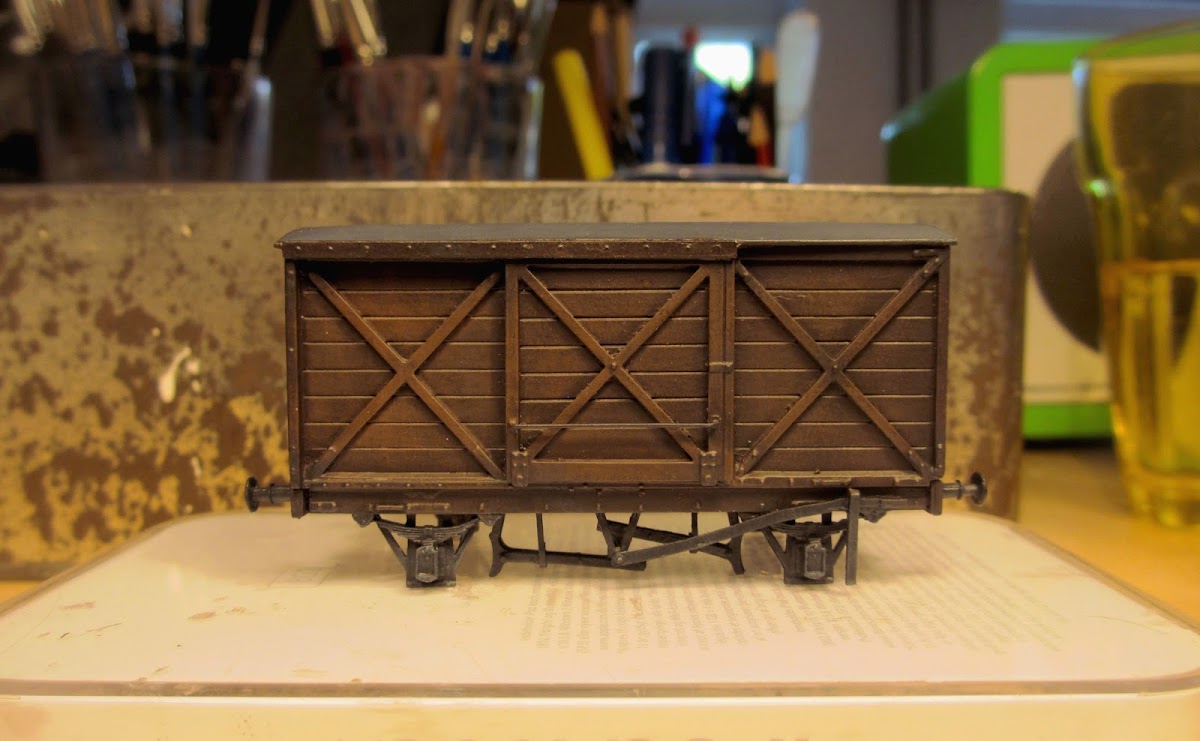
On top of this, I semi-dry brushed a lighter shade. By “semi” I mean that the brush was more loaded than you would normally do in dry-brushing. I like the resulting “depth” of the colour.

Due to a mix-up with my mail orders, I found myself with not one but two LSWR lettering sheets: One from HMRS (left) and one from Fox (right). This allowed for a bit of comparison. The two sheets are almost identical when it comes to the actual wording/styles provided. The HMRS sheet has lettering for all the main SR constituents, and a little more variety in the LSWR lettering styles. I personally like the HMRS Pressfix method which I have gotten used to over the years. The Fox transfers only have LSWR lettering, and water-slide transfers are not my favourite - but significantly, the smaller letters and numbers are a good deal finer than the HMRS ones.

I ended up using a bit of both. By using the HMRS tare numbers for the tare, I could use the finer Fox tare numbers for the paint date on the solebar. The latter is a little overscale I think, but I thought it would be fun to include. Incidentally, January 22 1901 was the day Queen Victoria died, and thus the beginning of the Edwardian era. It does date the van, so I'll be in trouble if I decide to model a later period! For the number/builders plate I initially fashioned one in photoshop (bottom of picture), and printed it to the correct scale. But when fitted to the wagon it looked like… a paper printout! So I used a non-descript builders plate from a Mainly Trains etch instead.
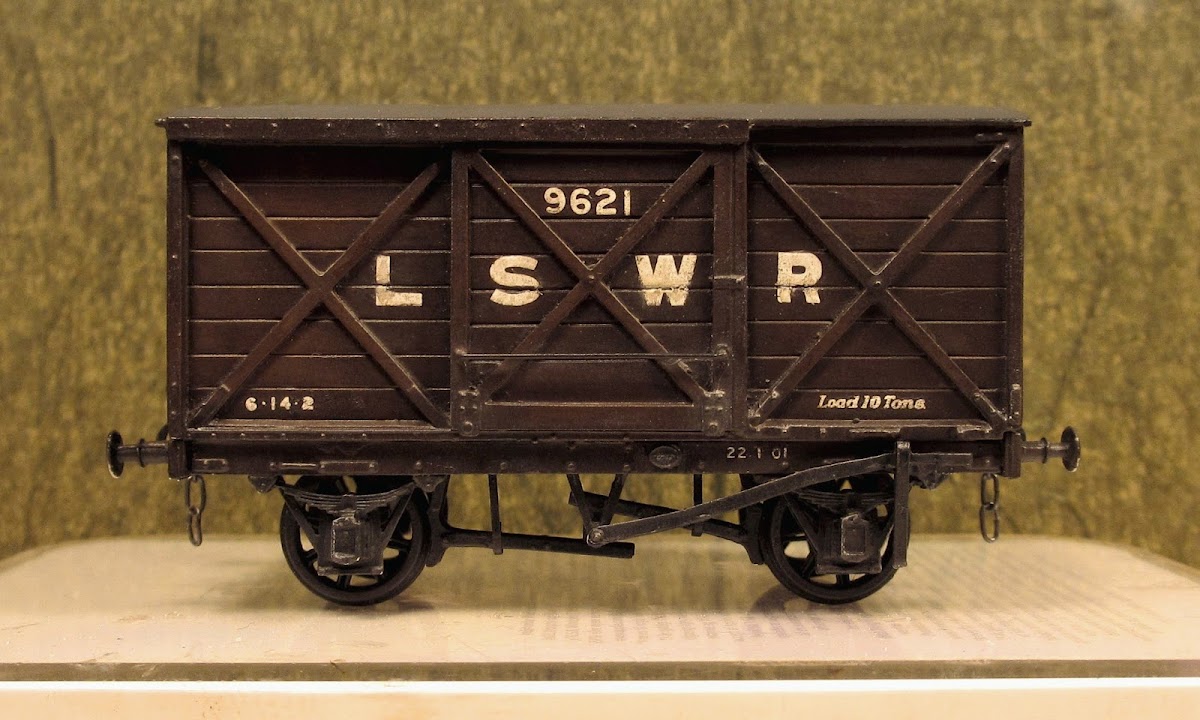
I went for a lightly weathered look, but not too much. I find it hard to get that faded look to the lettering that I have seen on some models. Any advice would be much appreciated.
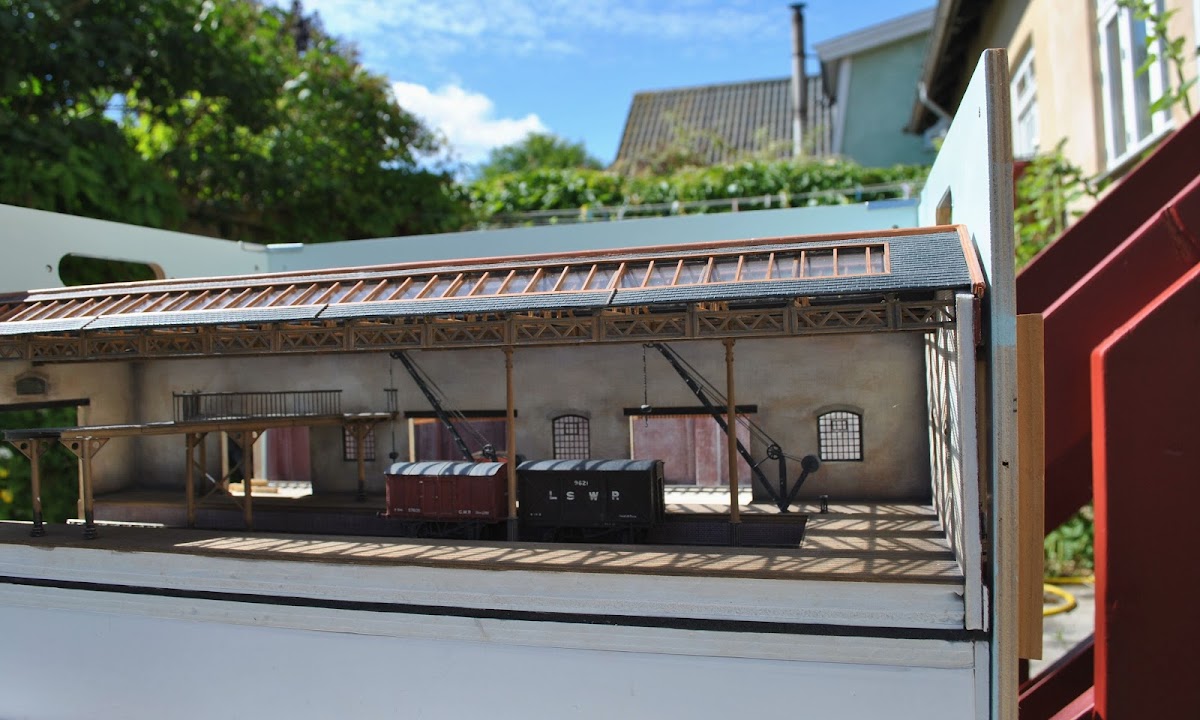
Today was a nice day here in Denmark, so I took the goods depot outside to get a few photos of the new van and assess general progress. I recently managed to crush the mezzanine floor, and am slowly rebuilding it. That's the second disaster I've had with this little layout, the other was when the roof structure got smashed. No wonder my son calls me Homer Simpson!

Views like this make me happy though. Comparison between the LSWR van and the contemporary GWR iron mink shows two different approaches to the standard goods van of the late 19th century. The LSWR van was introduced in 1885, and seems fairly large for the time with its 18ft over headstocks. The GWR Iron minks were introduced the year after in 1886. With a 16 ft (later 16’6) length it stuck to a more modest size but experimented instead with iron for body construction. I wonder which of the two designs was more economical in the long run?
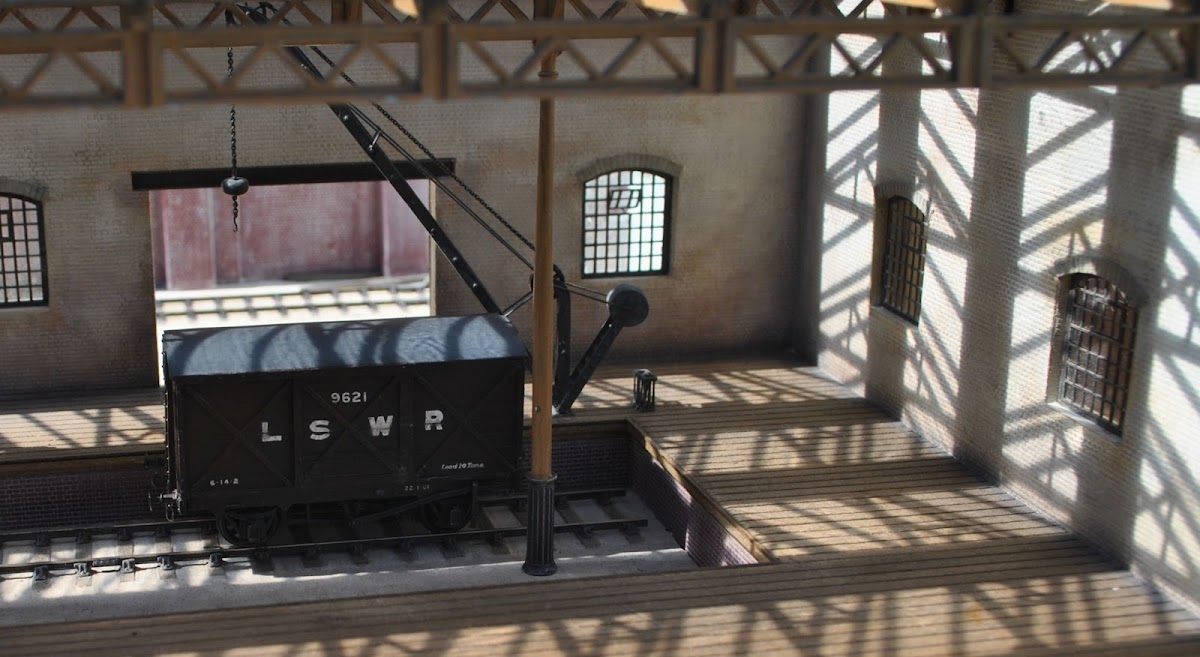
One day I'd like to try building a lightbox, but for the time being I'm content with that big old lightbox in the sky.
-
 33
33


30 Comments
Recommended Comments
Create an account or sign in to comment
You need to be a member in order to leave a comment
Create an account
Sign up for a new account in our community. It's easy!
Register a new accountSign in
Already have an account? Sign in here.
Sign In Now