

Dapol kit build

Entry posted by altone
626 views
First model off the new workbench.
Well it's been a long time since I made any models, so here's the first.
A Dapol BR brake van, just one of an auction lot I bought.
First impression is how "messy" this kit is - lots of flash, bits broken off sprues
and the transfers look like they are well past their use by date.
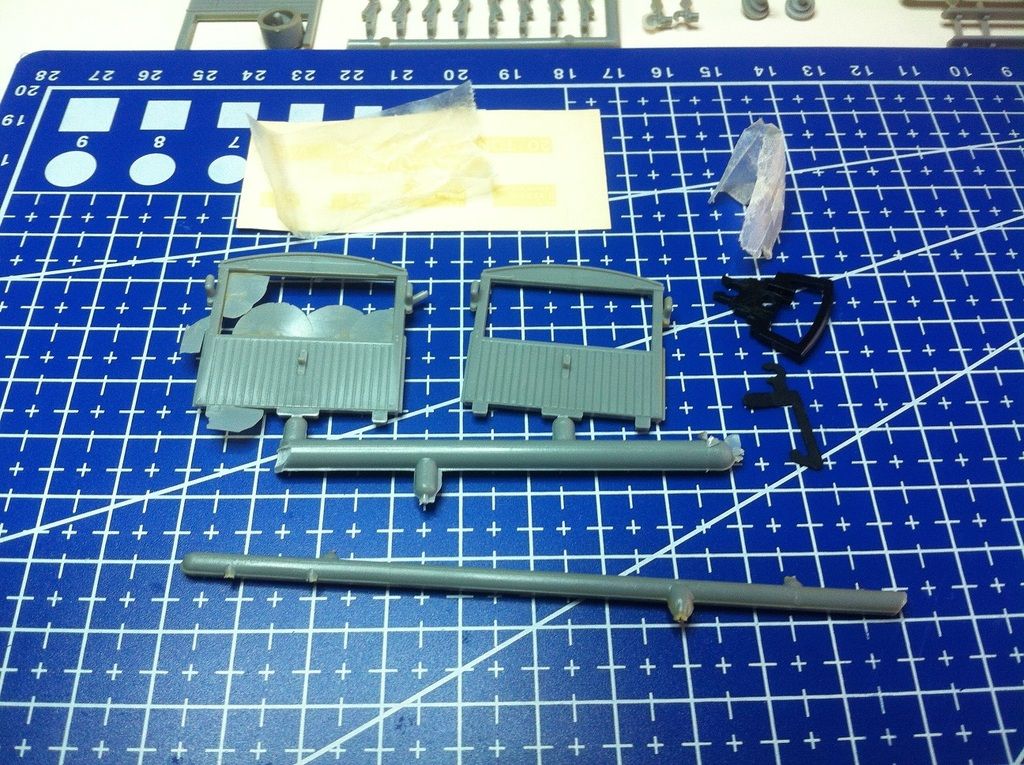
I decide not to bother pre painting or modifying the kit - just build as is.
So clean up all the parts and start glueing.
I'm using "Plastruct" plastic weld for the first time.
I'll be using the supplied brush for large surfaces and my chopstic needle for
smaller ones.
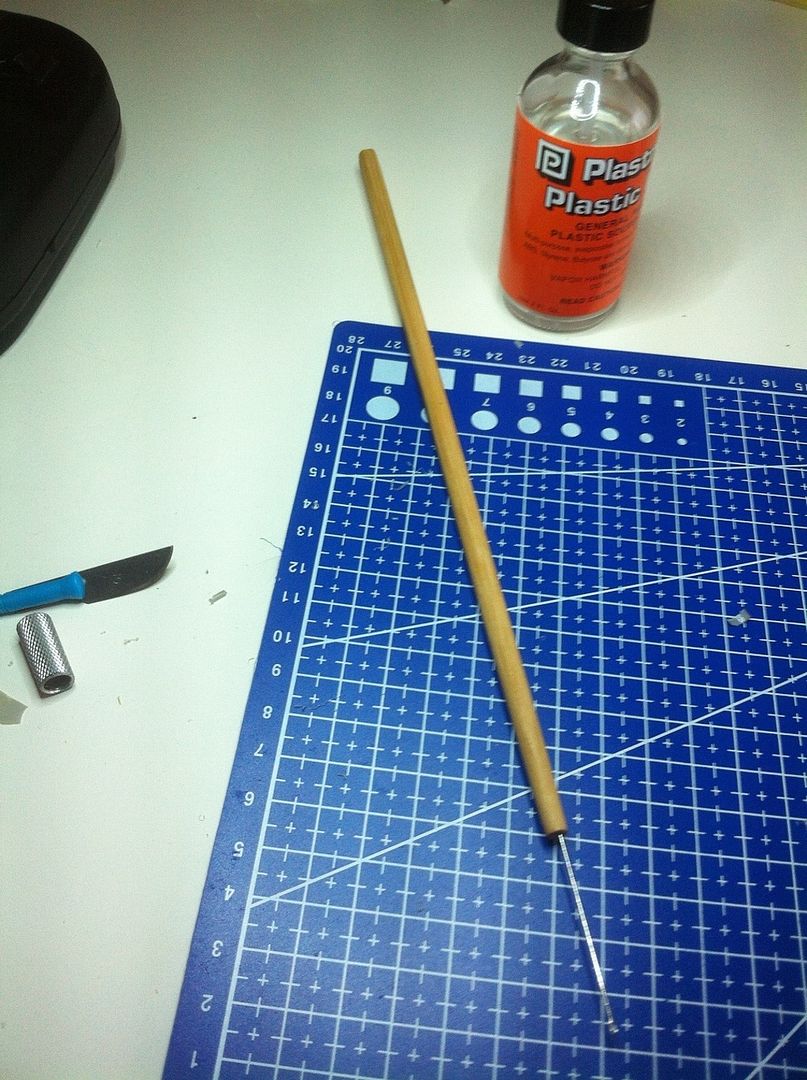
You probably can't tell from the photo, but the end of the needle eye is ground off.
I'm pretty sure there are details of something similar already here on Rmweb.
If not, the Kadee catalog shows you how to make one.
So here's the first weld 
Don't worry, I'm not going to be showing you step by step.
I'm sure you've all made plastic kits at some time.
Just remember to keep the glue away from visible surfaces as much as possible.
If the glue you're using says something like "excess solvent will evaporate and be unnoticable"
Let's just say their claims are umm optomistic?
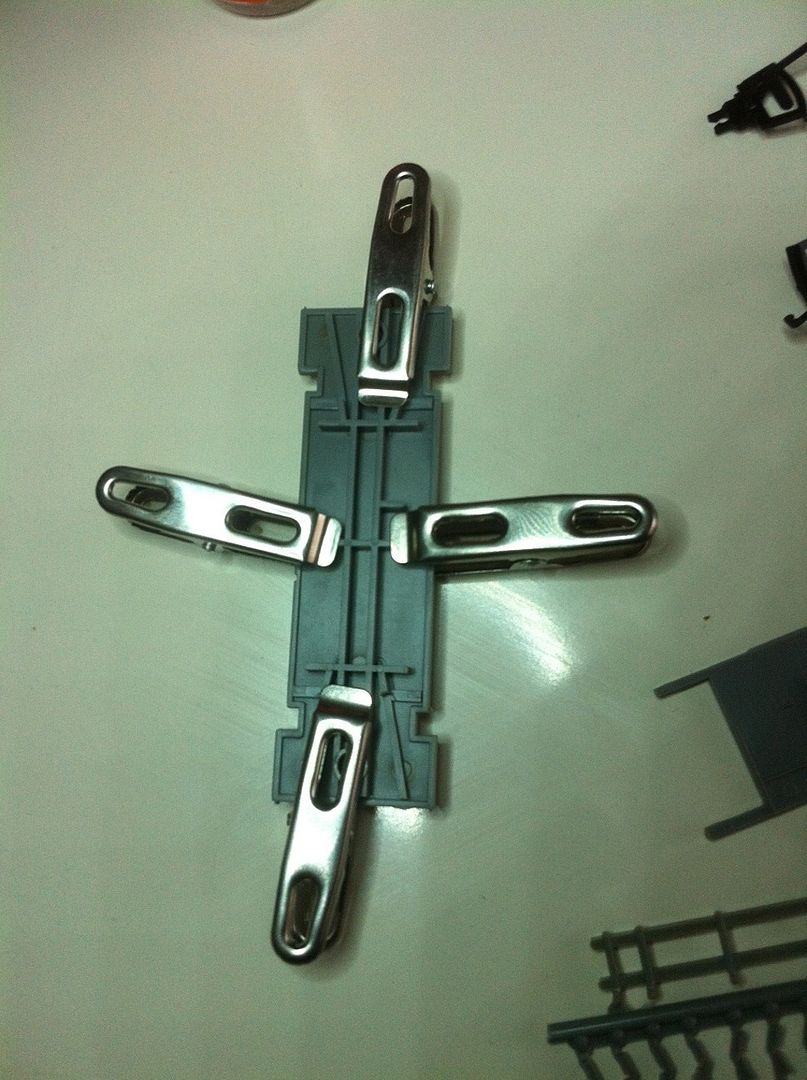
The special modelling clamps I'm using cost $2 for 40 at a local Chinese variety store.
For card and fragile surfaces I use special soft jaw clamps that apparently
can be found in supermarkets.
I'm told they can also be used for drying clothes. Beats me how that works

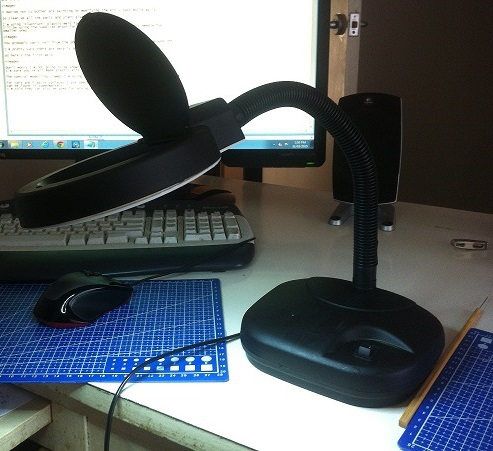
I bought the LED magnifying lamp below recently from Ebay.
It came with a round pin plug, so I took it to my wife's desk to try it out as she has
a universal powerboard (fly's to China on a regular basis and has computer printer and chargers in their format)
I switch it on and she walks in and says "Oh thank you darling !"
So now I get to "borrow" it when she's not using it. <hmmph>
No real progress today, only got 1/2 hour to myself and spent most of it on this blog entry.
Assembled kit - next post.
-
 5
5

2 Comments
Recommended Comments
Create an account or sign in to comment
You need to be a member in order to leave a comment
Create an account
Sign up for a new account in our community. It's easy!
Register a new accountSign in
Already have an account? Sign in here.
Sign In Now