

Treading Water

Entry posted by altone
318 views
Treading Water
Been busy with other things, so not much happening on the model rail front.
A4 update:
Well, the degreaser finally broke through that black paint, so I scrubbed most of it away.
No sanding marks - all looks good.
Another soak and scrub and she should be ready for a repaint.
So, where should I go with this?
Just a repaint in BR green with numbers and linework?
Get a whistle and some etched nameplates? [both missing on this unit]
Try and detail it up? although it's the old tender drive unit so maybe silk purse sows ear.
What do you guys think?
It'll probably become "Sir Nigel Gresley" as I know it came to Manchester in 1965 and I'm thinking
that's as close as an A4 ever got to Oldham in the steam years.
Ok, I'm still melting paint off the A4 so let's look at the next victim project.
Bear with me on the poor photo quality, I hear I might be getting a digital camera for my birthday
later this month.
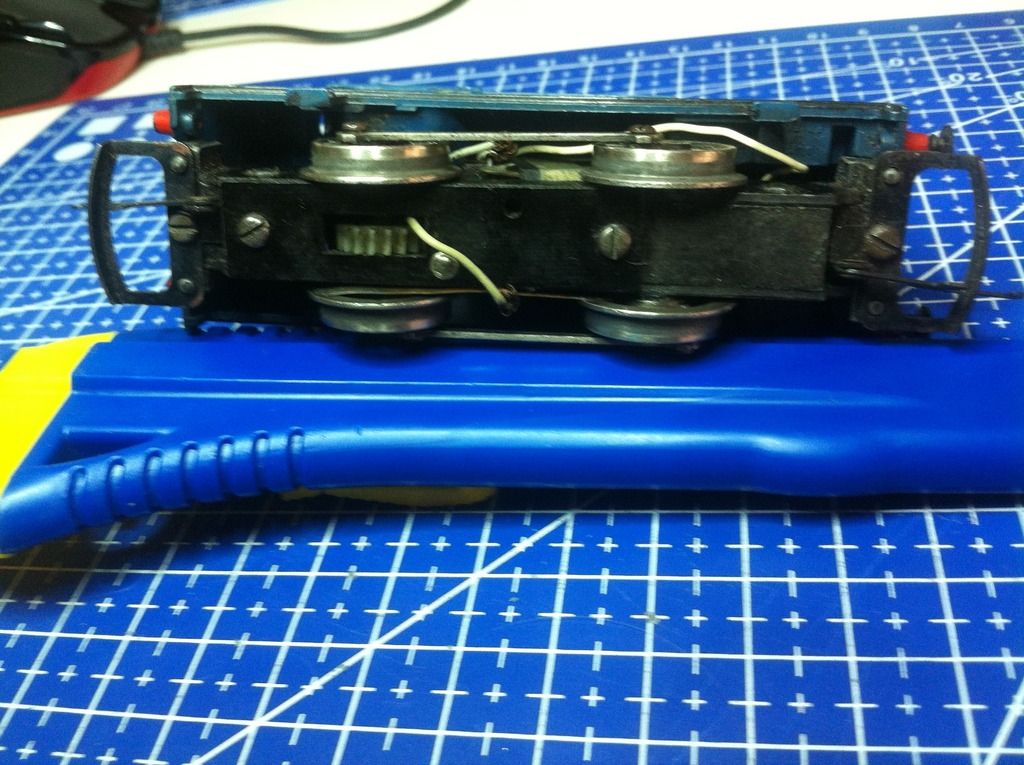
A little industrial with wires going where??? seriously? I think it needs a tidy up.
Dissemble, clean, resolder wires in a more appropriate manner, lube, and off to the auctions.
Oh and remember I mentioned Lifecolor paints in an earlier post?
I am now a fan, just have to thin more and add an extra coat or 2.
The resulting paint job is not thick on the model and helps even out my terrible brushstrokes.
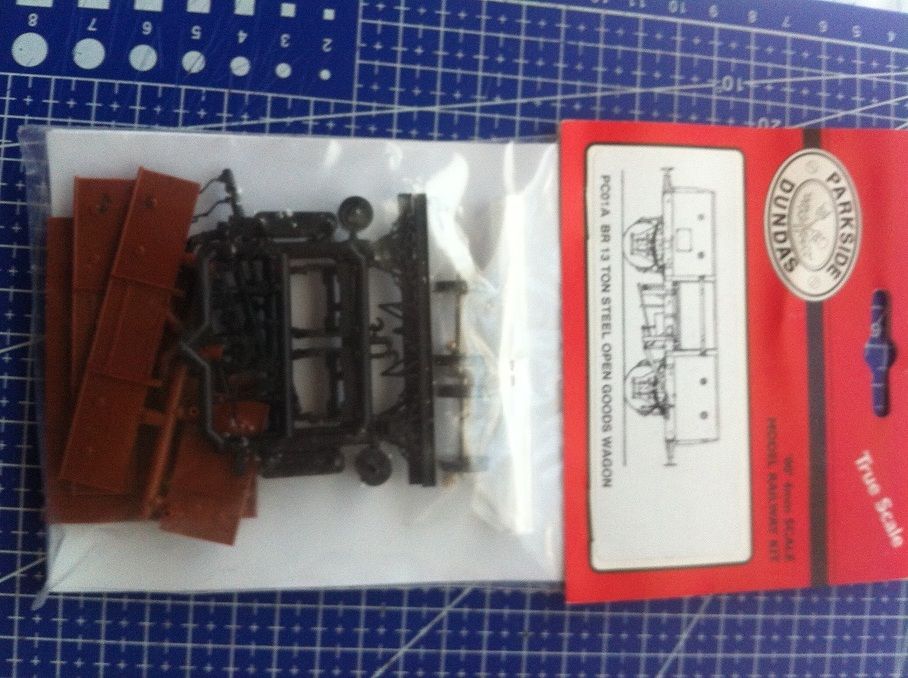
Next kit:
Well, after the not so good experience with the Dapol, I thought I'd try a Parkside kit for my next wagon.
A BR 13 ton steel open wagon.
On opening the pack, the quality improvement over the last kit was obvious.
Brass bearings, no excessive flash and straight solebars.
This should be a quick and easy build for Thursday night, which will be my first free time this week.
Layout update:
I have said before that space is tight at the new home, so even my smaller than planned test track needs to
be "put away" when not in use.
Initially it will be manually lifted and propped vertically against the wall, but as soon as I can manage it
there will be a more elegant method put in place.
The following system has been blatantly stolen, with permission, from a guy I've bought a few old carriages from.
I saw his layout launching system and thought - yep, that's for me. (The name layout launching system c. yours truly)
I originally thought of using a winch and pulley system to lift the whole layout up to the ceiling when not in use.
I was a bit concerned that if a cable broke or came off a pulley, or I got the lengths wrong it would end in disaster.
A Better Method - Vertical storage system
Right, so doing it this way limits me to a total length of 2580mm in my garage otherwise it will hit the rafters.
(unless I make an extra hinged area to the top or create addon boards, see later entries maybe)
Current plan is 2440mm long, so all good.
Here's a primitive plan.
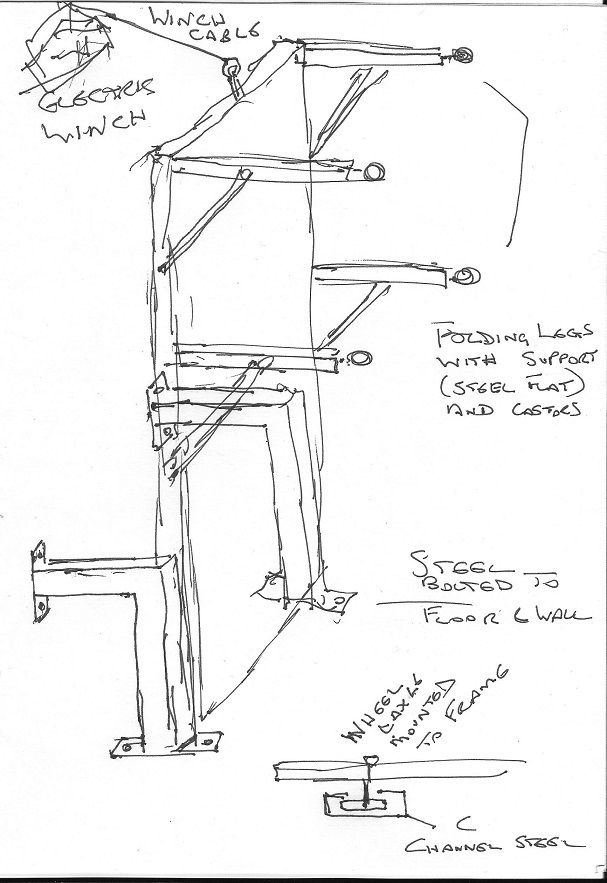
Inverted L shaped C Channel steel (actually 2 U channels with a flat welded to join them) bolted to floor and wall.
Large wheels inside, mounted [very] sturdily to the baseboard.
Central supports with castors/rollers to allow free movement and of course another set at the far end.
Supports need to be braced and able to be locked securely into position.
A winch with the cable attached to the far end of the layout allows easy setup.
(You might think this is overkill but layouts can get very heavy and operators can get very lazy) 
So, layout is vertical.
Open up support legs and lock in place. Use the winch to start lowering the layout.
A bit of jockeying may be needed to ensure the layout is lowered ok.
As we get closer to horizontal, the central supports touch the ground and act as a fulcrum, the rollers allow free movement.
Once fully horizontal we can push the whole layout back to the wall and secure it.
Note "central" legs not necessarily in the middle, more about centre of gravity, to allow easy manipulation.
I hope my awful diagram gives you the idea.
Because of the use of fulcrums and winches, my surround woodwork will be the old 4x2in structural timber.
The rest will be smaller and lighter.
"So how are you going to set up the layout before you get all that in place? "
Hey, I grew up in Owdam. Anyone who survives that has to be fairly strong and tough! She'll be reet.
(meaning winch system will be a key priority) 
Until next time
Cheers
Gerry C
-
 2
2

0 Comments
Recommended Comments
There are no comments to display.
Create an account or sign in to comment
You need to be a member in order to leave a comment
Create an account
Sign up for a new account in our community. It's easy!
Register a new accountSign in
Already have an account? Sign in here.
Sign In Now