
construction Folding Workbench - Part 2: Cutting Out Components
Entry posted by SouthernRegionSteam
304 views
With the design for the modelmaking desk sorted, it was time to start work on its construction. Being almost useless at cutting wood straight, this means some sort of power tool is the order of the day; especially with these 12mm and 18mm thick lengths of plywood to cut through. The answer is a Skilsaw; a battery-powered one to be specific. Essentially a hand-held circular saw, it makes light work of most woods, including engineered wood like MDF and plywood; which is notoriously tough.
First though, we'll obviously need to start marking out components. Whilst I suppose you could theoretically mark out almost every single component (by doing a test cut to measure the width of each blade pass), it's a safer bet not to rely on perfect cuts. At least I personally think so, anyway. Instead, I'll usually measure out one component at a time, or two if I can mark one out on the opposite end of the sheet.
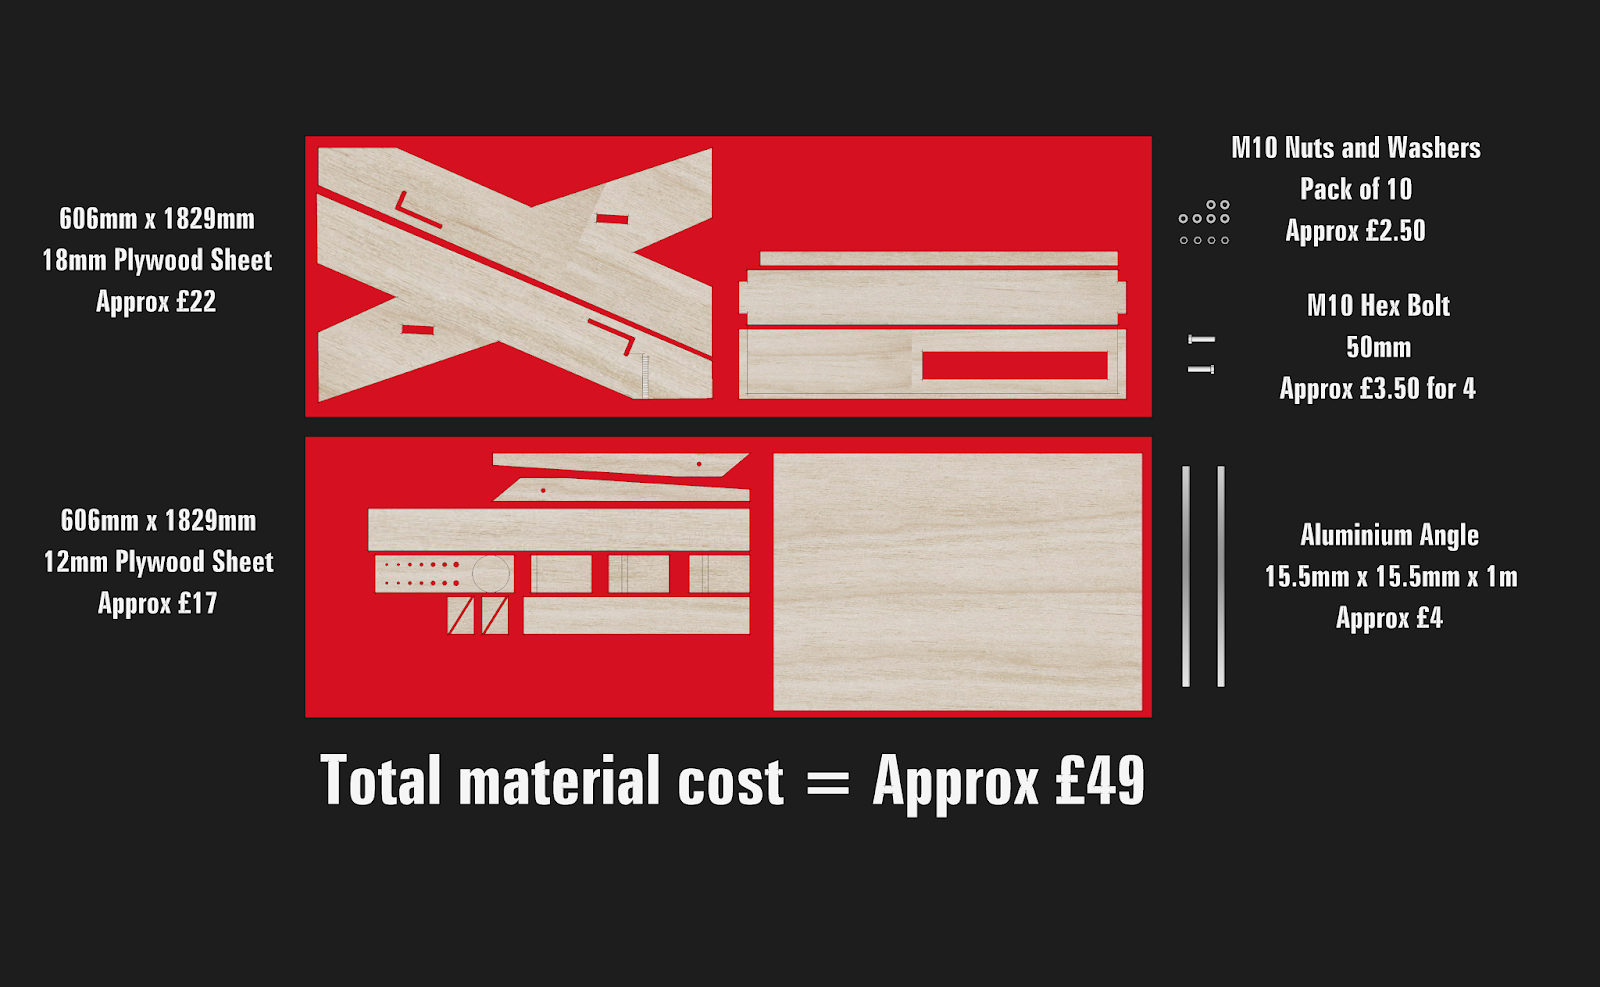
Above: A reminder of the cutting list/diagram. As I was making a second (different type of) desk at the same time, I was not so wasteful as the diagram above shows, as I could commandeer more of the space for other components for the other desk.
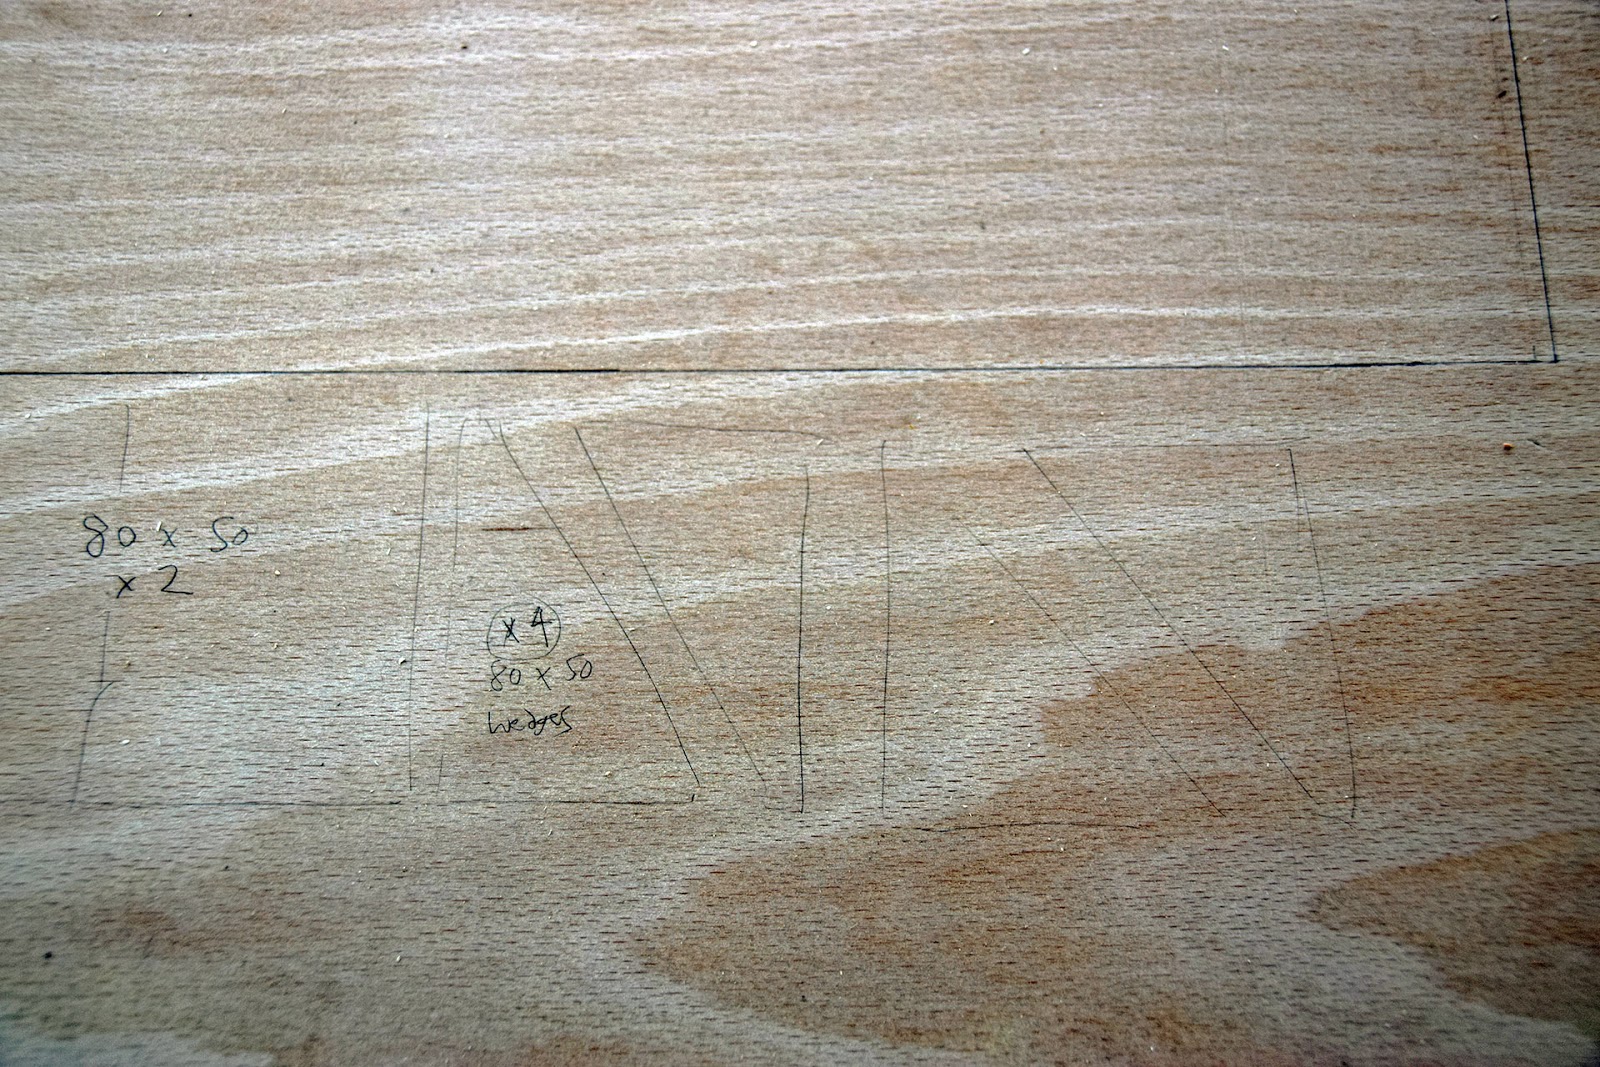
Above: With apologies for the poor image, this shows marking out some components. The top rectangle is the first component to be marked, the rest underneath is rough reminders of what else I need to mark out. A much better way of doing it is to print off the screenshot from Part 1 (that showed all the components laid out efficiently), complete with a referenced cutting list; so that you could easily refer to it when marking out components.
Safety First!
When using power tools, you should always wear safety equipment such as ear defenders and protective glasses. Clamp your work down to help prevent accidents, and sand any rough edges with sandpaper. Finally, don't forget to use scrap wood underneath your work; the last thing you want to do is accidentally cut through a metal trestle!
Before we can begin using the Skilsaw, we'll need to set it up correctly. Note: As I've taken better photos recently whilst working on a different project, I'll show those instead; but the same process is done, just with plywood instead of the MDF shown in the photos.
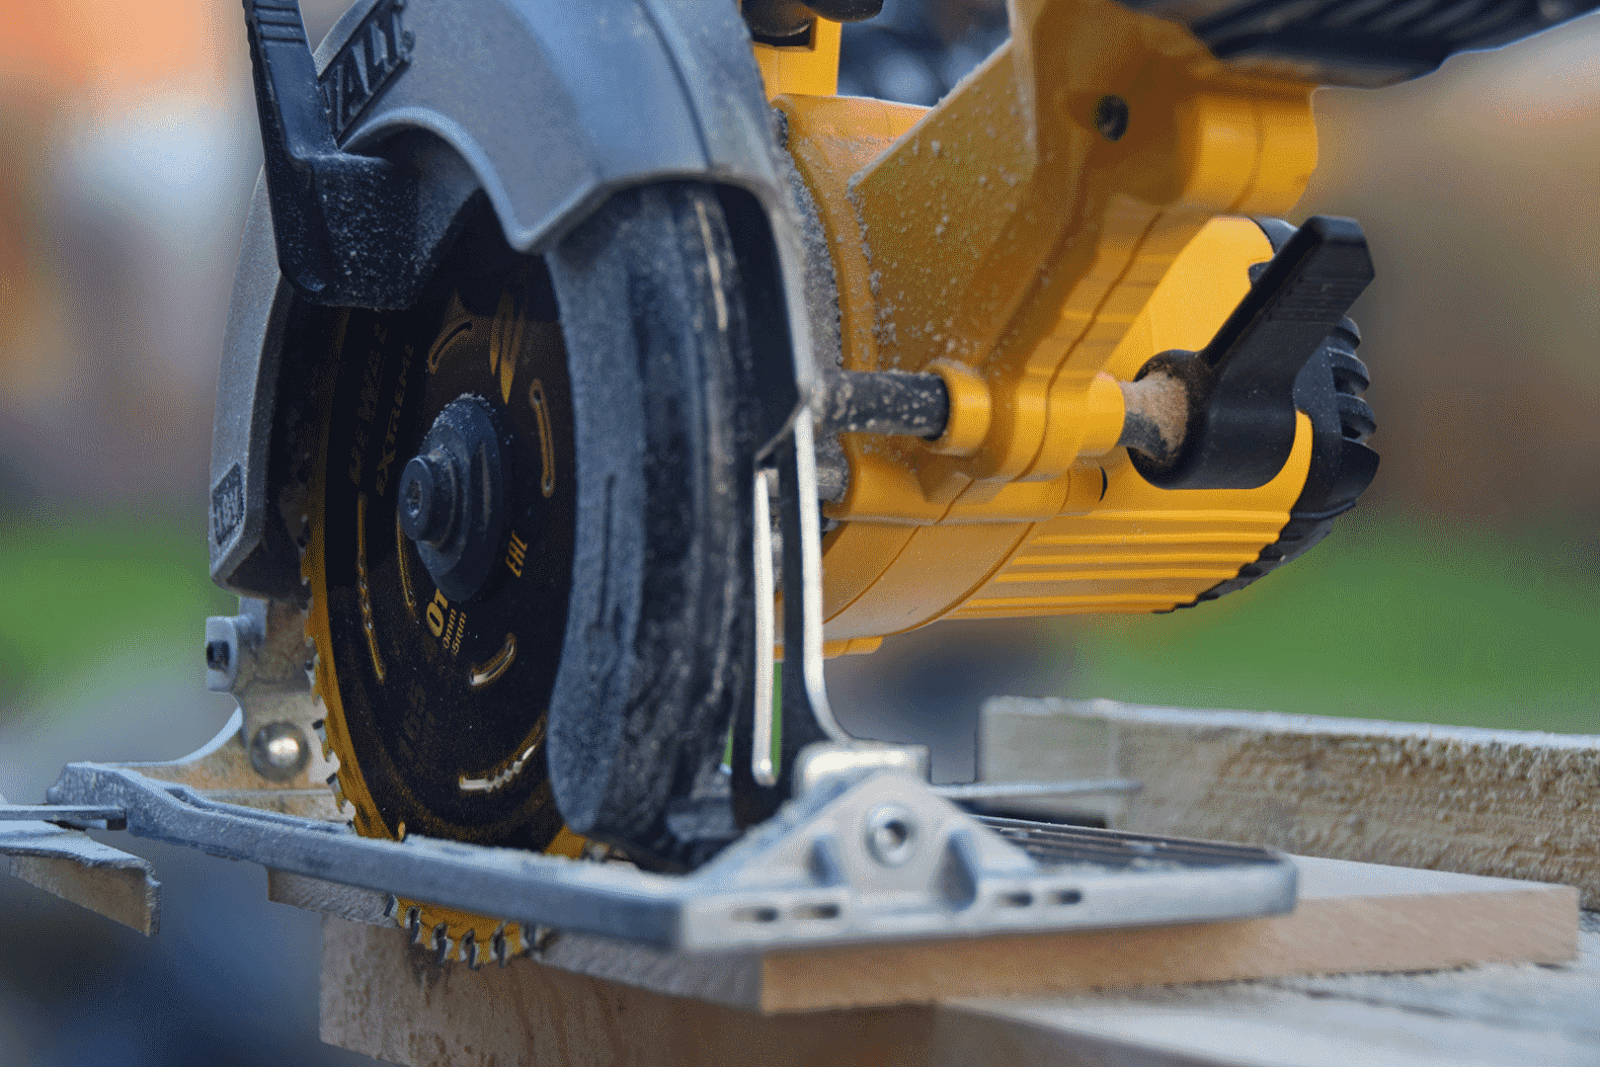
Above: The first thing we need to do is set the depth of the blade. The black handle (visible on the right side of the photo) is used to do this. Unfastening this will allow you to set the depth of the blade to only just fully cut through the sheet material as can be seen here. An important, yet easily overlooked step, is to make sure you have some scrap wood (or a gap) underneath whatever you're cutting. The last thing you want to do is to saw through a metal trestle top!
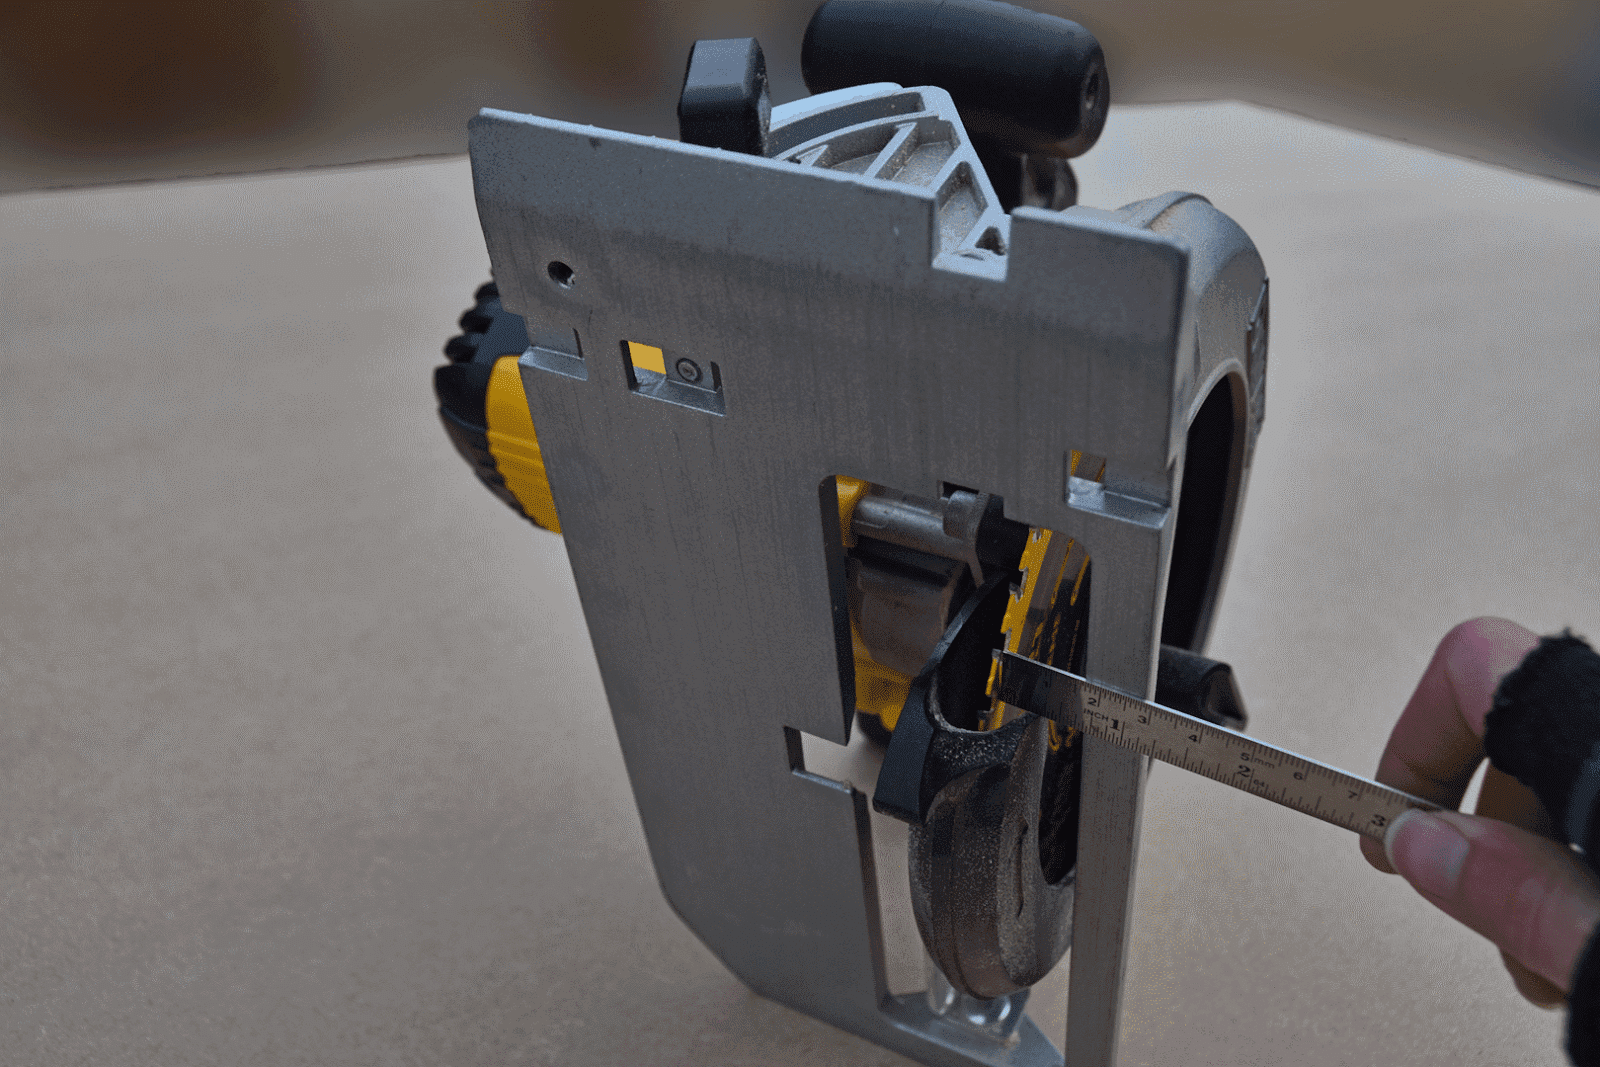
Above: With the blade depth set, we need to measure the distance from the edge of the baseplate to the inside saw edge. The tips of each blade will be ever so slightly wider, so make sure you measure the right part! It's also important to note that the direction you cut the wood in will determine which side of the blade you measure to; otherwise you will cut the wrong side of the line.
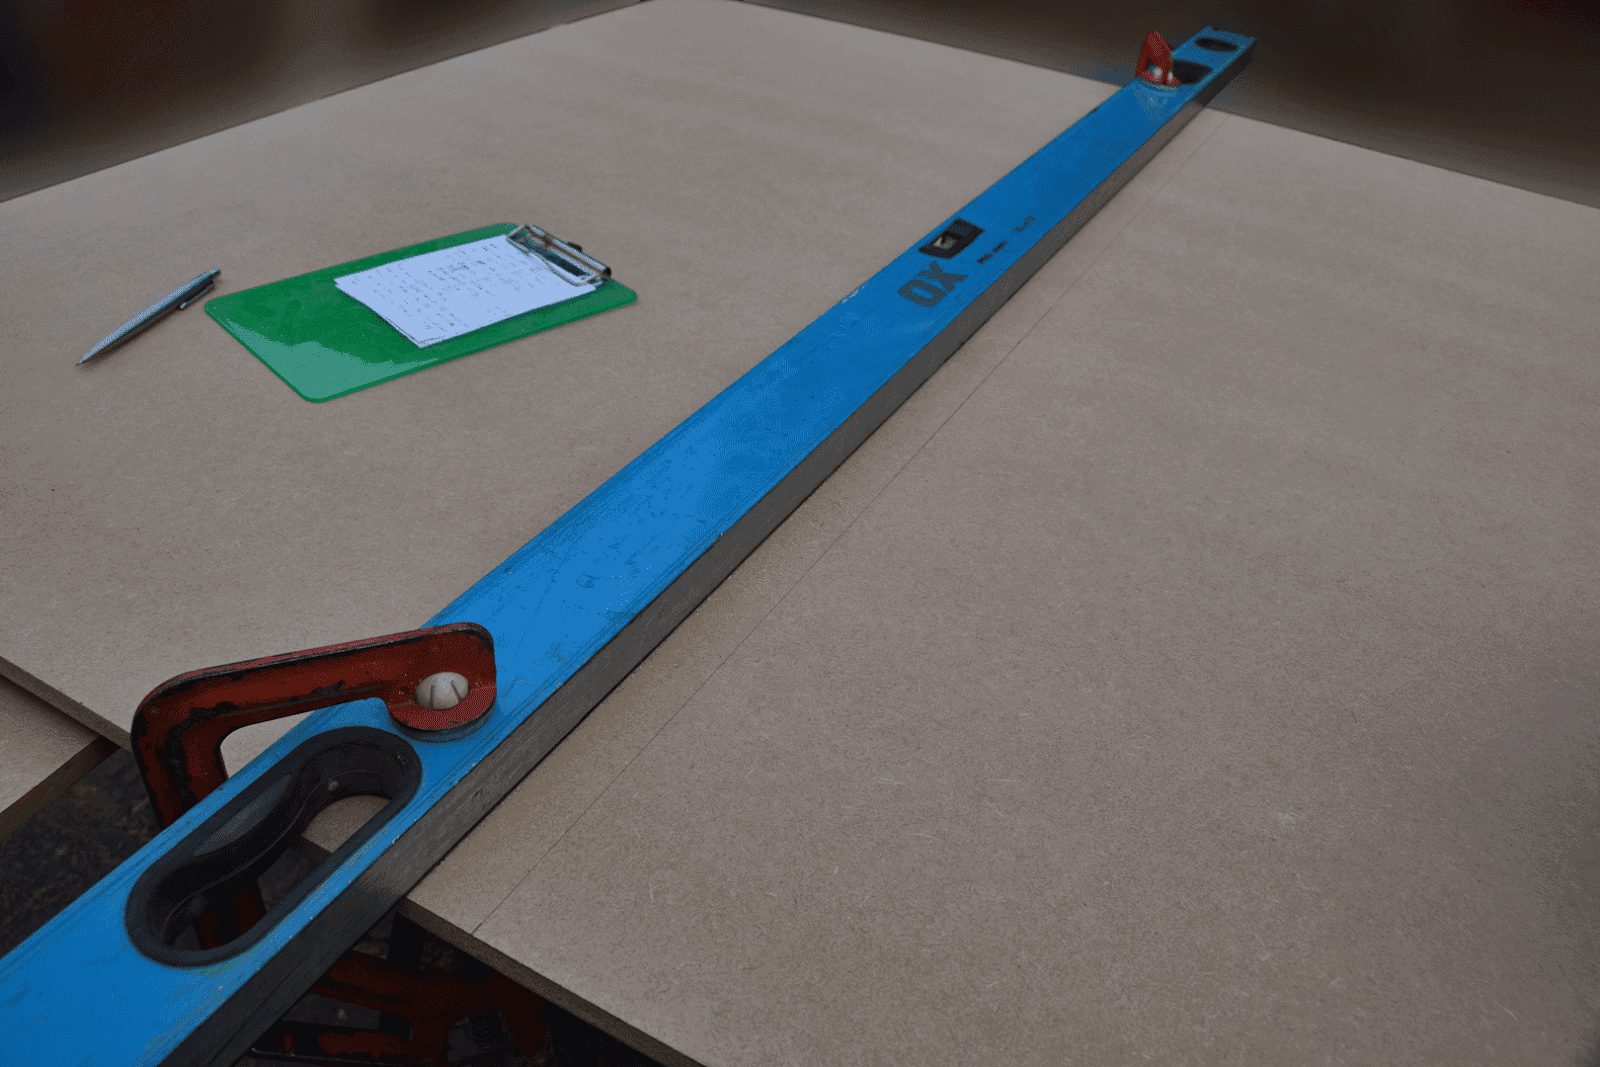
Above: We'll use this distance to clamp something straight (in this case a long metal spirit level) to act as a guide for the Skilsaw. Note that the clamps are positioned so that they don't interfere with the Skilsaw. I could've used the other side of the Skilsaw, but the clamps would likely hit the overhanging encased motor.
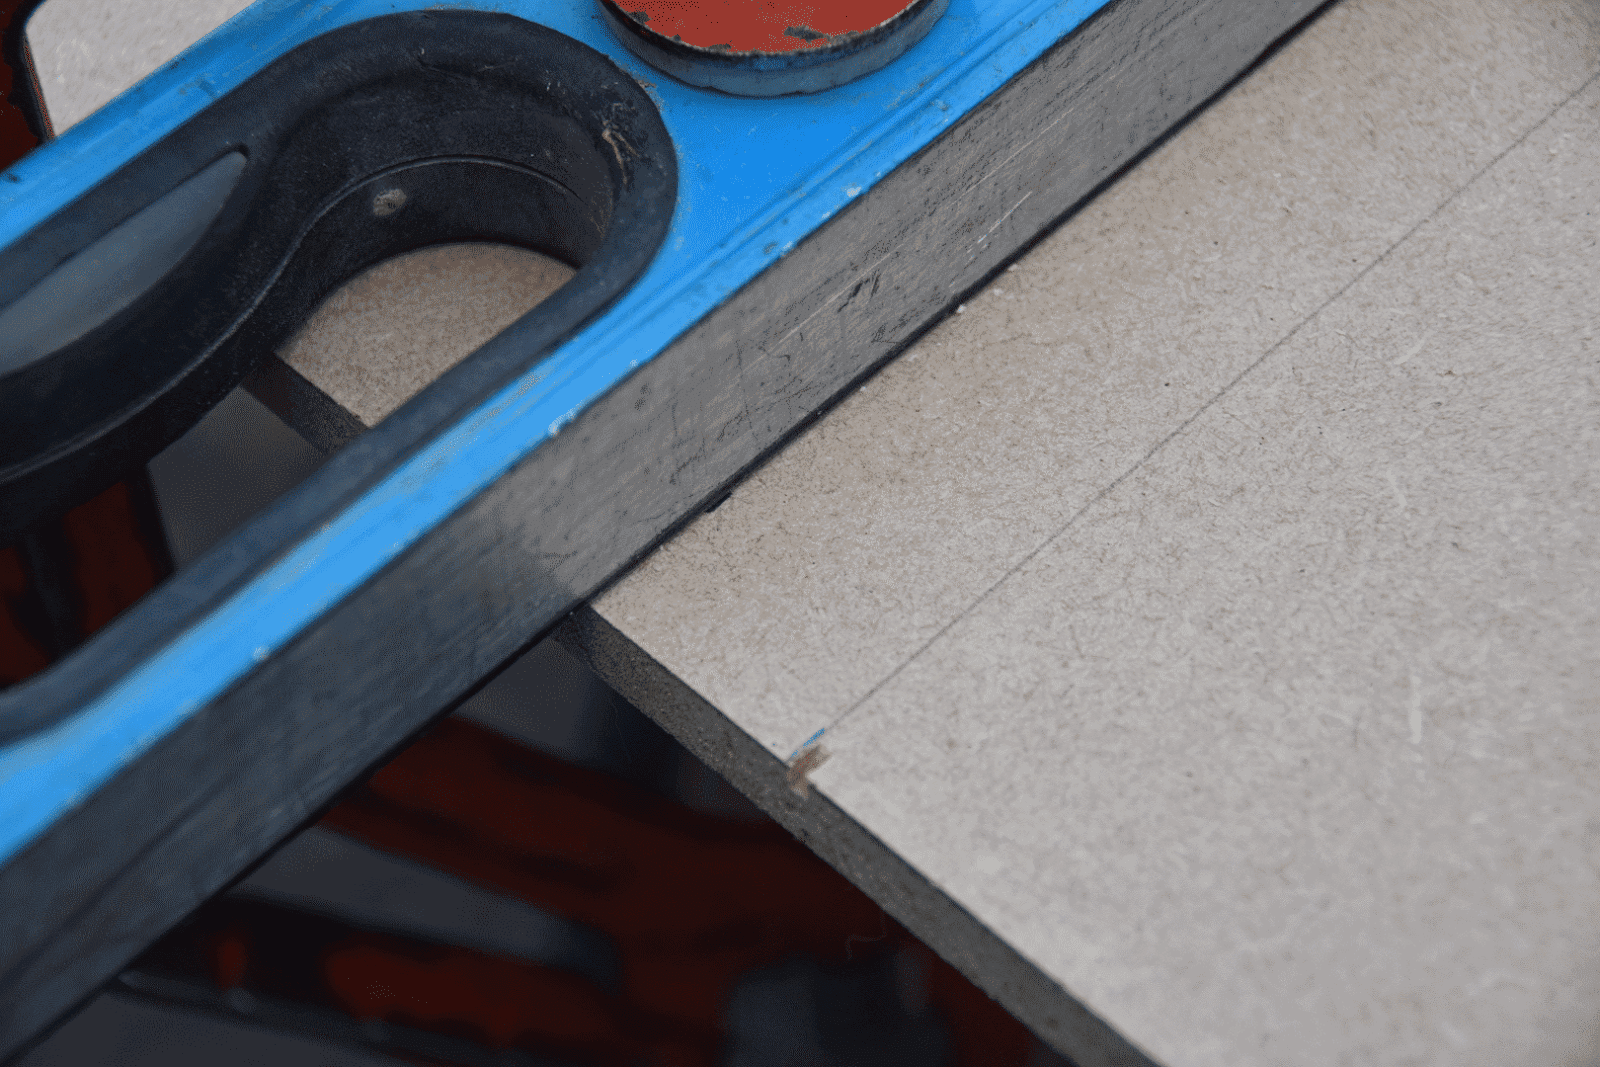
Above: Before we hastily start cutting the component, it's wise to double-check the blade is in the right place, offer the Skilsaw up to the very edge, and do a test cut. Note that I'm slightly over the line; so a mallet is used just to knock the spirit level into place, and the test carried out again.

Above: Happy that everything is set correctly, we can go ahead and cut the component. Ear defenders, protective glasses, and a dust mask aren't a bad idea.
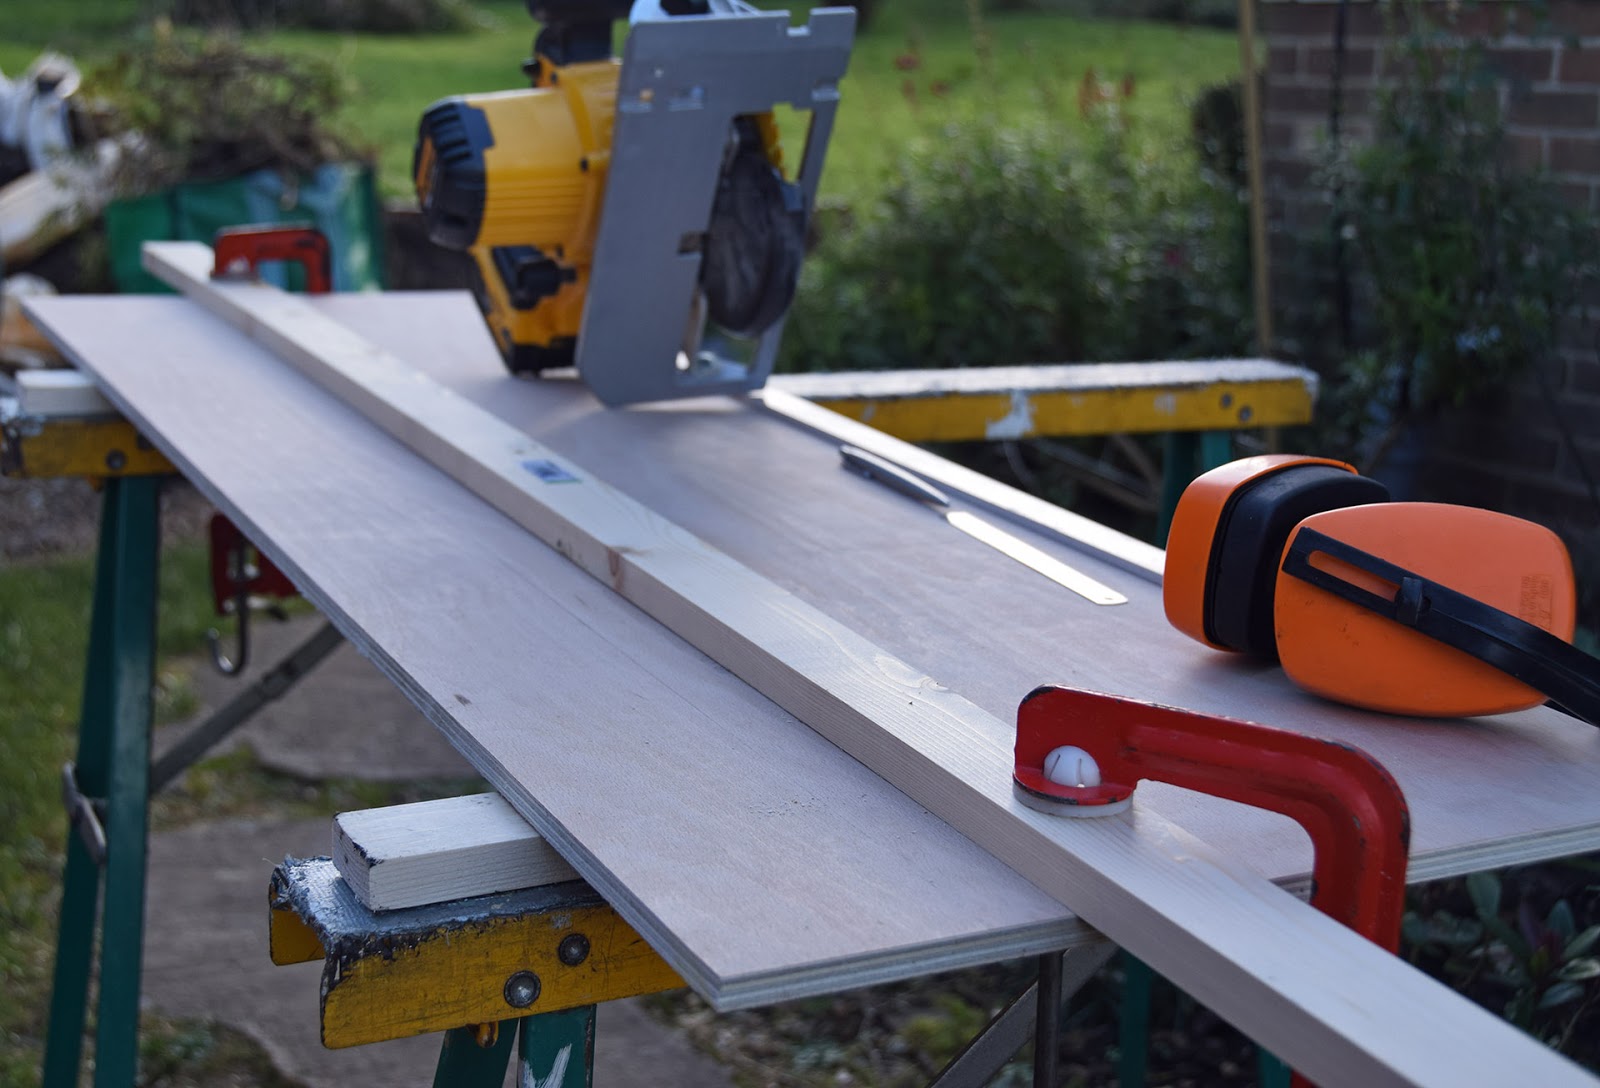
Above: Here's one of the components before being cut. Note the softwood battens on top of the trestles, so that the blade cuts through them, and not the metal trestles!
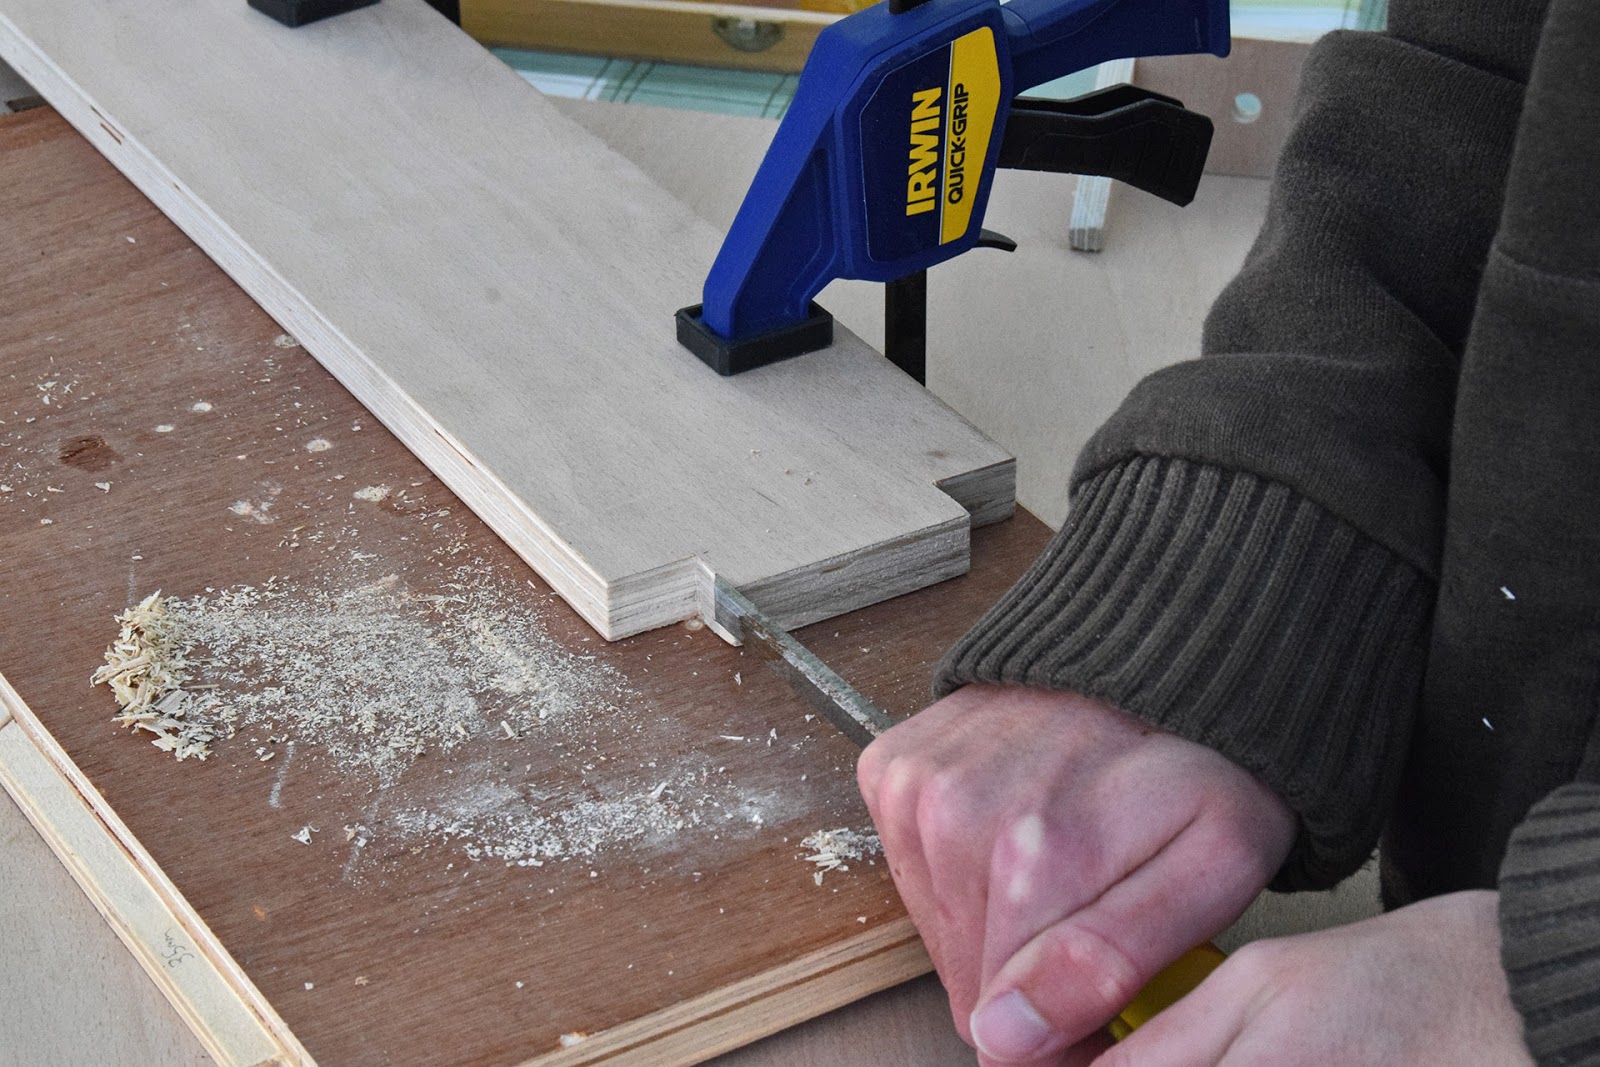
Above: There is only one part that you'll need to cut out that the Skilsaw can't really do; these are the 'tongues' on the crossbrace, that will slot into holes in the legs. These are essentially notches cut from each corner. You can either use a tenon saw, jigsaw, or even a scroll saw to cut them out. I used a jigsaw, and tidied it up with a chisel as shown above. Note how I always clamp things down, and use spare wood underneath to protect work benches/trestles etc.
And there we go, we now have all the components cut out, and ready for machining. Next time, I'll show you how to do this with a router, and other power tools.
As always, please do comment below; feel free to ask any questions you may have, or even offer some suggestions/alternative approaches to improve this design.
Above all, I hope you enjoyed this part, and found it useful!
Jam/Jamie Warne
-
 2
2
-
 1
1


0 Comments
Recommended Comments
There are no comments to display.
Create an account or sign in to comment
You need to be a member in order to leave a comment
Create an account
Sign up for a new account in our community. It's easy!
Register a new accountSign in
Already have an account? Sign in here.
Sign In Now