
wooden structures Sandy Shores - Distressing Wood
Entry posted by SouthernRegionSteam
487 views
There are a number of wooden structures on Sandy Shores, some of which we'll look at in this entry. Almost all of these are made entirely out of lollipop sticks; as shown in the last entry (the platform shelter). The first we'll be looking at is the water tower. Originally it looked like this:
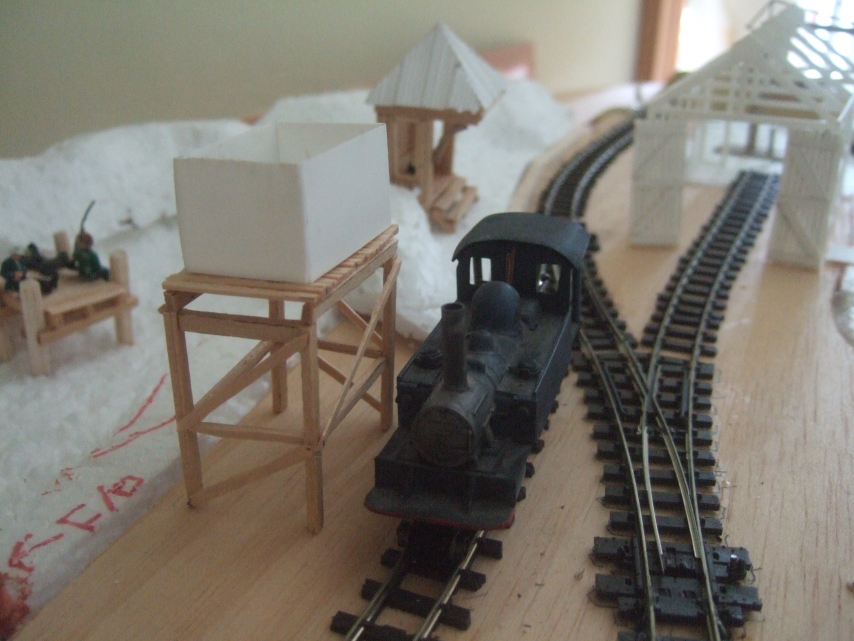
Above: I was originally happy with how it looked, but people were right to point out that it looked a little on the large size; especially for such a small line in a limited space! As it was glued together with PVA, I was actually able to reuse most of the wood, and the plastic tank is still used to this day as a way to dispense ballast!
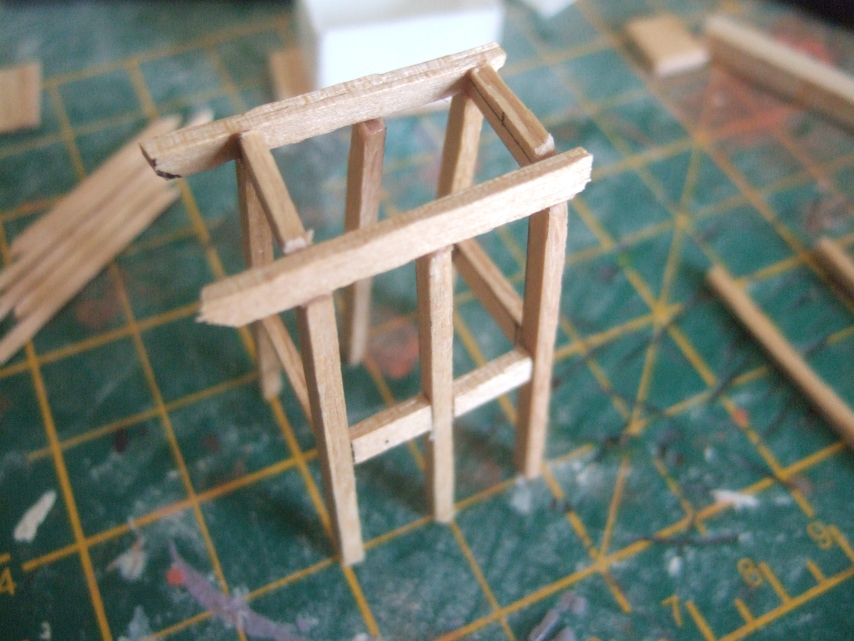
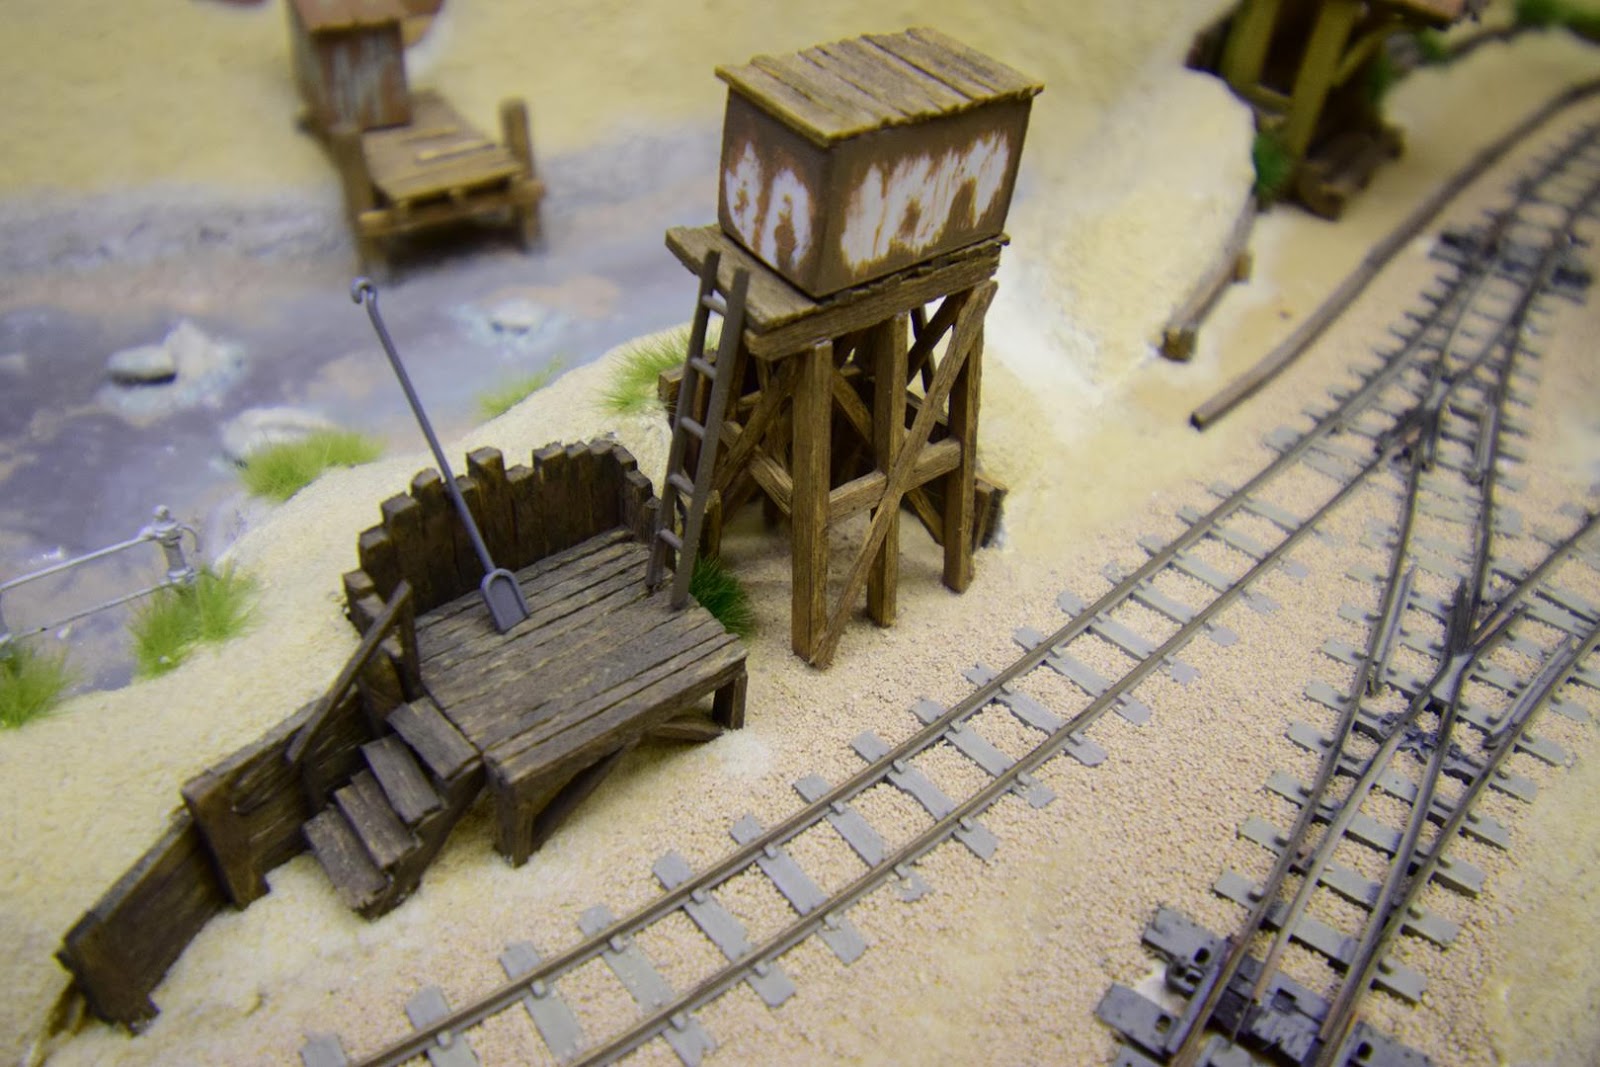
Above: Therefore, a redesign was on the cards, and a smaller, but beefier design was drawn up, and quickly assembled. There were very few photos online to reference from, so I did a lot of guesswork; but I think the end result is pretty convincing. I also added a cantilevered platform on one end, so that safe access was possible to the tank.
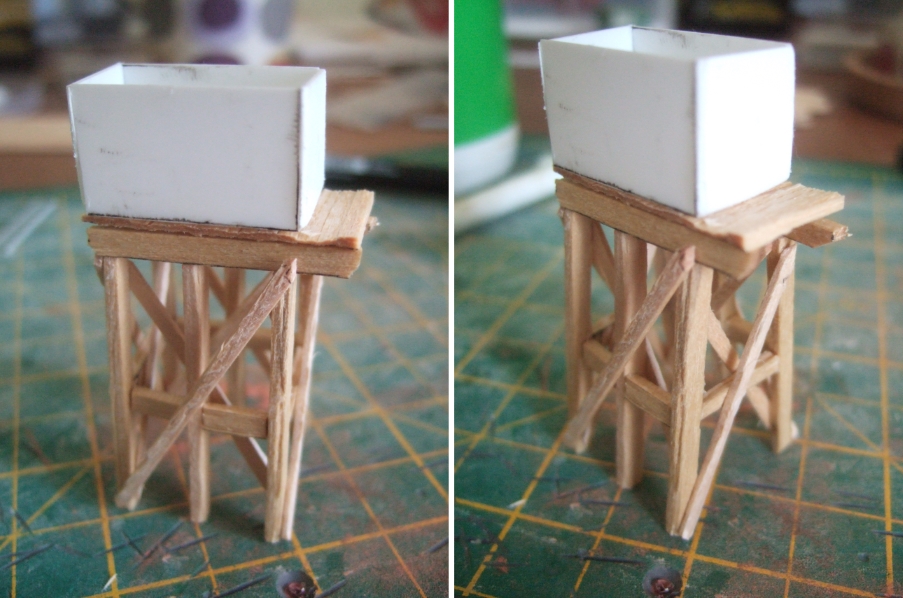
Above: More bracing was then added to prevent the whole thing twisting with the weight of the water tank on top. The plastic tank was not glued on at this stage so that I could paint the wooden deck underneath it (in actual fact, it was only glued on just before the layouts second exhibition appearance!)

Above: Painting all the wooden structures was done using Vallejo Model Color paints. These are fantastic to work with; especially on roughened wood structures like these. After experimentation, I found a really simple way to paint with them; which produced a pretty good result:
- The unpainted wooden water tower structure
- The first application of paint is a simple thin wash of gunmetal grey (or any similar dark grey) to really expose the grain of the wood by adding a shadow
- This was followed by a thin wash of "brown sand", to add a bit of tonal variation
- The two colours were then mixed together, and brushed on in a slightly thicker consistency
- Edges were highlighted by drybrushing in "light sand"; to suggest sunbleached parts
But the water tower needed a ladder; and whilst I had half of a ladder from the old Airfix water tower kit, it wasn't long enough to reach the platform; so I came up with a cunning plan. Such a line would also need some sort of coaling facility, which would ideally be suited nearby. A design was hashed out on my phone one night, and the next morning I set about making it. It's not based on any prototype, but it was something that I imagined such a tiny line wouldn't put much effort into.
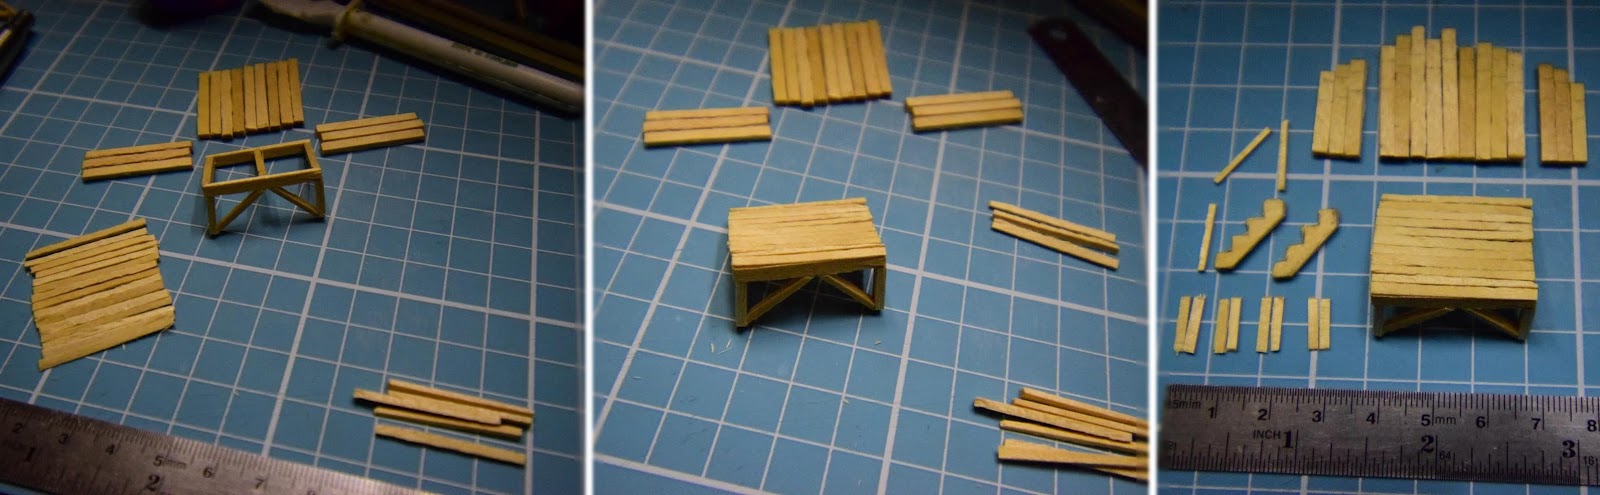
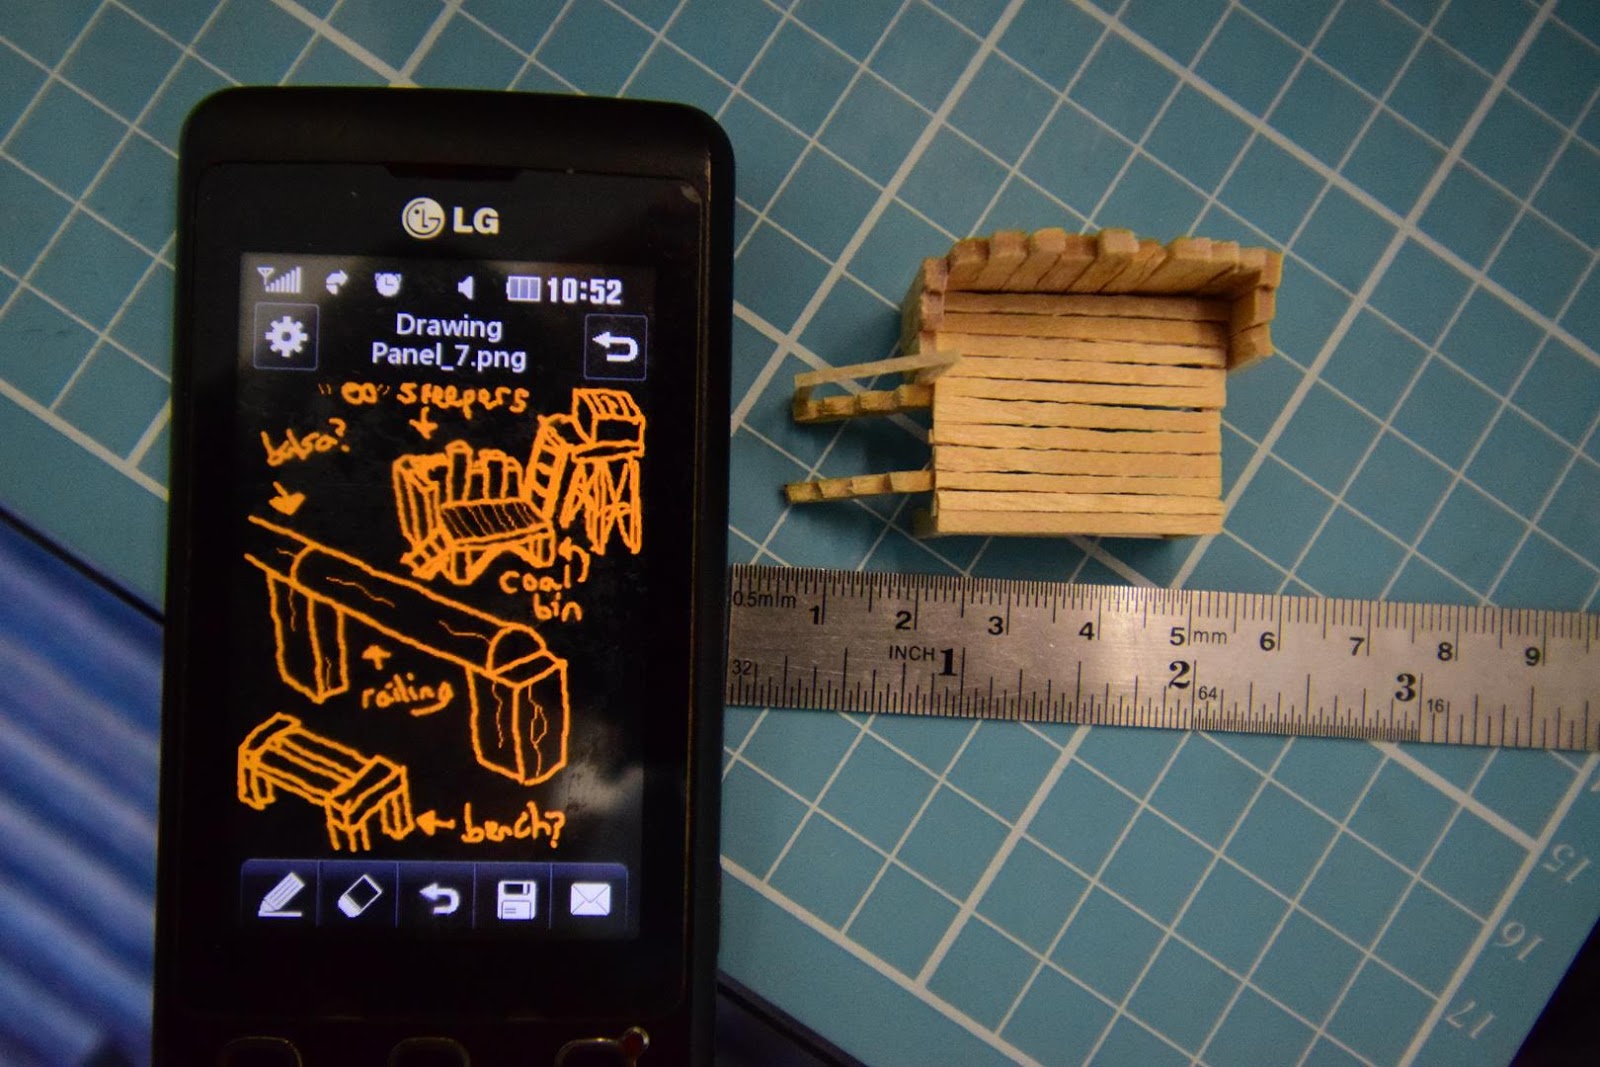
Both photos above: AS you can see, it's a tiny structure, and I imagined that it would be formed almost entirely from old railway sleepers; so lollipop sticks were once again the order of the day, and I could whisk up this structure in short order!
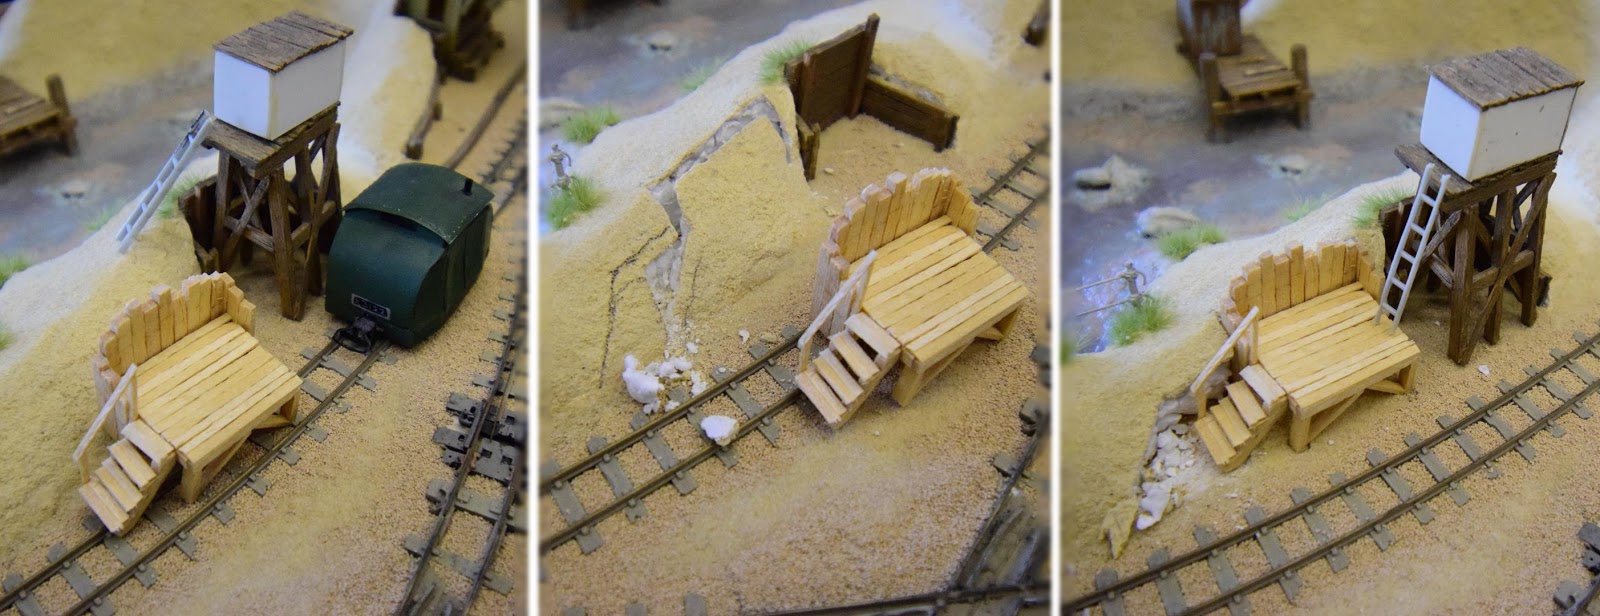
Above: By this point, the sand dunes were already in place, so it took a little hacking away to locate it in its final position.
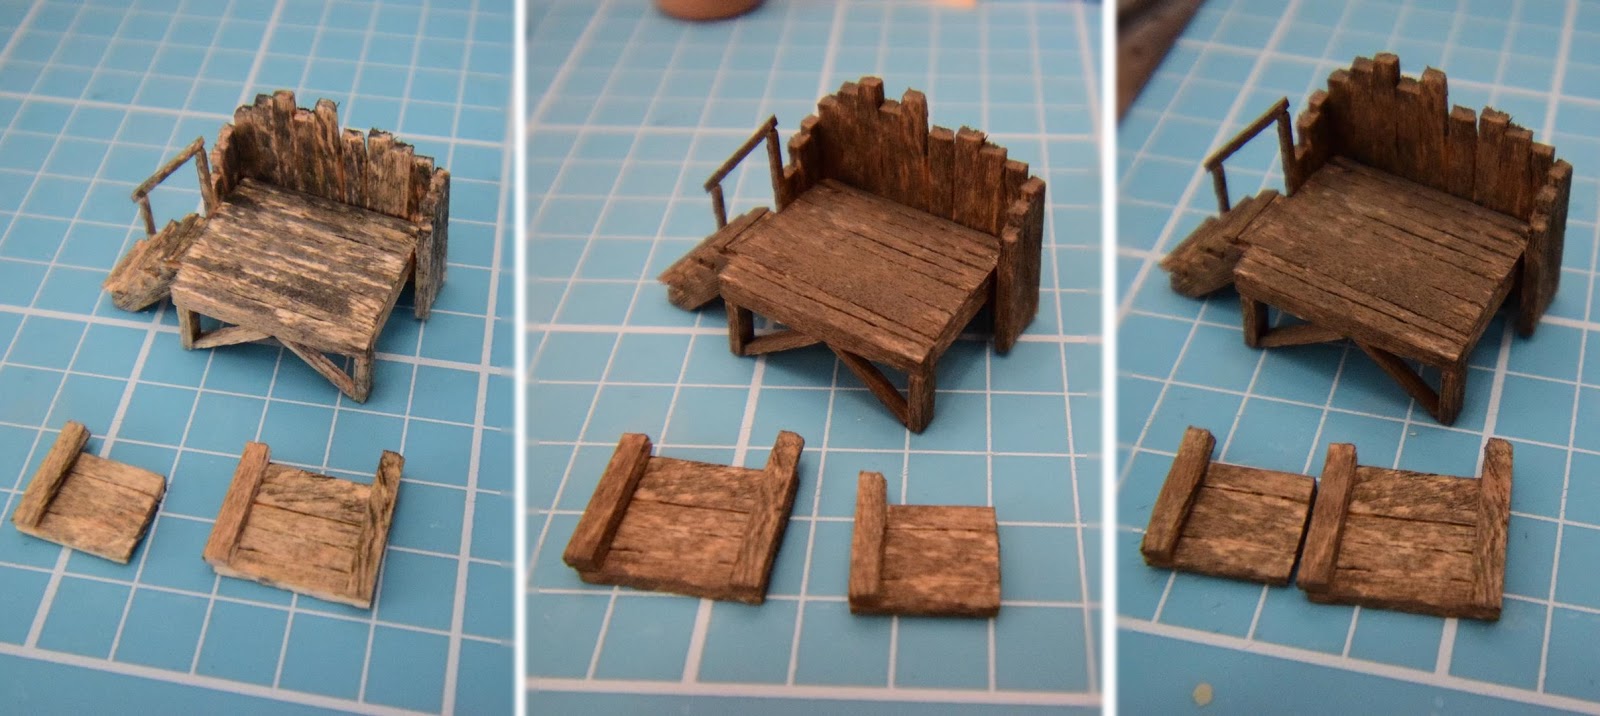
Both photos above: It was then painted in the same way as the water tower, although I later added more dark grey washes to simulate the coal dust. I also had to build some retaining walls to hold the sand dunes in place behind it, so these were painted at the same time.
Above: The water tank eventually received some paint; and in the end I decided that the white could stay, but that the edges should all be covered in rust, as well as a few spots elsewhere. Paying close attention to whatever photos I could use as a reference, I painted it in much the same way that I painted the roof of the loco shed. The edges were painted first in a light rust colour, then painted over (mostly) with a darker rust colour (actually similar to the wood below). Thin streaks were also painted on with a watery light rust colour, and splodges dabbled on.
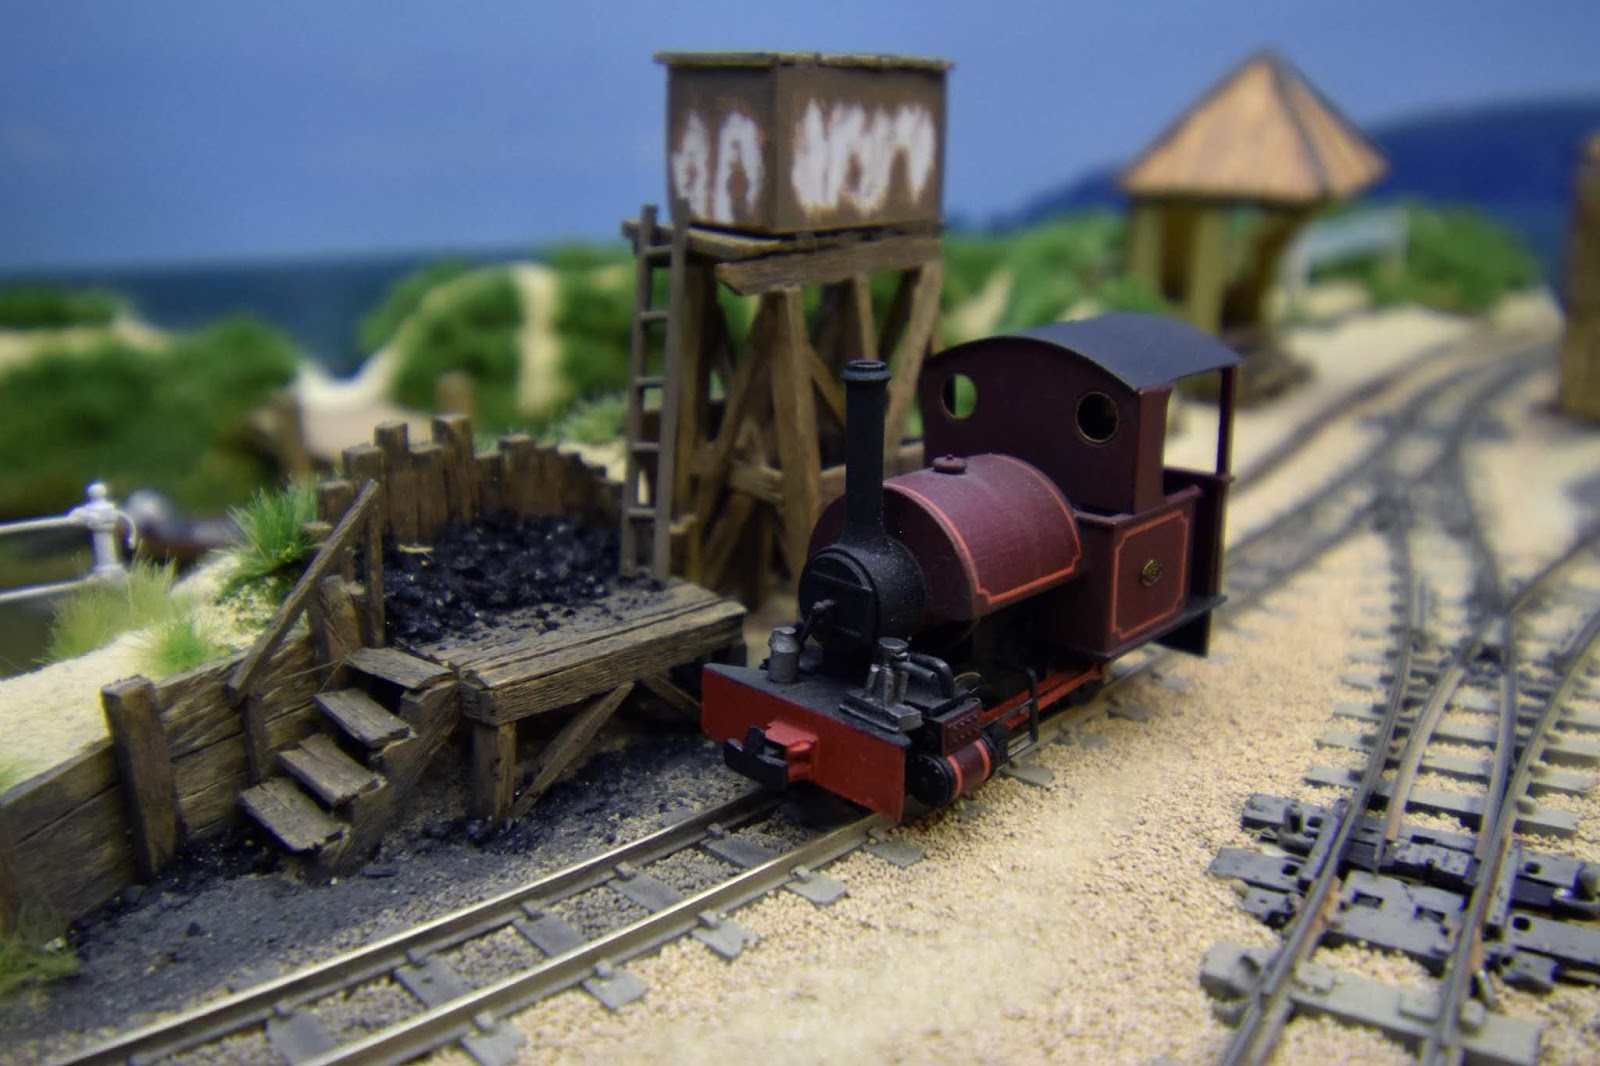
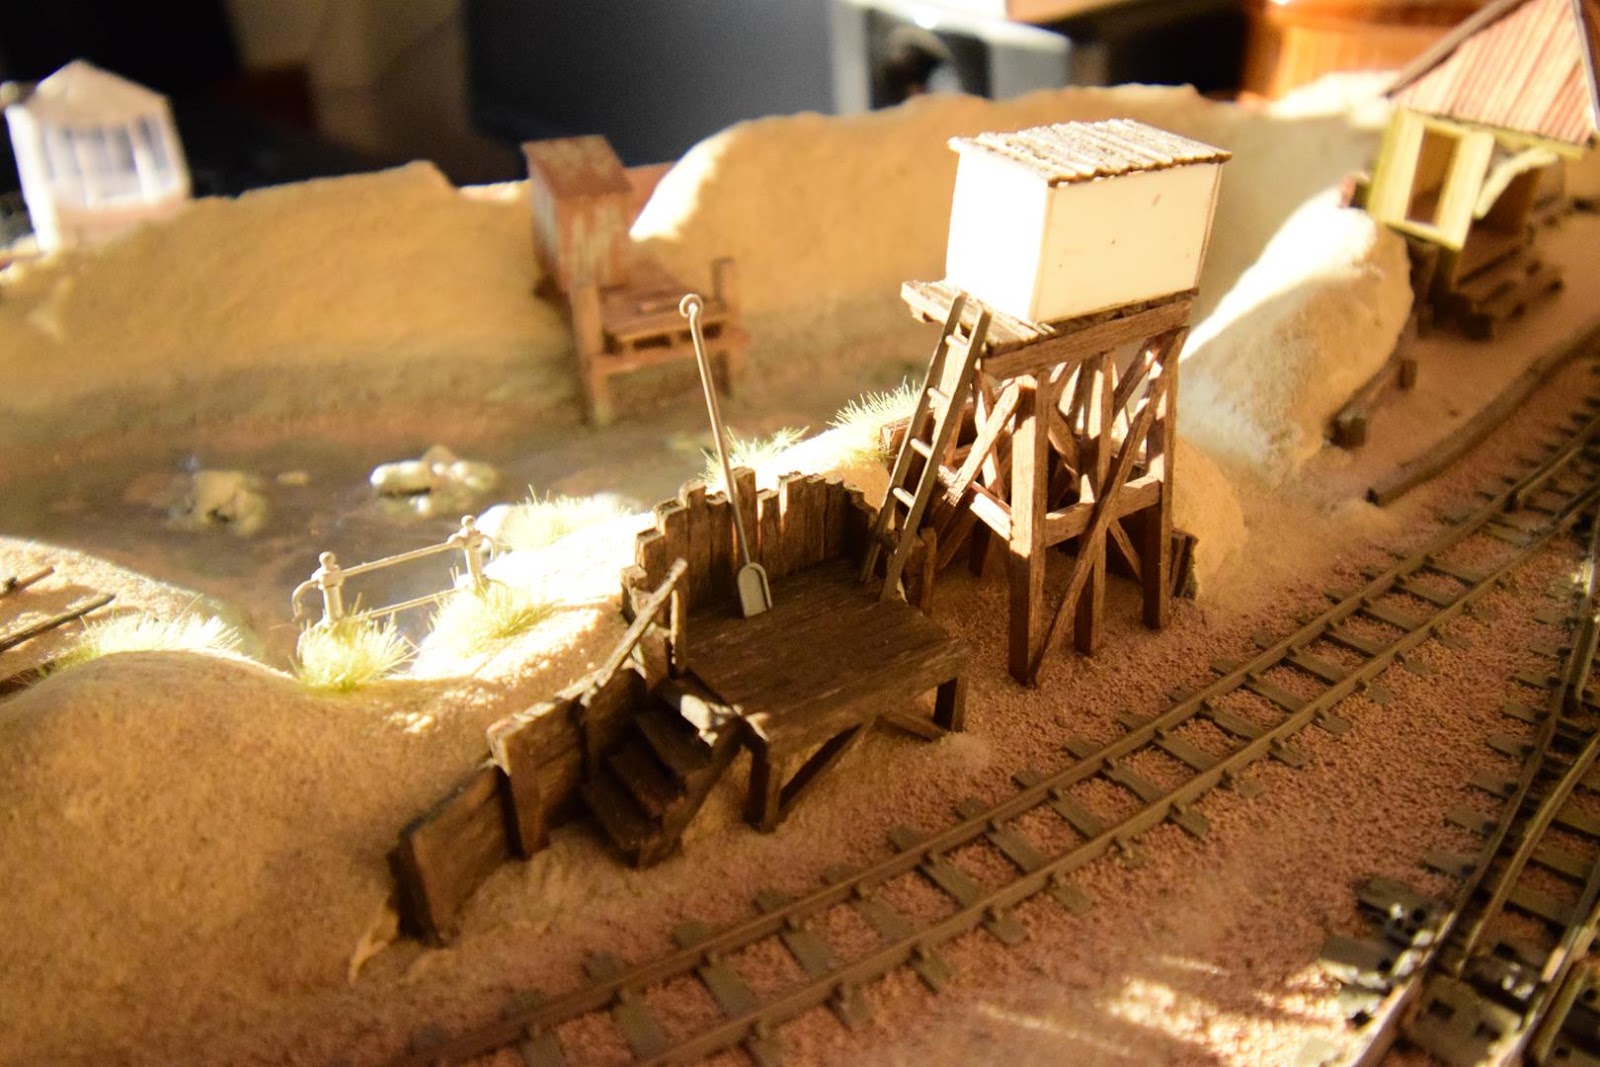
Above: Fast forward to May 2019, and the coal stage was completed by the addition of real coal (smashed in a cloth with a hammer!), and substantial weathering was done in the surrouding area by simply washing on some dark grey (gunmetal grey) paint. Things like the steps were more heavily weathered than other areas.
Moving onto the final structure of this blog entry. As part of my drive to model interesting and quirky things, and to also hammer home the idea of a tatty and unkempt seaside location, I was also inspired to produce a dilapidated grounded van for Sandy Shores.
The only problem was... actually there were quite a few hurdles;
- I had never modelled anything so forlorn before
- I had no knowledge of pre-grouping vans (but I knew I just had to model one)
- As this was before the platform shelter (and before I painted anything made from wood), I had no clue how to paint the thing!
Happily, Bernard Taylor came to the rescue, and offered some drawings for me to model from. What's more, after some research online, I found a Flickr album of the restoration of a LBSCR 10 ton goods van, which proved incredibly useful for construction details. That said, I was not after a perfect model of one, just a representation of something similar; especially considering it was to be modelled in a dilapidated condition, where lots of bits would either have fallen off, rotted away, or perhaps even been stolen!
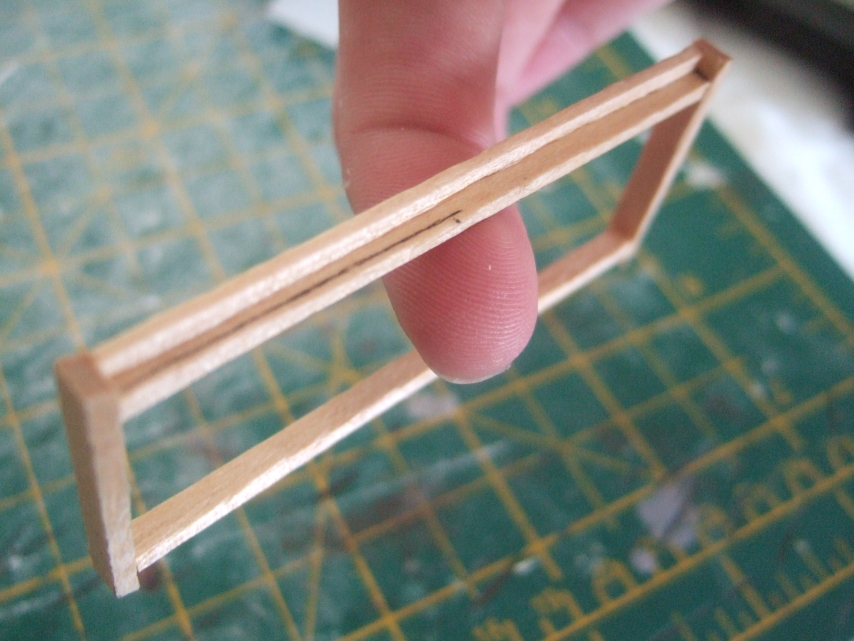
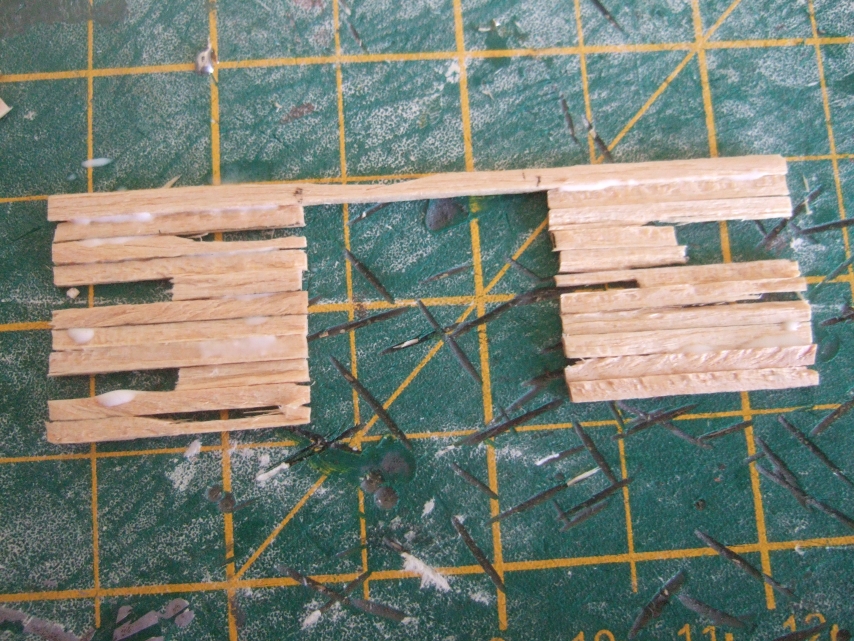
Above: As you probably guessed, the whole thing was built using the same method I used for the platform shelter; cutting up lollipop sticks with the Expo handheld guillotine. Here, we can see the basic underframe/solebar. I'll add more cross-members later; mostly because it'll be partially visible through the rotting floor!
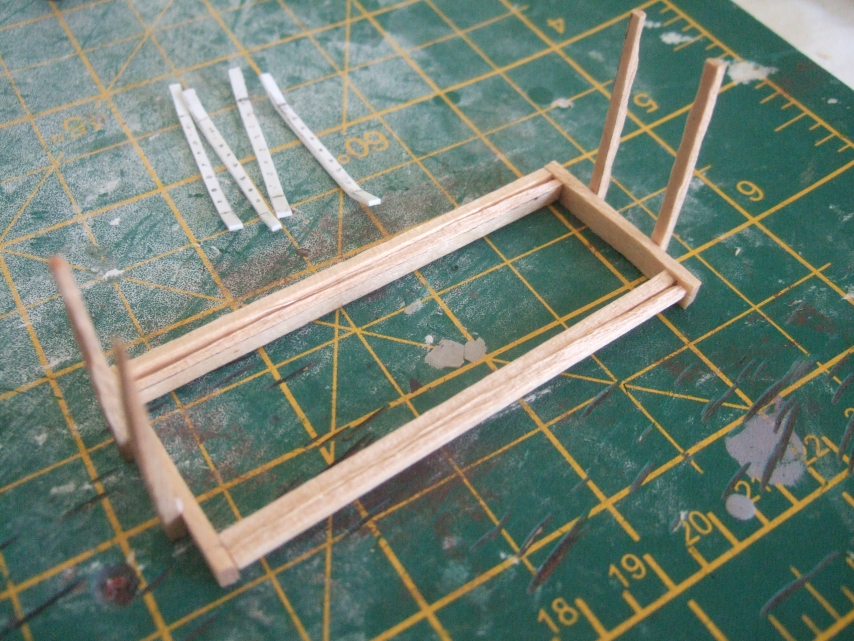
Above: The four end stanchions were then fabricated, and glued on with PVA. Again, I wasn't aiming for a faithful recreation; the chamfer on the stanchions isn't accurate, but don't forget that it'll be a decaying wooden structure! The 4 strips of plasticard were originally going to be the metal straps (and were attached later on, only to be removed before the layouts first outing, as I was never happy with how thick they were!).
Above: The sides and ends were then fabricated, with random lengths cut off to represent rotted sections. I also attacked some bits with a wire brush attachment on the end of the dremel to roughen them up further. As you can tell, it was all glued together with PVA. Don't worry, the excess glue was wiped away soon after this photo was taken, and it was left to dry overnight.
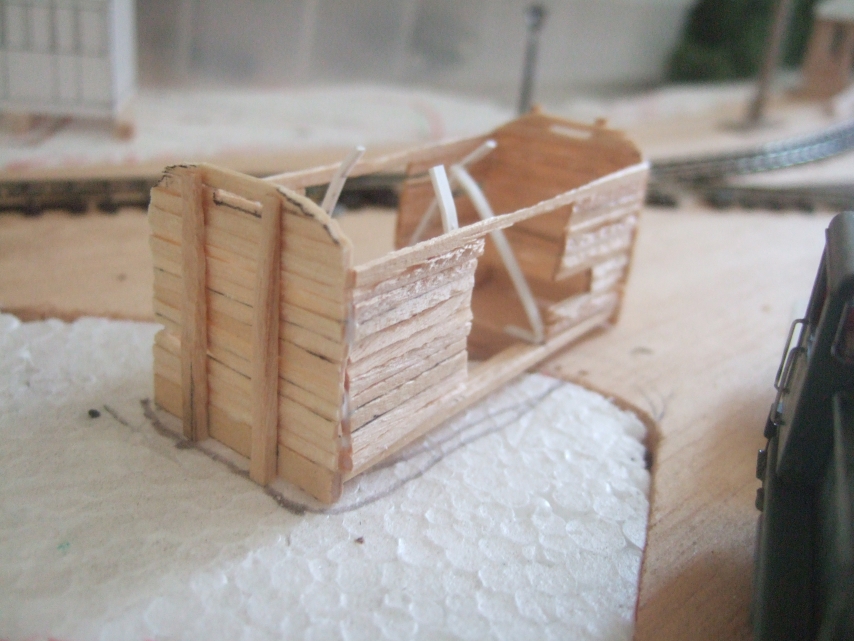
Above: Thankfully, neatness was not a priority for this build, which is just as well; as it certainly isn't neat! As construction goes, it's surprisingly simple, but I was keen to try and keep certain things in place; most notably the vents in the ends; which whilst they would have lost their covers, the holes at least still remain.
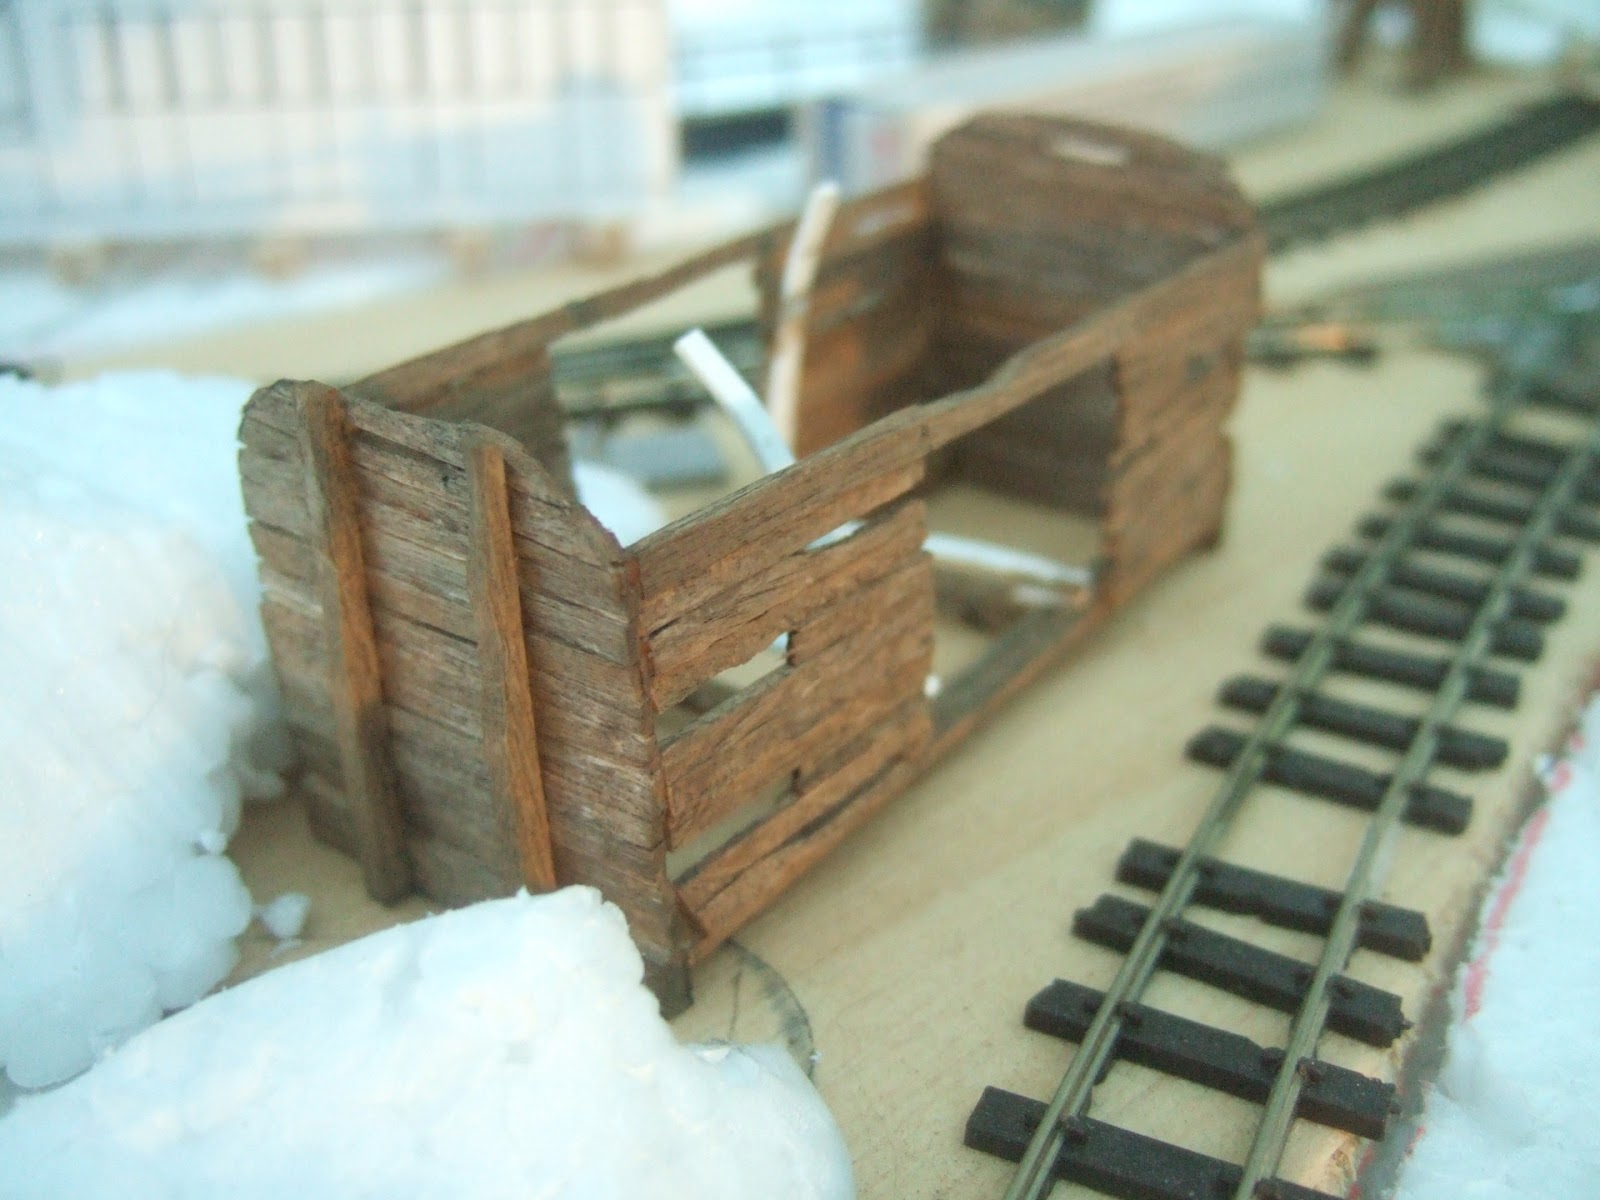
Above: The same painting technique shown earlier was carried out on the grounded van, which transformed its appearance drastically.

Above: A fair while later, I decided to come back to the grounded van, after I noticed that I never fitted the floor, nor bedded it in properly. Play sand was added around the outside, and Polyfilla used to fill the gaps on the inside; onto which paint, then sand was added. A seriously rotten floor could then be added, made up of really finely chopped lollipop stick, and the whole lot painted.
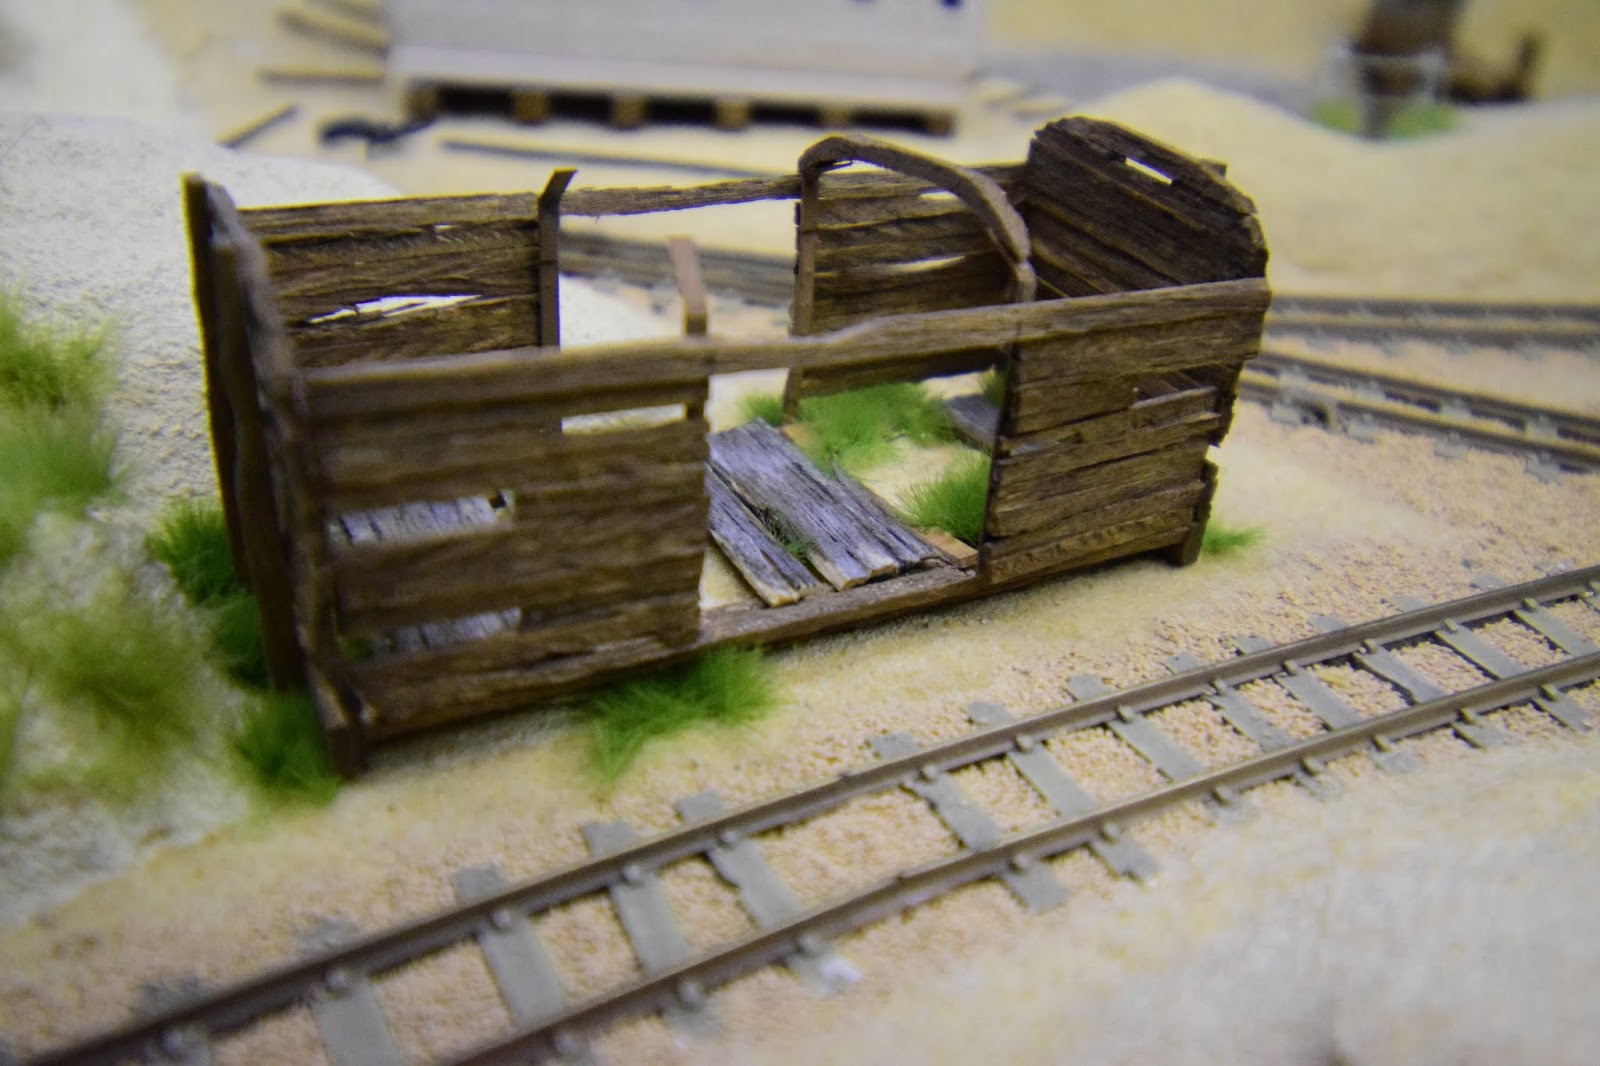
Above: To complete the van, new metal straps were added from thin plasticard, then painted. One wooden roof former was also added, and the structure dry brushed with "light sand" to lighten some of the edges a bit. Finally, a few grass tufts were added, and the van finally looked like it had been sat there for a fair few years! The great thing about modelling a dillapidated van like this is that it's a skeletal frame; which means you can get some interesting view points looking straight through it!
And there we have it, 3 more wooden structures done... but there are still plenty to do; I'll show you them next time!
As always, please do ask questions, leave comments, and if you enjoyed it, rate it.
Till next time,
Jam/Jamie Warne
-
 6
6
-
 5
5


6 Comments
Recommended Comments
Create an account or sign in to comment
You need to be a member in order to leave a comment
Create an account
Sign up for a new account in our community. It's easy!
Register a new accountSign in
Already have an account? Sign in here.
Sign In Now