

No. 166 A tale of two Hornby Super Detail ‘Britannias’, plus a Clan (Postscript)
.thumb.jpg.60c53fcbcaa34017b05b8919d1a9e6d2.jpg)
Entry posted by Silver Sidelines in Blog
876 views
This Post brings a closure to my last two Posts. Those of you who have read my accounts of rebadging a Hornby Clan and Britannia will know that there was some unfinished business. Hornby ‘Britannia’ alias ‘Morning Star’ still needed cut outs around its lubricators. Hornby ‘Clan McLeod’ alias ‘Clan Stewart’ needed its top lamp iron repositioning.
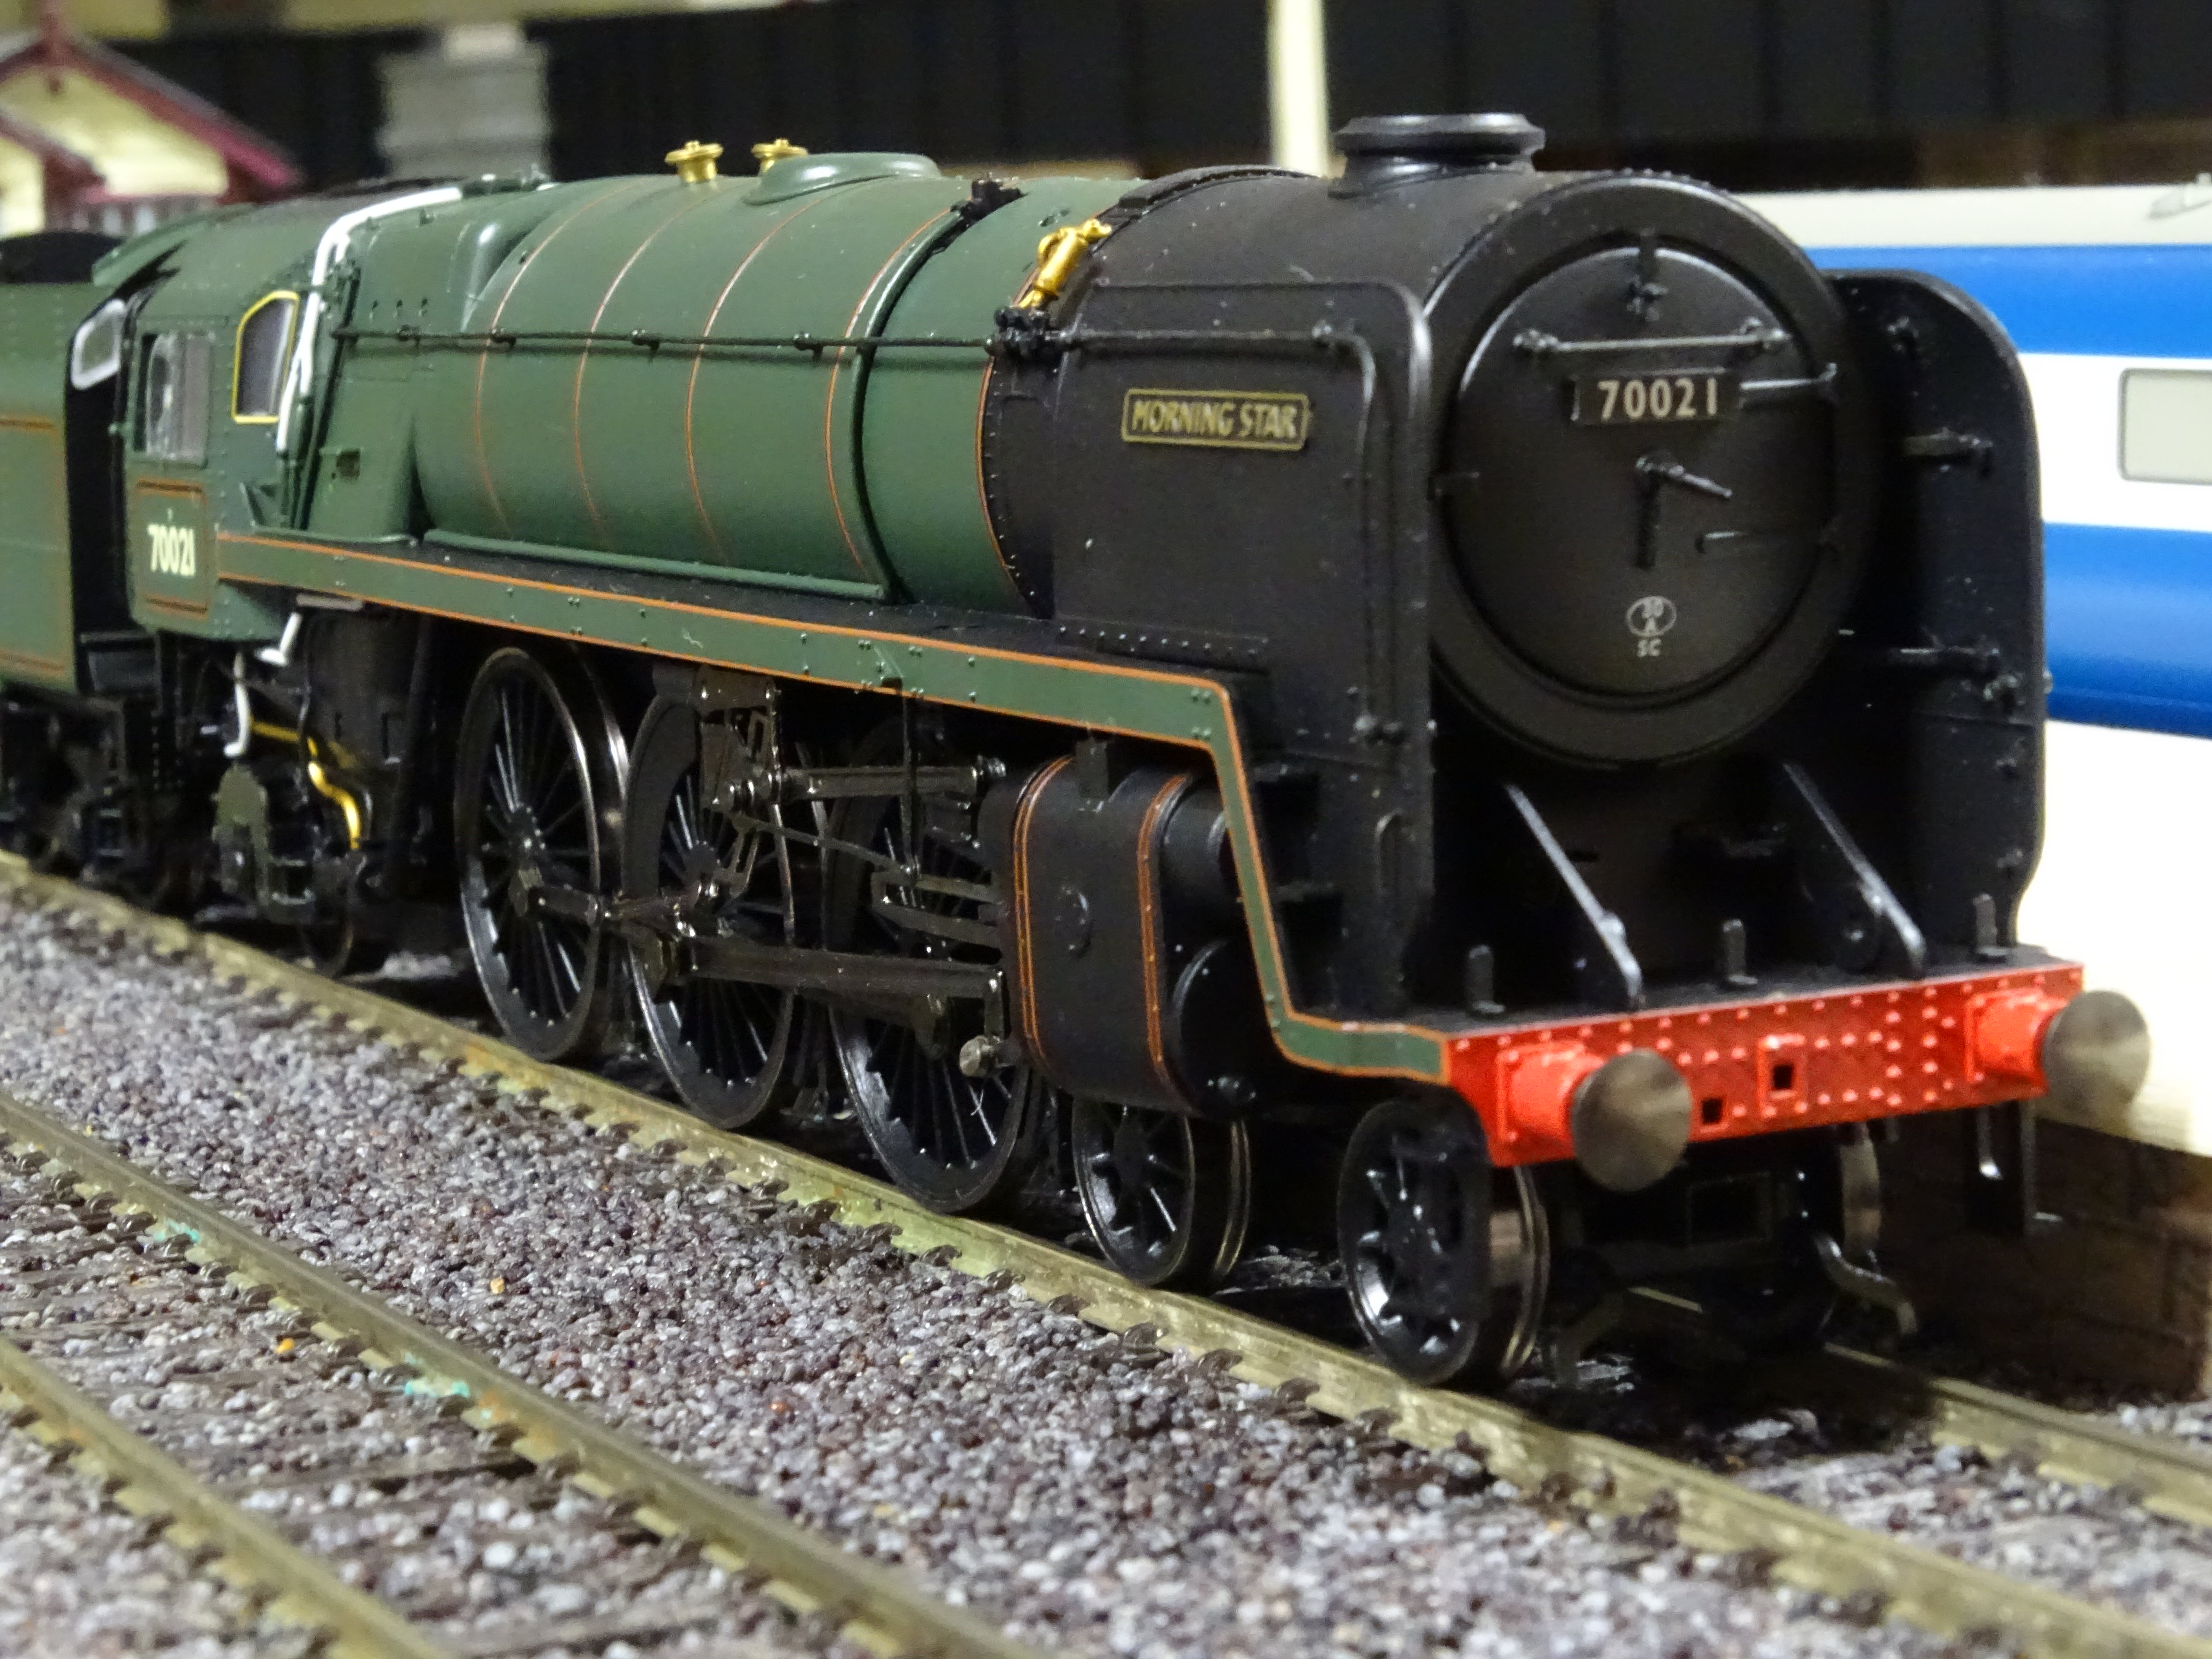
A reminder, as received TMC Morning Star alias Hornby Britannia R2562

Completed – my 1959 version of 70021 Morning Star with solid rods, lubricator access, large dome, raised sand box covers, front step and rear cab supports
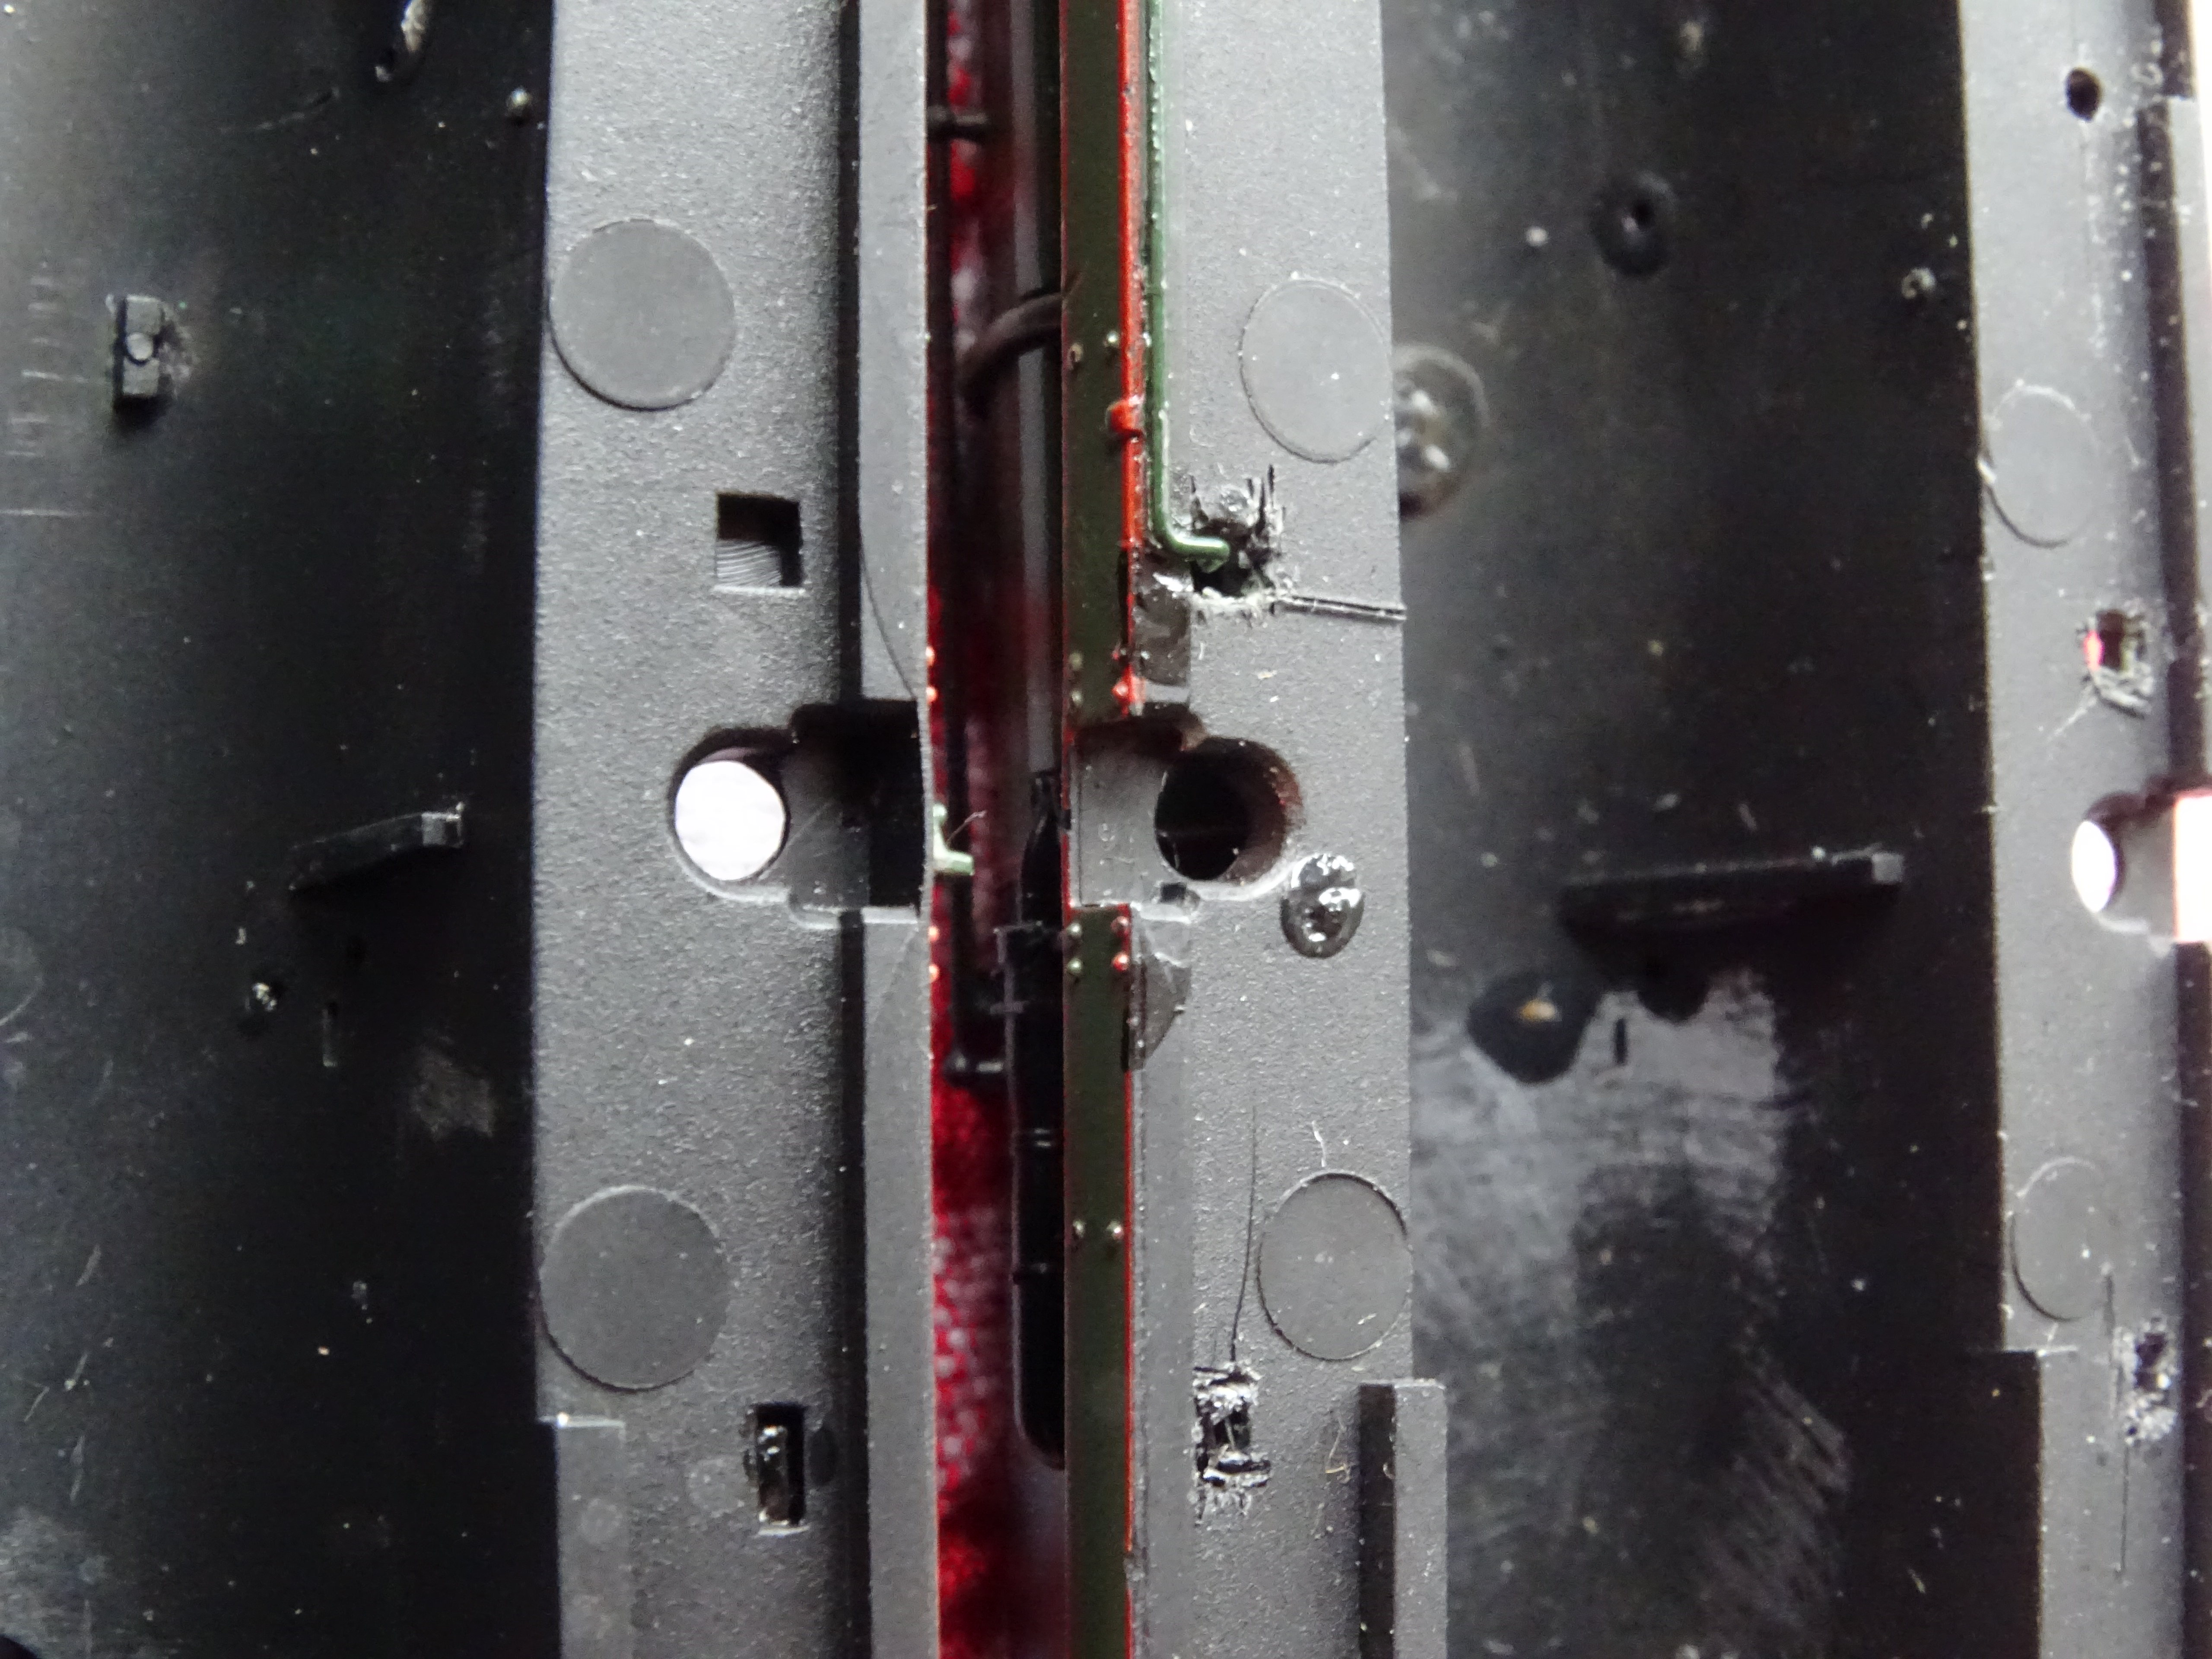
Lubricator Cut Outs, one with (right) and R2562 without (left)
In the same way that Hornby have engineered the Britannia body shell to cater for different numbers of raised sand box lids, the body moulding has also been set up to make it easy to alter from an engine without lubricator access (the early 1950s engines) to engines with an access hole in through the side of the footplate. With a sharp blade and a steady hand the thin panel can be cut away from in front of the lubricator. As I have said earlier finding the little black handles would be the problem. I cheated and have ‘found’ a complete new chassis.
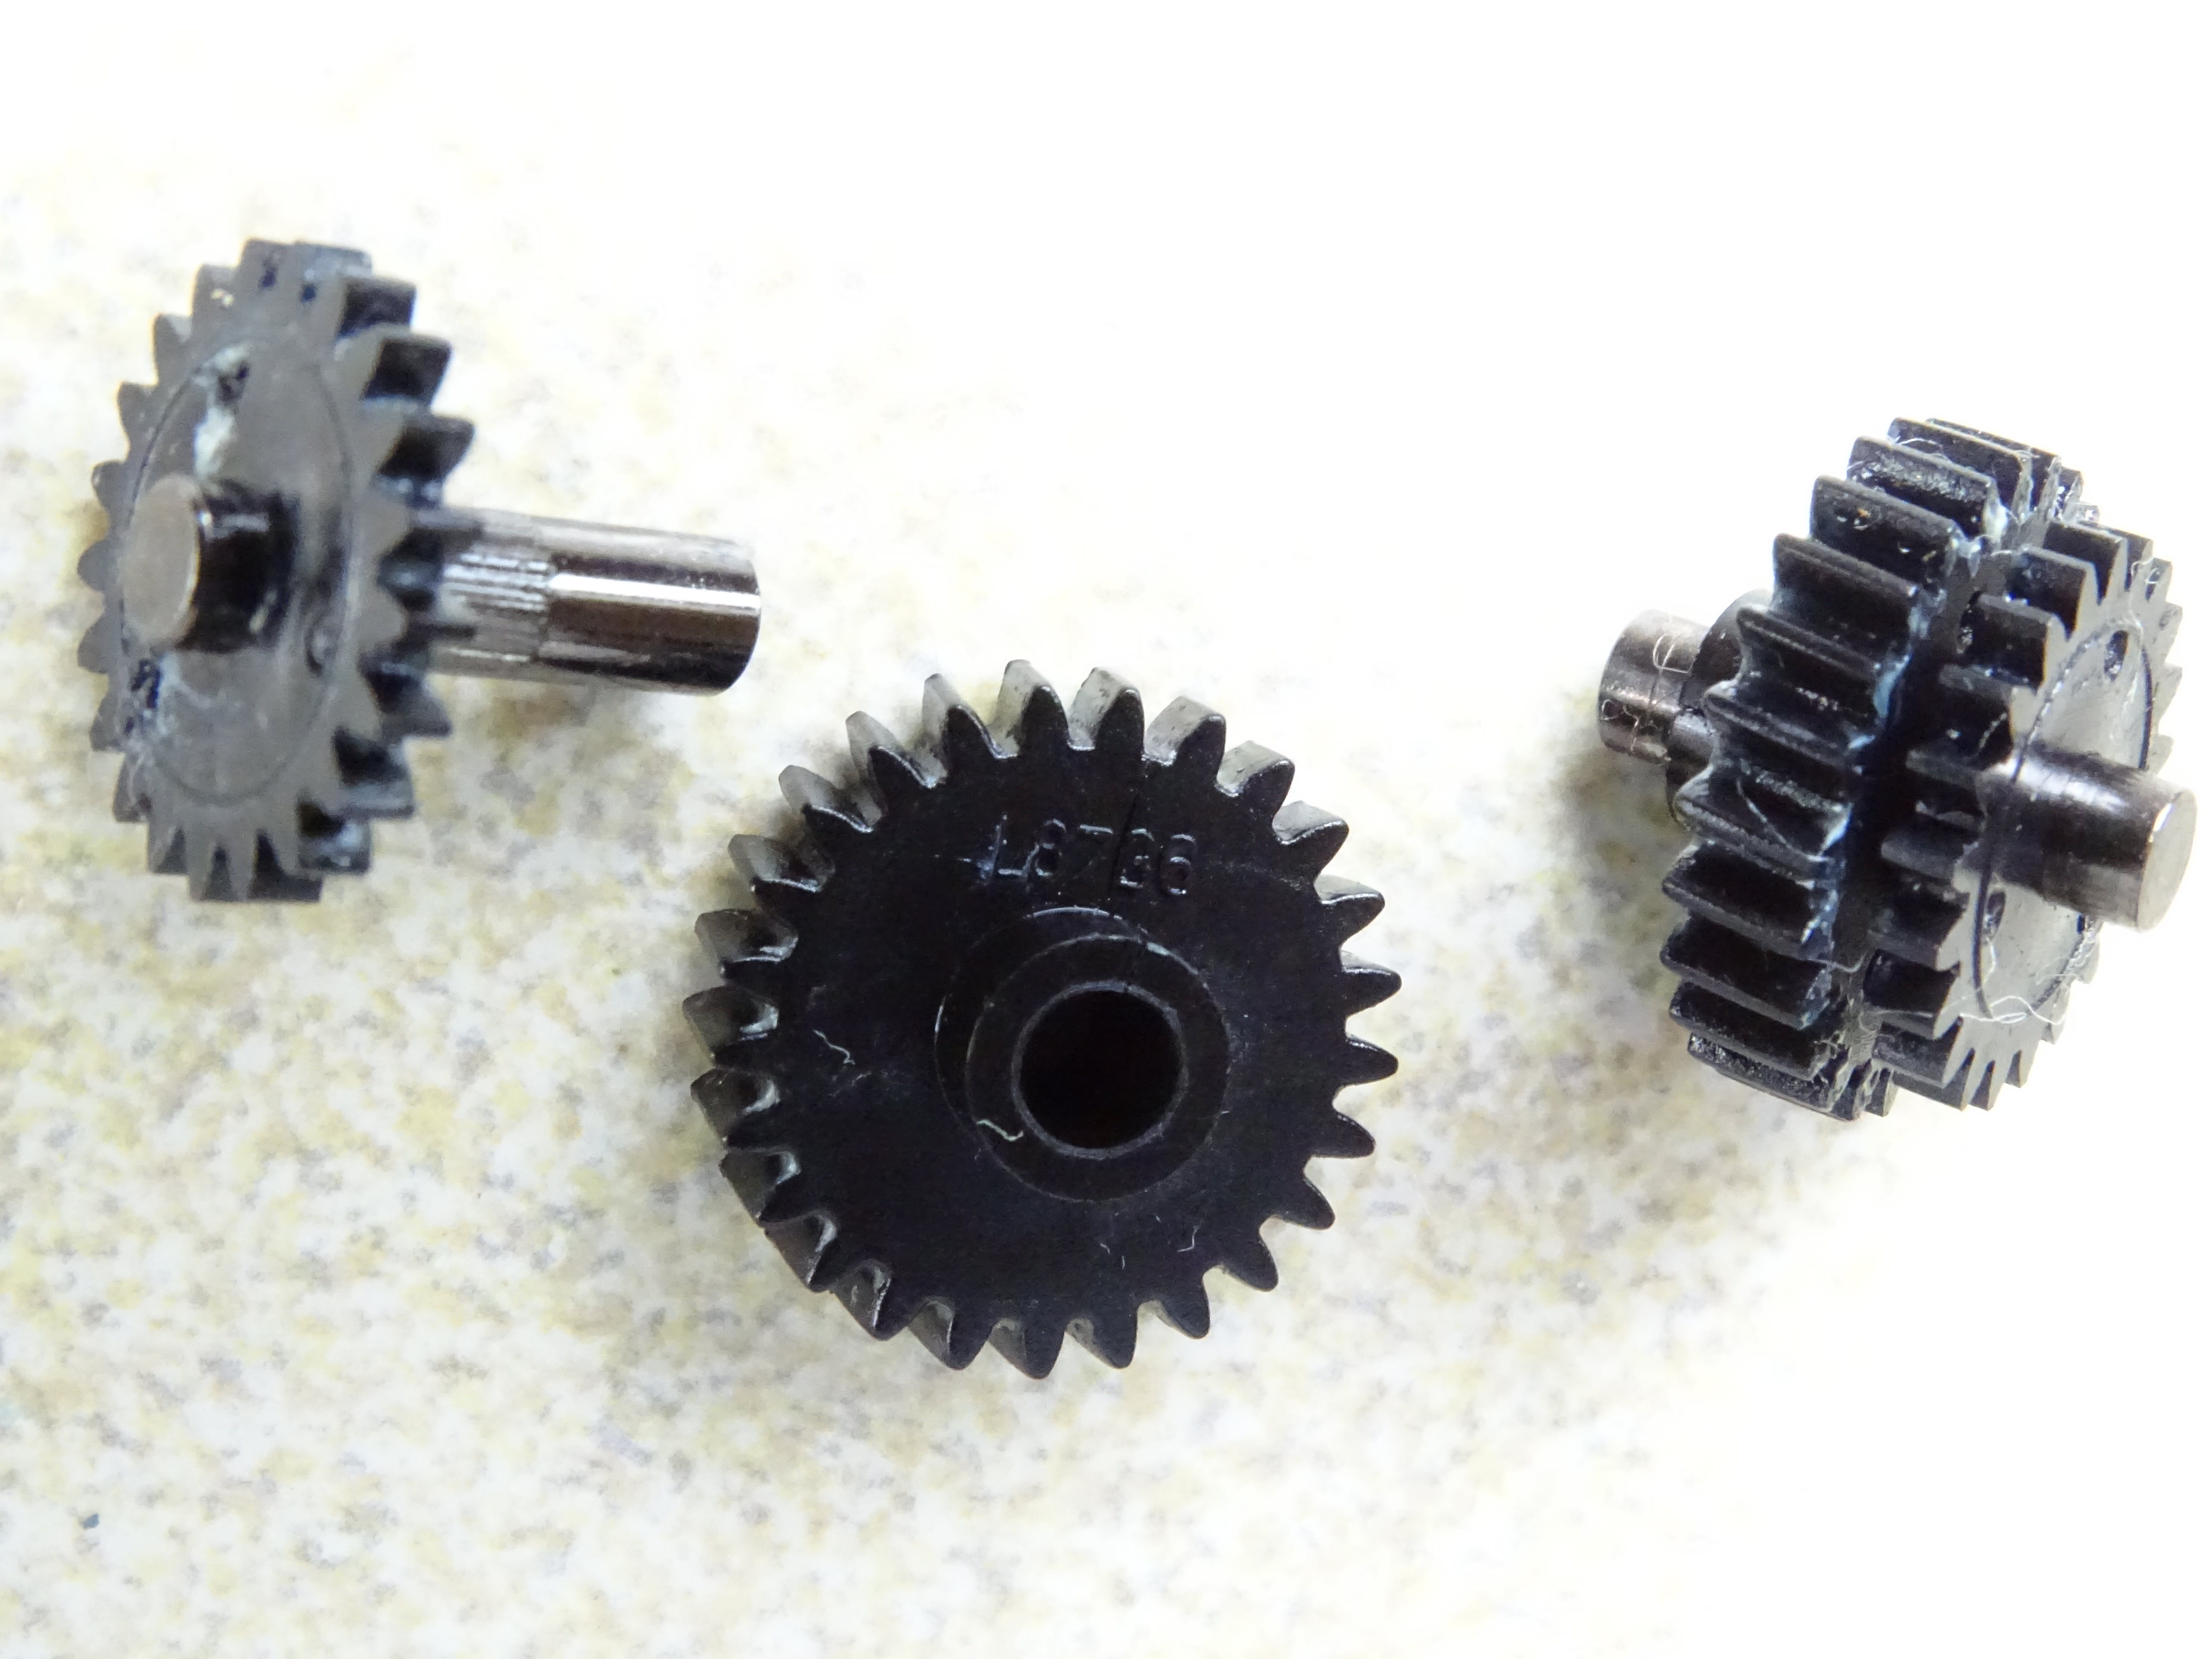
Hornby Britannia / Clan X9607 or R.Scot / Patriot X3875 – spot L8786!
Those of you that have bought or played with old ‘Super Detail’ Britannias will know that the Main Drive Gear (X9607) is prone to splitting. The part is a combination of two separate different sized gears force fitted onto a common shaft. When the larger gear splits it causes the engine to limp or seize solid. The fault is readily identifiable because ‘the tight spot’ occurs at different points in the revolution of the driving wheels rather than at the same point when there is a fault with the quartering or with the gear wheel on the driving axle. The same gear (X3875) is used by Hornby in their Royal Scot and Patriot models. The problem is that this spare part is frequently out of stock at the usual suppliers. In all the models that I have come across it is only the larger gear that has split, the one stamped L8786.
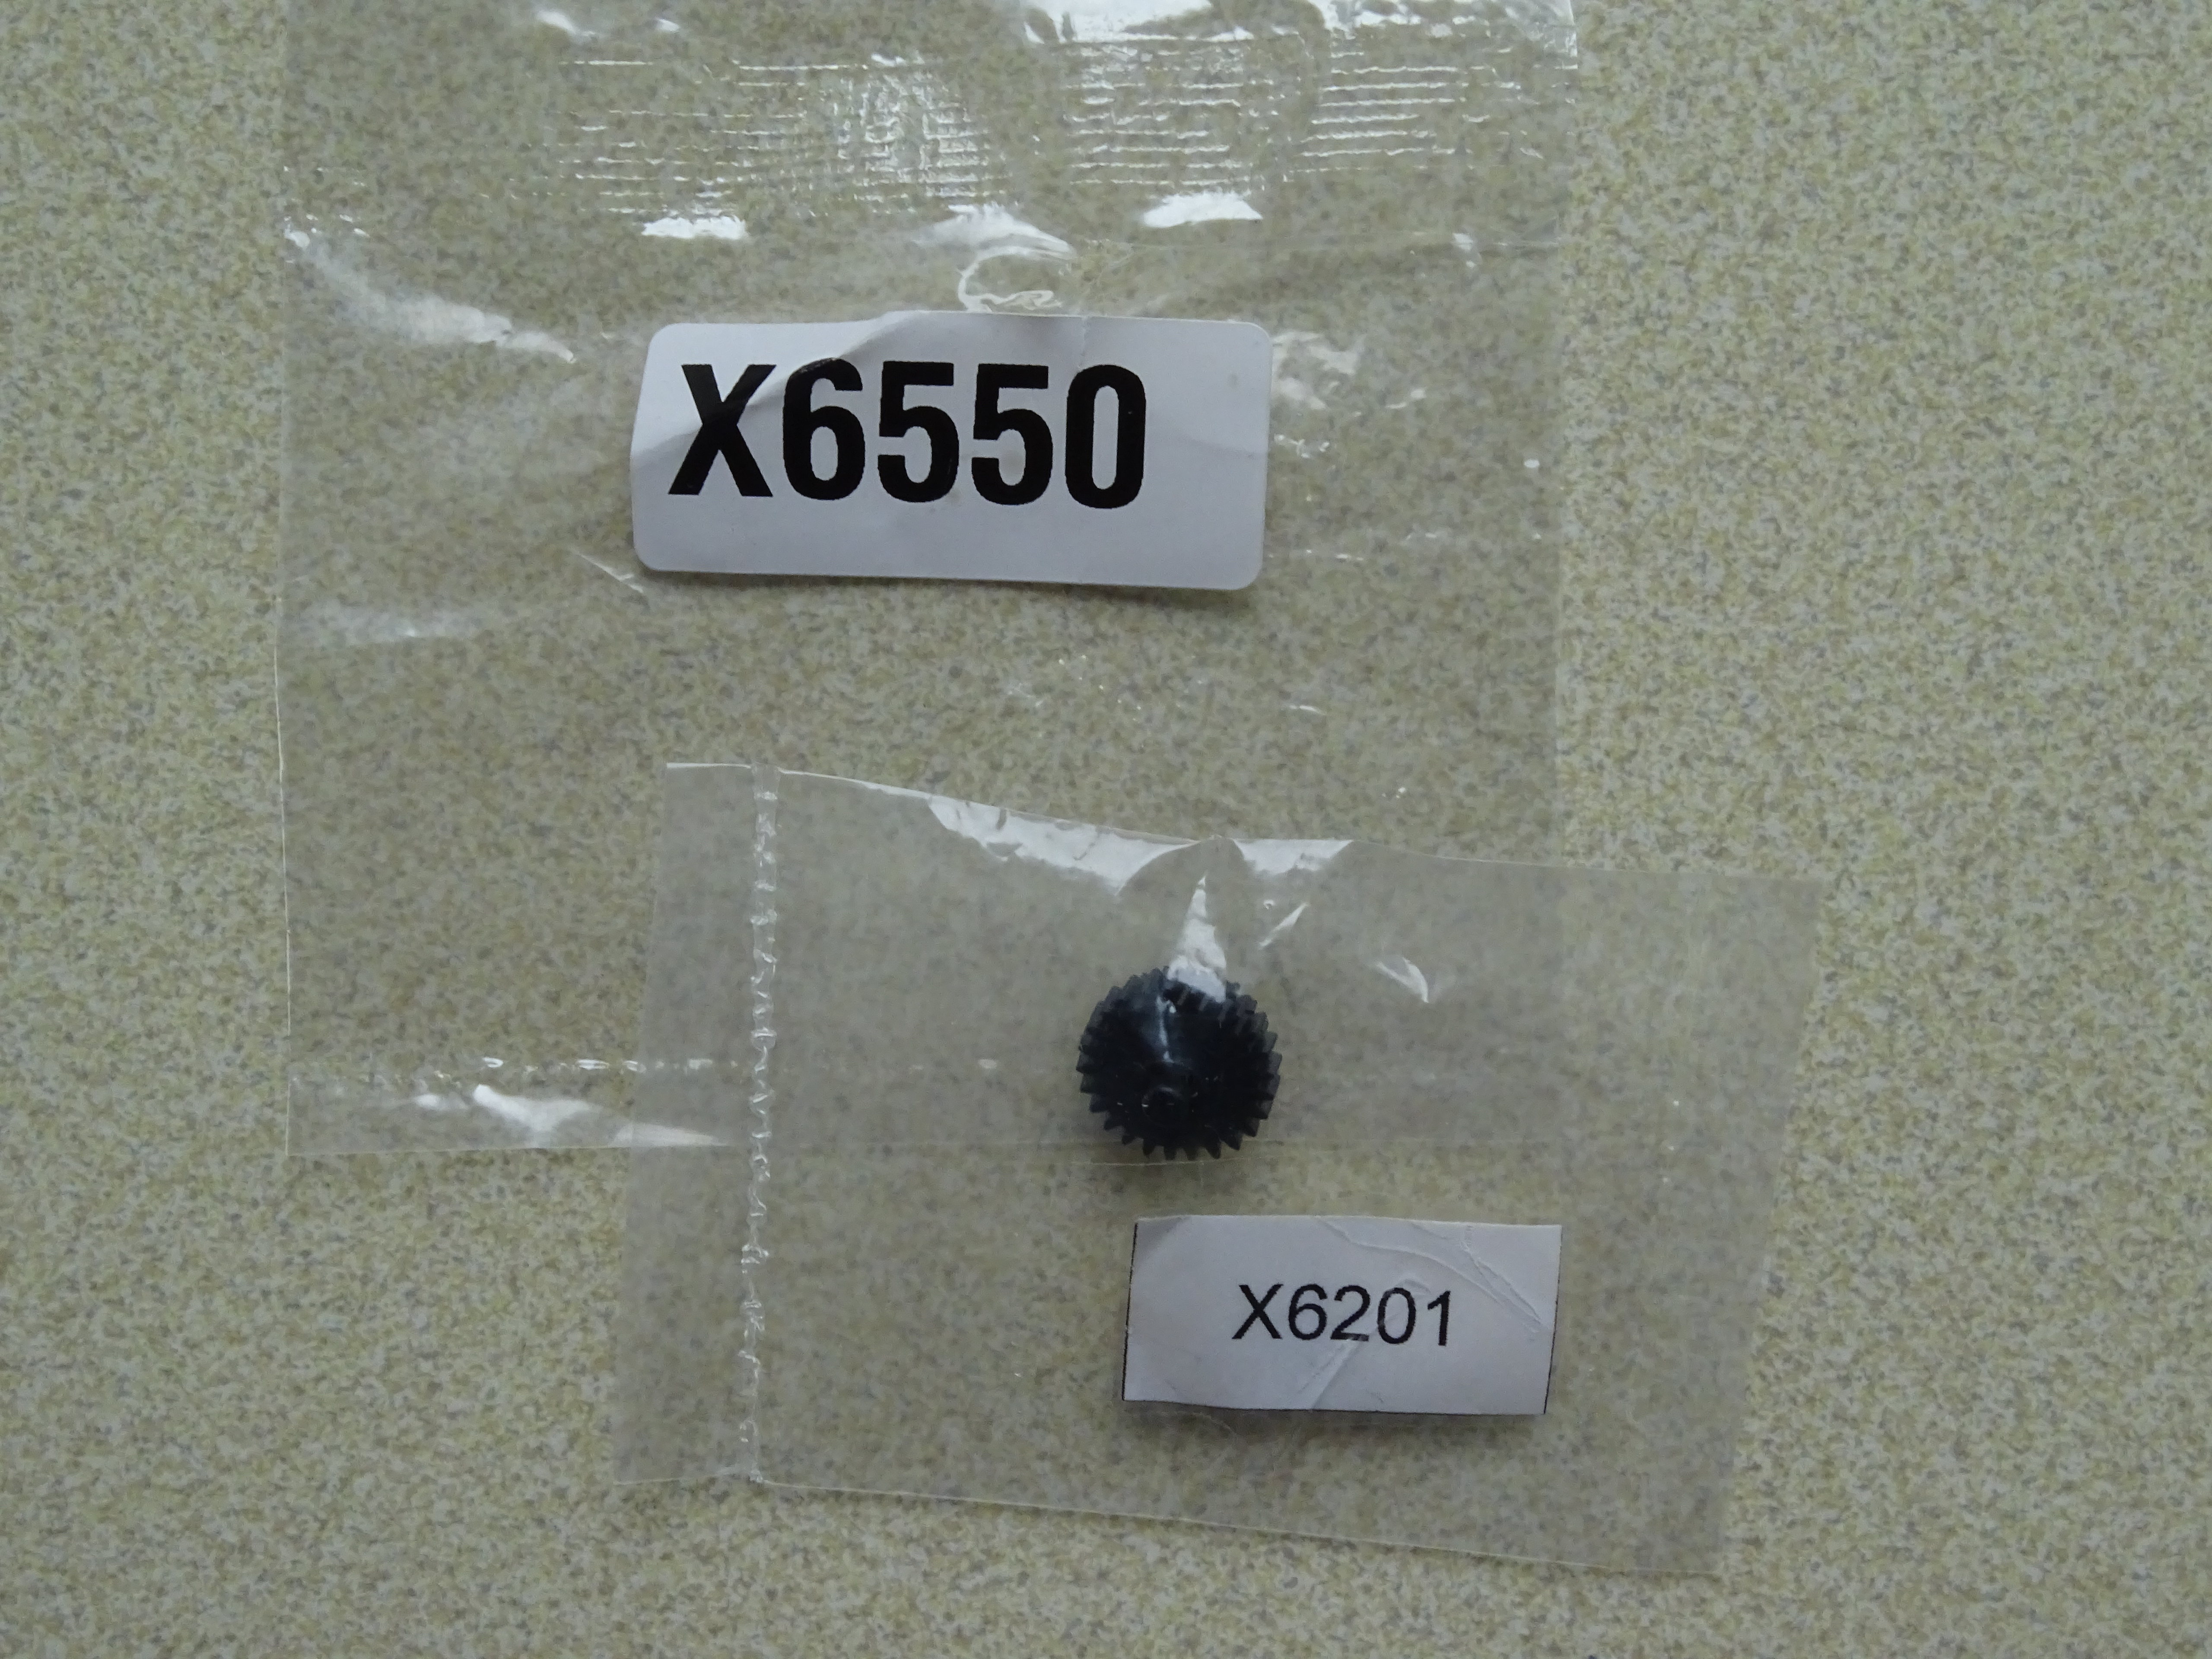
Examples of Hornby Spare Part Packs containing gear wheel L8786
L8786 is used in almost all of Hornby’s models but combined with different length shafts or a different size small gear. L8786 can be eased off its drive shaft and there are packs for different models available from the usual Hornby spare parts dealers which can be raided to provide the necessary replacement. These alternative spare parts can be considerably cheaper than buying the ‘real’ part at an inflated price off eBay.
The unfinished business with Clan Stewart alias Clan McLeod (R2847) related to the position of the top smoke box lamp iron. R2847 comes with a Late Crest and overhead warning plates. As such it represents Clan McLeod at the end of its working life in the 1960s. By this time the top lamp iron had been lowered for safer working under the overhead wires. In contrast my model of Clan Stewart had retained its Early Emblem and represented the engine at the beginning of the 1960s. It would be 1963 before it gained its Late Crest and had its top lamp iron lowered.
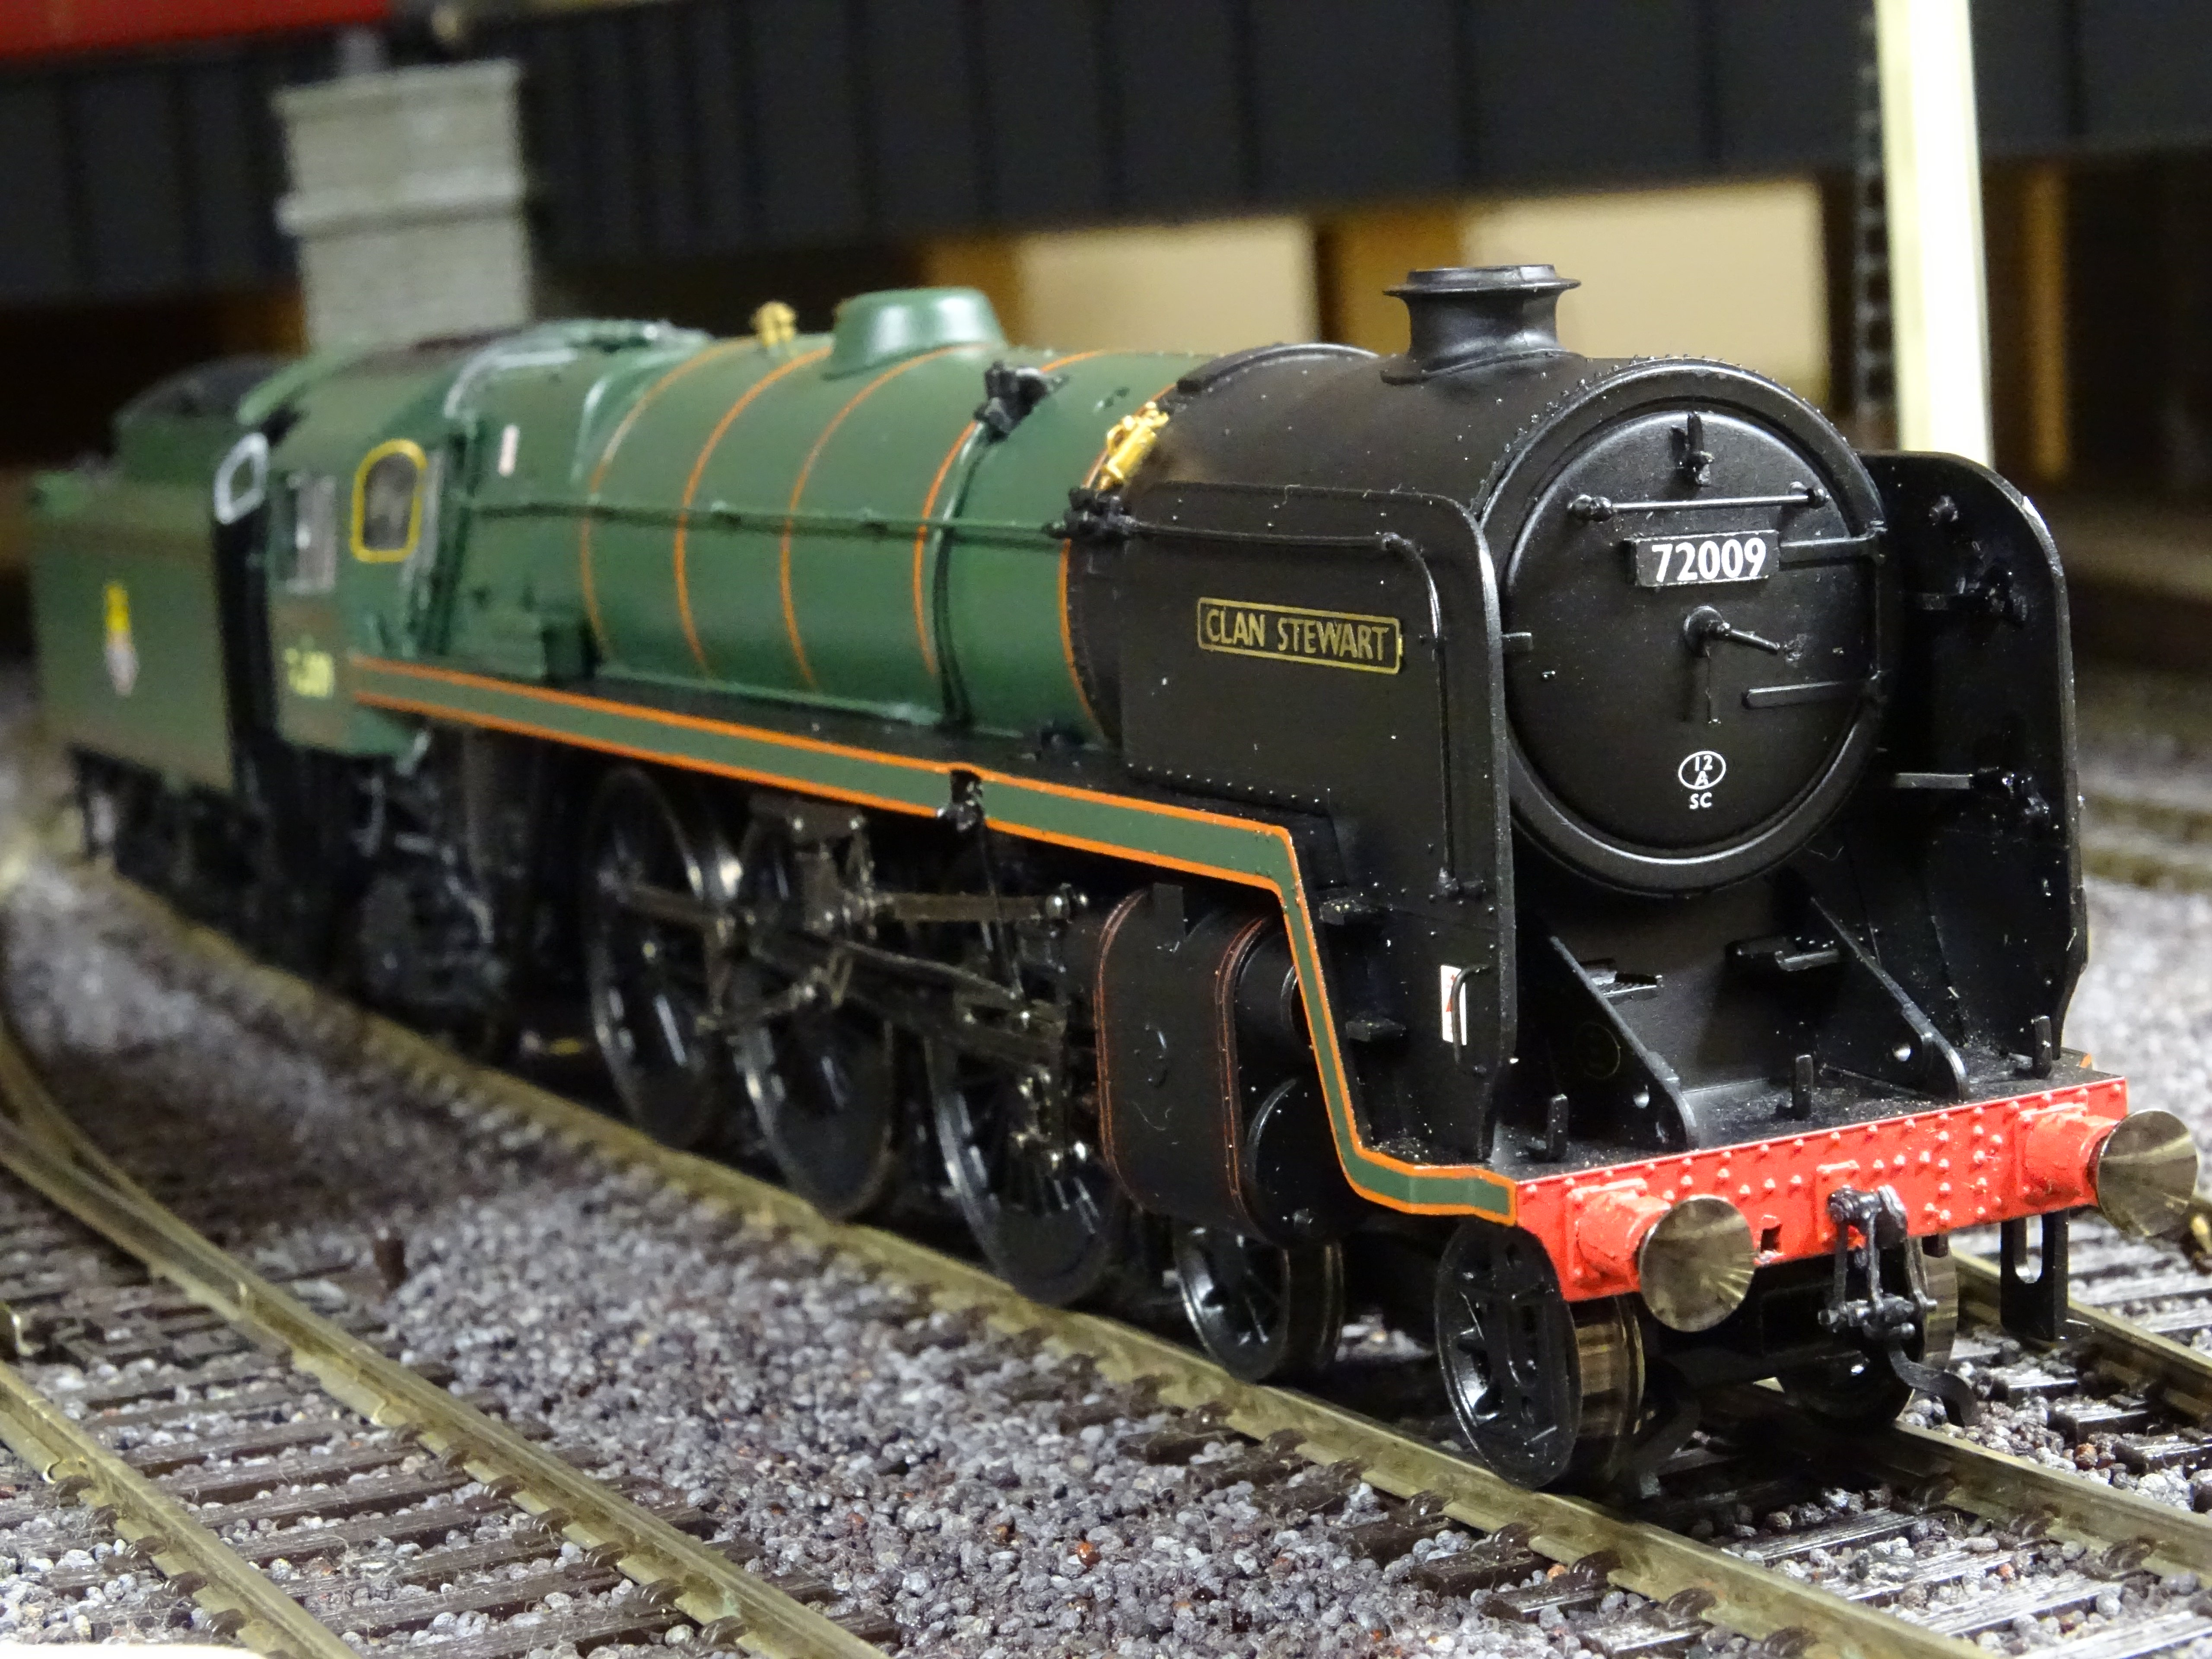
Hornby R2847 Clan McLeod alias Clan Stewart with repositioned top lamp iron as running in 1960
I must have been lucky because after separating the bodyshell from the chassis I was able to use a tiny screw driver and to push out the existing lamp iron. It was then a case of marking out, drilling a new hole and glueing the iron back into its new top position. Getting the position correct is critical. Get it wrong and it is very visible. I used a 0.5mm bit rotated by hand to form the new hole. This is perhaps a little small for the stub on the Hornby lamp iron but it does leave scope for elongating the hole to the left or right if the initial marking out proves to have been ‘off centre’.

Perfect Plastic Putty coloured with Acrylic Paint (Wilkinson’s)
Removing the lamp iron had left a reasonably clean hole which I filled using ‘Perfect Plastic Putty’ coloured black with acrylic paint. I made a mixture of half putty and half paint. I used my finger to push the putty from inside the smoke box until it appeared on the outside. The surplus on the outside was carefully removed after it had started to dry. Since the hole was unlikely to get any handling I left the filler with just a dab of black acrylic paint applied using a cocktail stick. For me this was a quicker solution and more acceptable than repainting the whole smoke box door.
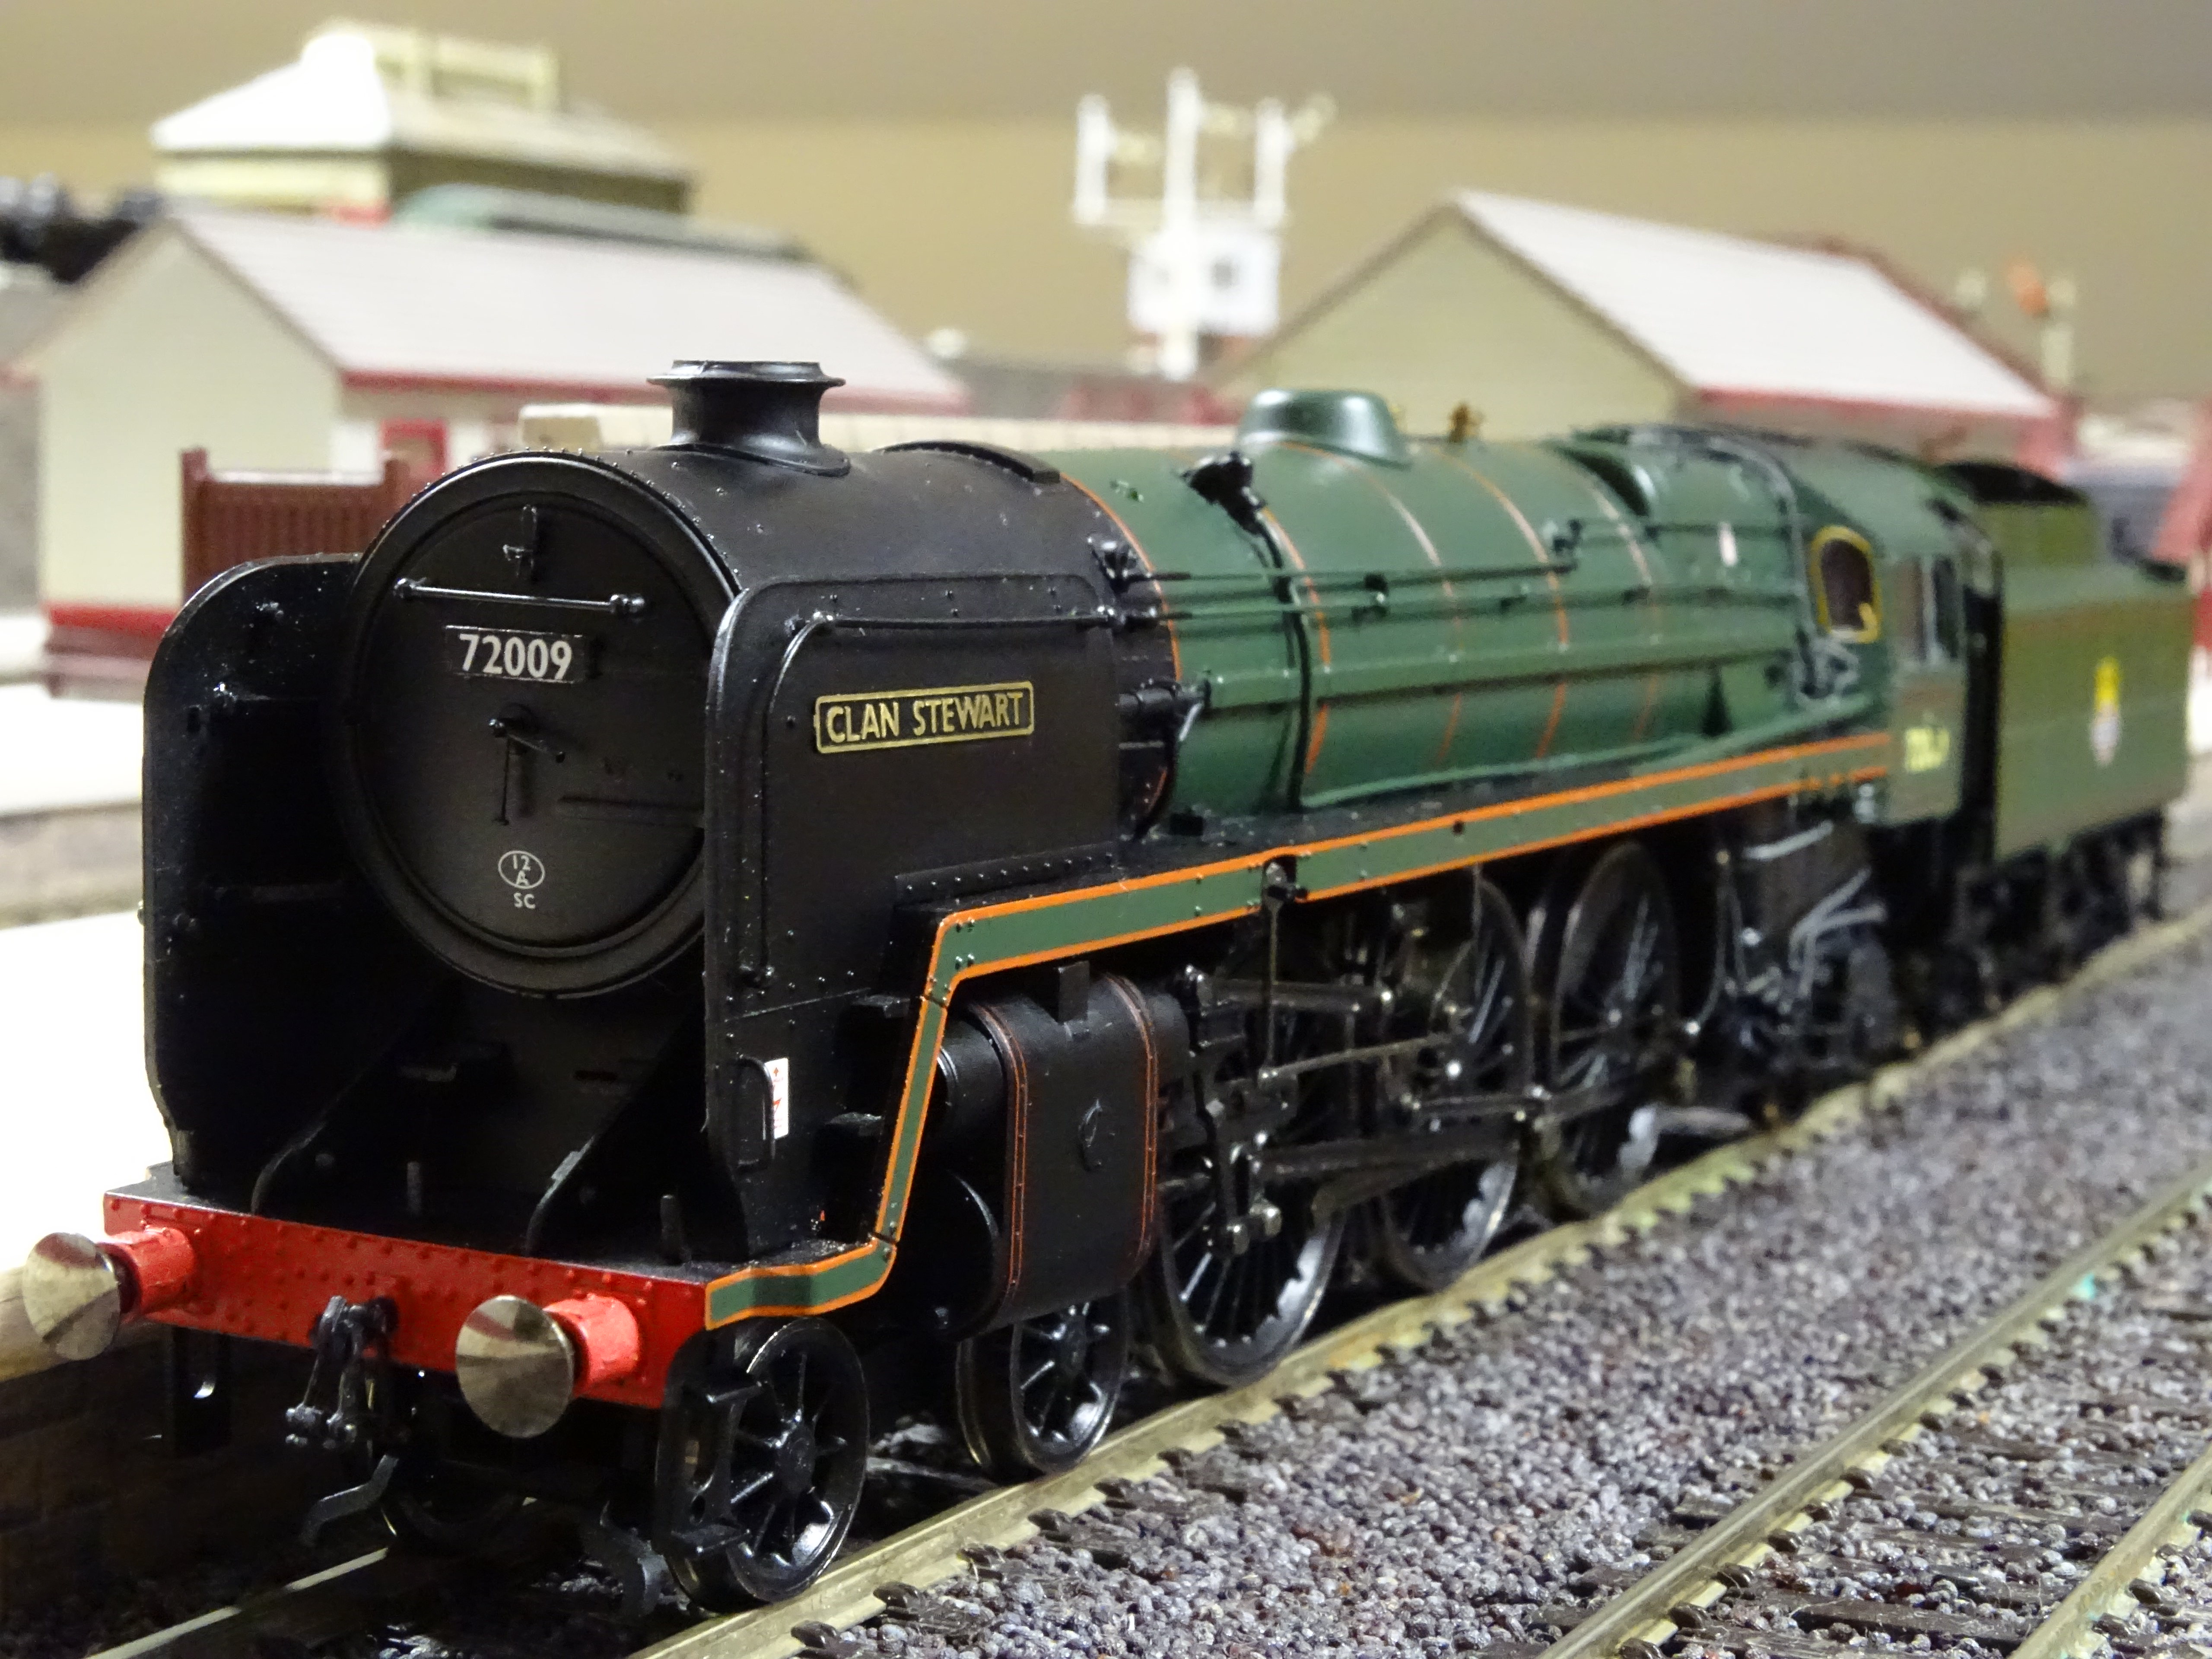
Hornby R2847 Clan McLeod alias Clan Stewart with repositioned top lamp iron as running in 1960
Another view of Clan Stewart, followed by another image of Morning Star (I do like these models).

My 1959 version of 70021 Morning Star alias Hornby R2562
For completeness I have added two views of the third engine from the previous Post, my 1960s version of Britannia. I have swapped its tender top for one with a different shade of green.
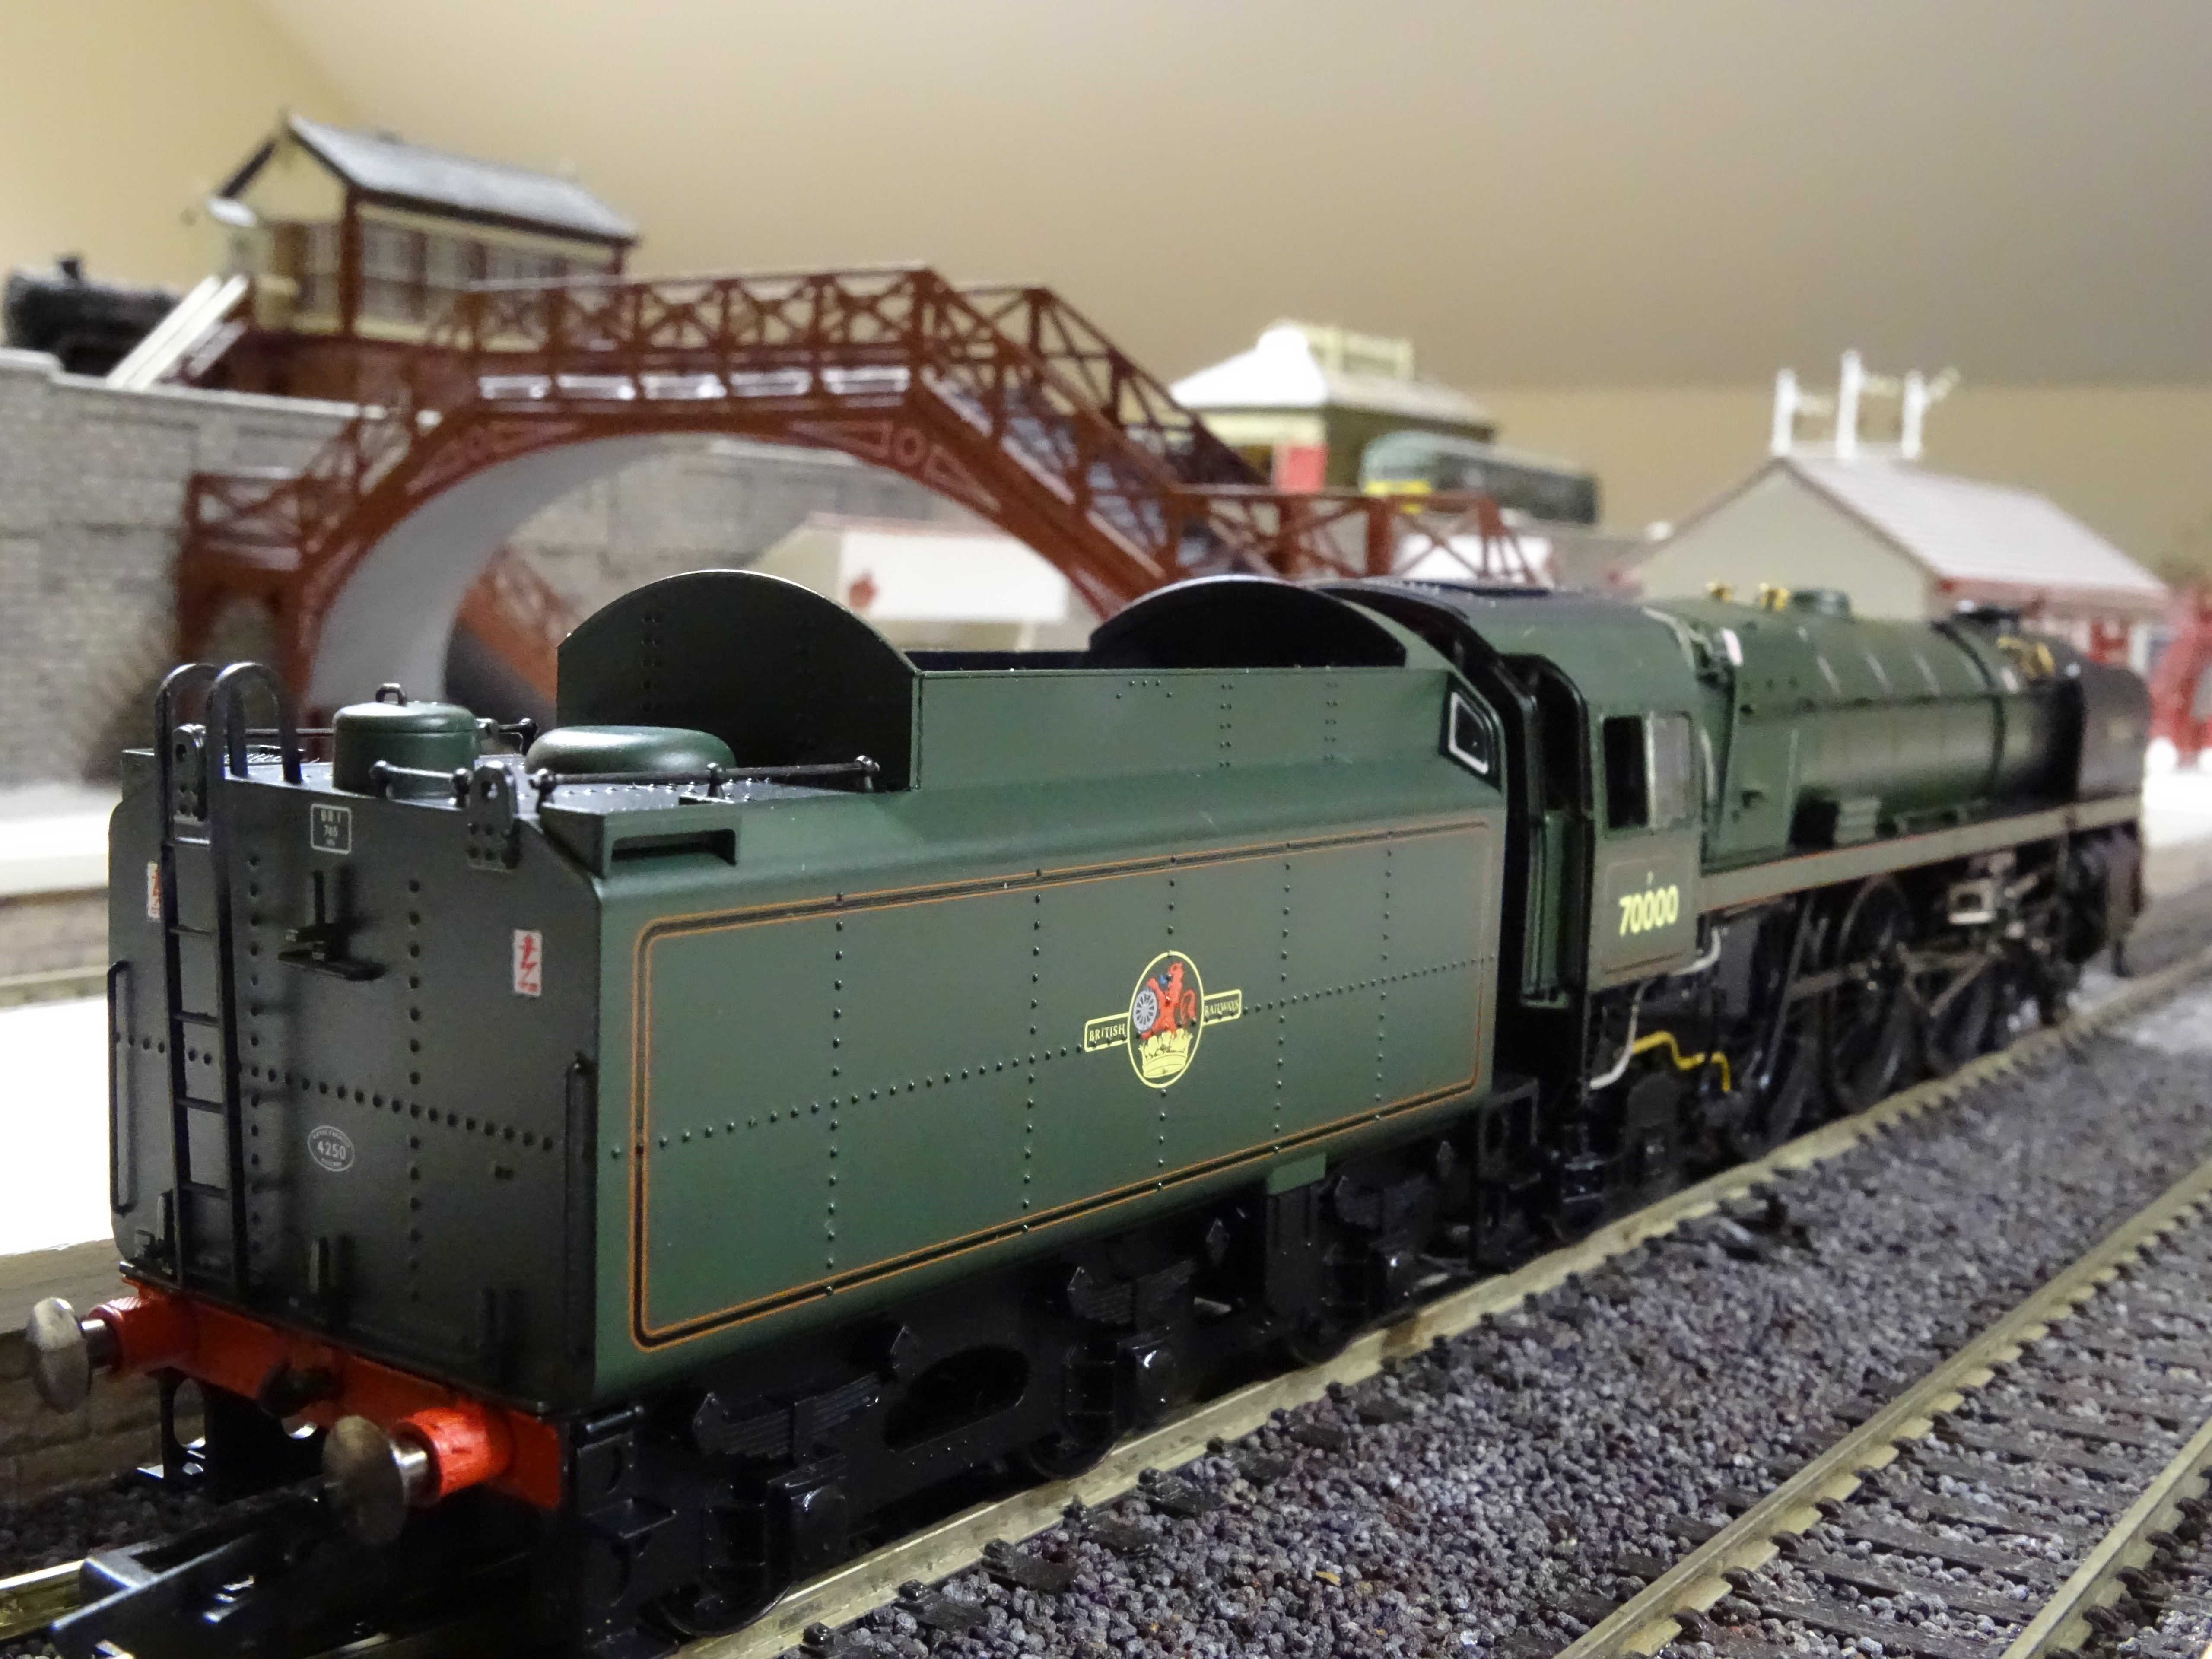
Hornby Special Duties Britannia Ex R3094 Set with Late Crest and BR (LMR) pattern deflectors
My understanding is that Britannia never had its sand box lids modified in British Railways days. I need to be more certain as to how the tops of the sand boxes were finished on the prototype in 1960 before cutting or making any further modifications to the model.
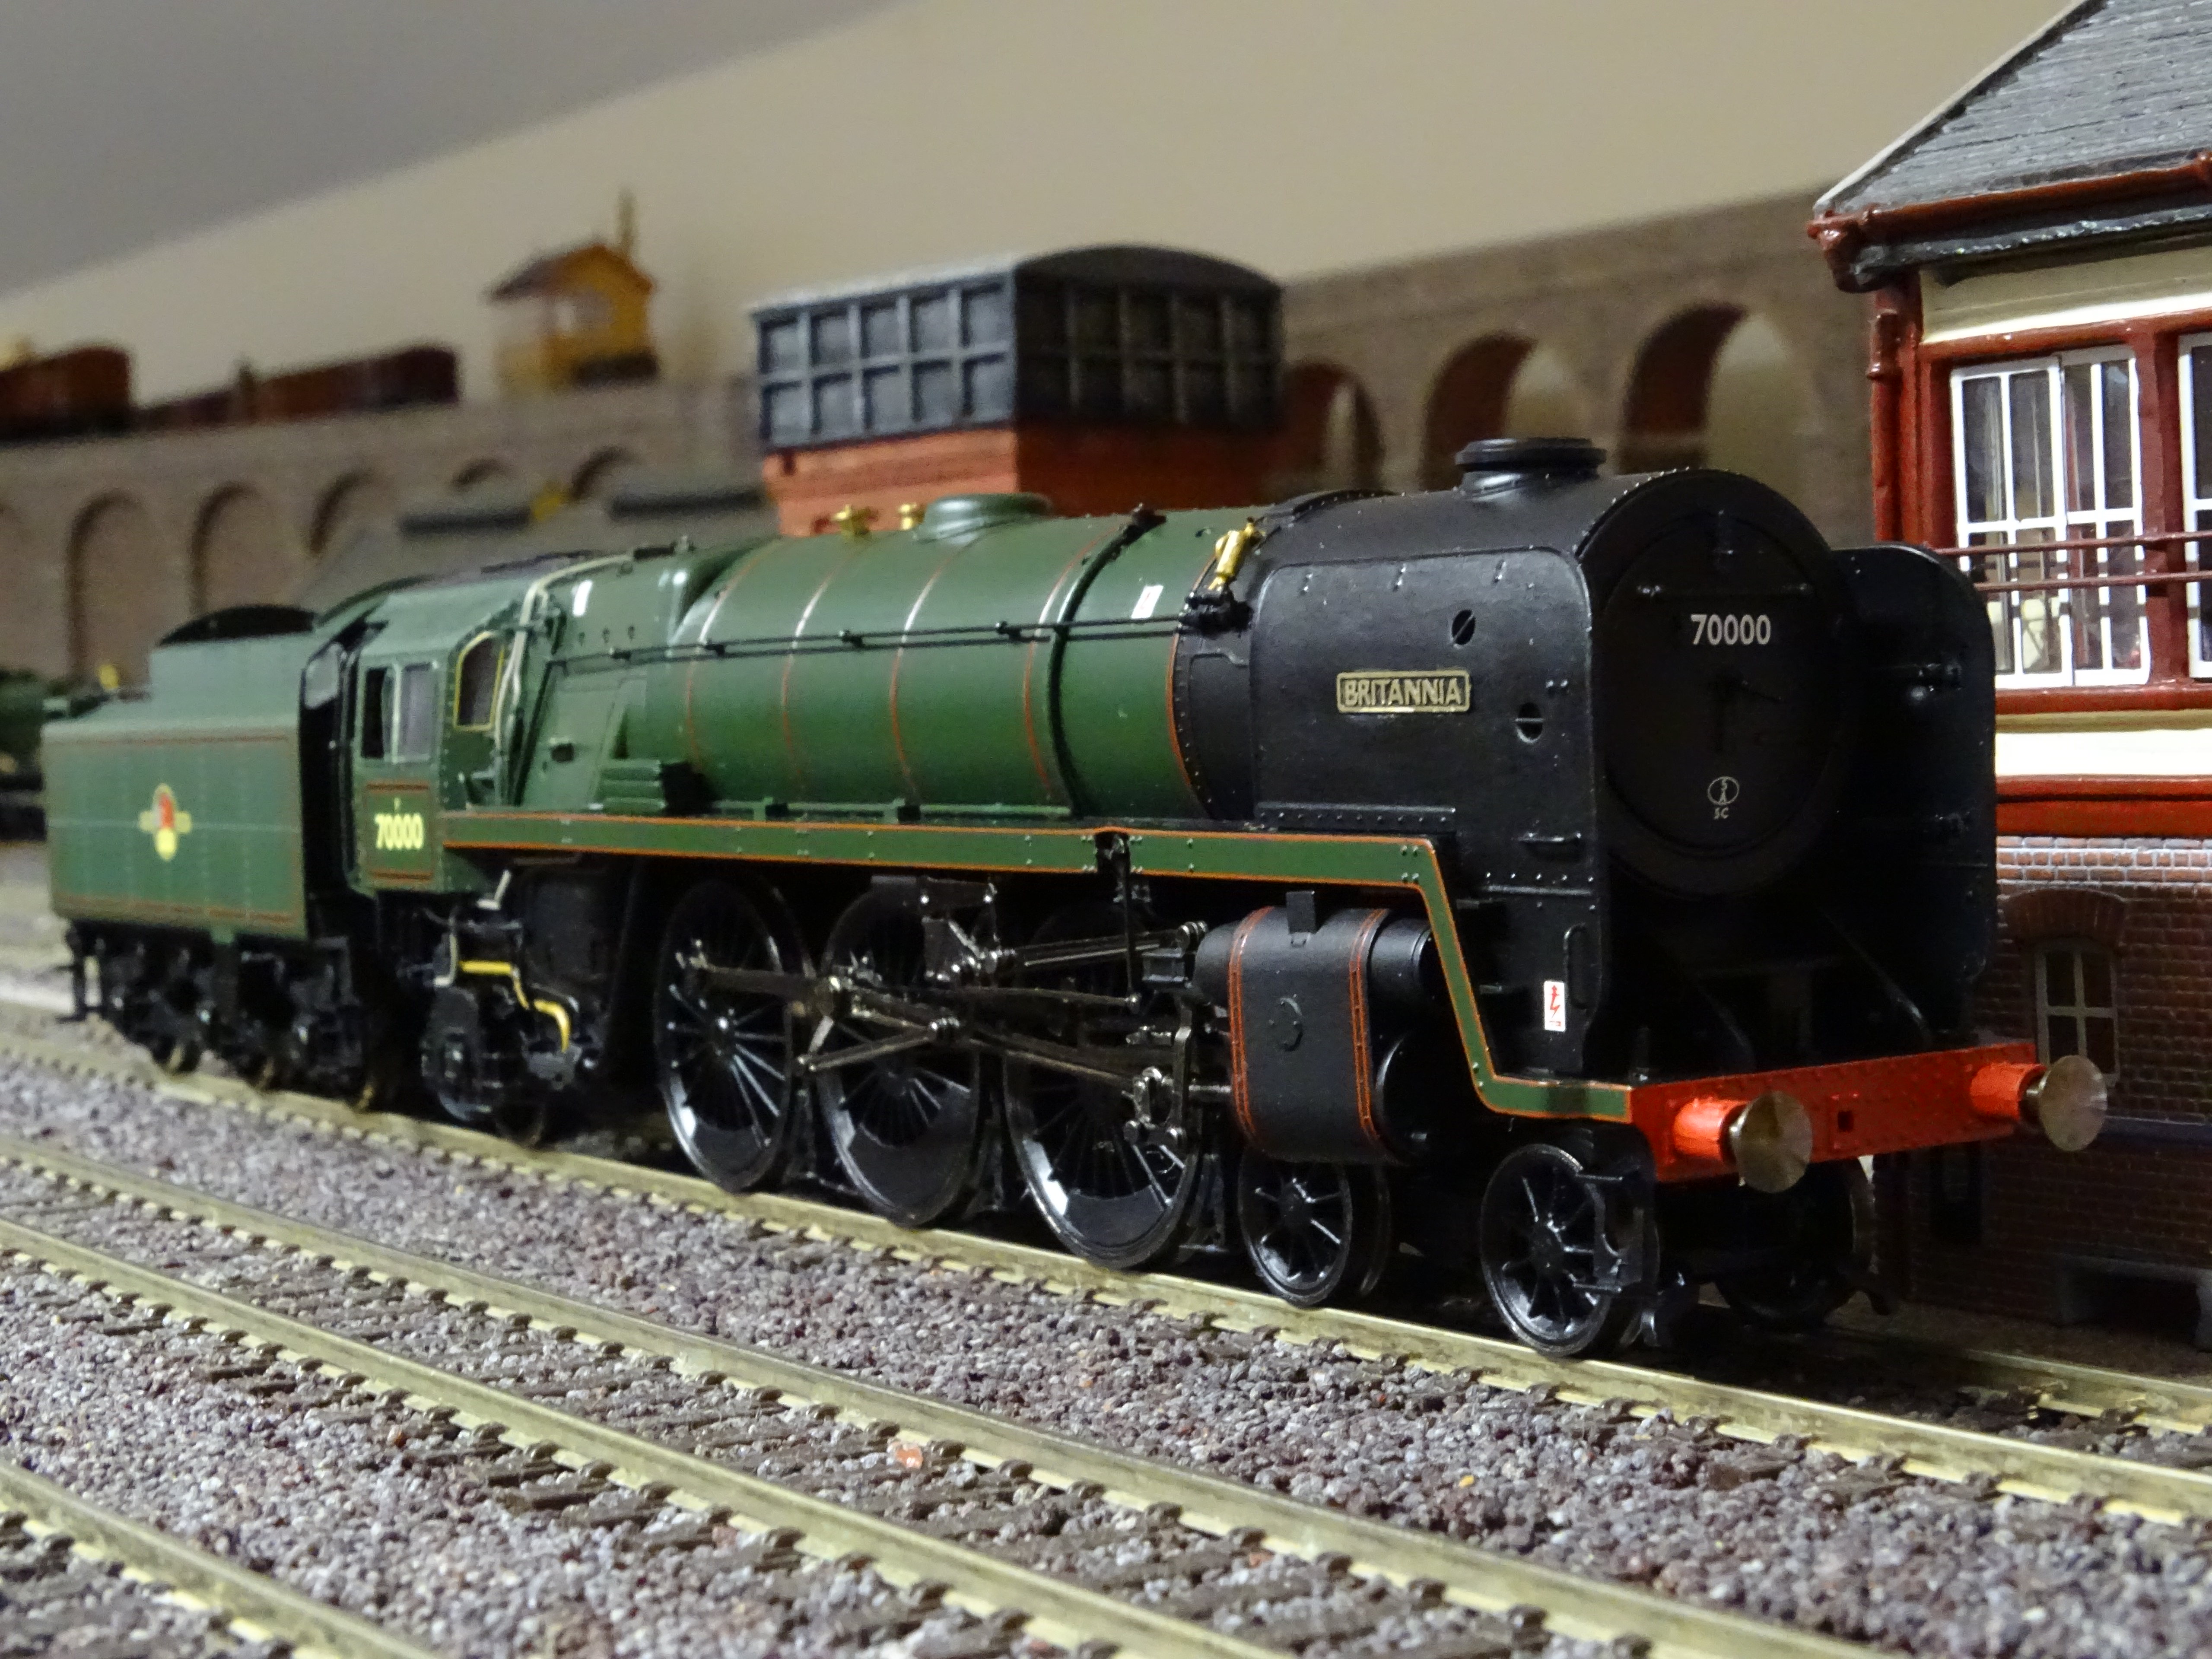
Hornby Special Duties Britannia Ex R3094 Set with Late Crest and BR (LMR) pattern deflectors
Edited by Silver Sidelines
-
 6
6
-
 1
1


0 Comments
Recommended Comments
There are no comments to display.
Create an account or sign in to comment
You need to be a member in order to leave a comment
Create an account
Sign up for a new account in our community. It's easy!
Register a new accountSign in
Already have an account? Sign in here.
Sign In Now