


Entry posted by Will Vale
540 views
I made an unpleasant mistake on this one at 2am, which took quite a bit of fixing. Came out pretty well in the end, I think.
I wanted to make something along the lines of these pictures of 390181 by Martyn Read:
http://ukrailrolling.../p36338863.html and http://ukrailrolling.../p24117355.html (large image!)
The disaster was deciding to fade the paint too late - I applied a wash-like layer of MIG white pigment with their fixer, and of course with the fixer you can't really see how much you're putting on. You can see where this is going... As the spirit evaporated my nice rust was suddenly buried under a blotchy white bloom rather than a gentle fade.
I managed to get it back by remembering some advice from Pugsley that you could re-wet the pigments. Much careful damping and dabbing with tissue later, I got rid of most of it without doing too much harm to the paint underneath. When dry, there was an odd look at glancing angles, possibly from a combination of surface relief in the remaining pigment and their very matt surface. I rubbed it down gently with my finger, then worked a small amount of rubble dust into each panel with a makeup applicator to even things out.
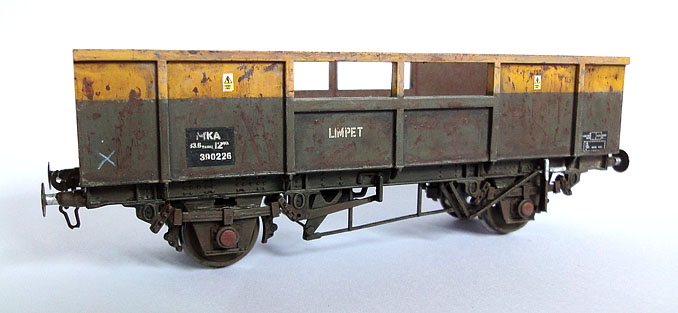
That got me quite close to where I wanted to be - the panels were gently faded (probably not enough, to be honest) and more-or-less consistent. But it all looked a bit flat and boring. I ran some dark grey + black washes around the panel edges to get more definition, and a final very thin dark wash over each panel to tone it all down. Then I touched in the larger rust streaks again and repaired the damage to the data panel (I'd painted out the dashed lines but some of this came off when the panels were cleaned of the horrible whitewash). Finally I added a bit of graffiti to distract from one panel where I'd cut through too much of the weathering and there was a shiny patch. The interiors of this one and the previous have been painted now but need a layer of powders to show where the load has been.
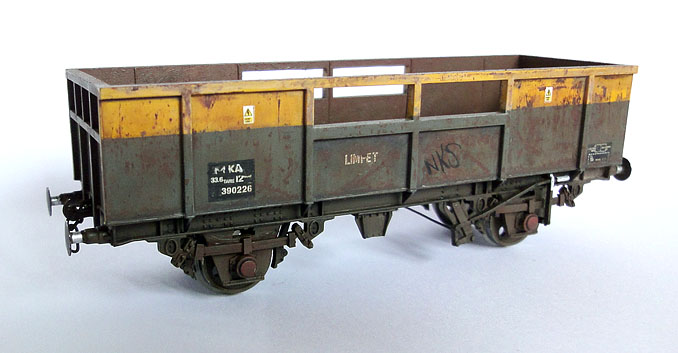
I quite like the colours - the rust is all Tamiya red-brown acrylic, it looks good on the yellow and in real life, but slightly blue in the picture - I might try mixing in a tiny spot of e.g. raw siena next time. Still haven't really got how to do the rusted-through paint on the lower bodies of these, but hopefully getting closer.
The real issue is that I like the look of the new springs despite them being a tad overscale. Which might mean a lot of work paring off the leaf springs on another half-a-dozen MKAs 
4 Comments
Recommended Comments
Create an account or sign in to comment
You need to be a member in order to leave a comment
Create an account
Sign up for a new account in our community. It's easy!
Register a new accountSign in
Already have an account? Sign in here.
Sign In Now