

Part 10: Downtown Deco kits

Entry posted by M Graff
1,617 views
Hi all, since the last entry I have bought some kits from Downtown Deco, I thought it would be good to show how I painted them.
This entry will show how to paint and weather the Adams Ave #1,
The owner of Downtown Deco, Randy Pepprock, had a thread at a big US Forum on how to paint it, but it was deleted as it was being called "advertising".....
I hope this will show the methods that can be used to paint and weather it. Sure, it´s not as elaborate as Randy´s was, but I think it will show some of the techniques required to paint any Hydrocal/plaster kit.
Here is the build:
I had bought three kits from Downtown Deco, which I thought I would use on my layout.
I sat down the night before last and began to put them together.
I started with Adams Ave #1 (and 2 and 3..... wich will not be shown so much here)
Last night I had come this far:
Adams Avenue # 2. They have wonderful texture and feel, these kits!

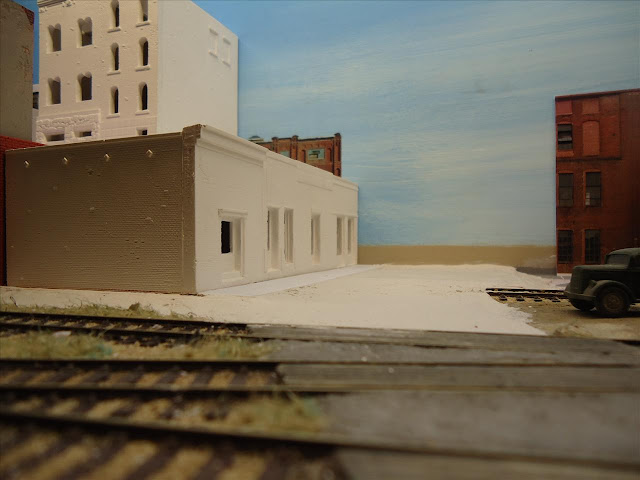
Adams Avenue # 1 & # 3. I have recently rebuilt this part of my layout and the DD kits will look very nice there, I think.
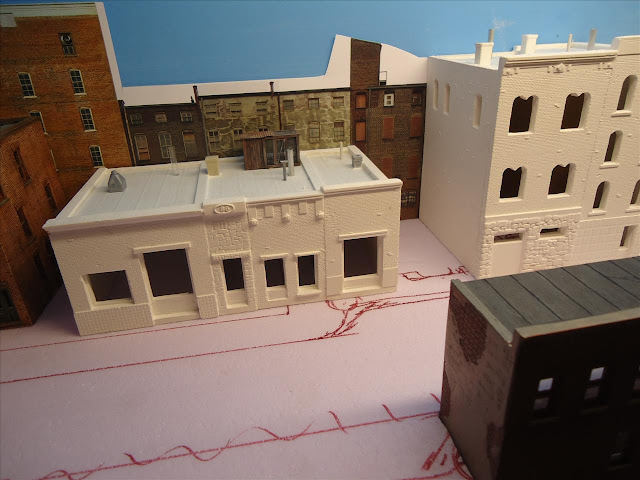
A closer picture, here you can see the background photos (from Kingmill) that will be used as well.
The houses are ready for painting now. and that will not go as fast as building them [ ].
].
I can highly recommend the Downtown Deco's kits!
One should be careful though that they are in plaster after all. I was however surprised that the Hydrocal used isn´t as hard as the dental plaster I´m currently working with...
In my kits (Adams #1 & #2) the front walls of the houses had broken (not so surprising after a trip across the Atlantic ocean...), but it was just a matter of using some Loctite CA and glue it together. It´s not visible afterwards [tup].
The joints have to be filed for the right fit, which was very easyto do with a long file.
I glued the parts together with CA glue.
I tried Epoxy as the instructions said, but it didn´t soak into the material as good as I would have liked.
The roofs are in Plasticard (included) and instead of using the black cardboard that came with the kit, I used 3M Micropore surgical tape as roofing material instead..
I glued the roof details that came with the kits, but waited with the ventilators (which I'll make special  ).
).
I made a few extra vents/vent pipe of alloy tubes I had in the parts box and some leftover plastic pipes.
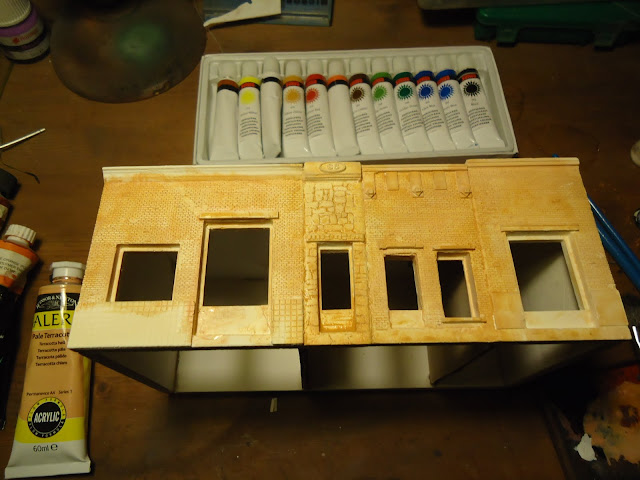
The start of the painting of Adams Ave #1.
I primed the whole house with my trusty Airbrush loaded with an off-white Vallejo Color:
DD recommends spray paints, but I don´t own any as I work with Airbrushes all day long...[]
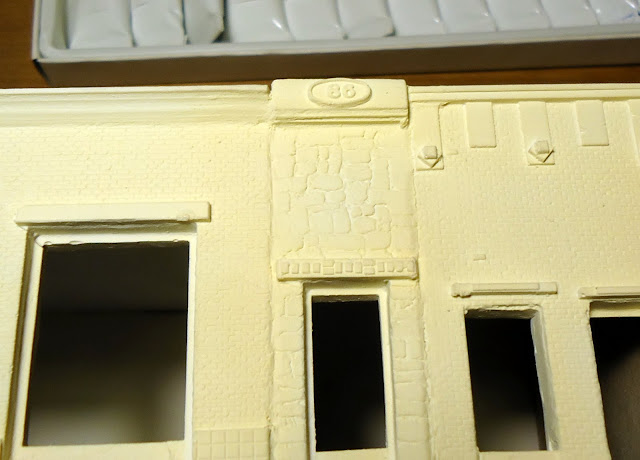
Now you can see more of the relief of the walls. The reason that you should prime the house is that otherwise the plaster sucks the water out of the paint and the result will be uneven and not as good.
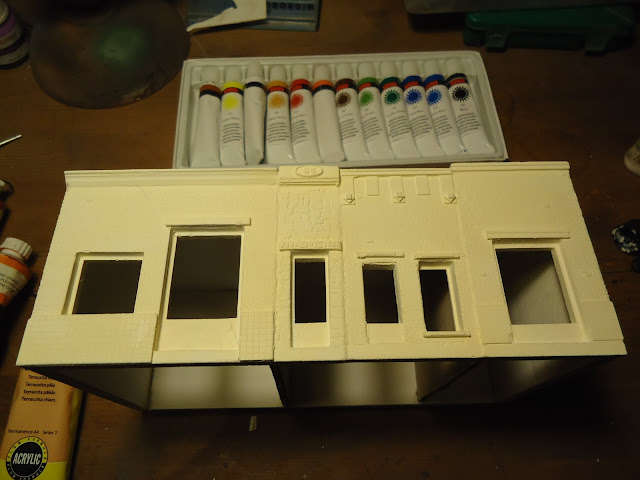
I used the cheapest artist acrylic paints I could find .
I use a brand called "Sense", 12 colors for $6  , you don´t even get half a tube of Liquitex for that.....
However, I use a more expensive color to the first layer, "Pale Terracotta" from Winsor & Newton, I think it gives a good basic tone to work on in the next steps.
I brush it on with a ½" brush and dilute it with water to a very thin consistency. It is supposed to cover but not be much more than a wash.

Here I have proceeded with the next color, a wash of "Burnt Sienna". It is imperative that you work out the color so that it does not look blotchy, but it must not be too perfect either....
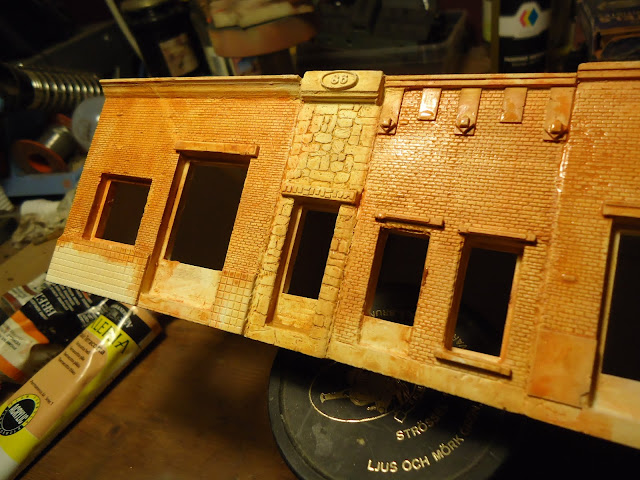
Here it is a little more evident how wet you put on the paint.
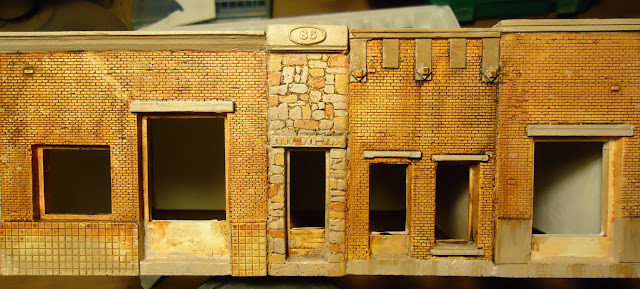
I put on a wash using "Burnt Umber". Then I painted the concrete surfaces and rocks with a mix of white and "Burnt Umber", it makes up a very good aged concrete color!
I painted the stones the same color. Then I painted a few stones with "burnt sienna" and "yellow ochre".
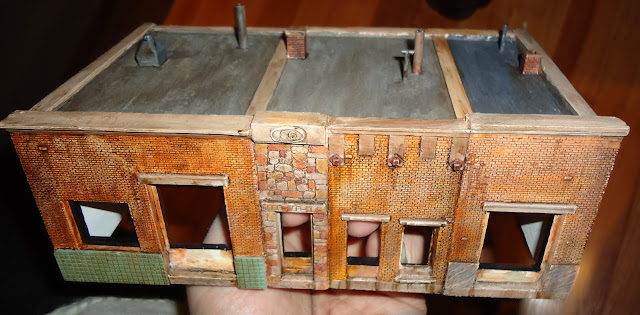
The roofs were painted with a dark gray/brown color that was painted on in thin layers.
I painted the tiles with a light turquoise Vallejo color I had. I then put on a wash using a mixture of "Burnt Umber" and black paint. I made some rust streaks as well too.
I then took a fine abrasive paper and topped off the edges, it gives the same effect as a dry brush with white paint.

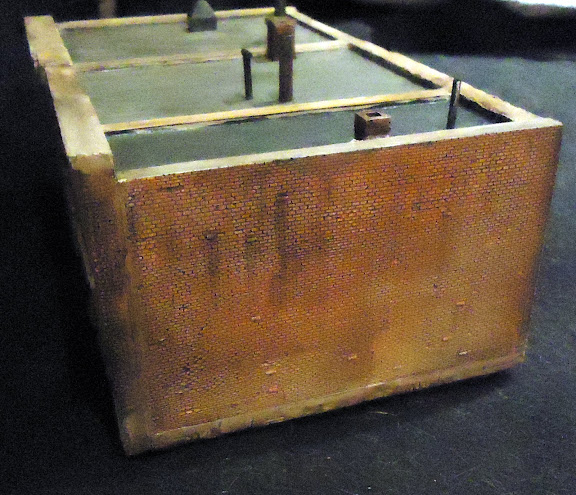
Now it's just all the windows and doors left to paint before the final detailing .
I painted the sign on the side wall as well.
The stencil that was in the kit said: "Fast loans".
Wich I didn´t find suitable for my layouts era (late WW2).
I made my own text instead, wich I placed on the wall and lightly airbrushed the text with a gray/green colour:
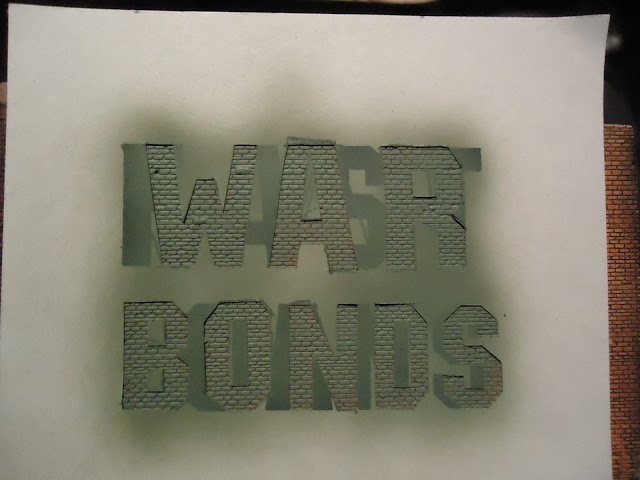
I removed the mask and then it looked like this:
The next step was to draw white outlines with a paint marker. I found mine in a artist store.
I Wrote the "Buy" text as well with it:
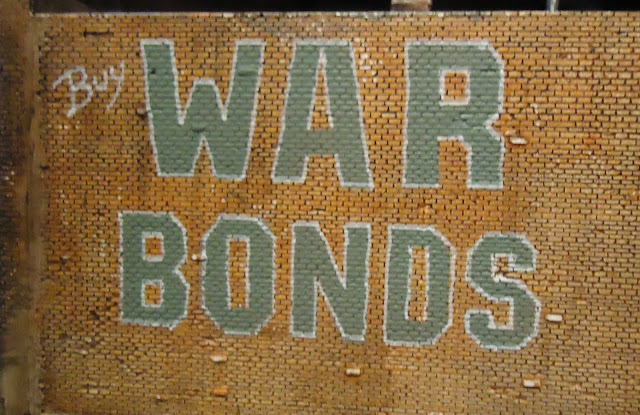
It doesn´t matter if it isn´t perfect, as you actually will need some hand drawn look in it to suit the weathering style.
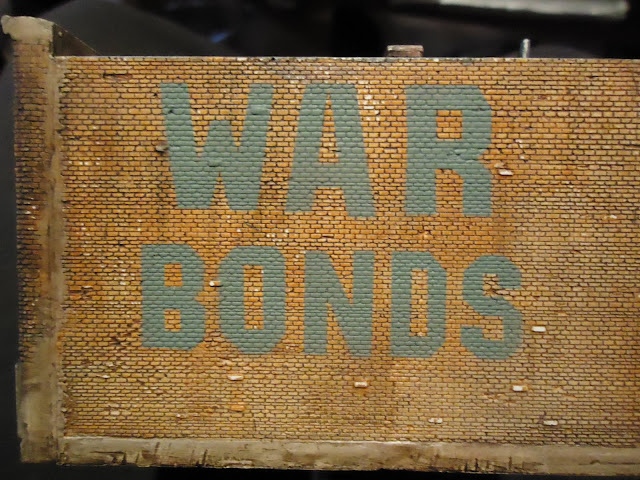
This is how it looked after i drew some drop shadows with a regular black sharpie pen and also lightly sanded it to pre-weather it:

I then added a very light Burnt umber wash as well to weather it a bit:

It took no more than an hour to make it, well spent time in my opinion .
-
 1
1

4 Comments
Recommended Comments
Create an account or sign in to comment
You need to be a member in order to leave a comment
Create an account
Sign up for a new account in our community. It's easy!
Register a new accountSign in
Already have an account? Sign in here.
Sign In Now