

Part 11: Downtown Deco kits 2

Entry posted by M Graff
1,320 views
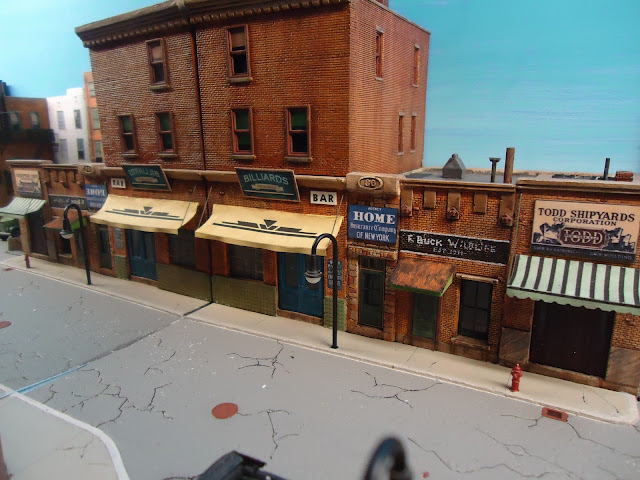
I have built some more on my Downtown Deco buildings, and it's great to see them painted and detailed  .
.
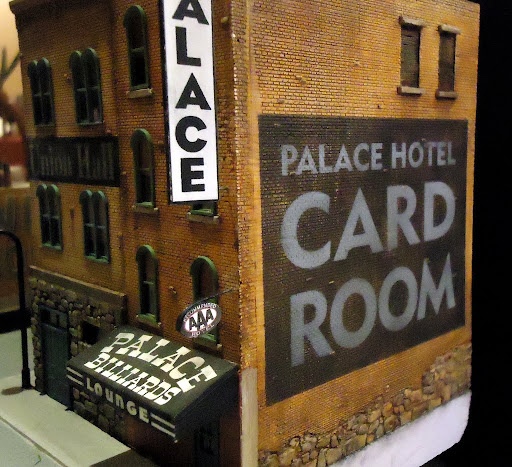
I have started to paint my Adams Ave # 2:
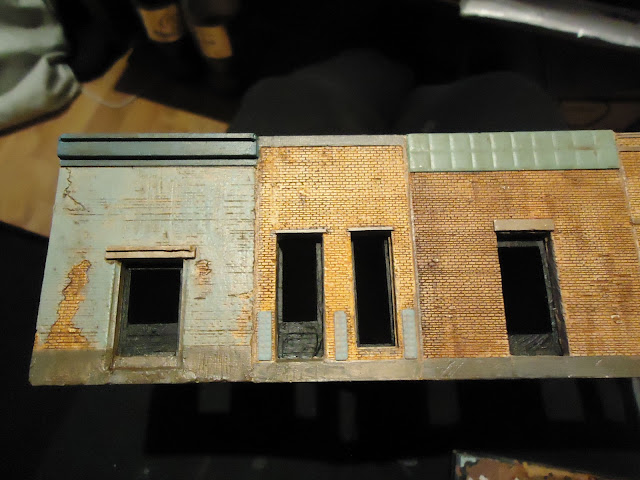
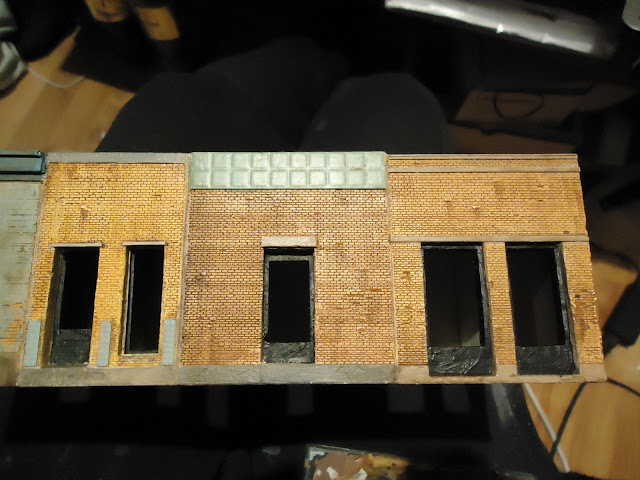
And I made sure to get some variety on the brick color and concrete.
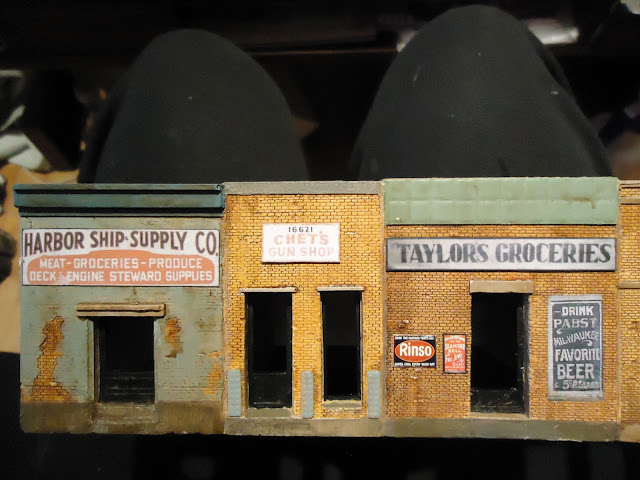
Then I put some signs on them that I've printed out:
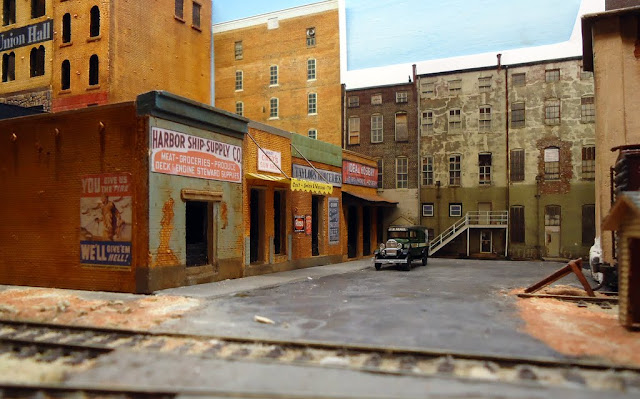
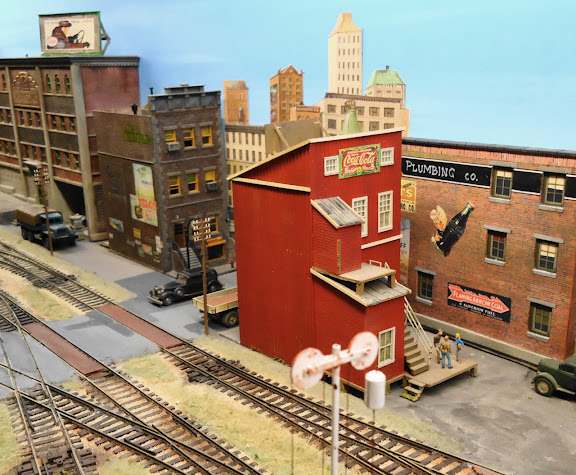
Here is how it looks when placed on the layout:
Adams Ave # 1 is also being "finished"....

Adams Ave # 3 is also getting some work on it as well:
I have also renovated an old laser cut kit (JV models?) that I had.
The one whooriginally built it (I bought it second hand), had not braced it on the inside .... so it was "somewhat" askew  .
.
I needed a building with a staircase between the new upper level and the loading dock on the lower level. So it was a very suitable candidate.
Here it is in its red color as it looked before I started:
And this is how it became:
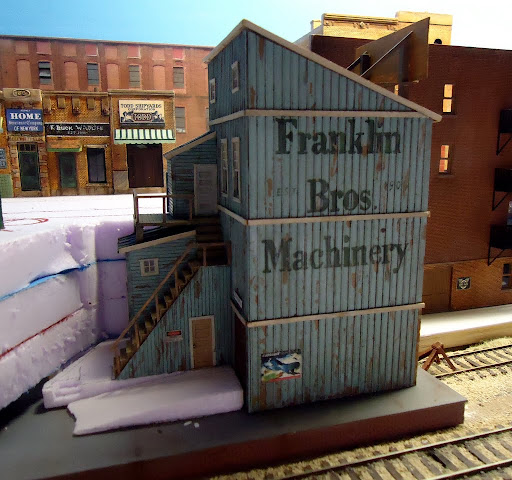
I made a whole lot of chipped paint on it and put "glass" in the windows (they were surgical tape before  ).
).
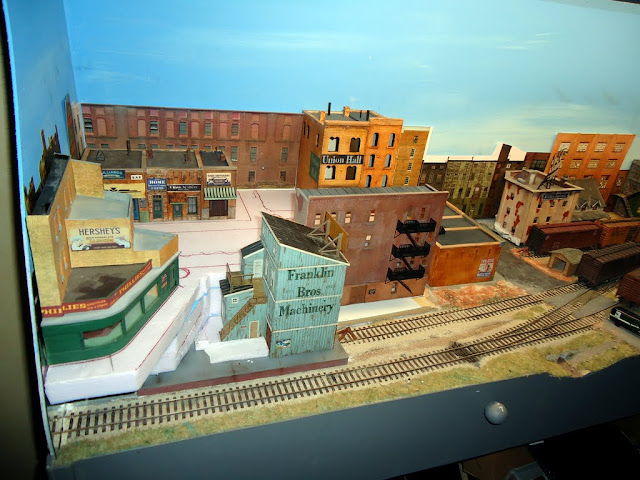
A little snapshot of how it will look like when it all comes together:
Now it's just a bit of lighting and other things that are going to be added..... 
UPDATE!
I've done a "bit" more at the new section, a small change and a slightly bigger one.
Adams Ave.#3 has had a slight change in the form of a fire ladder.
This is how it looked before, here you can also see the text on the side and on the front as well: "Union Hall":
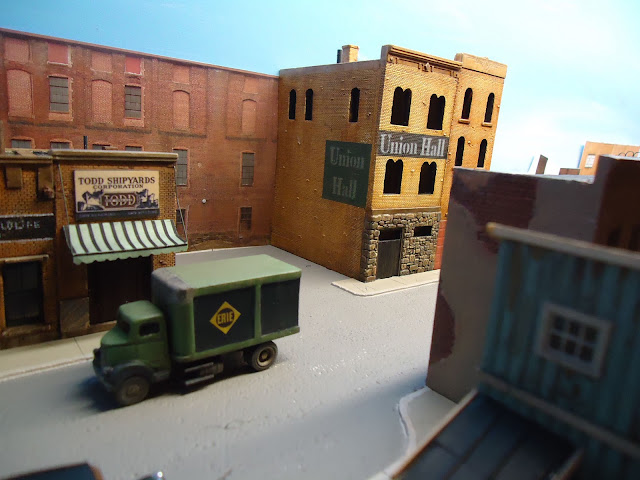
This is the result:
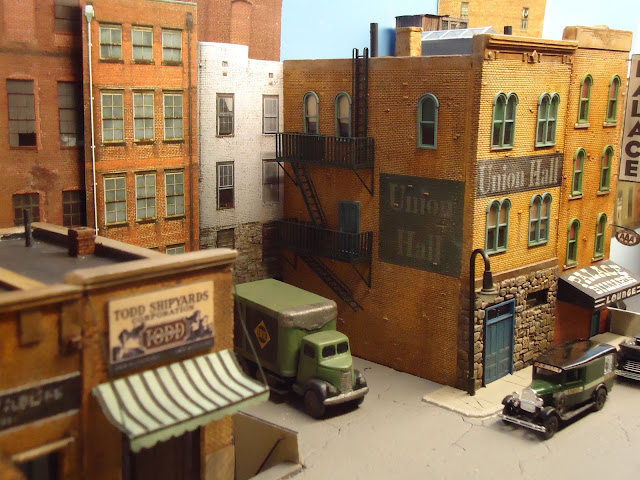
As it looks with the fire stairs and some detail parts in place. I added a door to the facade. It was very easy to do as this is a plaster-kit.
The fire ladder is from "Imagine That".
Adams Ave.#1 received a minor update [].
I will have it in the corner, up against the backdrop and it felt a bit too small and it would not really work with the mirror I was to have where the road ends.....
Here's how it looked in the standard version:

How it look like after the "small" modification:

I had a side wall from DPM in the scrap box, but no matching front wall, so I made one of plaster.
The Corniche on the top is a dollhouse trim and the windows are out from the scrap box (IHC?).
the remainder is Matte Board, a black 1.5 mm cardboard.
The result was rather okay to my eye.
The edge between the mirror and landscape is to be hidden in the best way possible.
I have been looking for front-reflective mirrors, but not found any on this side of the Atlantic unfortunately....
The ones I have found do not deliver small orders from the U.S. as it is so fragile ....
Anyone know if there is some available?
6 Comments
Recommended Comments
Create an account or sign in to comment
You need to be a member in order to leave a comment
Create an account
Sign up for a new account in our community. It's easy!
Register a new accountSign in
Already have an account? Sign in here.
Sign In Now