

Part 12: Background and Fascia

Entry posted by M Graff
729 views
I have started to paint some of the clouds now on my backdrop, I sketched up the clouds with a thin white paint and made the shadows with a gray-blue hue:

The clouds closest to the horizon have some Ochre in them to give them some warmth.
The clouds are piling up ....: 

I'm trying to make the clouds with as little planning as possible to make them realistic in shape and form.
Here I have begun to define the clouds with pure white and some Payne's Grey:

It's important not to get them to pale or too "heavy", photos to look at is definitely a good idea!
So far I have come this far. No way near finished.... But there's more to come.
I was at the local art-store and bought these:
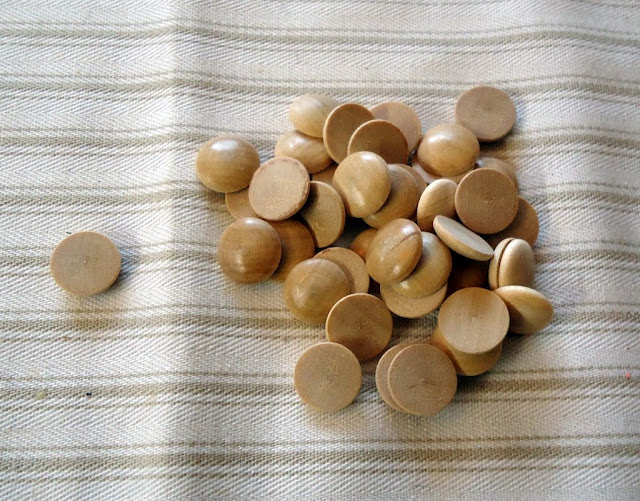
They are 12 mm in diameter, made of wood and flat on one side.
Maybe you ask what I'm going to do with them? Well it is going to be revealed as I will show you, it is inspired by Tim Warris from Fast-trax.
I started my project by cutting a pair of 25 mm wide strips of hardboard which I glued with Pattex "No Nails" at the bottom of my front fascia on my layout:
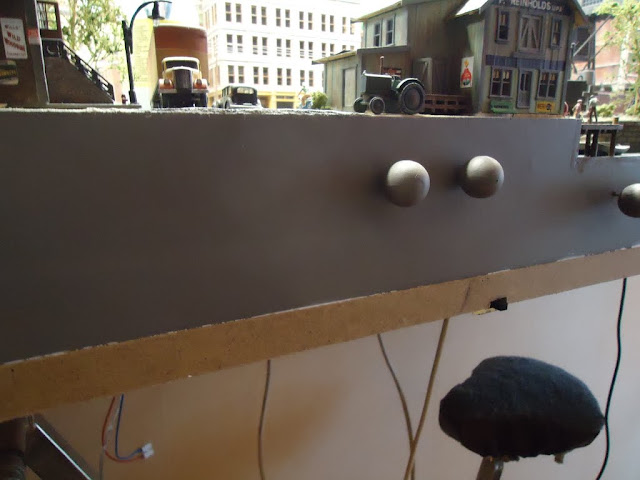
I let the glue dry before I marked the center-line on the strips and then marked out every 6 cm on it.
Then I glued on my "buttons":
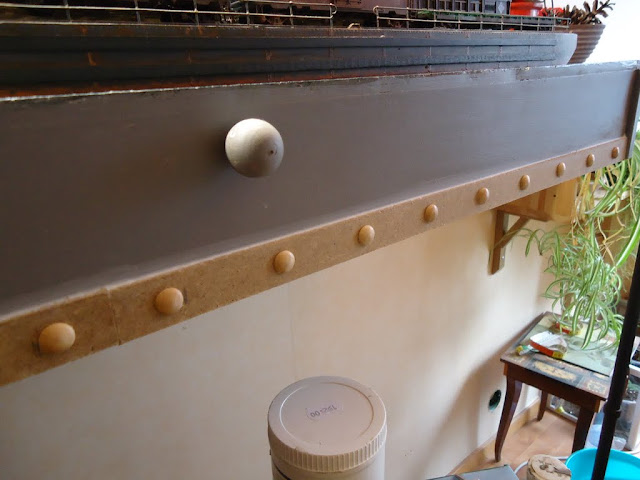
Perhaps now you see where it´s heading..... Rivets in a long row
At the joints in the strips I put them closer to each side of the gap.
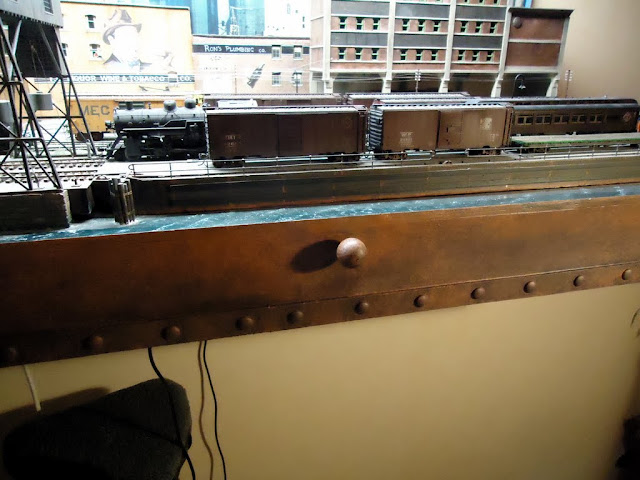
When the glue dried, I painted the front in a Terracotta orange color (test jar with half a liter for £ 5...).
I used a foam roller and a small brush:
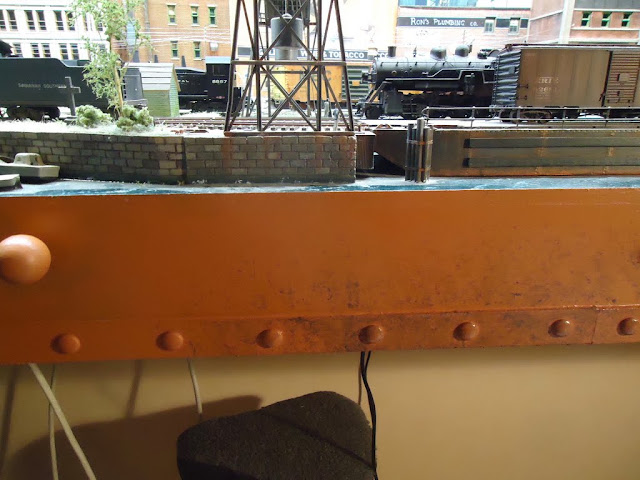
As can be seen above, I have begun to sponge on a little dark brown paint as a test.
I want it to look like a rusty old riveted steel structure when I'm done.
I added the diluted dark brown craft-color in small sections with a brush, then I sponged the surface with a natural sponge. It gives a nice "rust-like" surface that I think goes well with my Harbour layout.
Starting to look good to me...
This is how it looks when shot with a flash:
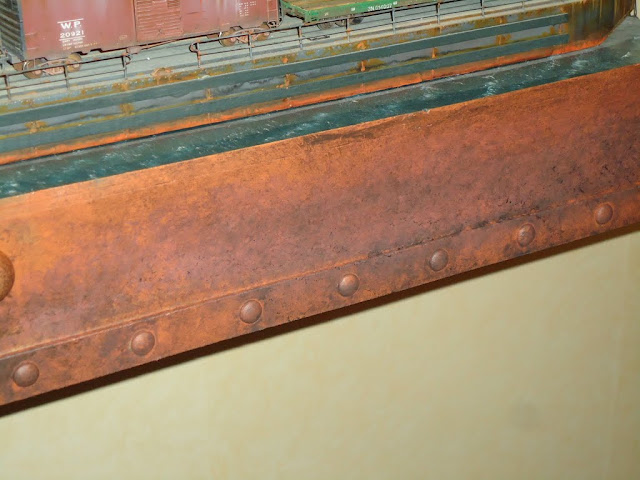
As you can see it will match the rust on the barge pretty good ....
B)
A bit more work to do on it, but I expects to finish the project before the weekend anyway.

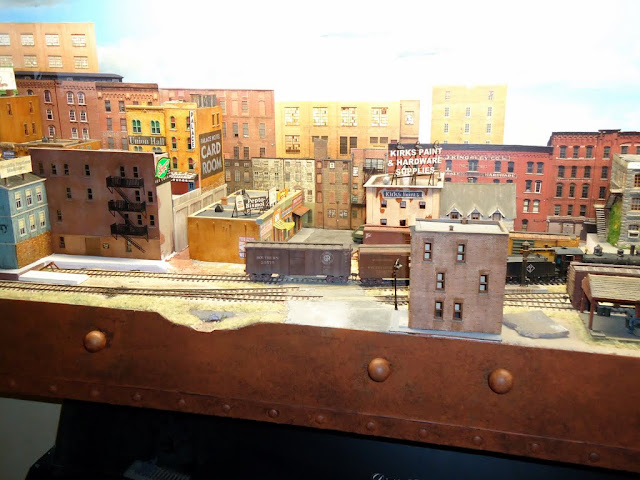
Small update: I took a pic today that shows how dark it really is:
-
 2
2

6 Comments
Recommended Comments
Create an account or sign in to comment
You need to be a member in order to leave a comment
Create an account
Sign up for a new account in our community. It's easy!
Register a new accountSign in
Already have an account? Sign in here.
Sign In Now