


Entry posted by Will Vale
308 views
Bricks scribed by Will Vale, on Flickr
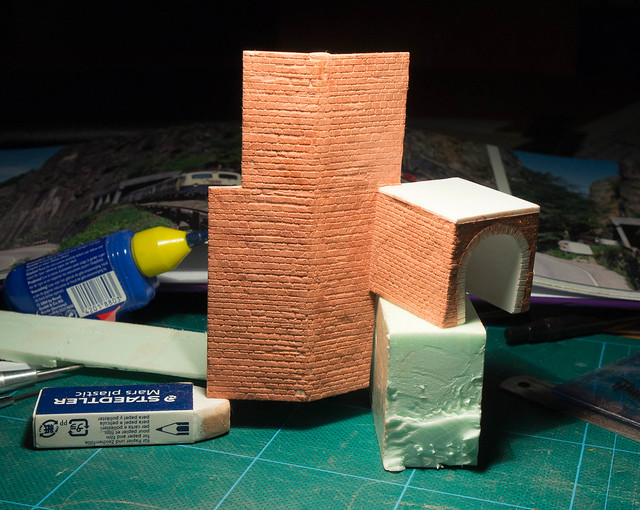
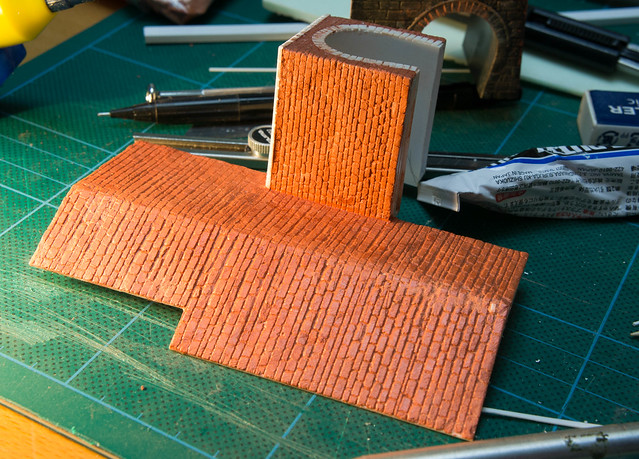
Yet another tunnel portal post I'm afraid, but this is nearly the last one! I've carved the retaining wall and attached portal, as seen above. It wasn't entirely straightforward owing to the shape, so I thought given that and the different course heights on the different sections of stonework I'd better draw some guides before starting. I used a propelling pencil and a small styrene square as a ruler, tipping it carefully over the angle between the walls. It was easy to get wrong because the side wall of the portal is at a steep-but-not-vertical angle, and the lines kept wanting to meet it at right-angles. Thinking about it after the fact it would have been better to measure up from the baseline on both edges and the angle, then mark and join the dots?
With that done I marked the edge every 2mm (walls) and 1/16" (portal) and scribed the courses. Because I couldn't put the wall down flat anywhere I didn't quite manage to follow the lines, and there are some overly-thin courses as a result. Since it's stonework I think that might not look too bad - although the prototype is quite even here, it's less than even elsewhere so it shouldn't be totally out of place.
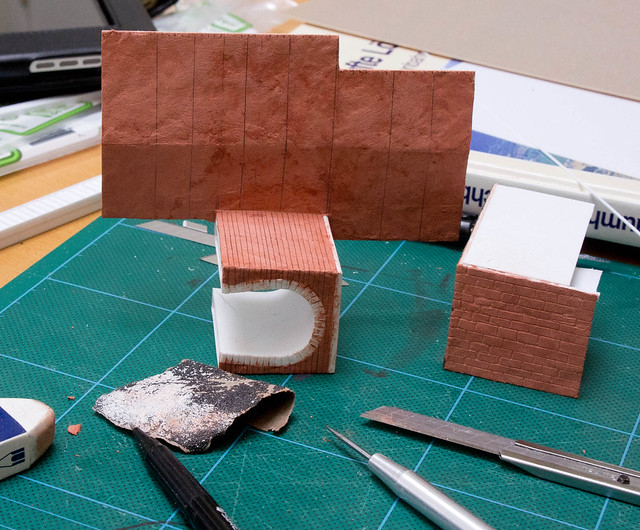
Having done all that I then realised the angle between the retaining wall sections was much too shallow :cries: So I had to cut it in half and reassemble the pieces. If nothing else this was a pretty good demonstration that clay bonded to styrene with PVA is a robust building material - no damage while trimming and flexing the parts.
I reassembled them at a steeper angle and filled the gap with styrene strip and more clay.
Once that was more-or-less dry I rejoined the courses across the angle, then carved the verticals as seen in the header image. I defaced some of the stones and rounded edges on several courses using a flat-headed screwdriver blade. It's very satisfying blowing the dust off and seeing the relief appear as if by magic. The enlargements are a bit cruel - there are plenty of visible marks from slipped tools, but I think it'll be quite acceptable once painted.
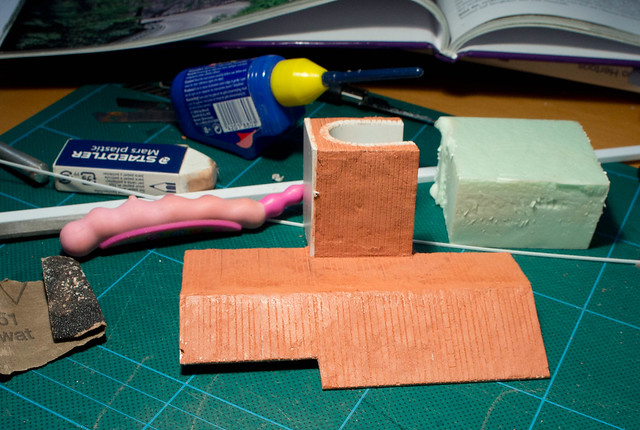
Finally I sealed the surface with 1:1 diluted PVA - this contains the dust, and hopefully makes the sheet more plasticky and resilient. After it dried I went back and filled in a few low spots and a missing brick with more clay, and rounded off the copings on the portal. The copings received some grooves cut with the edge of a small file, to give the impression of individual stones.
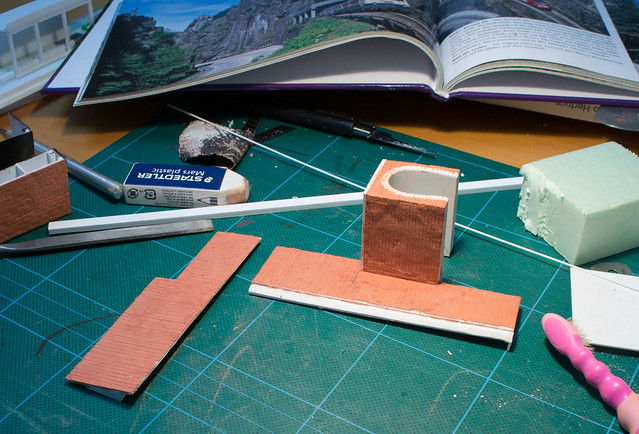
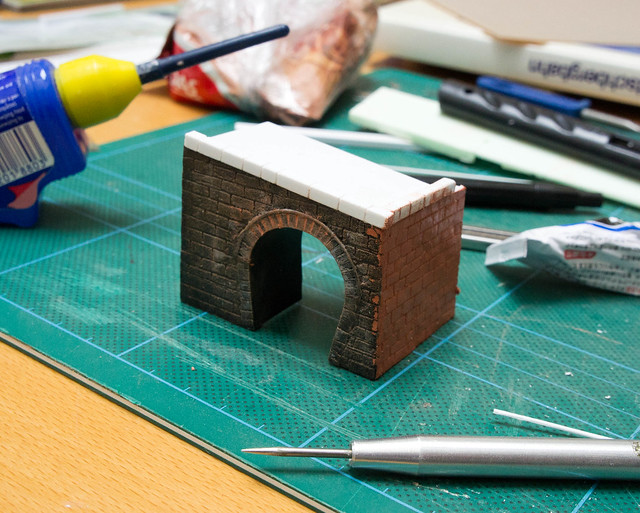
In other thrilling tunnel portal news, the last portal on the layout has had its gappy arch filled with clay (despite having painted it I knew I had to do this - it was annoying me in photos). I also cut copings from plastic strip, grooved with an ultra-fine saw since I wasn't able to line up file cuts reliably around the corners. The new copings are pleasingly chunky and seem like a good match for the prototype.
Paint next, then these pieces can be fixed to the layout ready for the final bits of rockwork around the track!
NB: The photos have an odd mix of halogen and daylight illumination because I was working at various odd moments of day and night. The really odd ones have the halogen light plus daylight in an attempt to highlight the relief. Maybe I should get a daylight bulb...
-
 2
2

4 Comments
Recommended Comments
Create an account or sign in to comment
You need to be a member in order to leave a comment
Create an account
Sign up for a new account in our community. It's easy!
Register a new accountSign in
Already have an account? Sign in here.
Sign In Now