


Entry posted by Will Vale
506 views
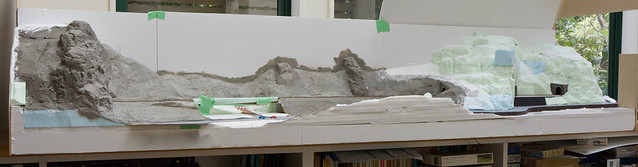
Three weeks to go by Will Vale, on Flickr
As requested, a few photos of progress in a sort of "where are we now" sort of way. Afraid I didn't pose any stock on them. Above you can see the whole layout, with two big jobs remaining - the rockwork in the right foreground (from where the stag is alleged to have leaped) and the groundwork around the bridge.
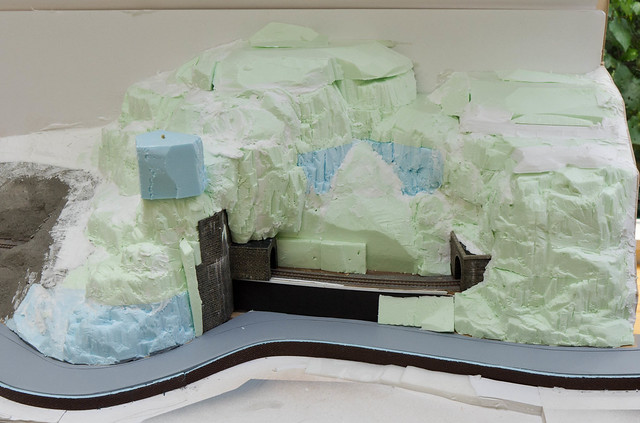
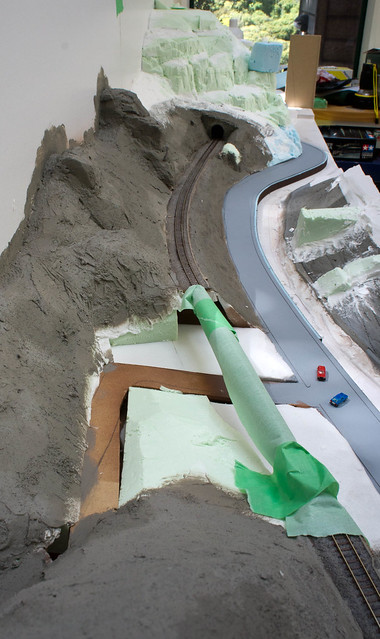
The big things I've been doing this week were carving the rocks at the right, and making the road. The pavements are thin styrene cut to shape freehand using rubbings of the edge of the road to get the shape, and drawing a line parallel to this by moving a thin spacer along following the first line. That was quite a fiddle, it took the best part of a day and a half to mark, cut, install and paint it all. The paint is grey primer as on Whitemarsh, which will get weathered in due course. I also need to do the markings :gulp:
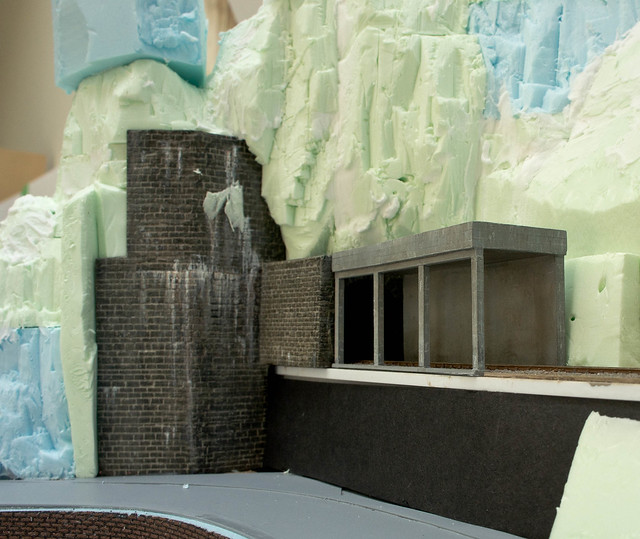
I think I mentioned before that I made the rock shed - I painted that up this week as a bit of light relief. It's supposed to be blockwork but my attempts at drawing the blocks with a white pencil were, shall we say, less than accurate. I've painted it such that they are mostly erased, then I went back and added course lines with a propelling pencil in key places. This is the first time I've seen it in close-up and I think it mostly works, but maybe I should do some more of the neat block marks on the columns where the drybrushing hasn't done much to erase the white lines??
I really need to stop messing around filling and re-carving and get some brown on the landscape so I can see what it looks like - the reason I'm holding off is that the surface coat makes carving harder, so I want to get it as nice as possible before taking that step.
Off out now to try and track down some fluorescent fittings to make a lighting rig - a bit more professional than previous efforts, maybe the "I disapprove of badly-lit exhibition layouts" crowd will be appeased. ..
[Oops - duplicate pic. Now fixed!]
-
 3
3

5 Comments
Recommended Comments
Create an account or sign in to comment
You need to be a member in order to leave a comment
Create an account
Sign up for a new account in our community. It's easy!
Register a new accountSign in
Already have an account? Sign in here.
Sign In Now