

All Steamed Up - repairing Bachmann coach glazing
.thumb.jpg.60c53fcbcaa34017b05b8919d1a9e6d2.jpg)
Entry posted by Silver Sidelines
5,786 views
The sun has come out and the garden beckons. With the sunshine we can also see which of our double glazed units have failed. Upstairs the sudden warmth is likely to be responsible for the spontaneous failure of the glazing in one of my Bachmann Mark One coaches:
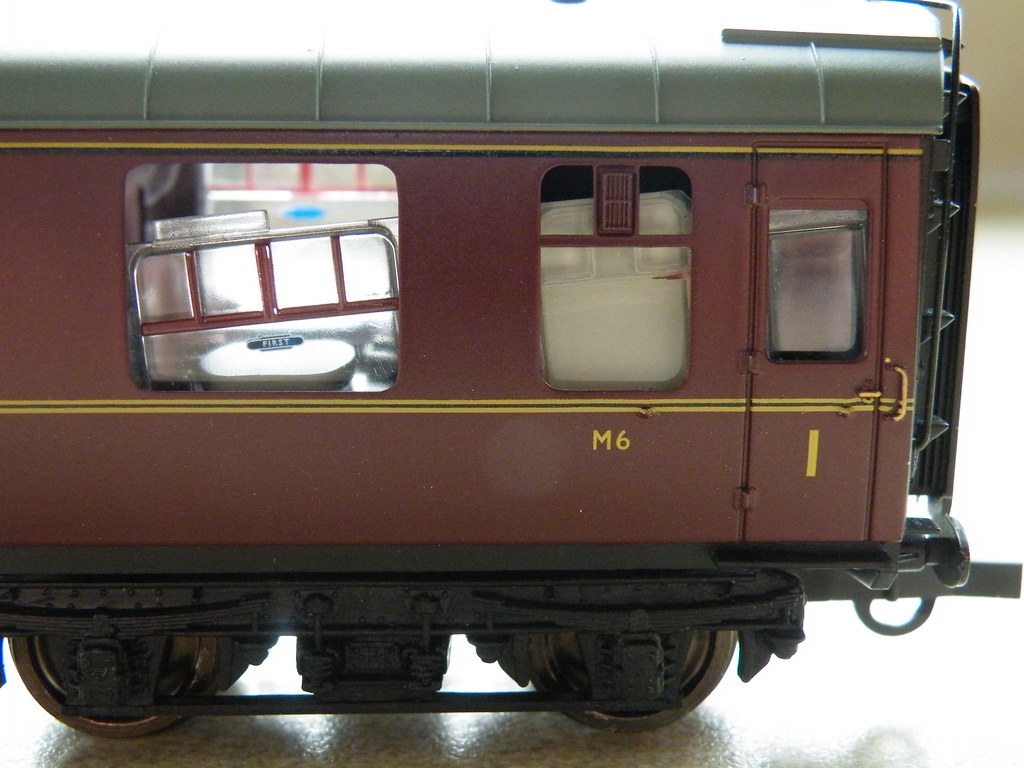
This need not be a major problem. Many of us will be familiar with the 'stress test' applied to items sent by post and will have received coaches with displaced glazing. I must have been inside over half a dozen Bachmann coaches, the first being a Restaurant Car Unclassified where some of the tables had been glued at a jaunty angle and were shouting out to be repositioned.
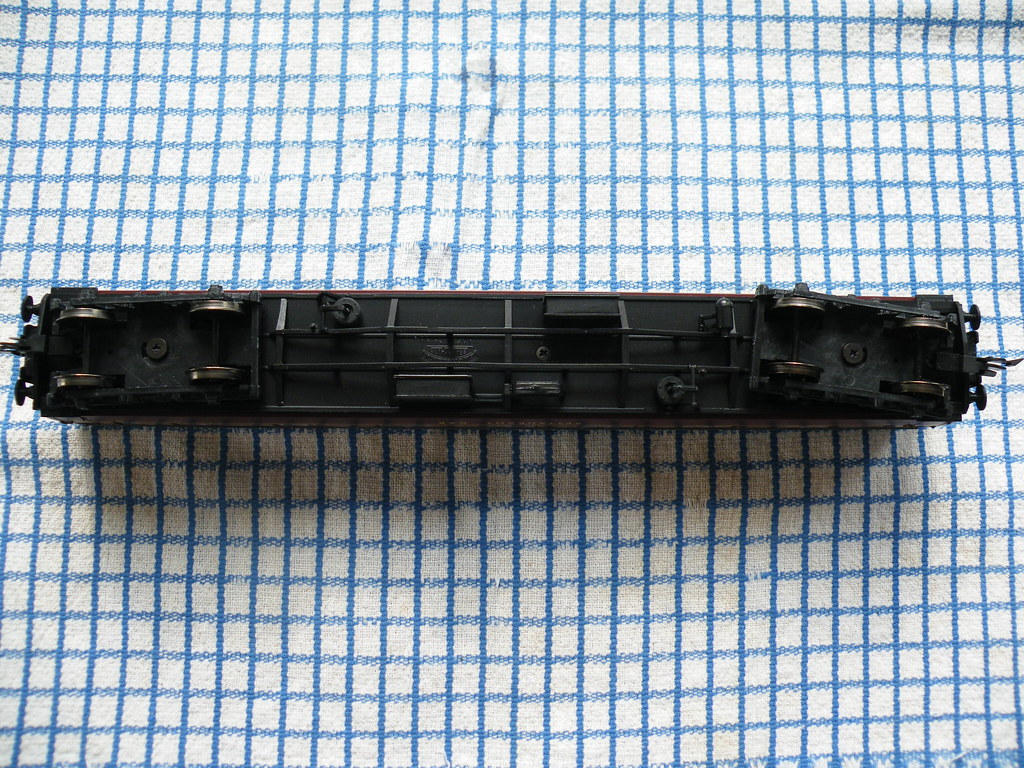
First you need a soft cloth to protect the roof of the coach.
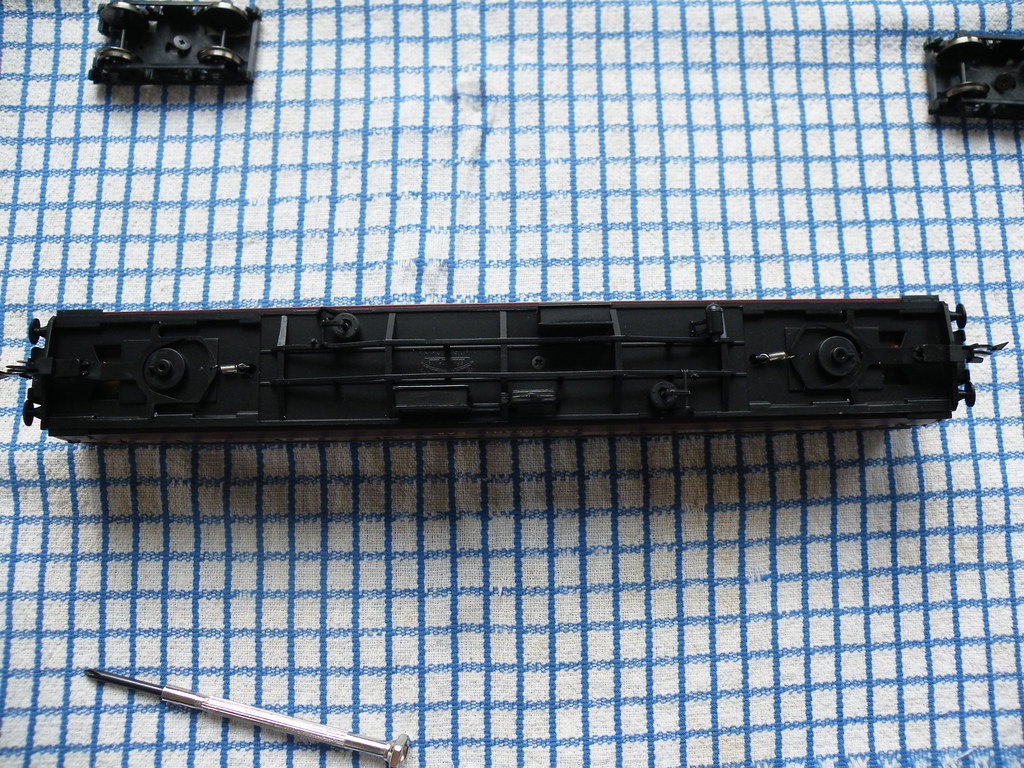
With the coach on its roof the two screws holding the bogies are removed.
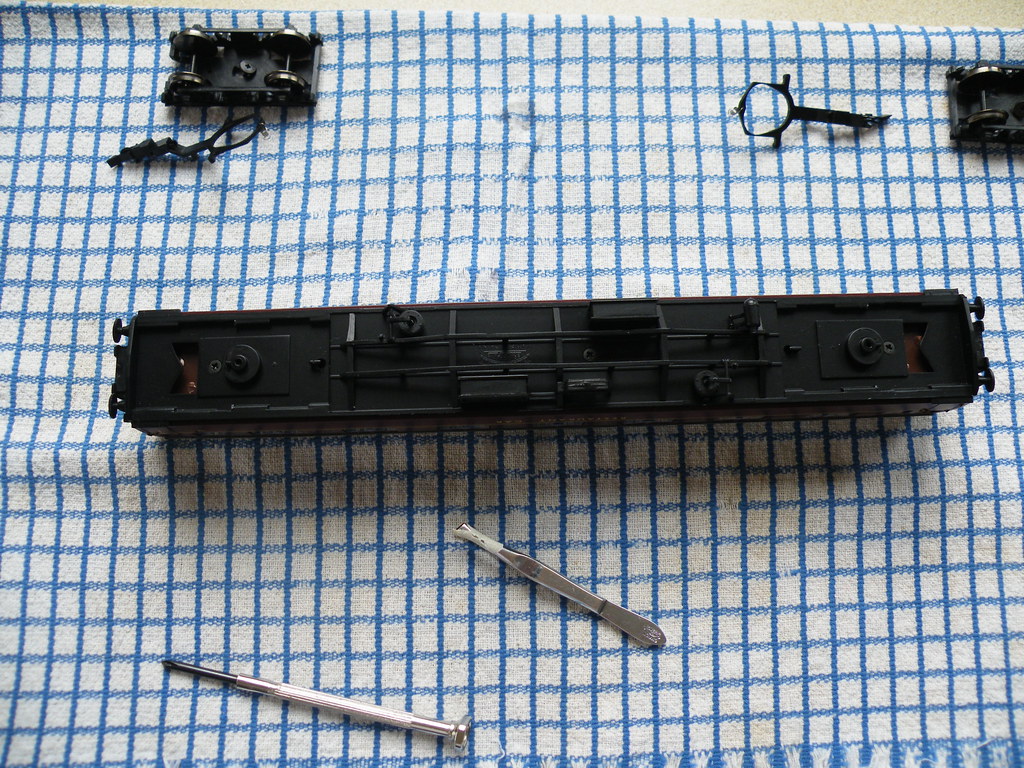
After lifting off the two bogies the Bachmann coupling compensation units can be lifted out, coupling end first. This way the retaining spring at the opposite end can be gently eased off its plastic spigot using a fine screw driver. The secret is to not stretch the spring. This way you are in control and the spring should stay attached to the plastic compensation device.
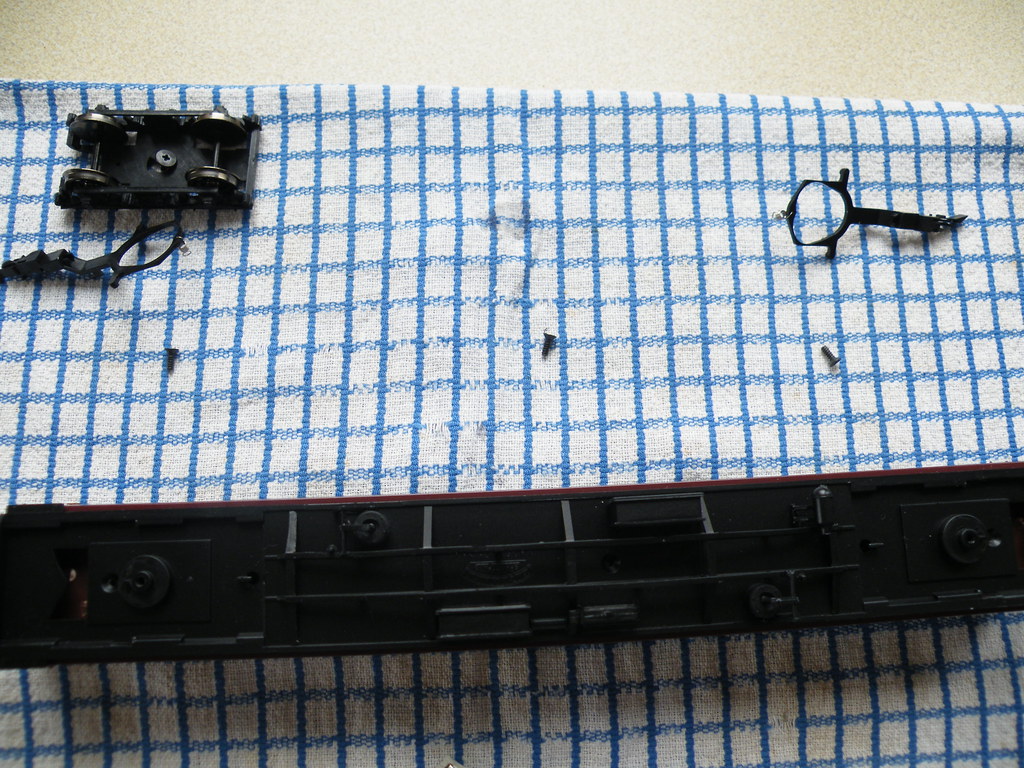
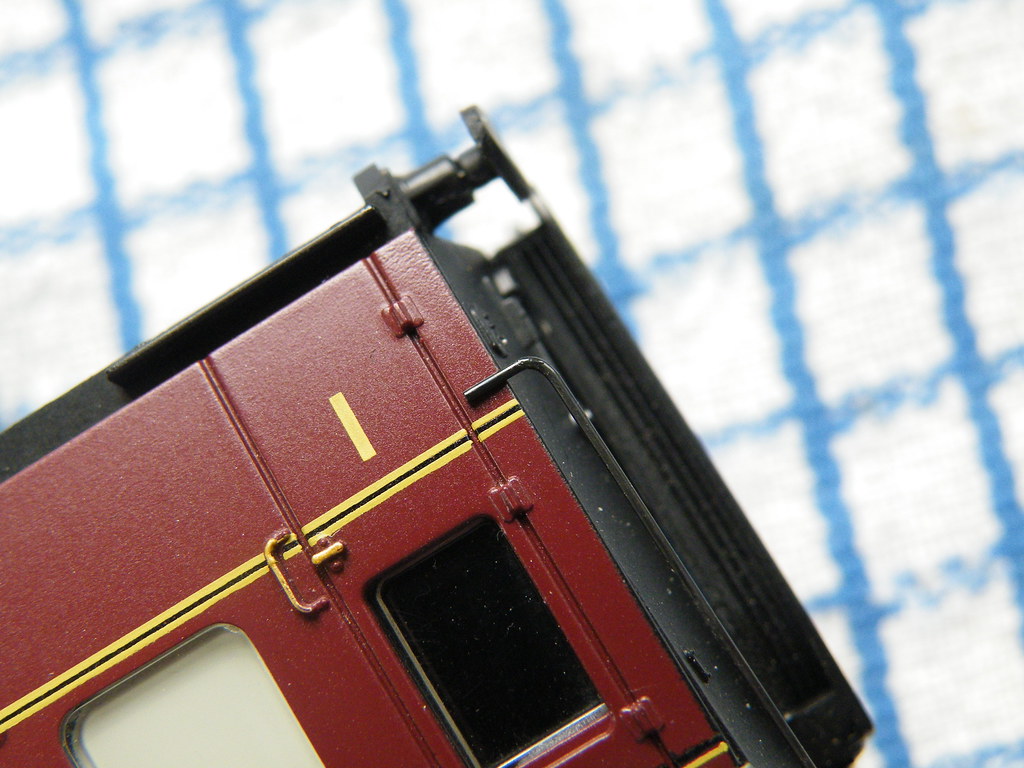
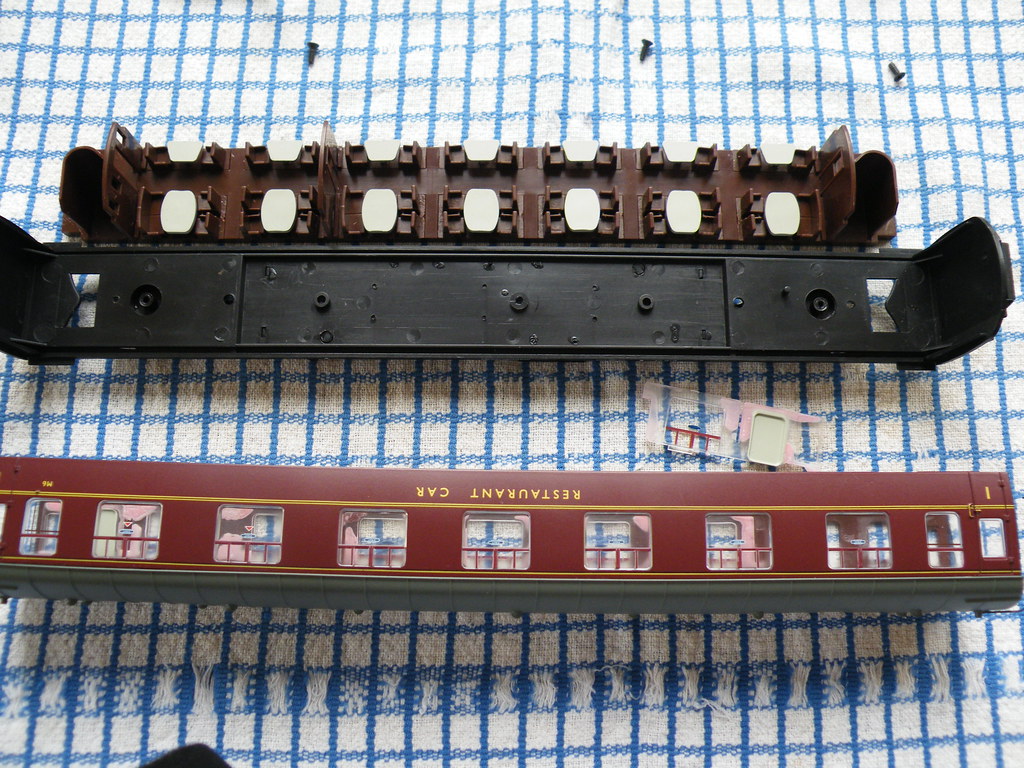
Finally the three screws in the underframe are removed. These release the underframe from the seating unit allowing the coach body to be dismantled. However before proceeding to the final stage it is necessary to disconnect the water tank filler wires at the coach ends:
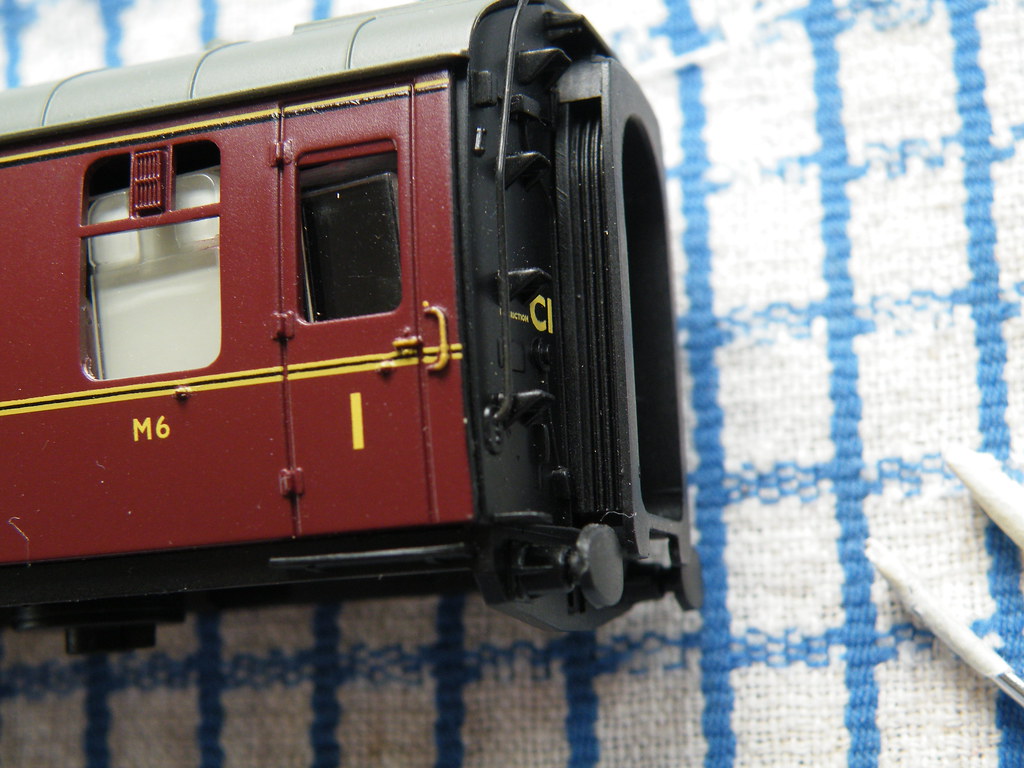
This is where you need to be on good terms with your wife and why you may need to undertake time in the garden. You need a pair of eyebrow tweezers to gently pull out the filler wires from the coach ends. I wrapped the metal ends of the tweezers with masking tape to 'soften' the tweezers and prevent damaging metal to metal contact, and hence preserve the blackened finish on the filler wires.
With the wires disconnected the coach underframe can be removed from the rest of the body.
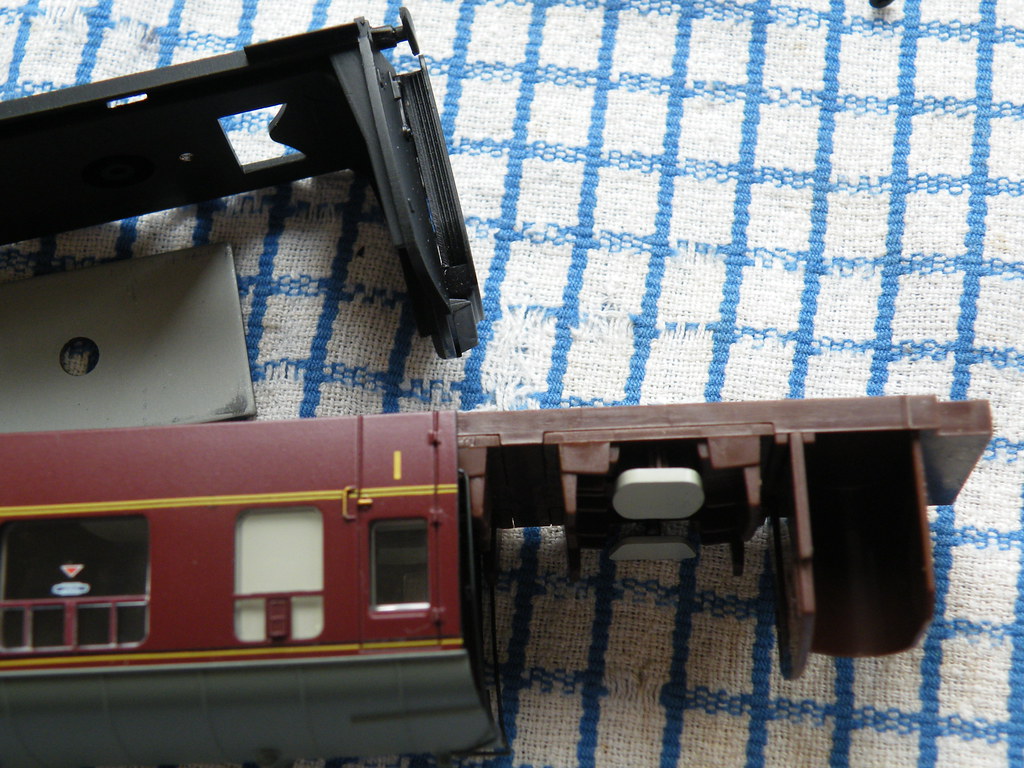
You might be lucky sliding the seat unit out and only removing the filler wires at one end of the coach. You will need to look out for the internal metal weight which may not be glued and which has the potential to damage the external paint finish of the model, so be careful and put the weight to one side.
If possible the filler wires should be removed at both ends allowing the coach to be completely dismantled
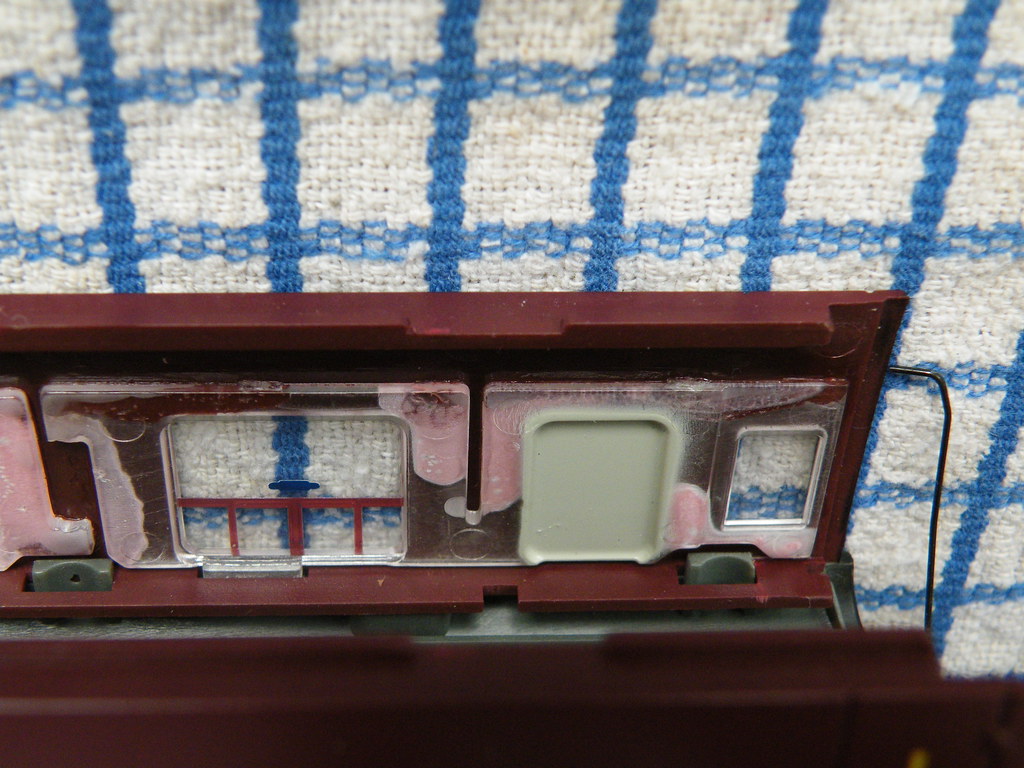
This way the failed glazing can be easily repositioned. At the same time it is sensible to check the rest of the glazing and to see which other units need reattaching.
I don't know what adhesive Bachmann use but I have successfully repaired a number coaches using Butanone. In the past I had access to Methyl Ethyl Ketone (MEK) but this supply has dried up (literally). I am not a chemist but I suspect from the literature that Butanone is just another name for MEK.
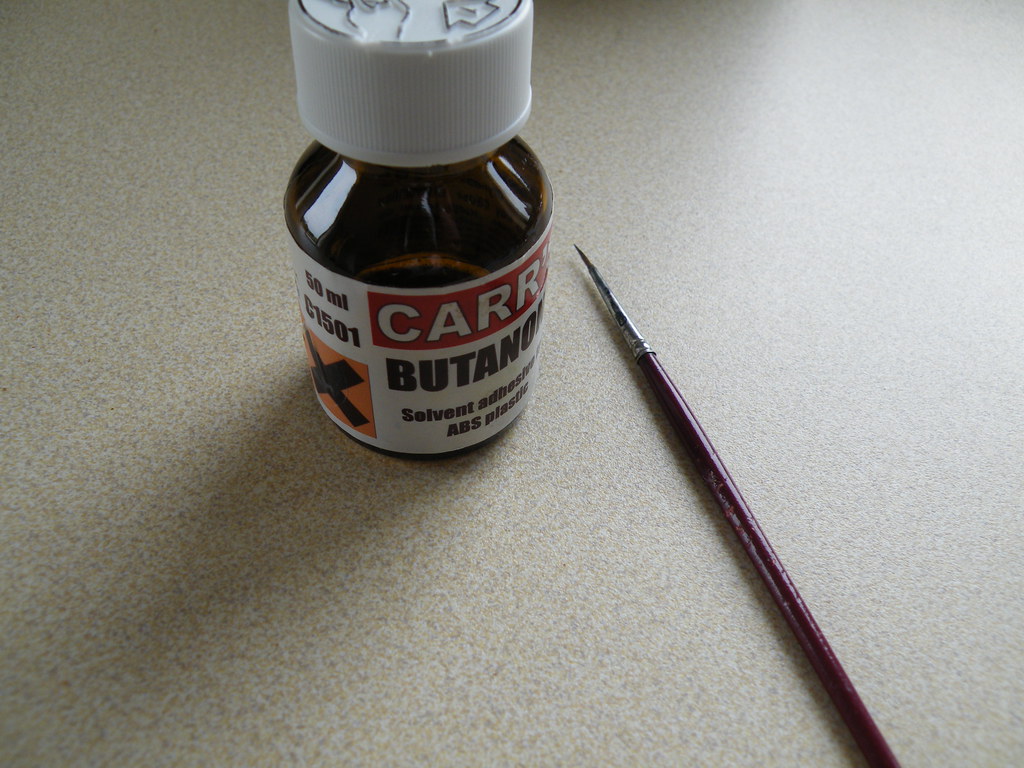
I apply the Butanone sparingly with a fine paint brush around the edge of the glazing unit while at the same time making sure that the glazing is pressed firmly into its final position. With the coach dismantled it is an easy matter to see how far the Butanone penetrates the joint. Too much Butanone and you will get coloured liquid plastic oozing out round the front of the glazing - so be sparing.
When the glue has hardened, which can take around 30 minutes, the coach can be reassembled which is the reverse of disassembly. With this particular coach it might have been sensible at this stage to glue the metal weight to the inside of the underframe as done on most Bachmann coaches. However I chose not to glue the weight and underframe together and final reassembly required the coach to be held correct way round with the screws pushed in from underneath - not clever.
Sometimes there can be difficulties reattaching the filler wires and on occasions the existing holes in the coach ends can benefit from opening out with a 0.5mm twist drill rotated by hand in the existing hole.
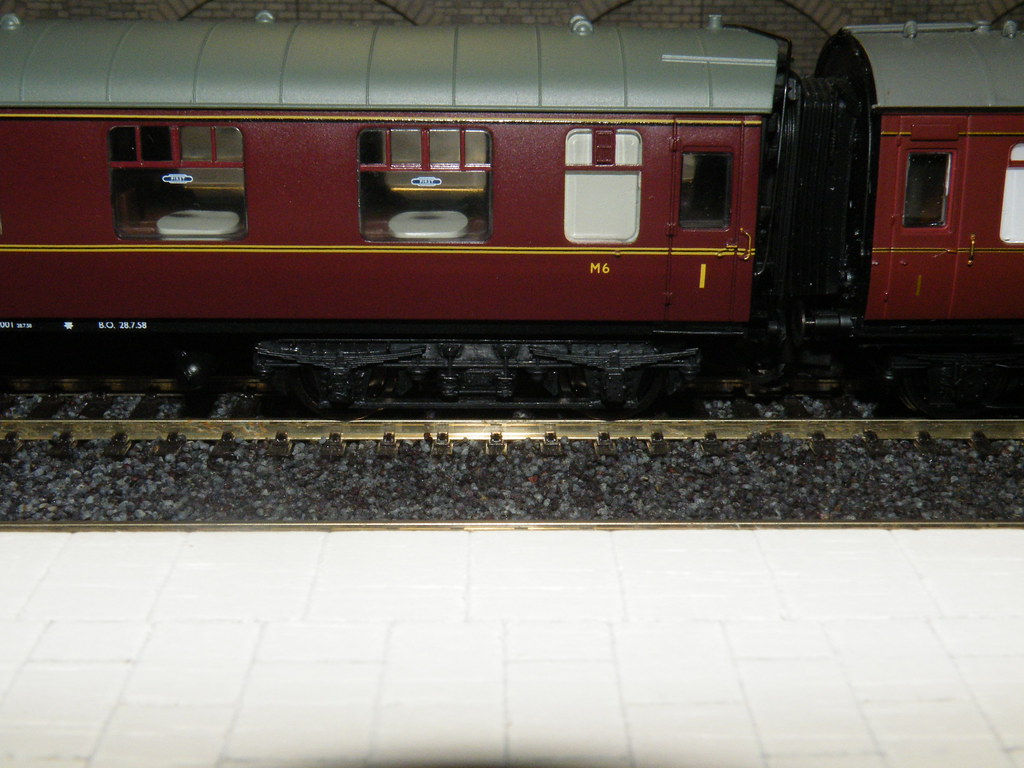
With the body reassembled and wires reattached it only remains to reattach the coupling assemblies and the bogies. It is important to check that the coupling assembly is properly seated and is lying flat with the two prongs resting up against their respective stops. Past experience shows that where this has not been carried out correctly the compensation unit will not function and the coach will unexpectedly derail on curved track - so be warned. If all goes well the labour time for the job should be less than 30 minutes and the coach should be back good as new:
-
 3
3
-
 1
1


10 Comments
Recommended Comments
Create an account or sign in to comment
You need to be a member in order to leave a comment
Create an account
Sign up for a new account in our community. It's easy!
Register a new accountSign in
Already have an account? Sign in here.
Sign In Now