Siberian Snooper
-
Posts
7,416 -
Joined
-
Last visited
-
Days Won
1
Siberian Snooper's Achievements
6.9k
Reputation
Bookmarks
-
AA3 Brake van mods
More Pre-Grouping Wagons in 4mm - the D299 appreciation thread.A work of destruction:

... achieved by easing the buffers out of the headstocks, plucking the brake yokes out from between the outer brake blocks, and undoing a couple of screws. Then a firm yank for the partition, a quick push-and-twist with the flat of the knife to unglue the glazing, and finally some gentle tweezering to remove the handrails.
My inspiration for getting to grips with the Oxford AA3 goods brake van is Gerry Beale's article in Model Railway Journal No. 268 (Cygnet, 2019) and also @ullypug's blog:
In both these cases, the starting point has been one of the later versions with sheeted sides; these have some specific faults not relevant to my model, which is the early version with planked sides, as I'm aiming for c. 1902/3 condition. Here Russ Elliot's article on gwr.org.uk is invaluable. It might also be useful to have Atkins to hand but I think I can get by without; Russ' article gives lots and numbering.
Russ' article has a couple of very useful photos - of AA1 No. 55964 giving end and handrail detail, and of Crewe-allocated AA3 No. 17539. From these various sources, I have arrived at the following list of modifications:
- the windows at the non-verandah end should be the earlier type with a central horizontal transom;
- the central window should be a horizontally-boarded hatch door;
- the diagonal strengthener on the verandah side should be flat, not angle iron as depicted on the model;
- the handrails should be separate vertical and horizontal pieces of ¾" diameter iron - 0.3 mm straight wire will be only slightly over-scale; the long horizontal handrail has no intermediate supports (so there are some holes to fill on the body);
- at the verandah end, the sandbox fillers should be out of sight underneath individual box seats in the corners (thanks to @Miss Prism for clarifying this point) - but it would be useful to know when the change was made to the full-width bench across the end, with sandbox fillers on top, bearing in mind that all the AA3 vans had been built by my target date;
- the footboard backboard on the model is correct for early condition, apart from the spurious gap midway along;
- the footboard width should taper slightly at the ends - roughly from the axlebox;
- the buffer guides ought to be of a longer type than those provided, I think like MJT's "GWR fitted wagon buffers"*;
- the cabin door needs correcting - this is a bit obscure to me for lack of good photos but from Gerry Beale's article I think this simply means horizontal boarding all the way to the top and not the blank "window" panel of the Oxford partition moulding.
Query: given the notorious error in the end windows, are the partition windows in the right place?
Anything I've missed?
Perhaps this post ought really be in the "Modifying & Detailing RTR stock" sub-forum but my argument is that my RTR model has become a kit of parts! I've not forgotten my other little project for the front end of my Great Western goods train...
*These look to have the same guide length as the ones provided by Coopercraft, which on my O4s I've replaced with their "GWR non-fitted wagon buffers".
EDIT: Here's what I'm aiming for:
[Crop from a photo in the Huntley & Palmers Collection, c. 1890s.]
-
weathered wood (life colour)
Weathered Wood - A Worked ExampleOn another thread (http://www.rmweb.co.uk/community/index.php?/topic/99615-transfers-for-airfix-lowmac/) , where I was asking about getting replacement transfers for an Airfix Lowmac EK, I was asked if I could give an overview of how I got the wood effect on the Lowmac deck. So here’s a worked example - it’s the floor of a Parkside Plate wagon.
The equipment used is:
- Lifecolor acrylic weathered wood paint set
- Lifecolor acrylic BR unfitted freight grey (UA 818)
- MIG Black smoke weathering powder
- No. 2 round paintbrush – good condition
- No. 0 Filbert paintbrush – poor condition
Start by giving the whole floor two coats of “Wood Cold Base Color” (sic) (UA717) from the weathered wood set with a decent quality brush, and leave to dry for 24 hours to harden off. This is important as the subsequent dry-brushing can be quite vigorous, and can remove the base layer. Guess how I know this…

Then, when that’s fully dry, things do speed up a bit. Take the “Wood Warm Base Color” (UA714) from the weathered wood set, and using the grotty filbert brush, start drybrushing along the grain of the planks. Note that this is really, really, really drybrushing – if you think there’s no paint at all on the brush, there’s probably too much. . The picture below shows the effect we are looking for on part of the floor.

When it’s done we should have something that looks a bit like this:

There’s no need to wait before moving on to the next step – the drybrushing means the paint is dry pretty much as soon as it has been applied. So next take the “Wood Warm Light Color” (UA 715) from the weathered wood set and repeat the drybrushing, to give something that looks like this.

The next step is important and takes a new colour not from the weathered wood set. I use “Lifecolor Unfitted Freight Grey” (UA818) because I’ve got some handy, but any medium grey will be OK. Generally, the older wood gets, the greyer it becomes, so this is an important step in defining how old our wood will look. So repeat the drybrushing process, but adding a bit more grey if we want older wood. I’ve gone for a not-too-old look here:

As well as going grey, older wood take on silvery highlights, and these are then added by guess what? More drybrushing - this time with “Wood Cold Light Shade” (UA718) from the weathered wood set.

The final drybrushing stage is then to add the darker highlights (if that makes sense) using the “Wood Warm Dark Shade” (UA713) from the weathered wood set, to give us something like this:

Because this is going to be the floor of a plate wagon, I felt that a bit of pre-weathering would be appropriate, and so I’ve just worked in some MIG Black Smoke weathering powder to darken the effect, using the grotty filbert brush.

And that’s it really. All the drybrushing and powder work on this floor took me about 35 mins, so it’s not too time consuming.
Just remember - the most important things are to make sure that the drybrushing is really, really dry, and remember that if you make a mistake, just rub it off (I use my finger) and have another go.
Any questions?
-
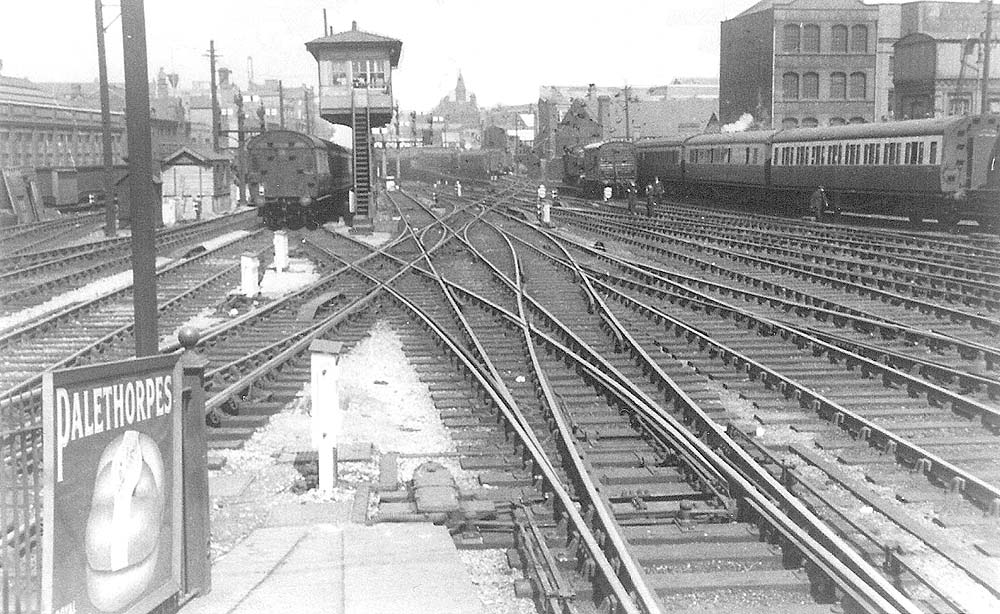
FPL treadle photo
Prototype for everything corner.9 hours ago, Joseph_Pestell said:I am going to dig out the track plans (Historical Survey....) but as I recall there was a fair amount of space at that end of the station and it could have been laid out more simply with no loss of functionality.
IIRC the track drops a bit from that point (north signalbox) northwards to dip under Livery Street such that the sidings end up higher than the running lines.
-
AA9 GW PWay brake
GW Pt Way Brake AA9This is part of a photo, courtesy of the GWR, showing AA9 No.60755 of lot 556. It is attached to a train of condemned coaches, possibly at Fosse Cross c.1923.
John