


Franzburg
-
Posts
39 -
Joined
-
Last visited
Content Type
Profiles
Forums
Blogs
Gallery
Events
Exhibition Layout Details
Store
Posts posted by Franzburg
-
-
Only just an image , after having fitted 2 different LED`s.
Rgds
Bernd

-
 7
7
-
-
I corrected my bad mistake and fitted lamps to the A3 after not only having changed the colour, but also the rather thick lamp handles by replacing the printed ones against thinner wires.
Some time ago I had already replaced the original quite thin plastic steam brake pipe by a brass one from "62CModels" I changed a little.
Rgds
Bernd
-
5
-
-
As Brian (Bribri) had shown I `ve tried to have a little firebox flickering flame , but without doing the wiring job. So I ordered a Firebox Lighting kit from Train-Tech . Though it`s not perfect or perhaps as good as a wired firebox flicker I´m quite happy with it.
"A low power microprocessor constantly monitors a tiny sensor which can detect small amounts of motion. When motion is detectedit flashes LEDuntilno motion is sensedfor 4minutes, then turns off the LED to save power and back to mnitoring."
Rgds
Bernd
-
2
-
 1
1
-
-
I filed down the original moulded works plates and replaced them by brass ones from Narrow Planet.
Rgds
Bernd
-
1
-
 2
2
-
-
Meanwhile I had asked the chairmann of LNER Society about lamp colour and must say sorry for having relied on only one wrong source before !
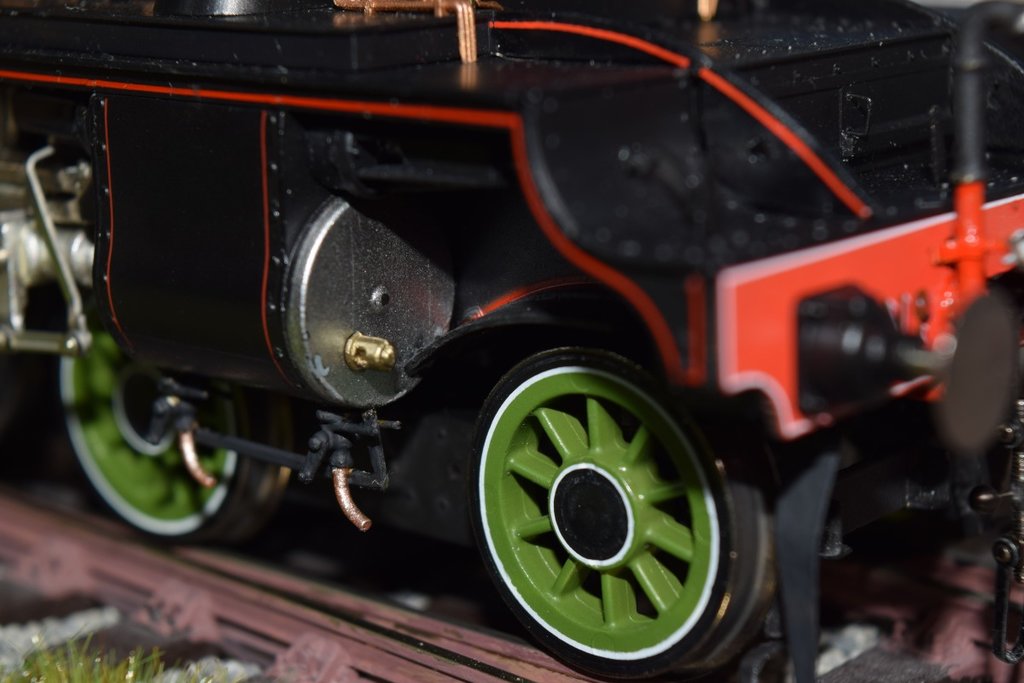
As I didn`t like Heljan`s bogie wheels ( too coarse and not really prototypical) I replaced them by Slater`s 10 spoke A3 wheels , but was more difficult as I had thought, because of different axle diameters : 3mm to 4,76 mm. I made a "control gauge " from brass and filed the holes out. Drilling wasn`t possible as the axle holes were open downside.
Rgds


-
1
-
1
-
-
Rgds
Bernd
-
1 hour ago, micklner said:
Never heard of Red lamps on any LNER Loco at any period of time ?
http://www.igg.org.uk/rail/6-livy/lner/9-lner.htm
Rgds
Bernd
-
2 hours ago, Sun Chariot said:
May I ask from where did you source the replacement smokebox door handle (Dart) Looks a nice casting
Regards
Bob
Hi Bob,
it`s from Laurie Griffin and a bit worked at by me.
Bernd
1 hour ago, Isambarduk said:Just a point: the smokebox dart is positioned by the inner, shorter handle, so it that handle should always be poining (very nearly) vertically downwards. The outer, longer handles is the locking handle and could, in principle, finish up anywhere but, if you look at photos, they are mostly pointing 'somewhat' downwards. David
Hi David,
that`s what I did. Different from Heljan.

-
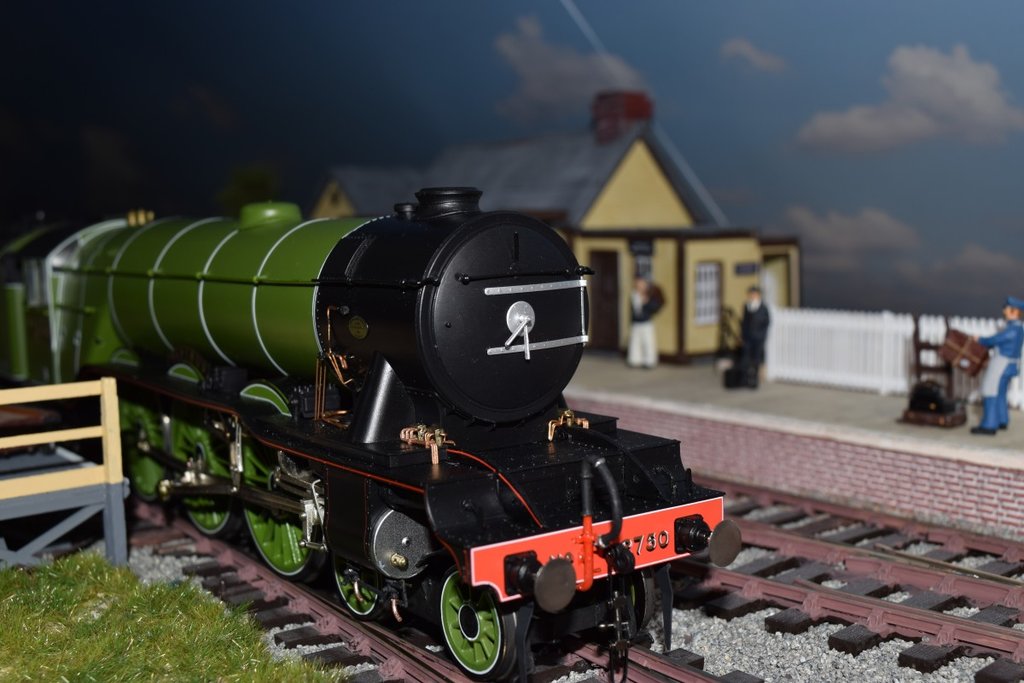
Some more detailing. New correct smokedoor handles and LNER lamps. ( Colour red on locos aand brake vans until early thirties)
Rgds
Bernd

-
Another attempt of a short video after deleting my post by silly mistake.
Rgds
Bernd
Second take with this time correct whistles, I hope.
-
1
-
 1
1
-
-
Short video filmed by mobile (QP)
B
-
1
-
14 hours ago, Simond said:
Richard,
it’s a while since I did a Loksound, but from memory, I ran the loco at speed step 1, and counted the chuffs during eg 10 wheel revolutions. This will give you a number that should be 30 (three beats per rev) but probably isn’t. Say it’s 39, for example. Adjust the cv in ratio of the number of chuffs - so whatever the cv is now, multiply it by 39 and divide that number by 30 and set the cv to this number. Test it, and repeat if necessary.
I think that there’s another cv to adjust the fast chuff rate, which might make it sound better at speed, but once it’s going fast, the “chuffs” blur into a “chutter” anyway.
Regarding the rear pony truck, please see my duchess thread (link below). I added a LOT of lead to the truck to keep it down!
HTHSimon
Sorry, maybe I am mistaken, but shouldn`t it be 6 chuffs per rev ?
Rgds
bernd
-
1
-
-
18 hours ago, neal said:
I think they tried the same thing with 60009’s tender just before Christmas, but that didn’t go so well!
N
B
-
 2
2
-
-
Don`t know how people couple a coach to the tender as the corridor connection is in the way. So I detached the rubber bulge (hardly glued) from the tender back , drilled two 8mm holes into the outer edges, fitted brass pins and as there are 3 more plastic pins at the top, it can be removed and refitted now.
Rgds
Bernd


-
1
-
2
-
-
Shortly before Christmas 3 further photos of Papyrus. Real coal for the tender (on plasticard) and mudguards prototypically broadened a little bit with plasticard.
Rgds and blessed Christmas
Bernd

-
4
-
1
-
-
Did a little detailing , as fitting the fall plate seemed a bit difficult, I drilled 0,5mm holes in bottom sides of cab and soldered 0,5mm wire to both plate sides. Then I made new small dust guards from brass and long guard irons in front of them.
Rgds
Bernd


-
4
-
2
-
-
Thank you very much Brian!!! I´ll try your chosen values and see what happens. My decoder is MX 696KS and I set the values : 2 =5 ,3=40 ,9=98 ,56=77 . Works quite well, too . Only running backwards at speed step 40 (128) is a bit jerky.
Rgds
Bernd
PS
Is your programmer MXULFA ?
-
On 25/11/2019 at 23:19, BRIBRI said:
More on my A3.
I finally got to the stage of running and setting up the DCC.
SWD never got back to me regarding the ESU chip and software so I used my preferred chip and software from Digitrains namely Zimo and Paul Chetter sound. Which is working well at the moment. I may treat it to a boom box speaker.
I had problems initially with derailment caused BT the trailing truck arrangement. I sorted mine out by cutting 2 coils off the spring and limiting the side play by putting a brass spacer either side of the truck. See attached pic.
The tender is unbelievably heavy and the electrical pickups scrape like rusty disk brakes. When they actually touch the wheels, which they don't always!
With this system some of my pickups were pushing the wheel to one side and onto the plastic chassis side.
Effectively the loco was dragging a brick around!
I have removed all the gubbins from the tender and just added a small weight. I could fit some sensible pickups but they are not necessary as those on the loco are doing an adequate job, especially with the extreme weight of the loco.
Picture of my chassis as tested attached.
The loco travels backwards and forwards at speed through Peco points, double slips, Marcway scissor crossing and three way points.
Incidentally despite the large current hungry motor this is the only loco I have which will not give wheel slip. Either under DCC with maximum gain or DC. In my opinion it is too heavy. Wheel slip can be a safety feature if a loco is caught up some where unnoticed.
I hope some one at Hattons finds my rambling more important than a couple of handrails and food for thought when designing in the future.
Rgds Brian


Hi Brian ,
I`d like to know, as I use a Zimo decoder too, concerning "running and setting up DCC", which values you chose for CVs 2, 3, 9 , and 56 !
Rgds
Bernd
-
I`ve tried to model the draincocks of early A3 versions and as I really don`t know why Heljan didn`t construct a simpler solution to connect loco with tender but to use srews , I soldered a pin to a small brass plate and srewed it on the loco and so , though it`s a bit fiddly, I needn`t use the srews anymore.
Rgds
Bernd


-
 1
1
-
2
-
-
On 15/11/2019 at 22:40, Franzburg said:
As I`ve already written mine (Papyrus) will be with me next week as it`s now with YouChoos for having fit Zimo sound decoder etc. I prefer Zimo to ESU as I experienced, comparing each other, motor control seems to be a lot better.
Rgds
Bernd
https://youchoos.co.uk/Index-Resource.php?L1=Guides&Item=OHattonsA3
If you`d like to have e.g. Zimo decoder instead (what is a bit more complicated in fact), I can recommend YouChoos! John is very helpful and nice and their sounds are really good!
-
18 hours ago, two tone green said:
Here are some photos of the inside of the A3. Odd set up to say the least.
Simple things that would have helped and why did they do what they did.
Fir me being heavily into DCC and sound I look at a model from that perspective as well as the overall appearance.
Starting with the tender, why no holes in the base to let the sound out. I drilled some and it sounds ok but if course all the noise comes from the front end.
That then takes me to the working part of the loco. Why oh why design the motor gearbox interface like they did. Terrible. It would have made sense to have a more conventional fit with the motor fixed to the rest of the drive mechanism with the body and any weights removable.
Taking the top off is relatively easy, putting it back is a right faff due to you trying to hold the motor and ballast weight in place against the drive in the chassis with everything upside down and you cannot hold the motor and weight as it’s inside the boiler as well as keeping the front speaker wires out of the way and of course it’s all out of sight under everything
And why oh why feed the speaker wires through two holes in the ballast weight restricting the ability to jiggle things around without snapping the wires.
It was nice oh Heljan to include the wires for the front speaker but they are curled up inside the firebox requiring the user to remove the boiler motor and ballast weight. If they had been fed forward to the speaker area under the chimney and made the smoke box door removable it would be so much easier for us want to add a second speaker or just gave one speaker at the front where the noise comes from. Loads of room in the area under the chimney just no holes in the chimney for the sound to escape.
Talking of speaker wires, odd really that the easiest place to fit a speaker in this model is in the tender but there are no wires to connect one to so you have to locate the solder pads on the decoder interface board and solder two on. But the front speaker wires that are difficult to get at in the front have been nicely installed and wired through the loco tender interface which is a right pin connector similar to that found on an eight pin decoder.
If the brain behind the insides of the A3 had used even a small amount if his thinking power and looked at what it was in front of him then he would have realised it was a dogs dinner. They really should start talking to people who get involved with the DCC sound stuff for advise as much as they seem to talk to experts about the amount of rivets on the drivers tea mug.
Then there is the water scoop on the tender. Hits peco points quite nicely. Oh dear


One question: did you exchange/customize the loco/tender connector bar, as it looks more plastic than metal?
Rgds
Bernd
-
1
-
-
As I`ve already written mine (Papyrus) will be with me next week as it`s now with YouChoos for having fit Zimo sound decoder etc. I prefer Zimo to ESU as I experienced, comparing each other, motor control seems to be a lot better.
Rgds
Bernd
https://youchoos.co.uk/Index-Resource.php?L1=Guides&Item=OHattonsA3
-
1
-
2
-
-
Concerning missing lining on front bogie wheels, I asked Fox Transfers if it could be possible to get an extra sheet for that , as they had only sheets with all the wheels. And they did it: https://fox-transfers.co.uk/a3-class-loco-wheels-lining-only-79969
Rgds
Bernd
-
1
-
3
-
-
2 hours ago, two tone green said:
A bit surprised there have not been more posts from people who have bought one.
You`re very right! I`m really waiting for more posts dealing e.g. with running performance. I`ll get mine end of next week.
Cheers
Bernd


Class A3 4-6-2 in O Gauge from Hatton's
in Hattons
Posted · Edited by Franzburg
I had intended to use a Chime whistle for Papyrus and found , at least a similar whistle as the one I had seen in a video about the whistles of Flying Scotsman, on Ebay. It was a 6 tone Chime whistle and so I changed it to a 3 tone one.
But it was in vain, because meanwhile I had found out that no Chime whistles at all were fitted to A1s/A3s, except to 4472 when it visited the US in 1969.
Rgds
Bernd