


Entry posted by Knuckles
807 views
It's been a long time since I have done an update so for those of you who may be interested here is the story so far. Due to the back log there are about 11 photo's.
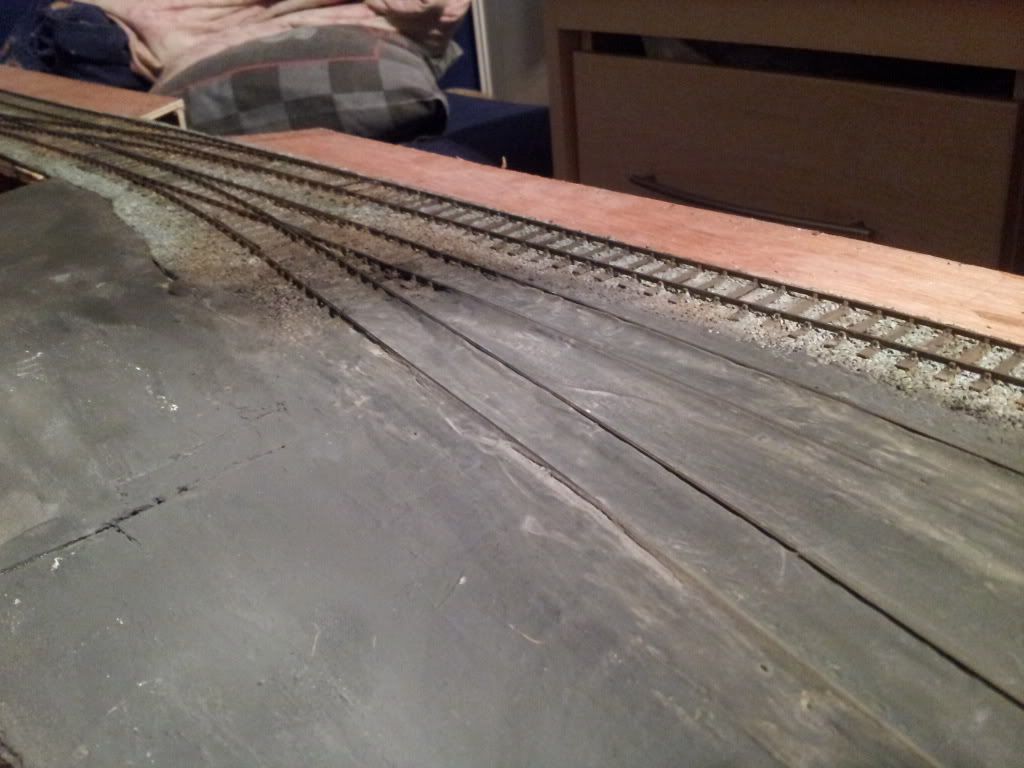
The middle siding is my attempt at replicating that tasty combination of ash, oil, coal and crap you often see around steam engine sheds areas. Fine filler plaster mixed with PVA glue and some grey paint is the medium of choice, splodged and smudged into position and shape by the finger. For some reason I painted it brown, why? I don't know, maybie I was bored, maybie I was after a 'feel', can't really remember.
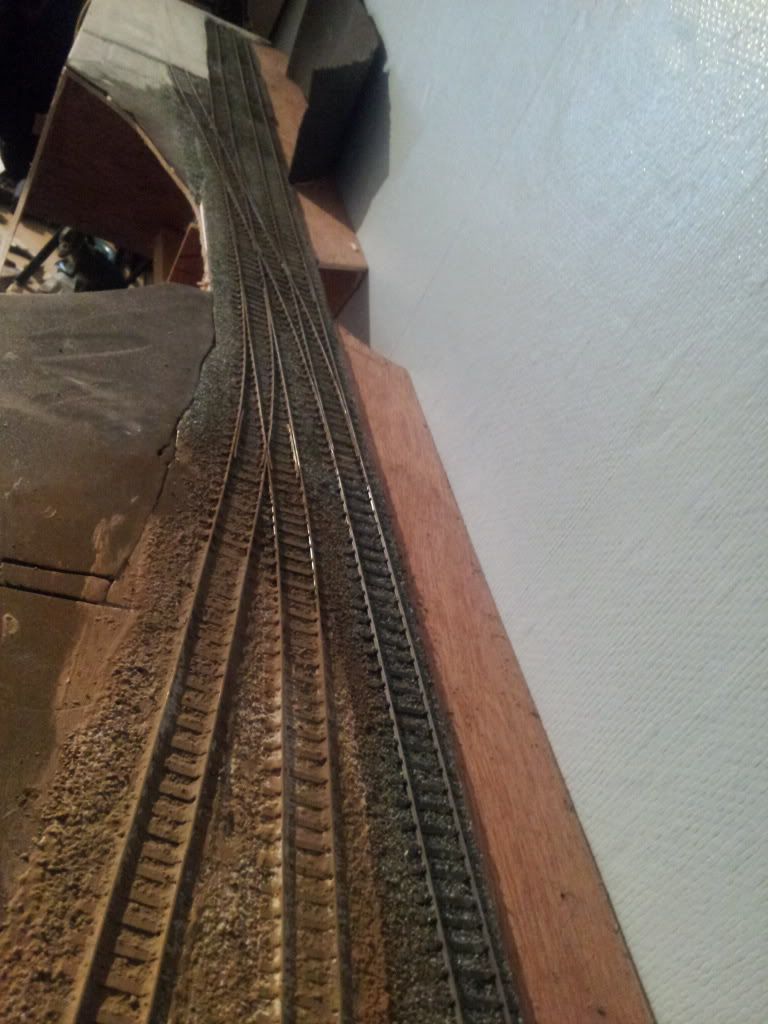
This is it after more layers and about ready roughly. Had to make a small flange clearance but due to P4's flanges being so small it was easy.

After some tweaking (maybe more layers) and paint it's roughly done. This is the close up.
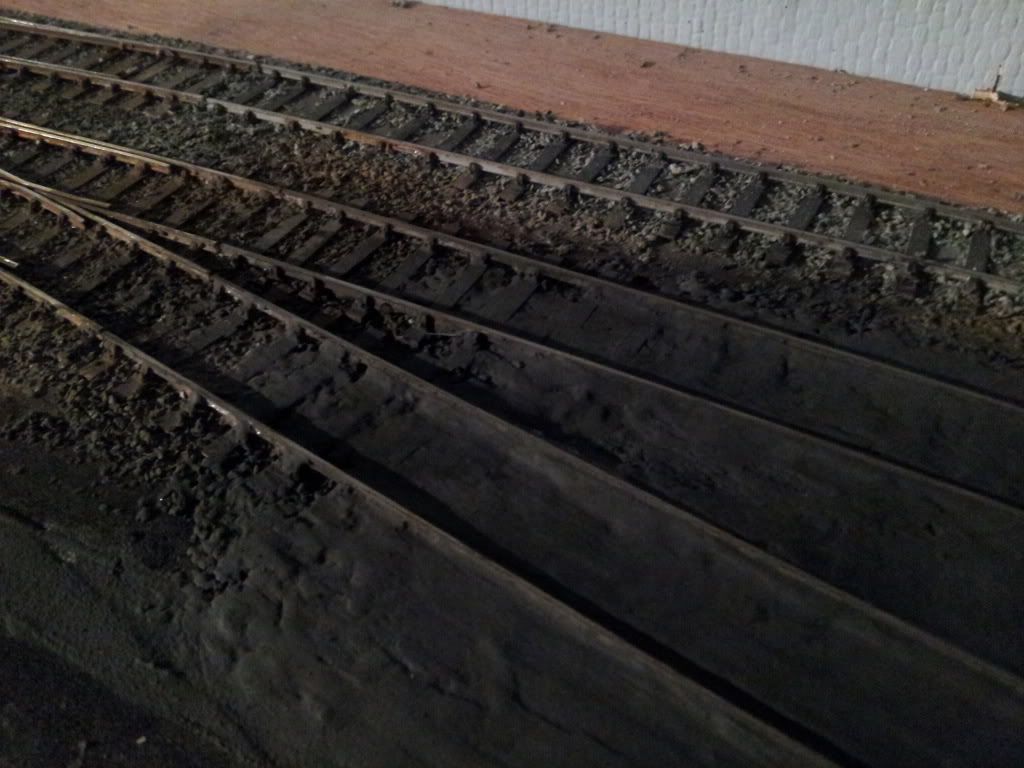
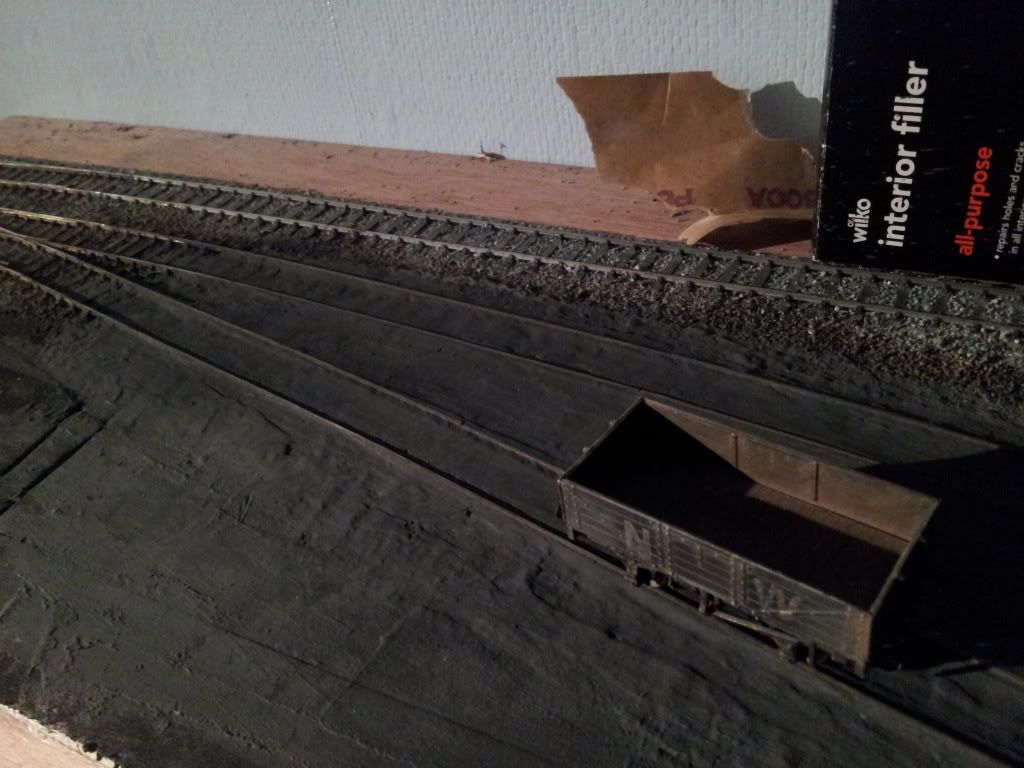
General view with truck acting as a scenic prop.
On the other side things are different. I have been expreimenting to create inset congrete. There are many methods I've read but I thought I'd have a go at inventing one (no doubt someone already beat me to it). Seeing as I was using 1 and 2mm thick bits of Balsa Wood and I had a lot left over, after checking the heights seemed usable, so I cut it to shape, glued it in place with contact adhesive, applied weights and left it. Once the wood was in place a few thin skims of aforementioned plaster/pva/paint mixture was applied. Because this layout is an exercice in experimentation and to have an industrial scabby theme I thought it acceptable to make a bodge mess of the concrete presentation! Pot holes, unueven bits where I later wish to add weeds and a few puddles I think will add character to it too. One thing that I deem good about this method is that it isn't heavy and if you want to cut into it to bed anything in you don't need a pnumatic drill and a rucksack full of HE.
This picture shows a thin wash before the more 'real' colour was applied. I added it just in case things cracked as it in theory might give some shadow depth.
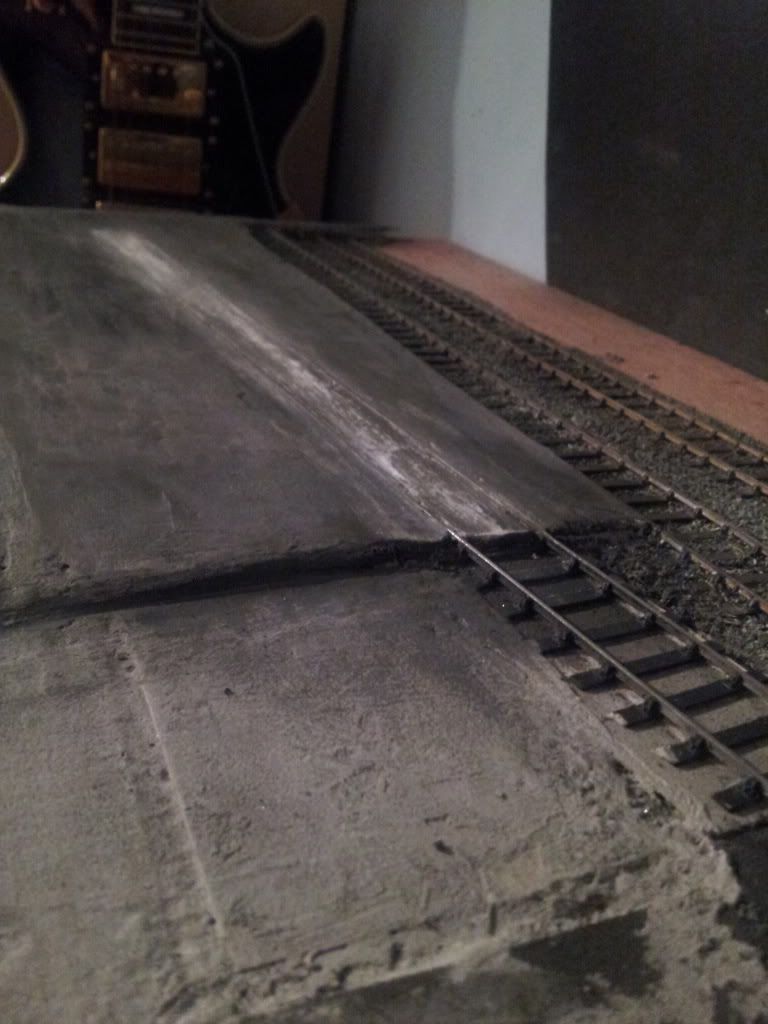
And after I think the first proper grey layer. Isn't finished yet but you get the idea.
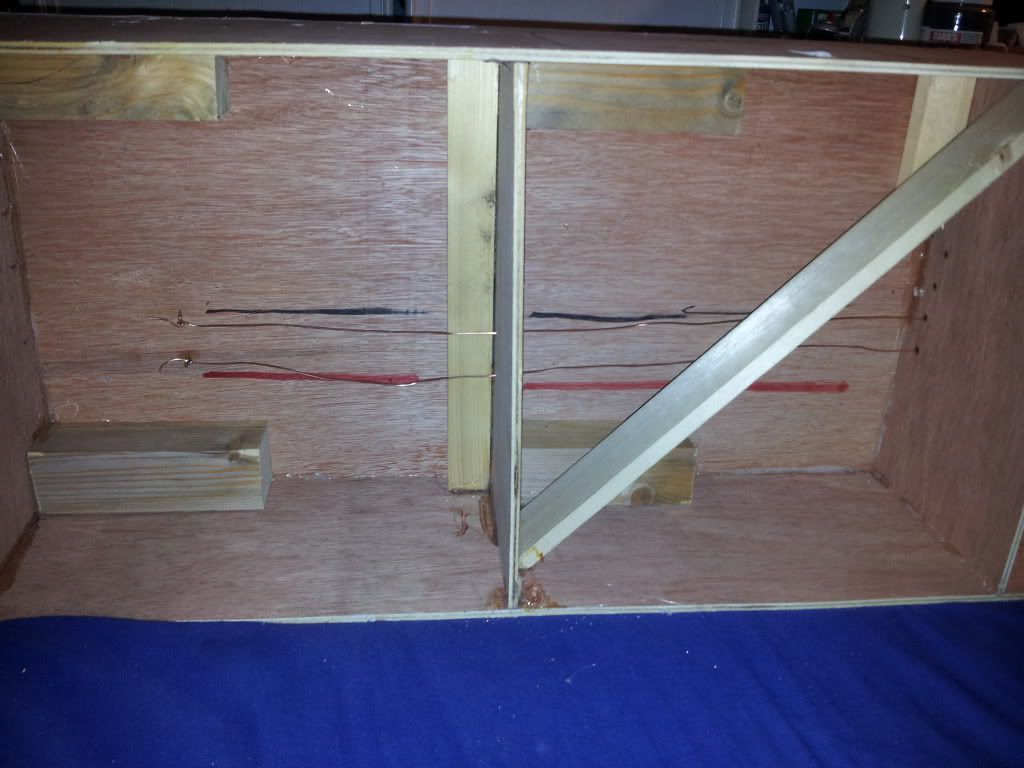
I've never ever ever ever ever wired a model railway before, which is one out of 3 main reasons my last layout didn't work very well. I've since read a lot of books on model railway wiring. I'm still 80% clueless but I've learned a few things. What is scaring me the most is how to wire the Tortoise point motors. +,- and 1 auxilary to each frog? I don't know, plus I want to make a mini removable control panel with D connector things. unnessasary on such a small layout, but would be good practice to prepare for the bigger plans. I wish to go DCC this time so I'm going for the DCC Bus method. Wisdom has dictated that Id I install the Bus wires and track feeds now I can worry about the points until I have brought them so today I drilled 5 holes through each section, screwed a few 'Picture holder loop eye thingies' into the baseboard and threaded/soldered some ripped out mains copper to it.
Oh and also implemented a SCSCFS (Super Cheap, Super Crude Fail-Safe) to the mix. Black and Red felt marker. 
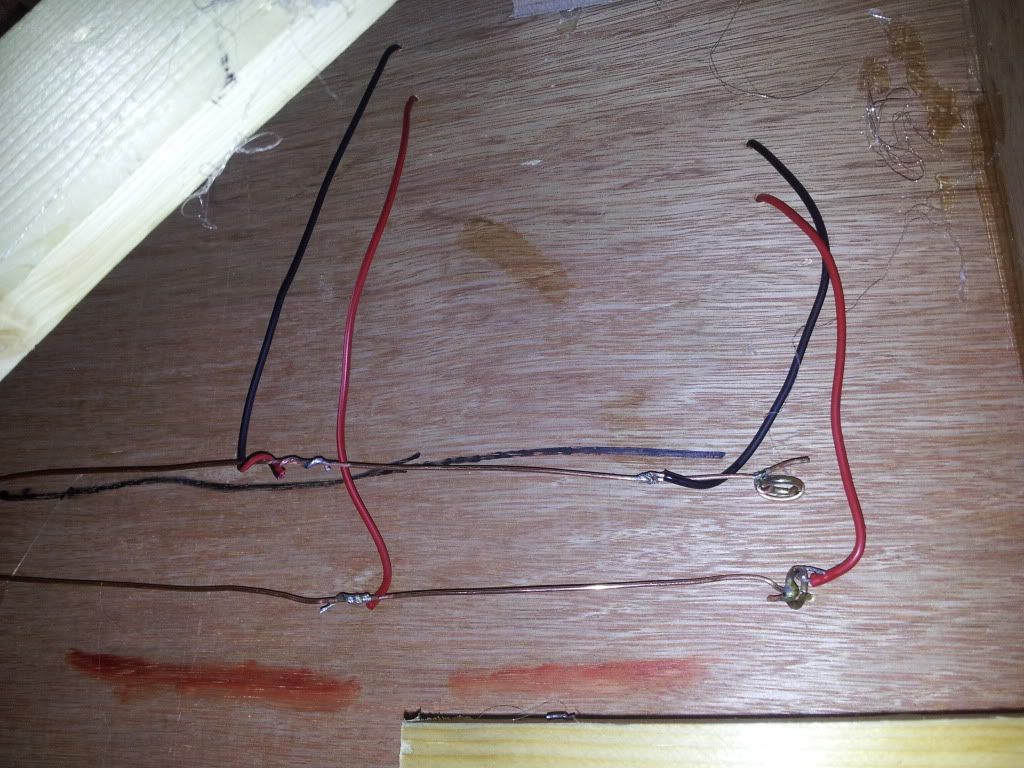
I've done a few more feeds off camera but you get the idea. I'm using DCC Concepts No Clean Flux so I can solder to the steel without rusting. After the trouble I had before I did some research, brought a bottle and am now finding it hard to look back. Isn't 'quite' as grab easy as Carr's Fluxes that I normally use but with the iron cranked to 450c it soon complies in a panic.
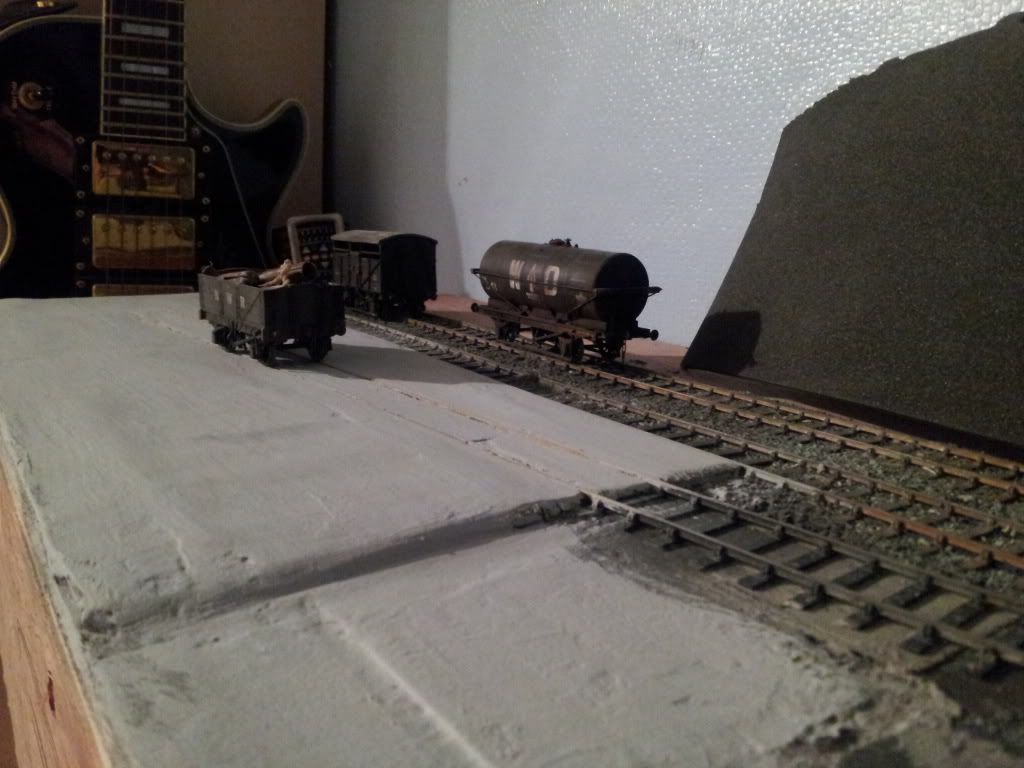
Last 3 pics, general impressions so far. Concrete bit with scaby chipped area. (or unfinished, badly done if you prefer)

Erm, just a view.
And the shed area again after some lighter washes. Not sure about this as it looks like concrete again, might blacken it as before.
If you have any thoughts good or bad please say. 
-
 1
1

2 Comments
Recommended Comments
Create an account or sign in to comment
You need to be a member in order to leave a comment
Create an account
Sign up for a new account in our community. It's easy!
Register a new accountSign in
Already have an account? Sign in here.
Sign In Now