


Entry posted by Knuckles
785 views
Ok, had a small rethink not long after posting the above. Because it seems overhead operation will be harder with angle cranks, rods etc, and researching what to buy and how to install them realistically might awkward, plus other than a few conflicting photographs I know nothing about them, I decided to...err, scratch build some. Makes so much sence. :shock:
So, I know they are likely to be prototypically inaccurate and installed illogically and more like 7 or 10mm/1ft scale but at the moment I'm not whinging. I have actually achieved what I set out to do with less bother than I expected, just asthetically it's a bit on the obese side...and probably wrong. Yet, I'm happy. it looks 'ok', and works. The latter being the main thing and as I've said many times now, operation is my cheif interest at the moment because extra neatness and realism comes with practice and experience. it does have a very small dead zone of movement due to generous clearences but as I say, it works. The trucks are rolling through fine again. I regret having to double up the thickness of rod but the bending forced my hand.
http://i86.photobucket.com/albums/k112/sparkshot/Ades.jpg
http://i86.photobucket.com/albums/k112/sparkshot/Bdes.jpg
http://i86.photobucket.com/albums/k112/sparkshot/Cdes.jpg
http://i86.photobucket.com/albums/k112/sparkshot/Ddes.jpg
http://i86.photobucket.com/albums/k112/sparkshot/Ides.jpg
http://i86.photobucket.com/albums/k112/sparkshot/Jdes.jpg
http://i86.photobucket.com/albums/k112/sparkshot/Kdes.jpg
http://i86.photobucket.com/albums/k112/sparkshot/Ldes.jpg
Foam underlay makes cutting accomodation holes a doddle but I had to raise the height slightly using some scrap Balsa wood - again, easy.
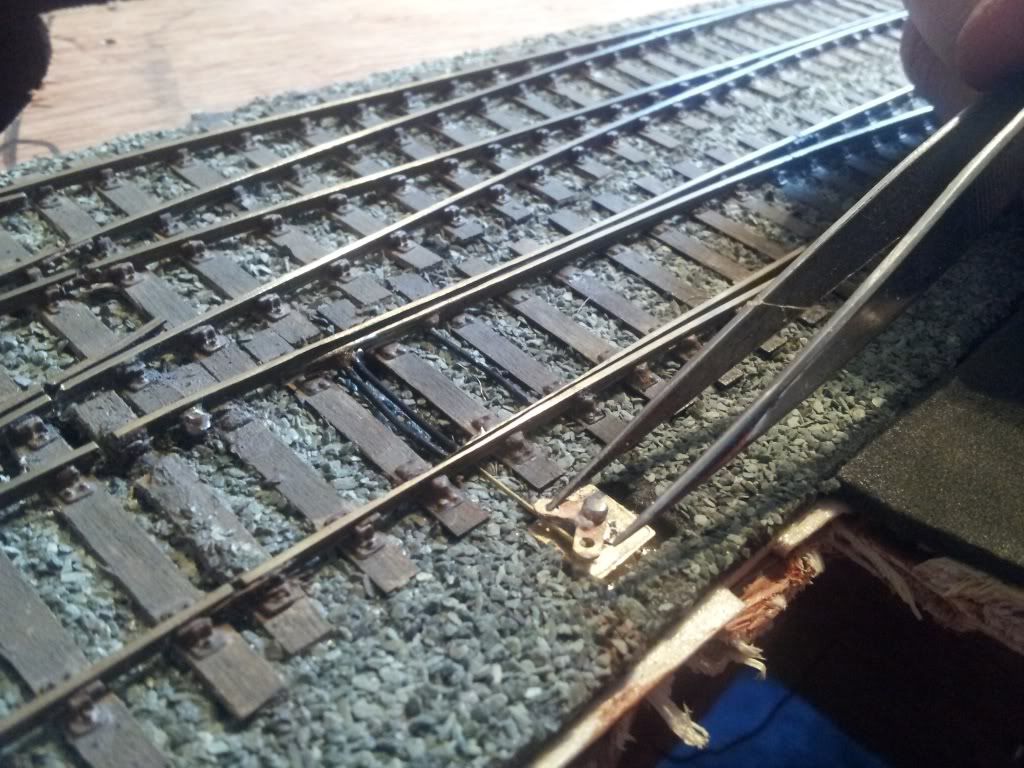
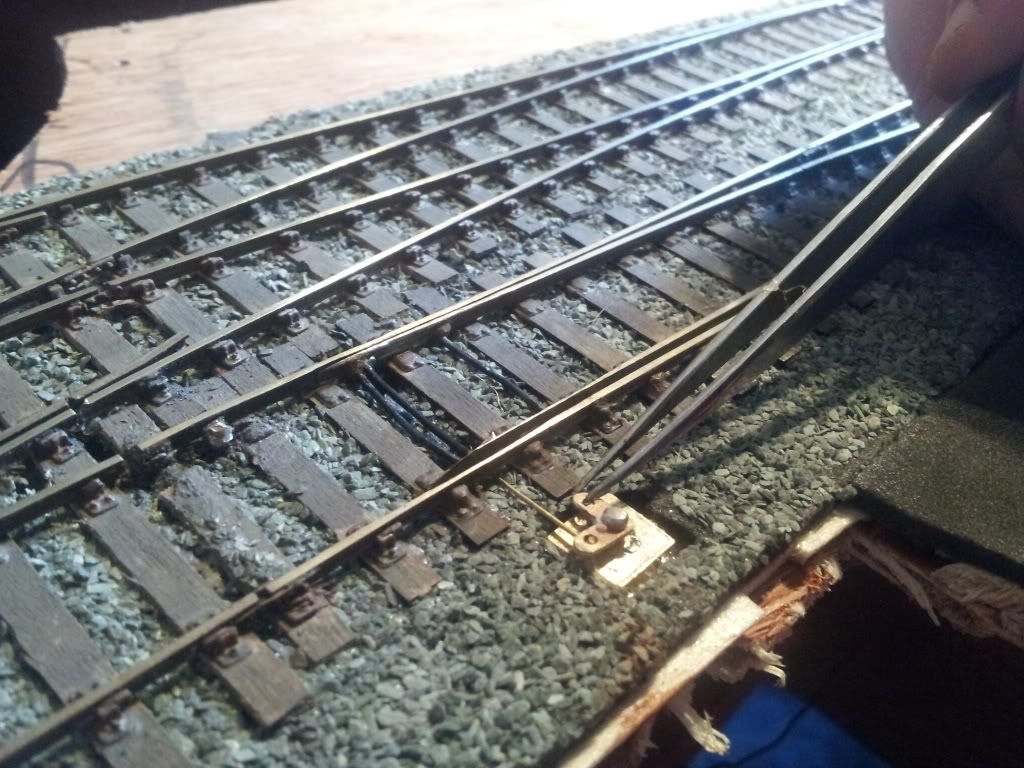
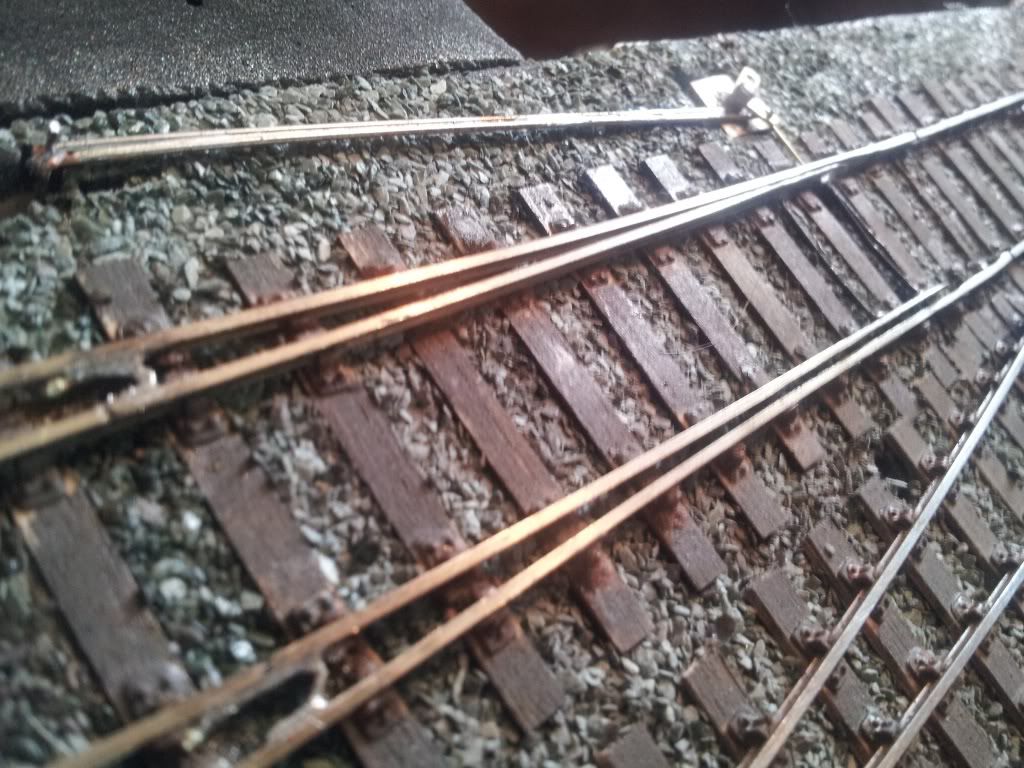
I had a spare stretcher bar. I know these arn't the strongest of things but I'm convinced it'll withhold. One end was trimmed and the other retained and bent into the angle crank. 3 stretcherbars probably isn't correct but oh well.
On the last two pictures it may seem that the point blades arn't touching the stock rails too well. This is becasue a while ago I made a major boob when cutting the wooden webs out of the C&L B6 turnout, things kind of broke and energies flew everwhere bending the point and causing gauge narrowing in a way that was alarming. So I had a lot of pidelling to do. It works though!
You may also notice 2 'Hornby style' clips. I forgot to electrically bond the rails so had to do it the ugly way after it was glued and ballasted. Silly me.
The main rod that is doubled up looks too fat and is, but I had to becasue of bending. Where the pivot wire comes through the board I'm thinking of covering that with a small ground frame or something plus it could have been closer to the tracks as it's slightly diagonal at the moment.
What you think? 
I think it looks ok considering it's home brew but if I am to do any more overboard gubbins I'd like to buy the correct etches and install them in a realistic logical way. My knowledge of this however is next to none. I've took a few pictures at preserved lines and whatnot but it just looks like a mine of serpents. Supprisingly I have had much less bother making this and getting it to operate than I have with the previous attempts, much to my supprise.
Just need to finish the wiring next. Once that's done I 'should' have a working layout. Oh yeah, I need to buy a DCC system too. :?
-
 1
1

2 Comments
Recommended Comments
Create an account or sign in to comment
You need to be a member in order to leave a comment
Create an account
Sign up for a new account in our community. It's easy!
Register a new accountSign in
Already have an account? Sign in here.
Sign In Now