

.thumb.jpg.2fffa28944b81026f58fa37077aebce8.jpg)
Entry posted by Grasslands
2,881 views
 Today I ignored the dark and wet weather outside and focussed on making sure my Class 13 would be a strong runner on digital control.
As discussed in part 2, I will be installing two DCC decoders (one in each unit) and setting them to the same address.
I first modified the chassis casting of the slave and master units. Cutting away the lugs that formerly supported a small circuit board (now surplus to requirements). This modification allows just enough space for a Bachmann 3-function decoder. Granted it is not quite enough space, thus a lot of the decoders soft outer shell needs cutting away to help it fit in the gap.
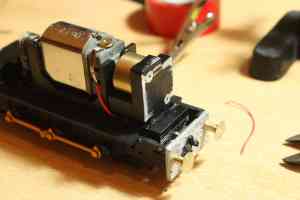
I then soldered the decoders into position and covered joins with shrink tube. This was my first time using shrink tube and I feel much more confident that my wires will not break apart as I move the loco and motors around.

Having built another model with a similar pick-up, motor and decoder arrangement I was keen to avoid a certain pitfall: If both motors and decoders pick-up from the same wheel sets, it is difficult to make separate adjustments to the decoders (without disconnecting the pick-ups).
To avoid this problem, I wanted to build the Class 13 with some kind of pick-up connector, which would allow me to separate the pick-up’s for each unit (when needed). While wondering if I had such a connector I noticed the surplus circuit board from the Bachmann 08 includes just the thing!
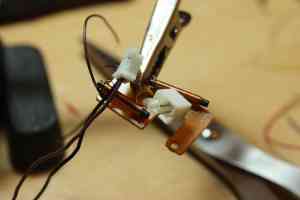
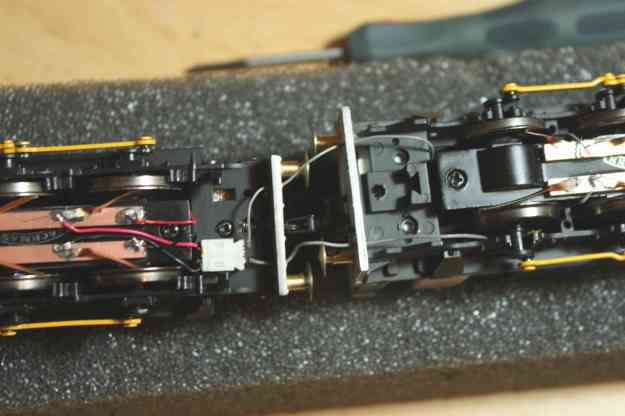
I super glued the little plastic connector beneath the master unit chassis and wired the two pick-up sets together. The pick-ups are disguised as two hoses that are present on the prototypes buffer beams. All tension between the two units is focussed on the spring-loaded screw link coupling, thus these wires are loose, but kept in place by the 08s outer chassis.
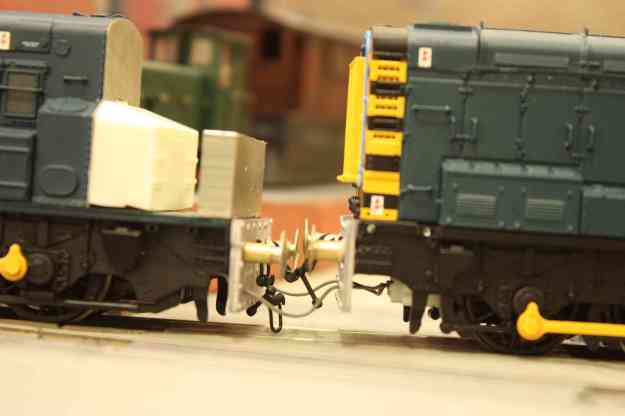
The Class 13 is now one of my best runners. The slow speeds I can get out of the two motors are quite impressive.
Next on the agenda is some filling and sanding.
Happy New Year!!!!
Visit my blog for further projects: GrasslandsModels.Wordpress.Com
-
 14
14

0 Comments
Recommended Comments
There are no comments to display.
Create an account or sign in to comment
You need to be a member in order to leave a comment
Create an account
Sign up for a new account in our community. It's easy!
Register a new accountSign in
Already have an account? Sign in here.
Sign In Now