

.thumb.jpg.2fffa28944b81026f58fa37077aebce8.jpg)
Entry posted by Grasslands
1,504 views
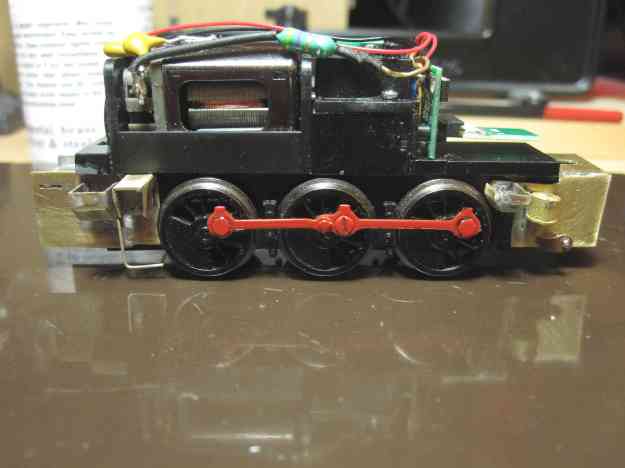
 The bulk of the conversion is finished.
Chassis Modifications
As predicted (see Pt2), the rear of the chassis was the more difficult section to complete. I took to cutting down the back of the Bachmann chassis by grinding away the raised profile mouldings on the sides of the chassis (where the crank-shaft use to be). I lost a few cutting disks in this operation (goggles recommended). This aspect of the work was surprisingly easy.
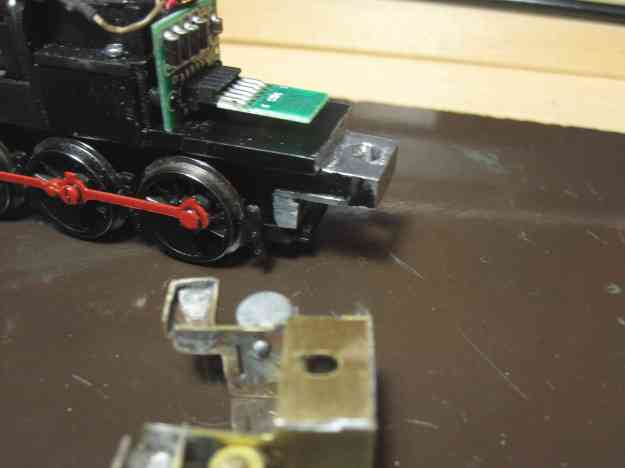
The next problem was that the Bachmann chassis’s bolt hole doesn’t line up with the existing body-hole at the rear of the chassis. Annoyingly, it is not quite distant enough to cut a new hole. So with a selection of drills and grinding tools in my mini-drill I widened the existing hole. You could likely get round this issue if you were still building the Craftsman 07 by moving the body hole, but this is not an option for me.
Next, I cut the remaining sections of the brass chassis to their new shapes. This was mostly trial and error; the main issues being avoidance of pick-ups and wheels. The rear sandboxes caused some issues yesterday which were resolved by sanding down the face of the rear brass section. Once this was complete I fitted the remaining details and all was looking good, and running well.
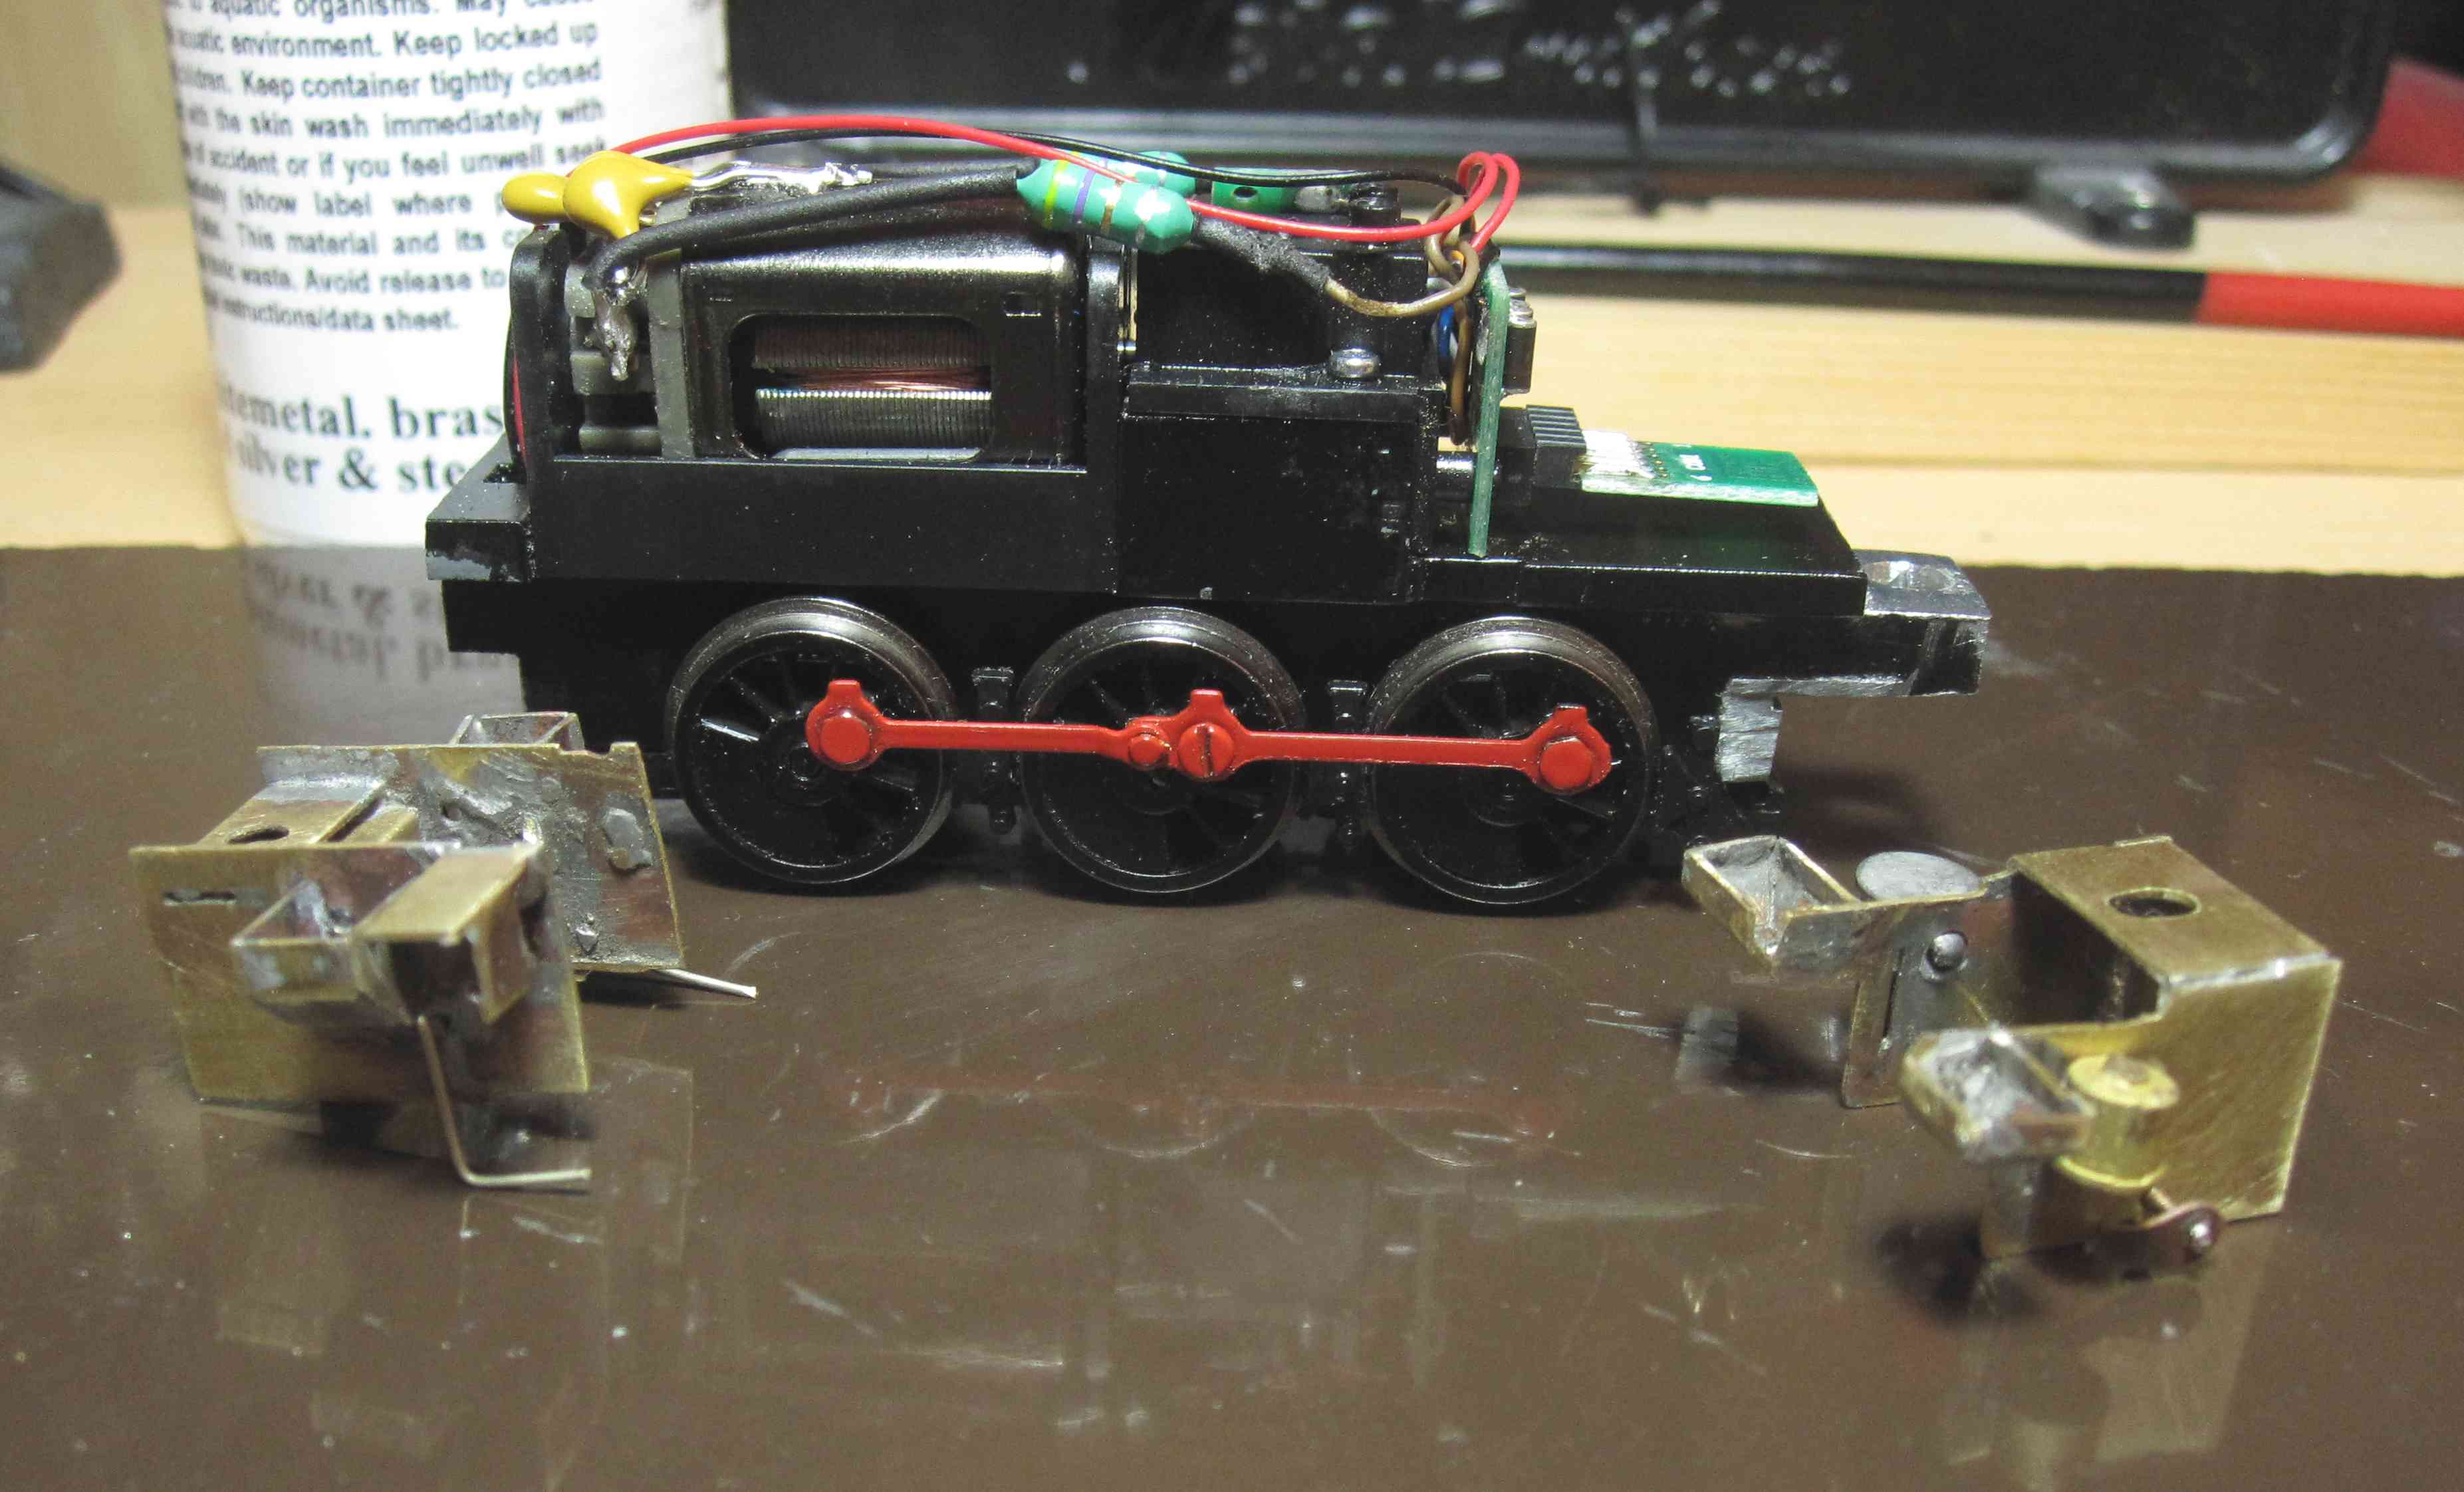
Lubricator arm mechanism
My biggest achievement here was refitting the lubricator arm to the front axle. I lost the lubricator hand wheel in the cleaning phase (see Pt2). It flew out of some spring loaded tweezers. There was enough time for me to watch it flying across the front-room at great speed, never to be seen again. Queue lots of cursing. This was one of the smallest bits on the model. I cannot think of an easy way of fabricating a new one. So let’s hold our heads high and move on…
On ye olde chassis, the lubricator crank was fitted on top of the coupling rod washer. As the Bachmann chassis has bolts that screw the coupling rods in place, I decided it made more sense to fit it beneath the bolt (no soldering or gluing required). I widened the hole on the crank and fitted the lubricator arm, but the mechanism attempted to collide with both the coupling rods and the coupling bolt. A couple of washers later (one in front of the coupling rods and one thicker one within the lubricator arm mechanism) and the lubricator arm was up and running!
To be honest, this project is nothing to do with accuracy; small additions like the lubricator arm are more to do with the hours I spent building the darn thing first time round! So I am happy to see this work finally paying off, minus the hand wheel (sniff!).
Below is a video of the loco running:
-
 2
2

0 Comments
Recommended Comments
There are no comments to display.
Create an account or sign in to comment
You need to be a member in order to leave a comment
Create an account
Sign up for a new account in our community. It's easy!
Register a new accountSign in
Already have an account? Sign in here.
Sign In Now