


Entry posted by Knuckles
1,605 views
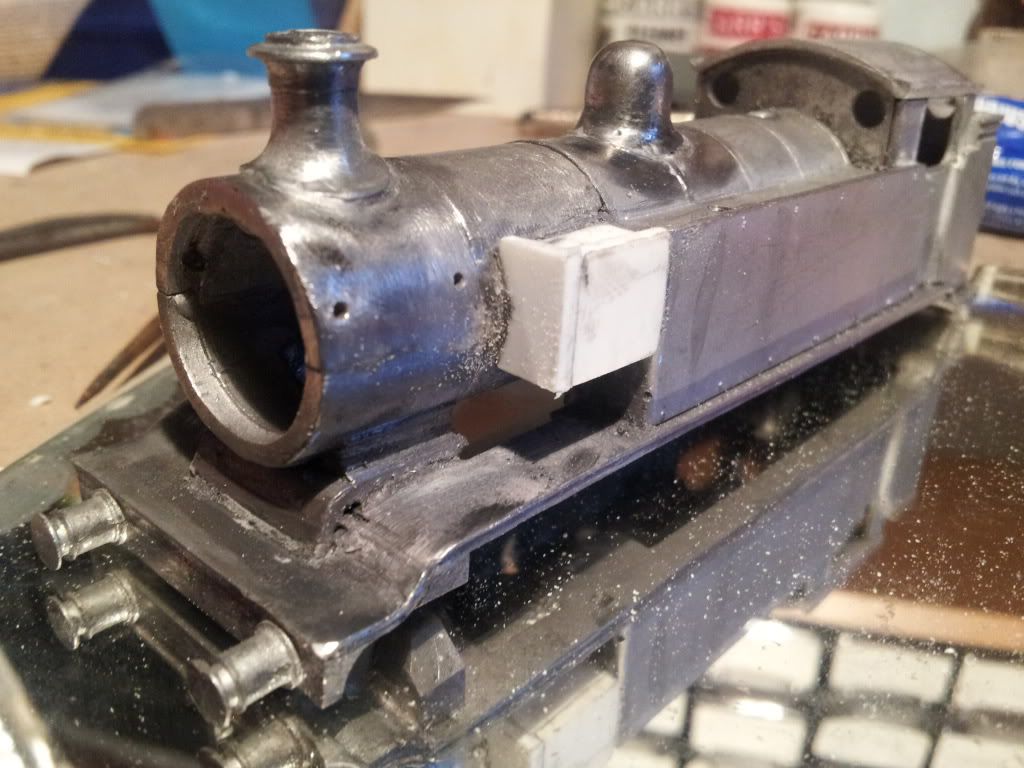
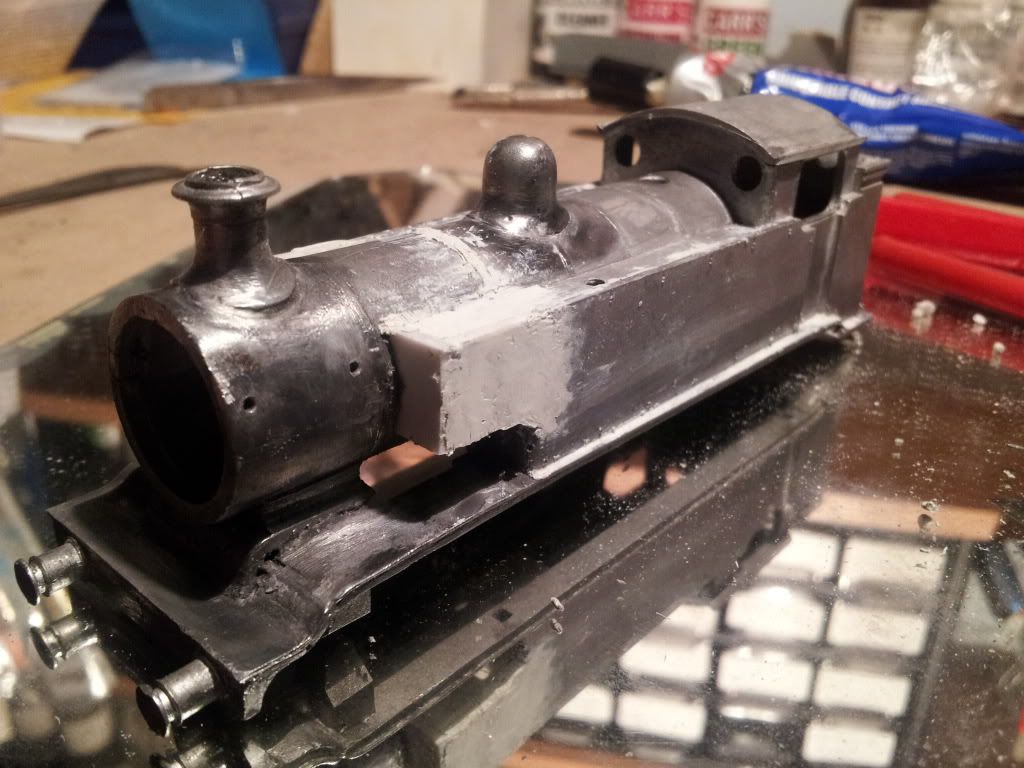
I added the chimney and dome. This wasn't the easiest thing do do becasue the pre drilled holes on the boiler were not in the right place, and the pip in the castings wern't in the center either. I did try aligning them ofset but it didn't work so I cut and smoothed the pips off. On the dome before I even deflashed it, there was a small chunk missing and when I tryed to sort that the metal was so thin it flacked away leaving a nice gap. Brilliant.
The chimney I couldn't put on perfectly straight becasue it looked a tad odd due to my skill lack with the rest of the kit (or the kit itself? LOADS of remidial shaping and pidelling nessasary), so I purposely put the chimney on at the slightest angle because this looks more acceptable at most angles; if that even makes sence, can always resolder and position it if nessasary anyway. Brilliant 2. :?
I soldered them both on, and where the dome had a chunk missing a blob of solder then sculpted procured the cure.
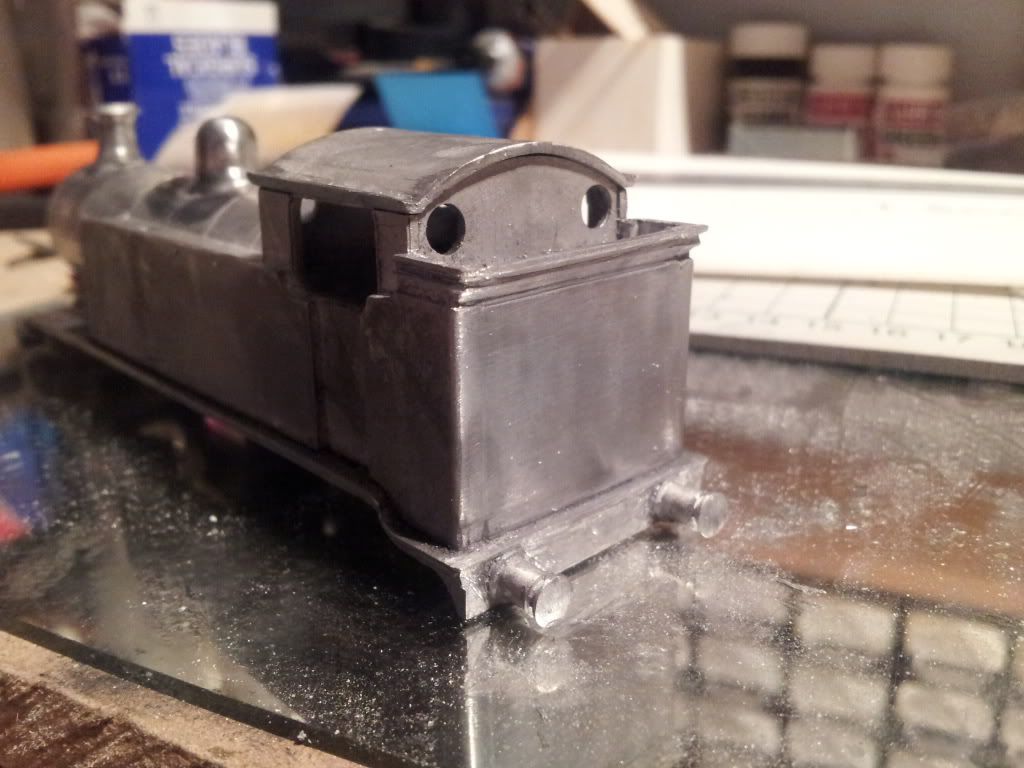
I also added the cab - this went on perfectly with next to no cleaning up, even the thinest beading strip around the cab opening lined up properly. Why couldn't the whole kit?
I picture I forgot to show you on previous post. This shows a massive gap, and this is after an hour or so of fettleing, so it was much worse.
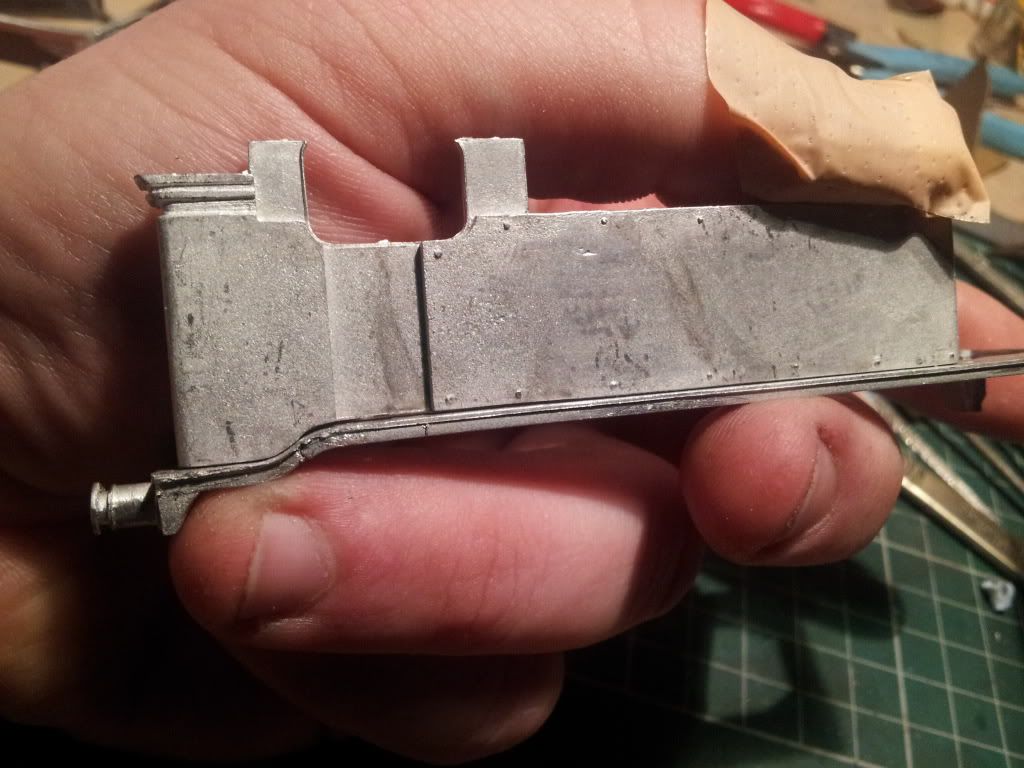
After fitting the bunker back there were two join marks either side almost a full 1mm. This join mark also went through to the coal rails so the cure was much solder blobbed in and then filed smooth. The coal rails had to be reprofiled but a thin file made short work of this.
Small note about the coal rails. I did think they looked rather think and clumsy so was thinking of scratchbuilding them out of brass, but after looking at prototype photographs it seems most of them (not all) actually did have this thicker 'filled in / no gap' design....so i'm leaving them as they are.
Extension bashed from plastic card. The main rectangle, two bits inside and some wood for strength, and a cap on the front. Glued with Evo-Stick and then later Powerbond 806 Industrial Superglue for the thin gaps. It will be shaped better later.
Ello Mr Milliput, arr lyke you, your my fwend. Seriously, I love the stuff. :thumb
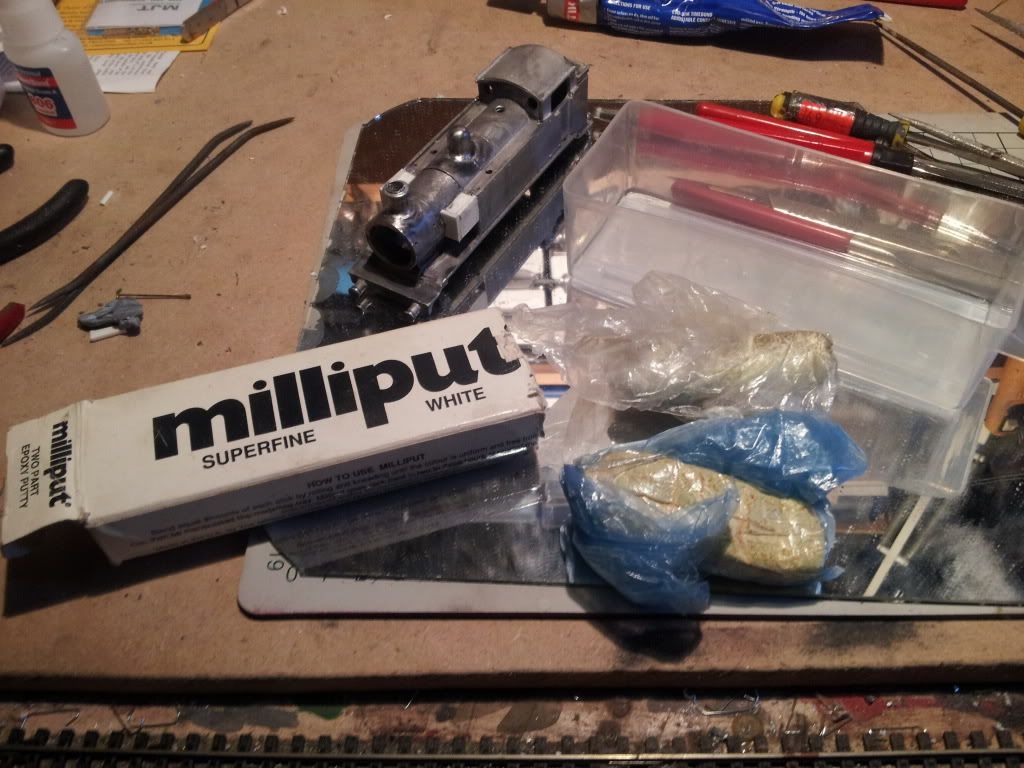
Before application I shaped the tank sides better and cut them back a bit so they are about 1mm before the rear smokebox join/band. Most photographs seem to show this. The curves are also roughly moulded along with gaps in other areas filled. Once dry it's smooth and shape time.
Motor and Gearbox arrived today but I tihnk I'm going to buy that bearing & coupling rod jig from London Road Models first. Seems a really good idea after what you guys said, I'm all for getting the right tools for the job if I can. 8-)
EDIT: Oh yeah, something I forgot to mention. I did actually add smokebox hand rail with two pillars instead of 3 due to the tanks, but then realised that most photographs show the rear part actually extends past the pillar to the tanks. They were glued in with that deicent superglue I mentioned above. After failing miserably at pulling them out with pliers the heads rounded off and I was left with a lump. "AH, Buggeur, now what?" After filing them smooth I had some beautifull brass circles inplace of much needed holes! I did try pin pointing them with the Swan Morton to give a dimple to drill through, but my drill perpetually just slipped off, so after some head scratching I driled two holes adjacient to the half hand rail pillars enough to wiggle them out. This mess was then filled in with solder and holes driled through the solder. Sorted! 
-
 7
7

4 Comments
Recommended Comments
Create an account or sign in to comment
You need to be a member in order to leave a comment
Create an account
Sign up for a new account in our community. It's easy!
Register a new accountSign in
Already have an account? Sign in here.
Sign In Now