

Of dumb buffers and badly designed kits

Entry posted by garethashenden
1,214 views
My tastes in railways (particularly British ones) tends towards the unusual. I am completely uninterested in BR steam, for example, and find myself increasingly drawn to pre-grouping, if not Victorian, railways. While I can't claim to be a fan of the Great Western, Duncan's desire to model Edwardian GWR is at least the right era. While perusing the bay of E a few months ago I happened across a lot for five identical white metal kits for dumb buffered private owner coal wagons. Now dumb buffers tick the boxes when it comes to unusual. I know they haven't always counted as unusual, but they do now. While dumb buffered wagons were on the decline in our 1905-1914 timeline, they are not entirely out of place. So I bought the kits. They are Chatham kits, the prototype is a Parry wagon, quite common to the North London Railway.
The kits arrived and I had a look at the instructions. This is where the problems began. The instructions say to fit the ends between the sides, add the etched floor, the solebars, and the w-irons. Simple enough right?
Problem number 1; If assembled in this manner the etched floor is too long. If one of the etched planks is removed, however, it now fits. So that's what I did. Having so far assembled the body I then went to fit the wheels. Two etched w-irons are supplied, one of which can be made to rock if desired. While I generally think that compensation is a good idea, I wasn't too impressed with the rocking mechanism so I opted to build the wagon rigid. Using the semicircular ironwork on the solebar as a guide, I installed the w-irons. All was well, until;
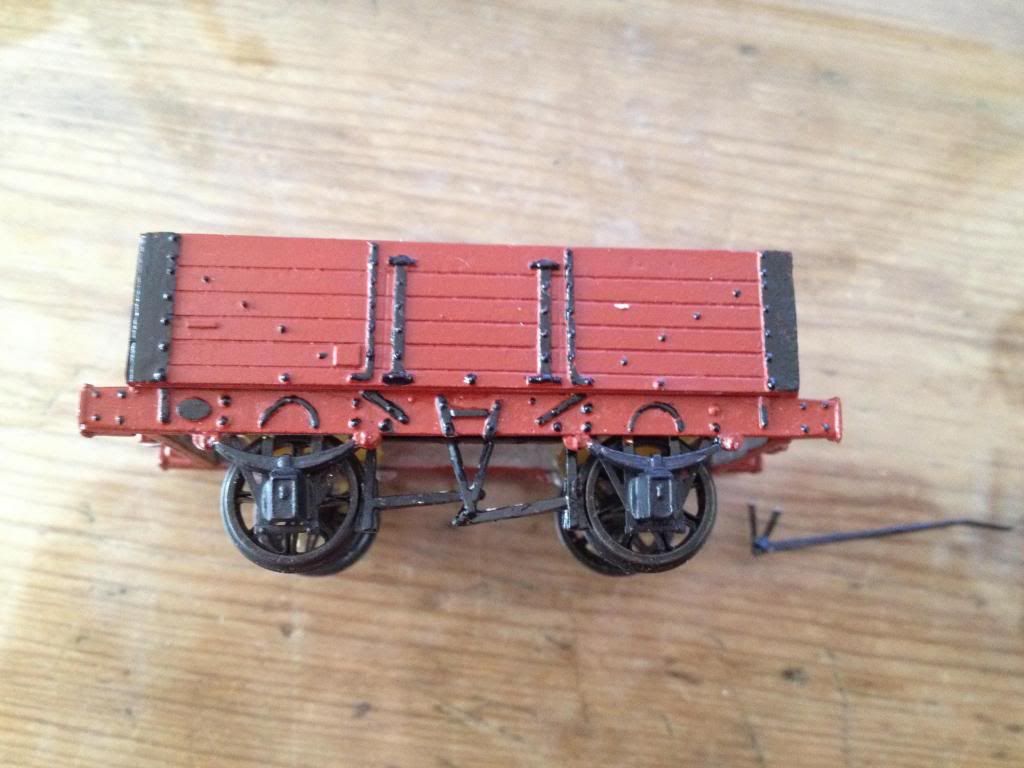
Problem number 2; The brakes don't fit! These wagons have two brakes on one side with rather larger wooden blocks. These are set to a 9' wheelbase. Unfortunately, the castings on the solebars are set to 8'6". A file was retrieved from the box of tools ans steel brakes were produced. Oh well, I've got four more anyway and variety is nice. Right?
Wagon number 1:
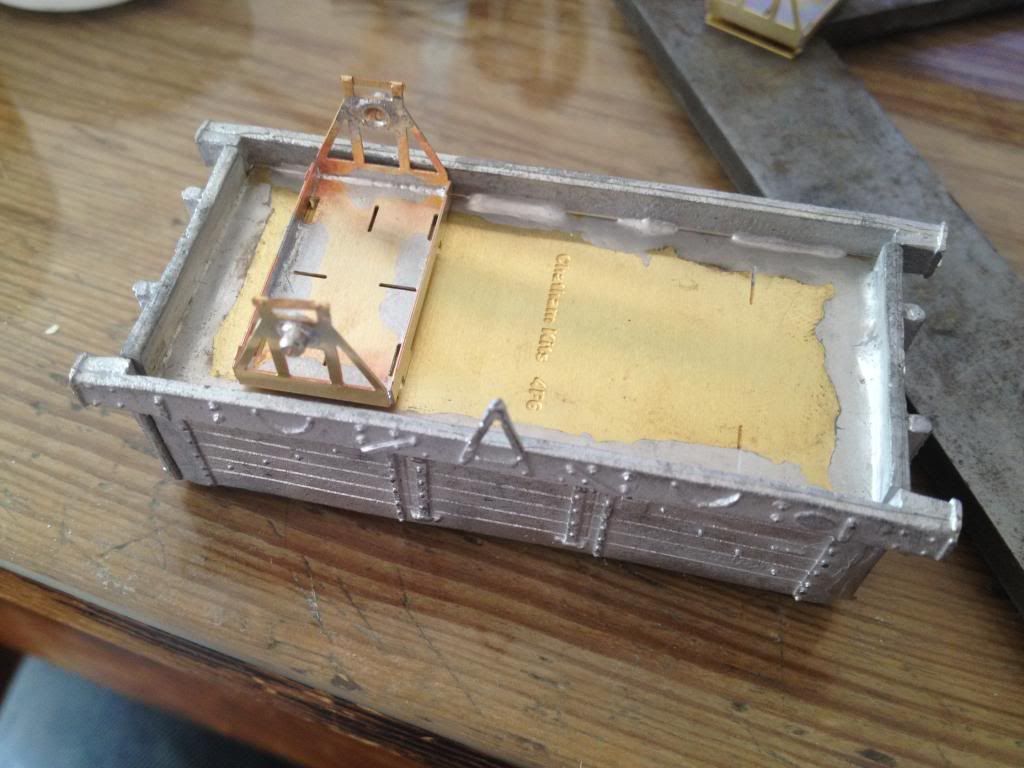
Wagon Number 2.
About a week later I decided to have another go at these wagons. I figured I must have made a mistake somewhere with the last one, this time I'd do it the other way around, maybe that would solve the problems. So i fitted the sides between the ends. This made the wagon longer and narrower than the first, but the floor fitted with a problem!! Ok good, progress. It should be mentioned at this point that I decided to solder this wagon. Having superglued the first I thought I should improve my white metal soldering skills and that this would be the thing to practice on. So, the body is soldered together, now fit the solebars, done, no problems. Fit the w-irons, fit the brakes. The brakes still don't fit. Ugh.
Got a new kit, opened it up and compared the parts. There are markings on the underside of the floor to aid fitting the w-irons. It's just a half-etched line to be lined up with a fully etched line in the w-irons. Not high tech (or actually helpful). When these lines were compared to the ironwork on the cast solebars the source of the problems was made clear. The detail on the solebars was in the wrong place. Ok, so here's the plan; two wagons with an 8'6" wheelbase, three with a 9' wheelbase. Keep things interesting.
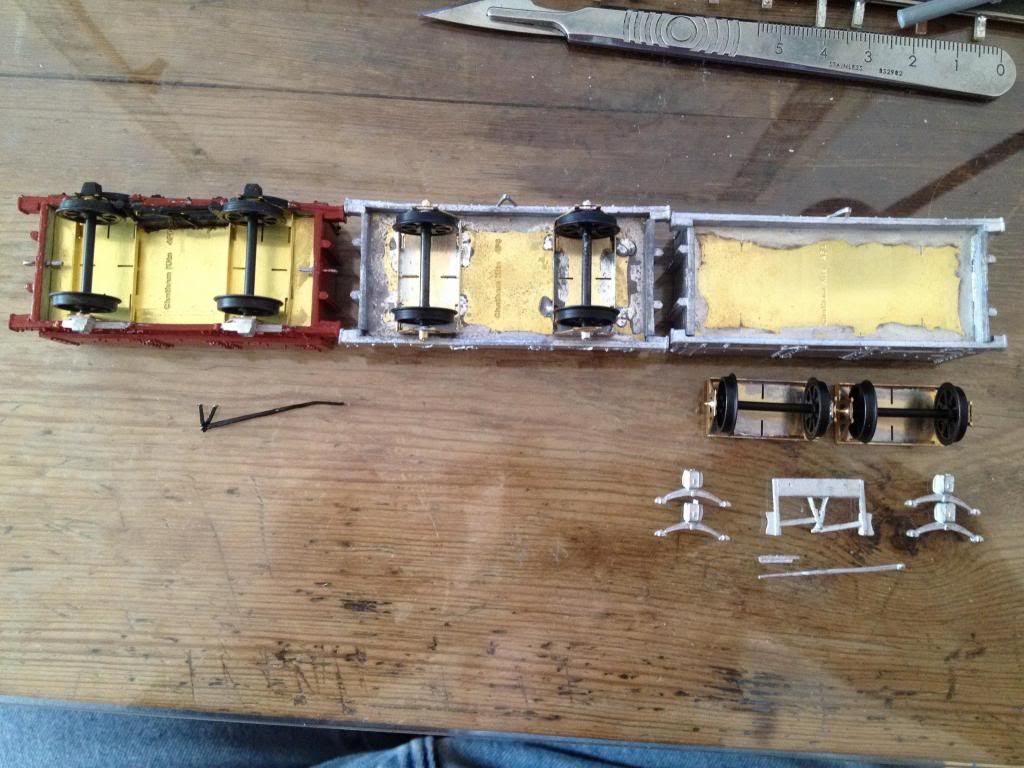
It was at this point that I compared the two wagons. Uh oh, those buffers don't line up. I went and found some other wagons and compared everything. The second wagon had had the solebars fitted too far out. The should have been trimmed to fit around the end. This will need to come off, be fettled, and go back on. Still on the to-do list.
The underside of number 2 during construction.
Wagon number 3
For this one I decided I would remove the erroneous details from the solebars before assembling the wagon. File, whitemetal, job done. Having learned from the mistakes of wagon number 2, I filled the backs of the buffers so that they will fit. I got a bit carried away with one and it will need some filler. Wagon and solebars assembled, everything looks good, still need to fit the w-irons.
This picture of the three wagons shows the problems with number 2's buffers. It's the one in the middle.
Wagons 4&5
For these I will build them as I built wagon number 1. Trim the floor, stick everything together. I will alter the wheelbase so that it is 9'.
-
 2
2

0 Comments
Recommended Comments
There are no comments to display.
Create an account or sign in to comment
You need to be a member in order to leave a comment
Create an account
Sign up for a new account in our community. It's easy!
Register a new accountSign in
Already have an account? Sign in here.
Sign In Now