
5726 - Handrails, pipework and whistles revisited
.thumb.jpeg.3955886fc58580247a46965a1bd9db57.jpeg)
Entry posted by alanbuttler in DETAILING
531 views
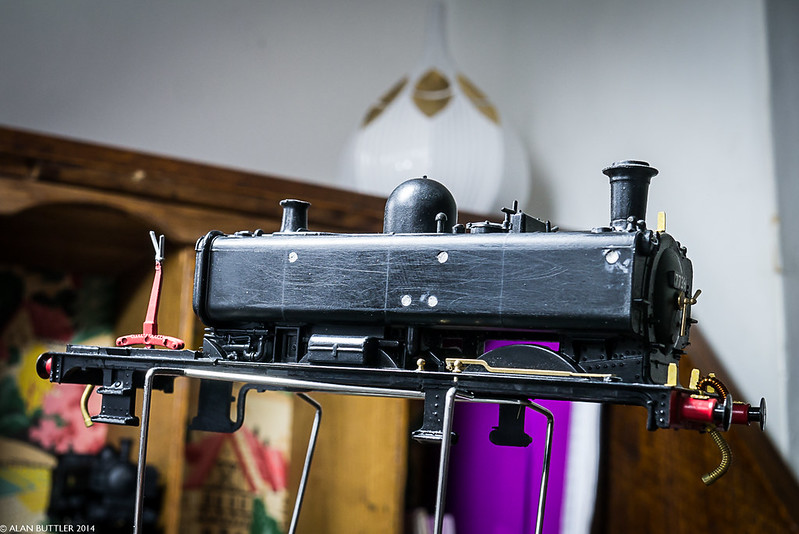
Things have been a little quiet on the detailing front but I've managed to get a little time on 5726 again this weekend. It's becoming a test bed for detailing techniques so I'd imagine it will be a while yet before we see her finished!
Coming back to it after a break, the whistles and shield still don't sit right with me. The shield is too close to the cab for starters so that needs addressing. Plan is to attach short lengths of handrail wire to the end of the whistles to extend them out further from the cab front sheet, enabling the whistle shield to be placed in a more prototypical position and angle. If this method works, I'll use it on the rest as I think it makes a nice difference seeing the whistle feeds taking their correct path into the cab front and not from out of the top of the firebox. More on that the next post.
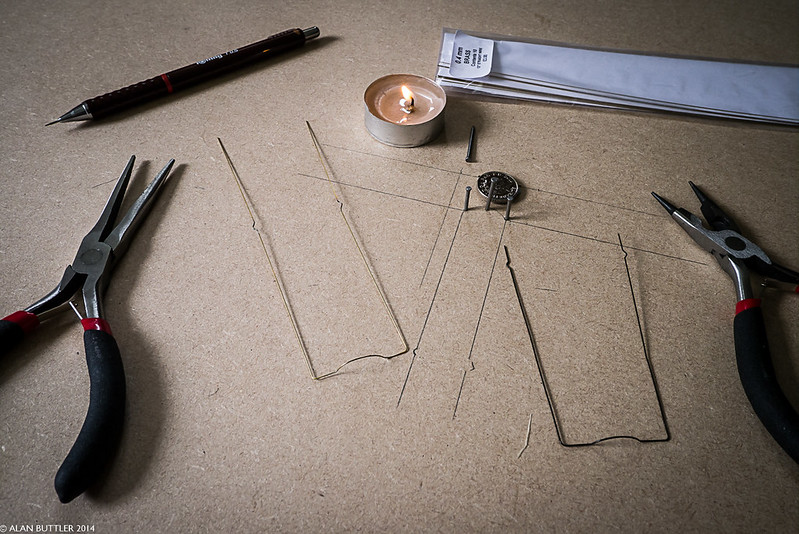
Today's tinkering has been concentrated on removing the handrails and forming up a finer replacement. I've been following Iain Rice's method in 'Etched Locomotive Construction' of using 0.4mm brass handrail and split pins instead of handrail knobs. For the cab and grab rails I'll still use Alan Gibson 0.45mm short knobs however.
Fitting split pins into the body has been a challenge, as with an etched kit the pins can be folded out inside the boiler and soldered. No possibility of that with plastic! So I've been trimming down the split pins to handrail knob length which seems to work ok. The gaping holes left by the plastic handrail knobs have been filled with modellers putty and left to harden overnight, ready to re-drill with smaller holes for the split pins. The moulding lines have also been sanded away from the tank sides whilst the handrails are off.
Yesterday I attempted my first once piece boiler handrail, with a few methods tried mainly without any success! I finally settled on using a candle to heat the wire and form the boiler curve and injector drain pipe kinks which was much easier.
The last 2 tasks have been driven by a little adventurous purchase I made at ScaleForum North a couple of weeks back. After seeing the quality of High Level Kits in the flesh I couldn't resist investing in one! As preparation for the chassis, the other work has been removing the moulded pipework from under the running plate, ready for replacement with copper wire. The front and rear steps have also been filed down ready for fitting to the chassis once its built. Whenever that will be...  I need to refocus on the works buildings now and stop getting distracted by detailing and going in at the deep end with an etched chassis!
Edited by alanbuttler
0 Comments
Recommended Comments
There are no comments to display.
Create an account or sign in to comment
You need to be a member in order to leave a comment
Create an account
Sign up for a new account in our community. It's easy!
Register a new accountSign in
Already have an account? Sign in here.
Sign In Now