


Entry posted by garethashenden
402 views
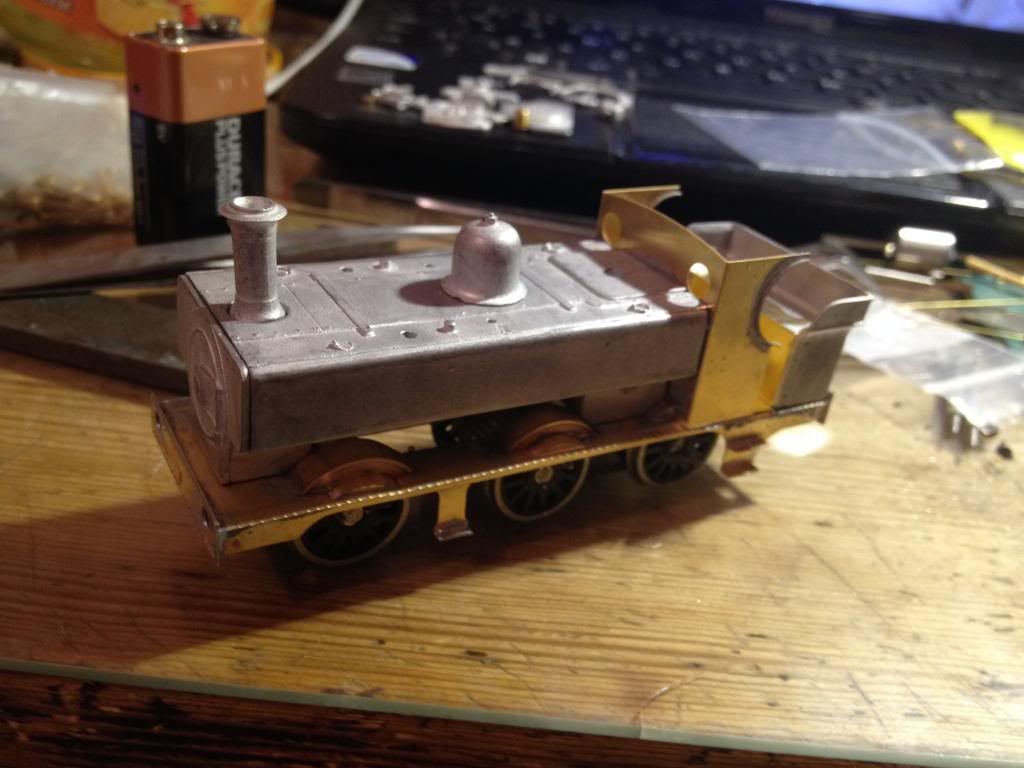
Now that the chassis is mostly done it's time to do the body. This is all pretty standard etched kit building, so how about more pictures than words?
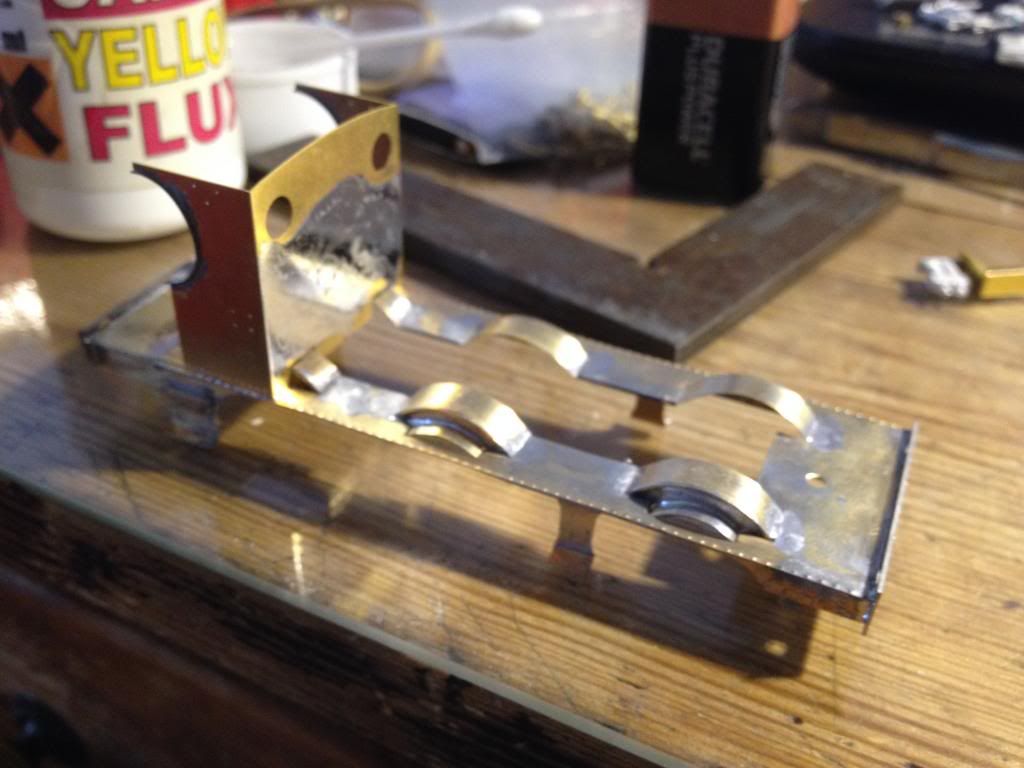
Forming the curved splashers was a bit fiddly, but not too hard. The option front steps were added as they are present on my prototype (1907). The half cab was folded up and soldered in position followed by the cab floor and cab wheel covers.
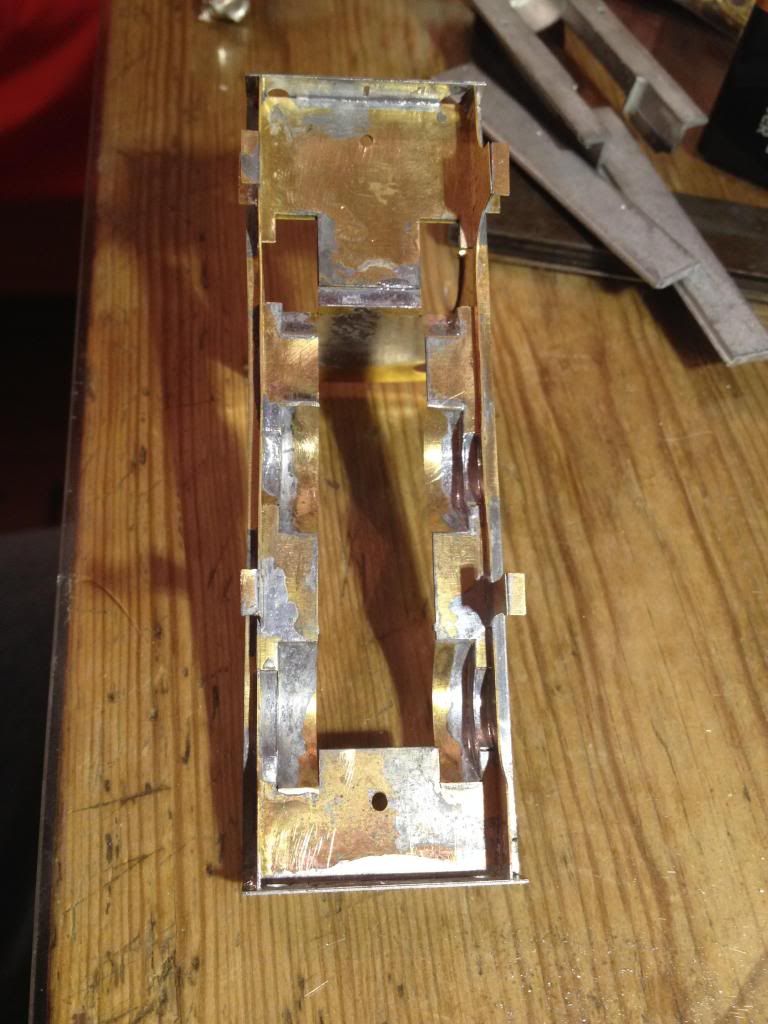
One issue with building the locomotive with a split chassis is that the footplate will cause a short. Enter another 2mm trick. Cover the bottom of the footplate in cigarette rolling paper, soak with superglue and leave to dry. This will leave a thin layer of insulation. The insides of the bufferbeams must be covered as well, something that I am only thinking of as I write....
Before:
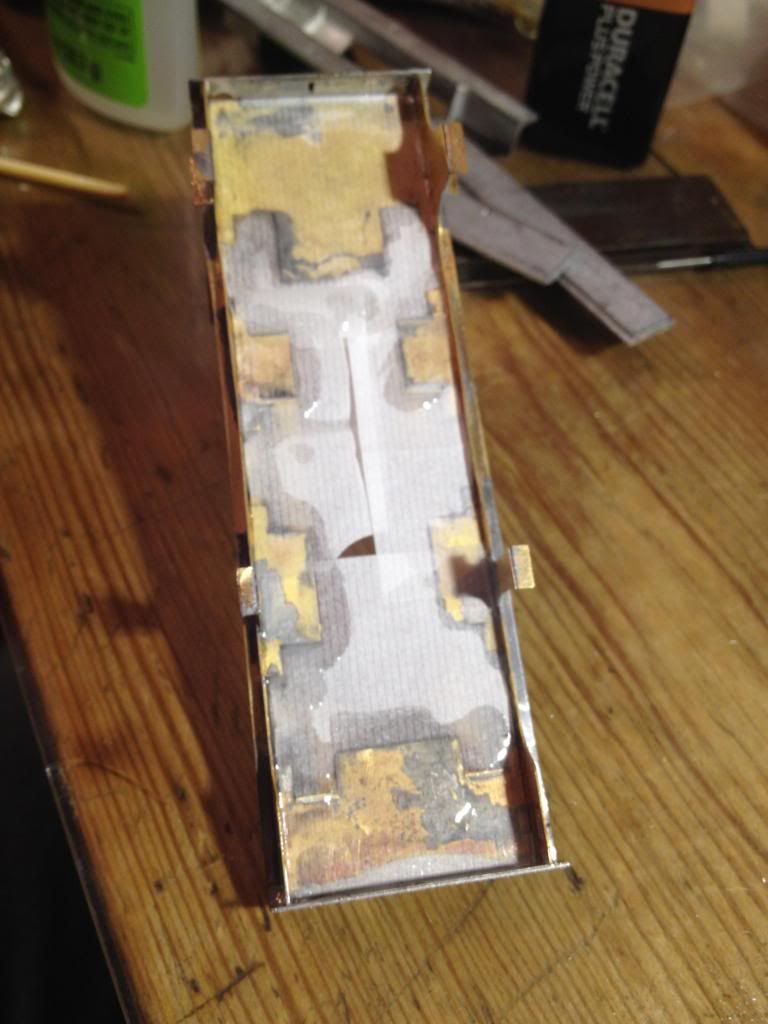
Fully covered:
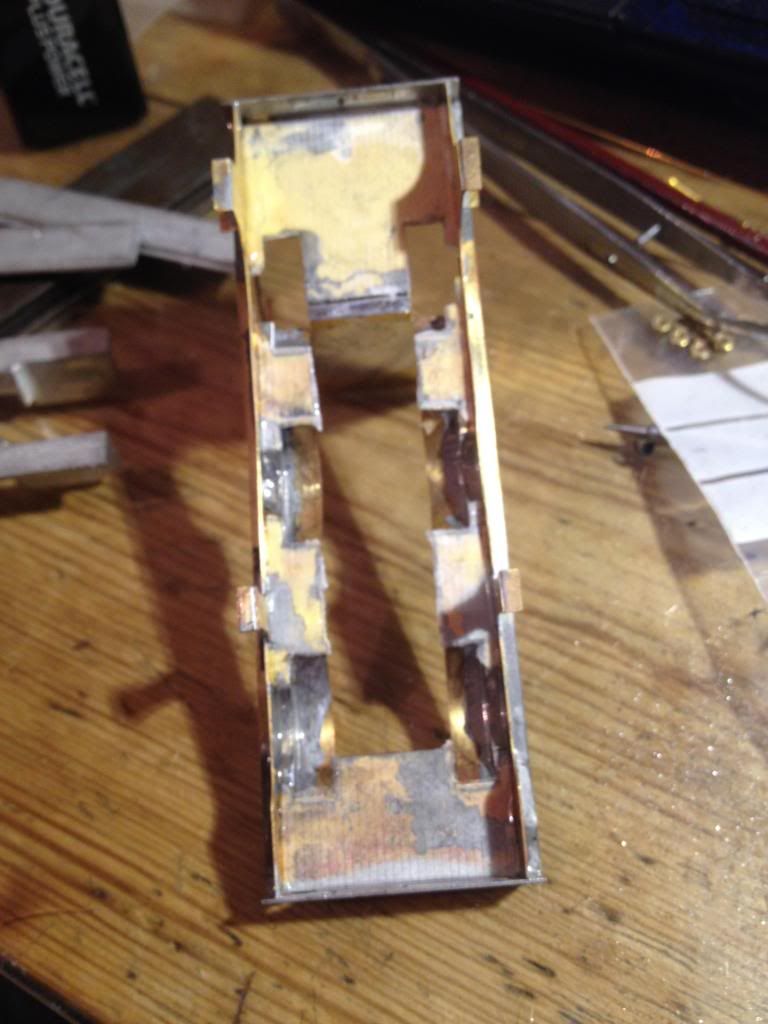
Cut to shape:
The sides were then soldered to the base of the tanks. The top has been left off until final positioning of the gearbox has been done. The bunker was then soldered up.
Everything positioned but not attached:
I'm afraid all of these pictures are a bit rubbish. Hope to do better next time...
-
 8
8

0 Comments
Recommended Comments
There are no comments to display.
Create an account or sign in to comment
You need to be a member in order to leave a comment
Create an account
Sign up for a new account in our community. It's easy!
Register a new accountSign in
Already have an account? Sign in here.
Sign In Now