


Entry posted by garethashenden
844 views
If part 1 was about springing, part 2 is about pickups. I hate pickups. They're fiddly and unreliable and a pain in the backside. There must be a better way.
About 9 months ago I built a replacement 2mm FS chassis for a Farish Jinty. That went together very easily and without the need for pickups as the 2mm Association recommends split chassis. Why isn't this more common in 4mm, it's so simple.
The Jinty:
There are three things that need to be done differently with a spit chassis. The frames have to be electrically separated from each other while still being strong enough to work, the axles must be electrically split and the wheels must be electrically connected to the axles.
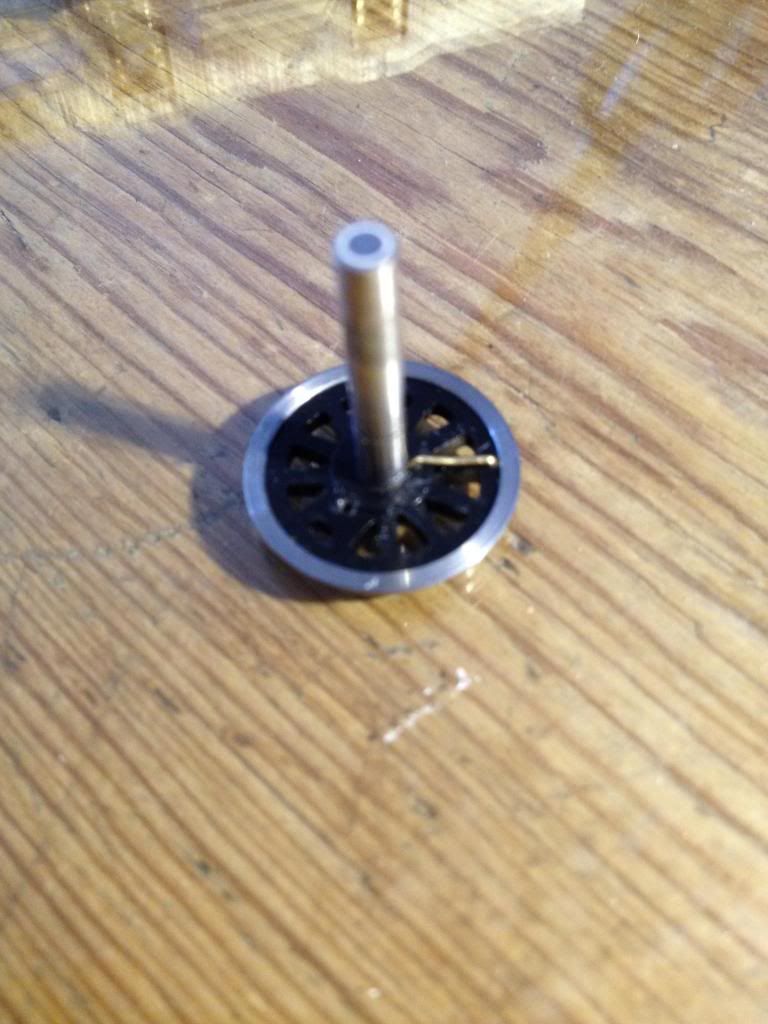
Wheels first. The 2mm ones are brass with steel tyres and include brass half axles. Just about all 4mm wheels are plastic centred. There are some brass wheels available from Alan Gibson but they require a lathe to finish. Therefore a method of connecting the wheels electrically with the axles are needed. Two main ways of doing this, there are etched strips which fit onto the axles and solder to the back of the tyre. The other option is to drill a hole against or in the back of the tyre and run a wire down to the axle, forcing it in the bore for the axle. I had intended to use etched shorting strips but they are out of stock from the EMGS, so impatience won out and brass wires were used.
The axles are from the EMGS. There are ways of making split axles without use of a lathe and I will have to do that for upcoming 2mm axles, but at £1.40 each it's worth just buying them. They are only available in 26mm lengths, so they need to be shortened a bit for EM. The axles are split about 1/3 of the way along, this allows the gearbox to be fitted without shorting everything. Three part axles are another way around that problem. I trimmed the long end of two axles for the non-driven wheels and both ends of the third axle. This was done so that the gearbox was not bridging the gap and so that the gap was still inside the frames.
An axle with a shorted wheel:
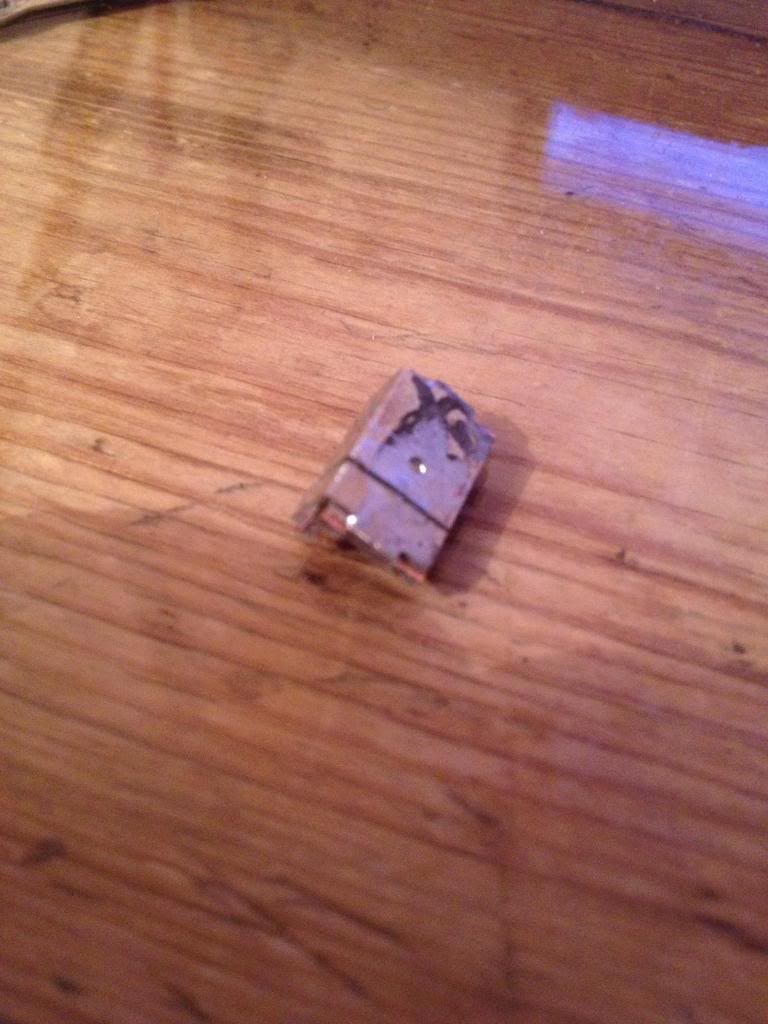
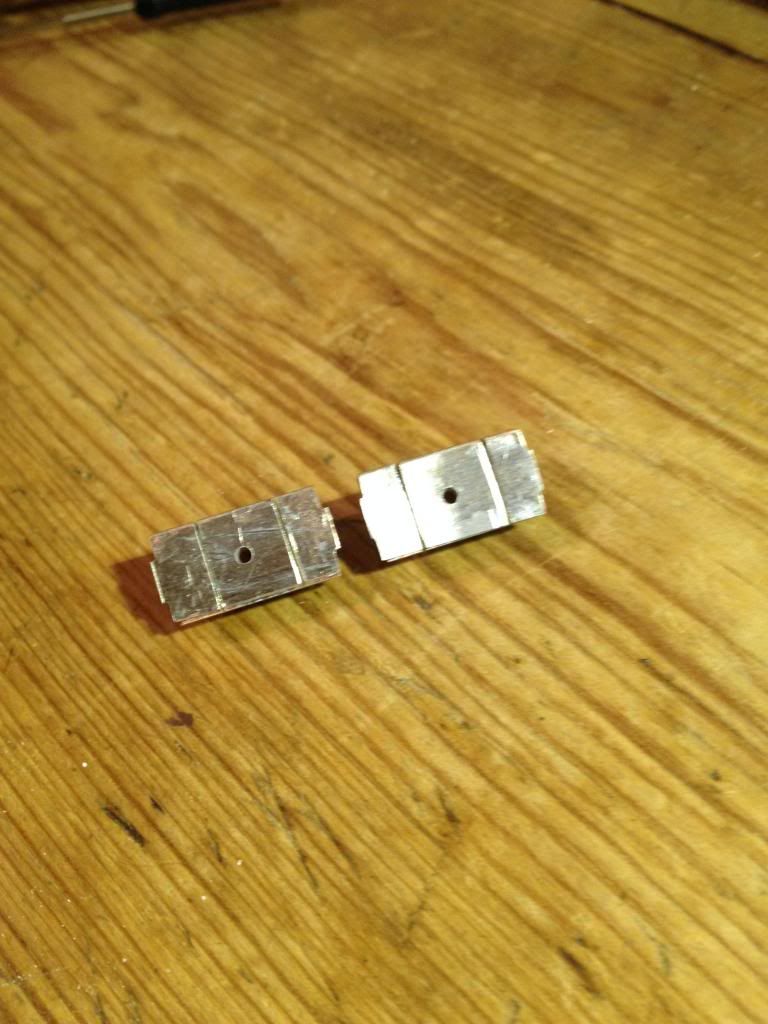
The chassis spacers are the next issue. There have been various methods discussed, double sided copperclad is the most commonly recommended. I didn't fancy cutting a sheet into strips so I looked for an alternative method. Using an unneeded OO spacer I did an experiment. For the spacer into an L, tin the inside, then fit single sided copperclad sleeper strips. Once this had cooled I used a piecing saw to cut through the nickel silver and copper while leaving the pcb as intact as possible. I used a multimeter to test the continuity and was then as physically abusive to it as I could be. It passed quite easily.
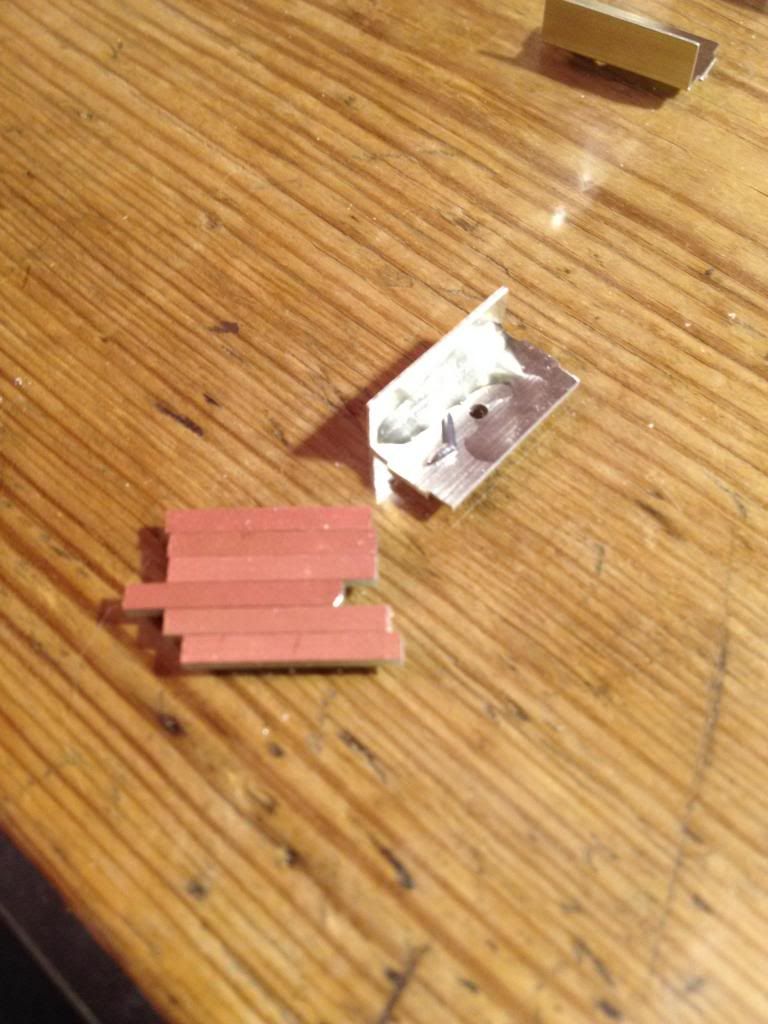
I had done a couple of dry fits with the frames, gearbox, and an AG axle and I realized that it would be much easier with the P4 spacers rather than the EM ones. This would give me just a little bit more room between the frames, just enough for a couple of insulating washers on the driven axle. So I took those two and fitted them with copperclad sleepers as before:
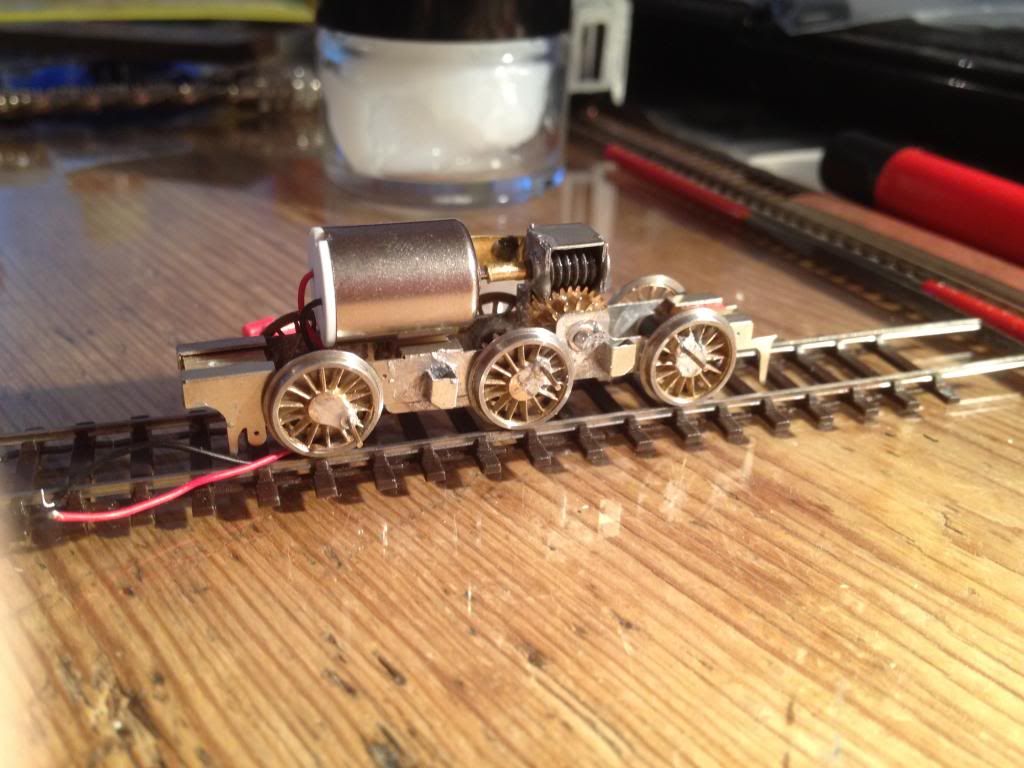
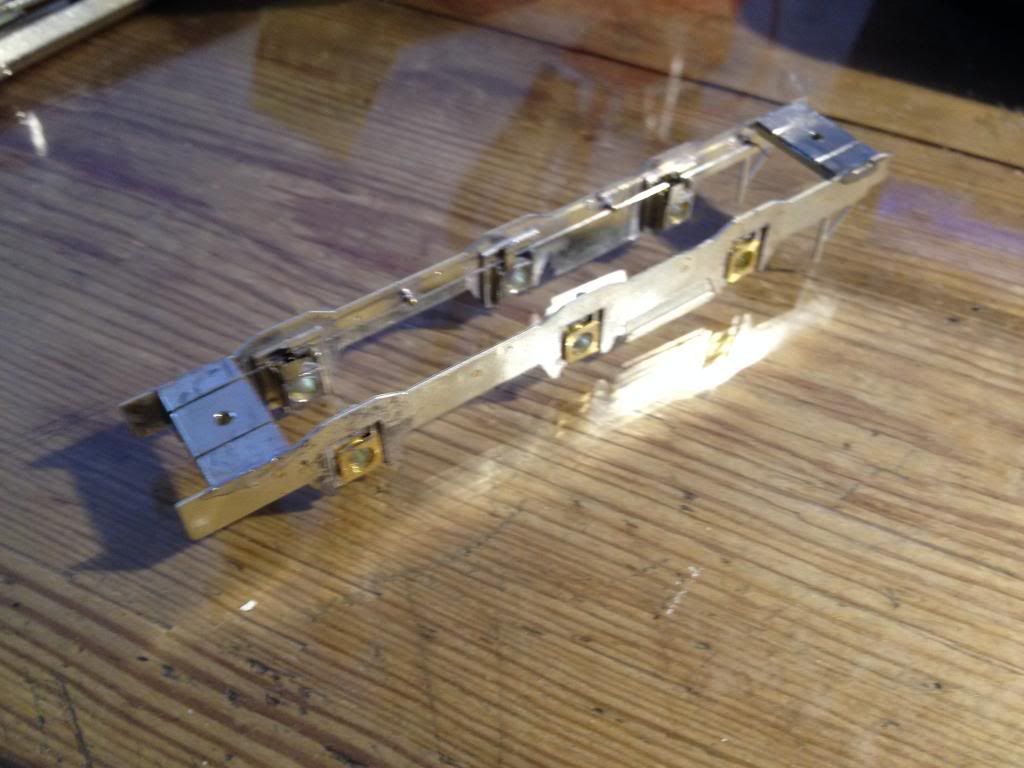
After that the frames went together quite quickly:
I have made more progress since then but really it goes under Part 3: Bodywork...
-
 3
3

3 Comments
Recommended Comments
Create an account or sign in to comment
You need to be a member in order to leave a comment
Create an account
Sign up for a new account in our community. It's easy!
Register a new accountSign in
Already have an account? Sign in here.
Sign In Now