

A show stopper or half baked - the Dapol Stove R?
.thumb.jpg.60c53fcbcaa34017b05b8919d1a9e6d2.jpg)
Entry posted by Silver Sidelines
7,278 views
I have been watching listings for the six wheel Stove R on that well known auction site. I have succumbed and ‘won’ one. From its name I imagined that it was perhaps a train heating van that the LMS had designed for use with the LMS twins.
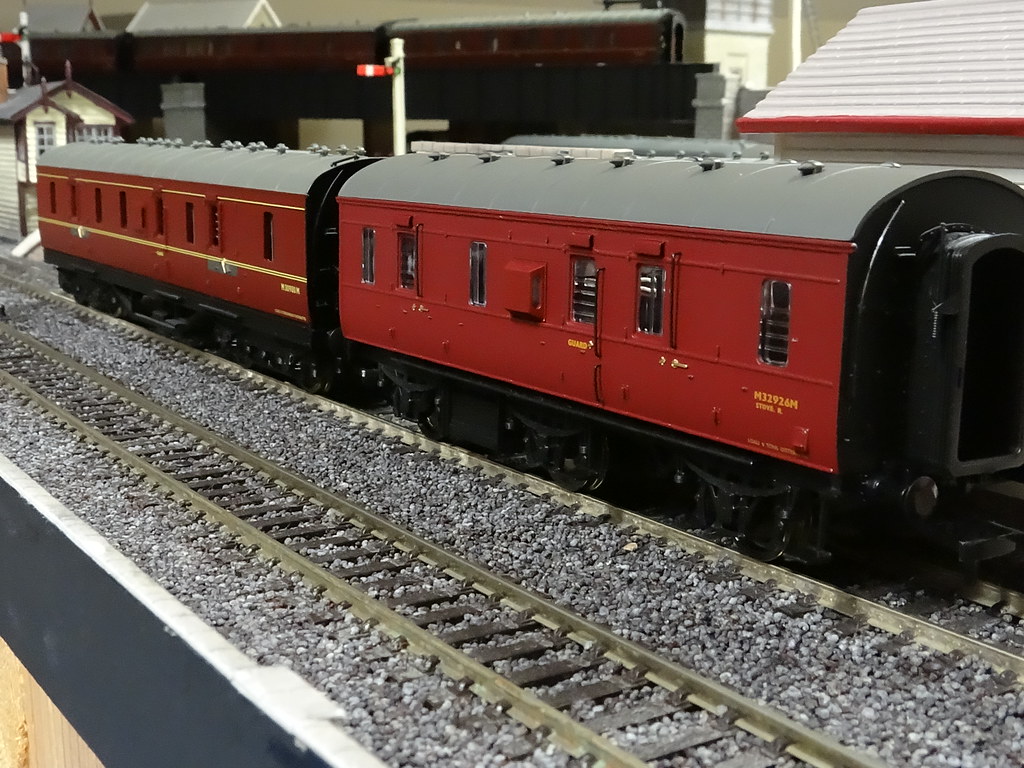
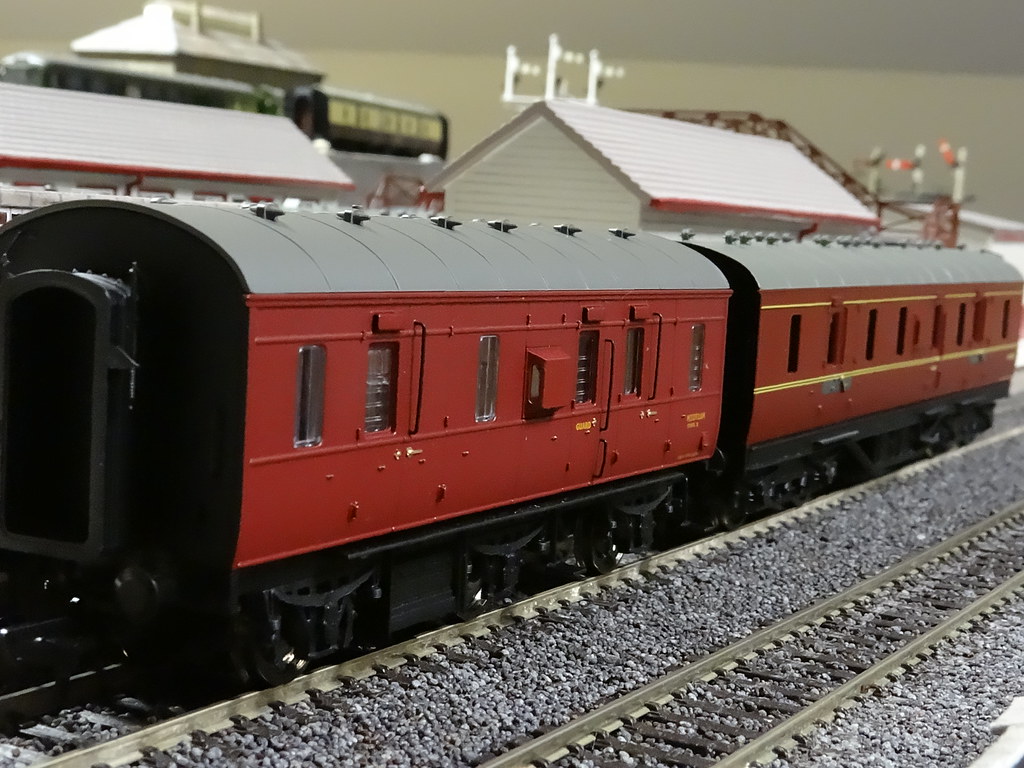
Dapol Stove R in company with Bachmann ex LMS BG
How wrong can you be! A check with Jenkinson and Essery shows that the Stove R was Sir William Stanier’s first design for a ‘Full Brake’. It was a Period III design and appeared in 1932/33. It was a six wheel vehicle– the precursor to the more familiar 50ft BG. The name ‘Stove R’ is because the vans were later fitted with a central stove to keep the guard warm – we can imagine.
The Dapol model dates from 2010/2011. It was commissioned by Ian Allan Publications and marketed in their periodical, the Hornby Magazine. There is a comprehensive thread on RMweb from the time detailing modellers’ expectations and listing various perceived shortcomings in the model – too many door hinges, too wide, wheels too small – the list seems endless. If I had read this thread earlier I might not have been so keen to purchase said van!
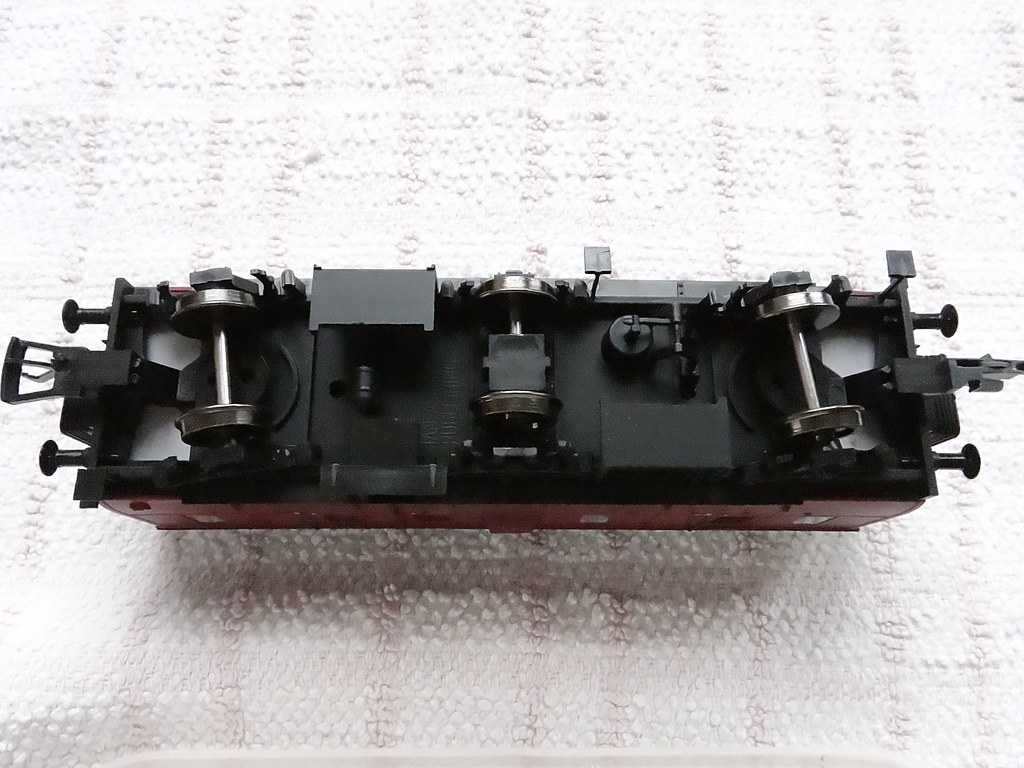
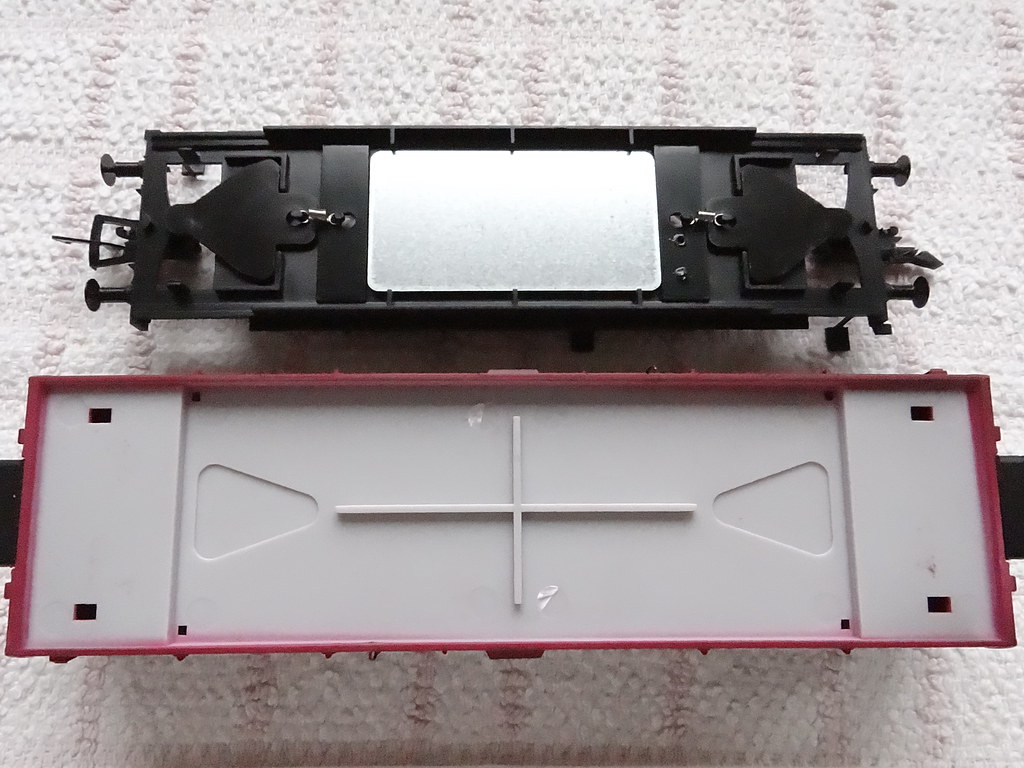
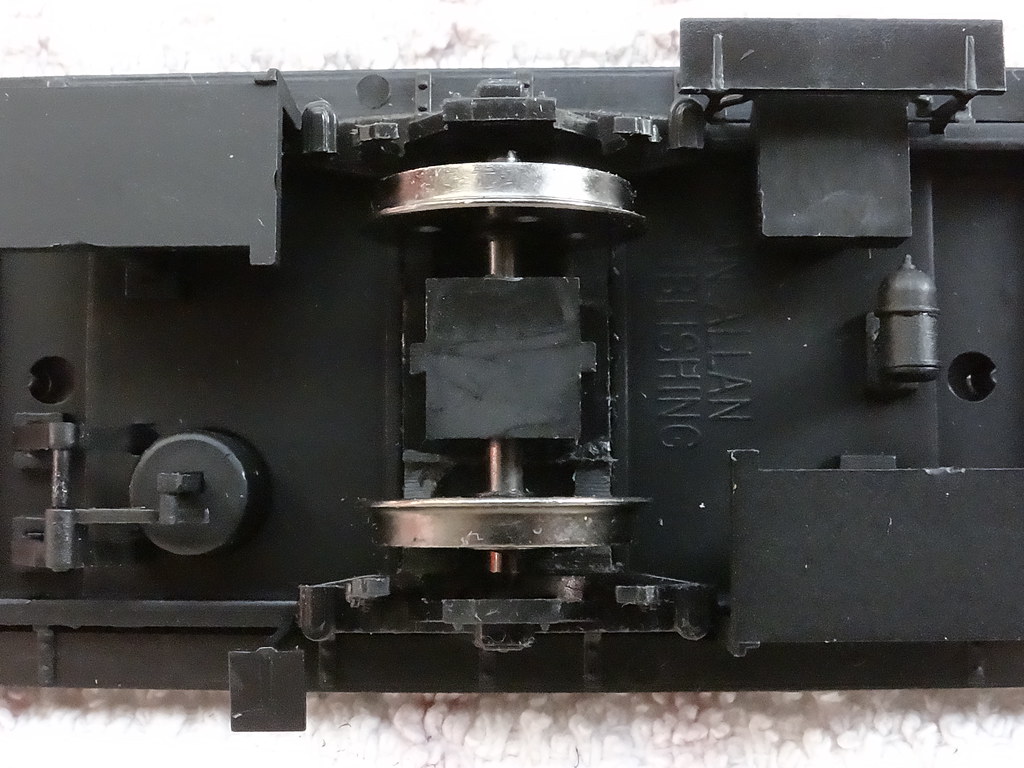
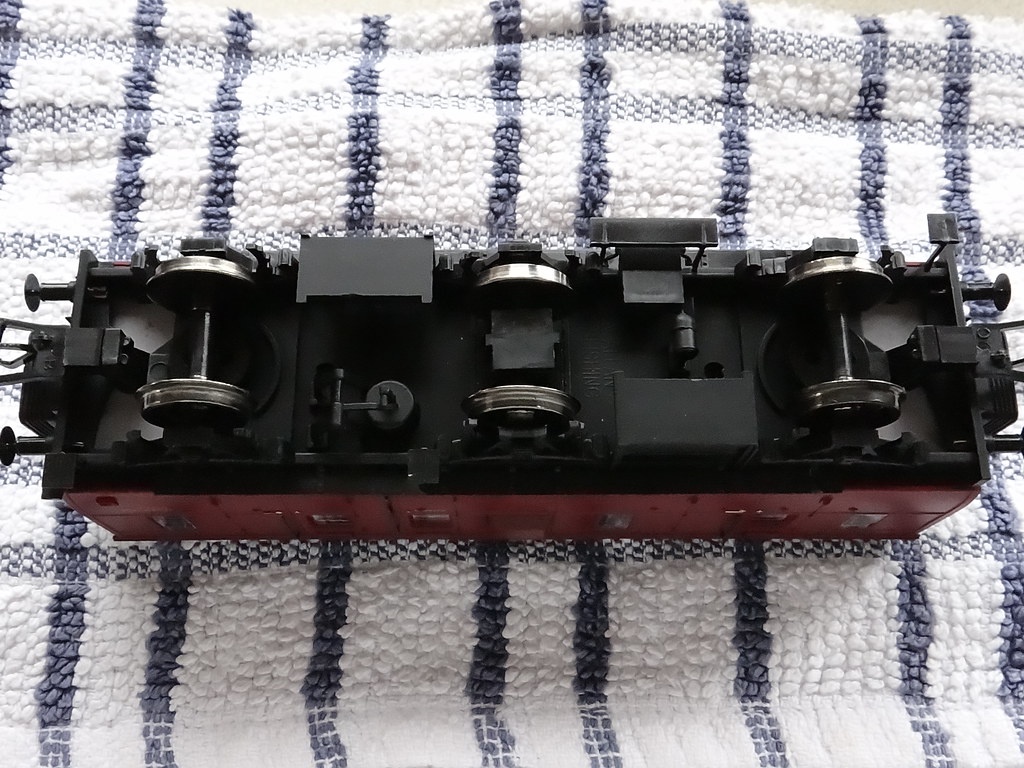
Dapol Stove R – underside as received
In my view the biggest problem with the van is that it doesn’t stay on the track. It is a six wheel van and Dapol provided pivoted axles at both ends with a centre axle that can slop around vertically (my words). There is no self centring mechanism provided. Once the pivoted wheels have turned into a corner they can stay stuck in that position and derail at the first opportunity – usually the next turnout.
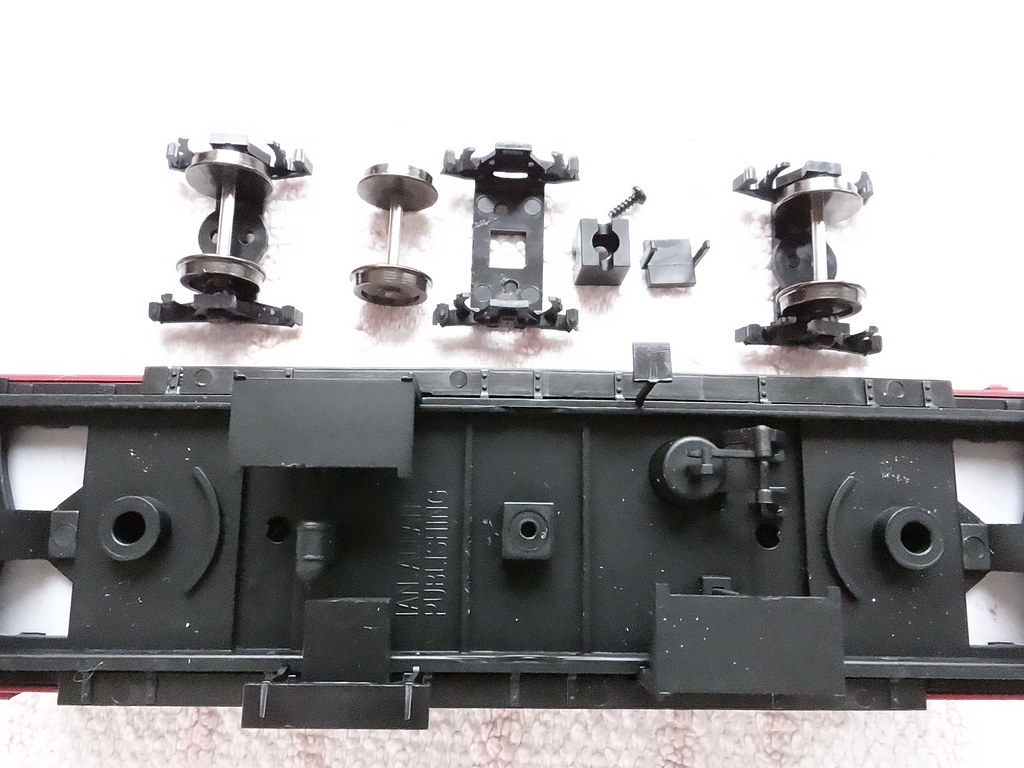
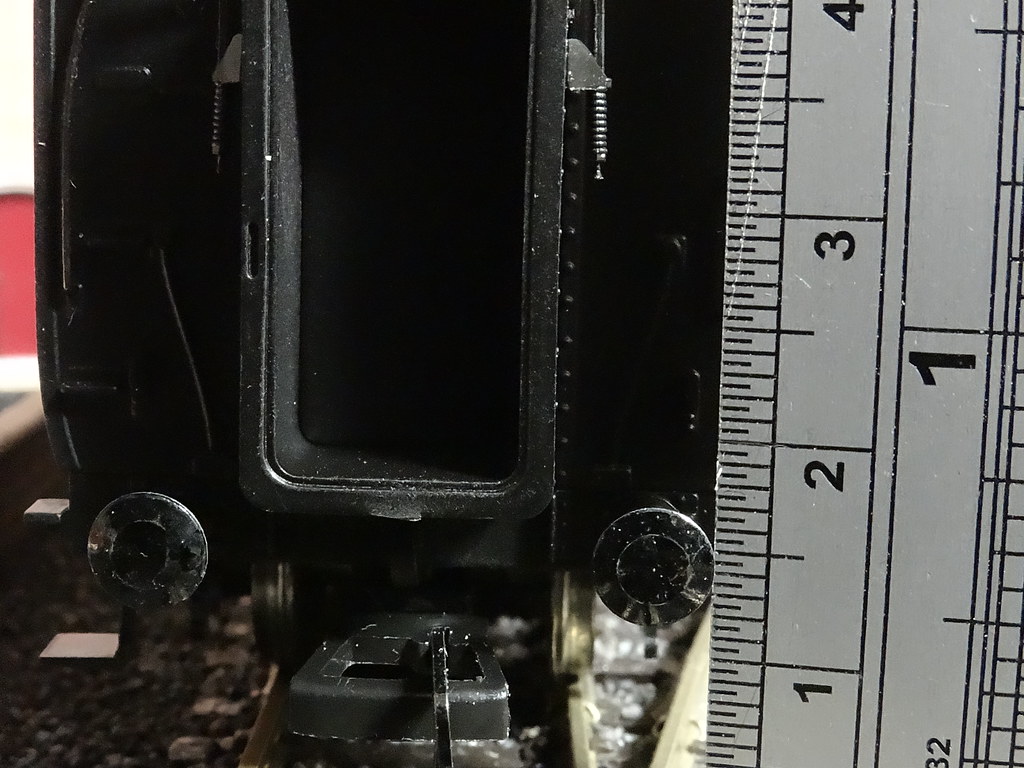
The outer axles pull off, there is a screw to remove first before removing the centre axle
The outer axles can be pulled straight off the underframe. The centre axle has a clip on cover which hides a set screw which has to be undone before this too can be lifted clear.
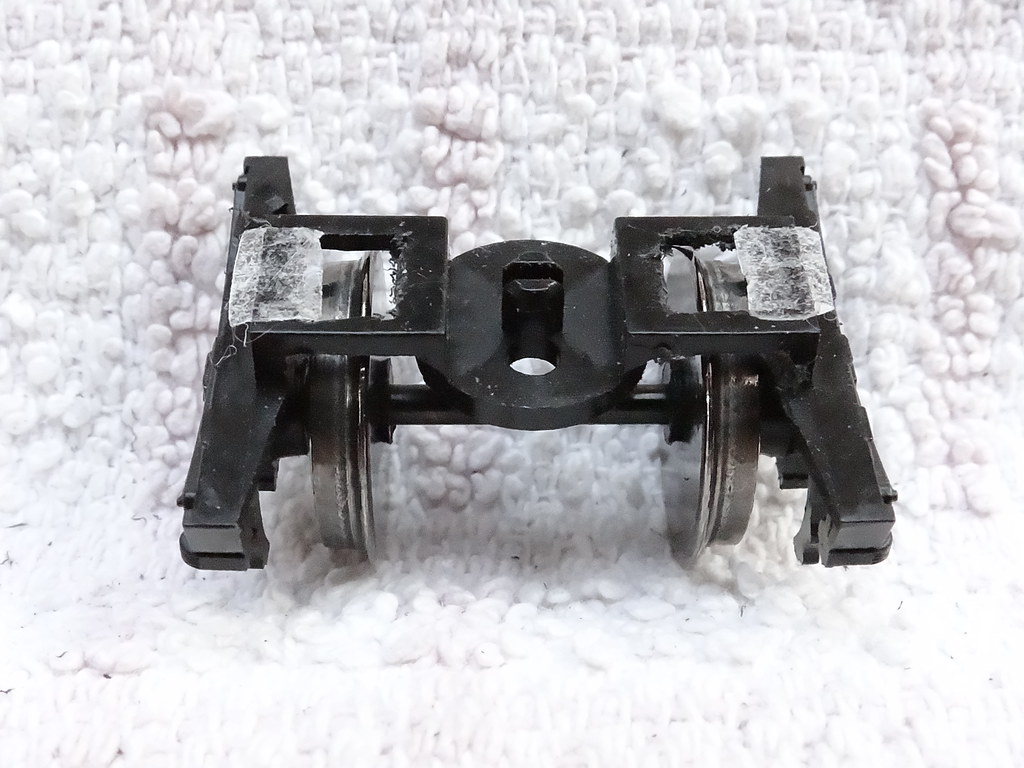
Use of double sided tape
A quick fix is to lock the pivoting axles in the ‘straight on’ position by using a couple of strips of double sided tape.
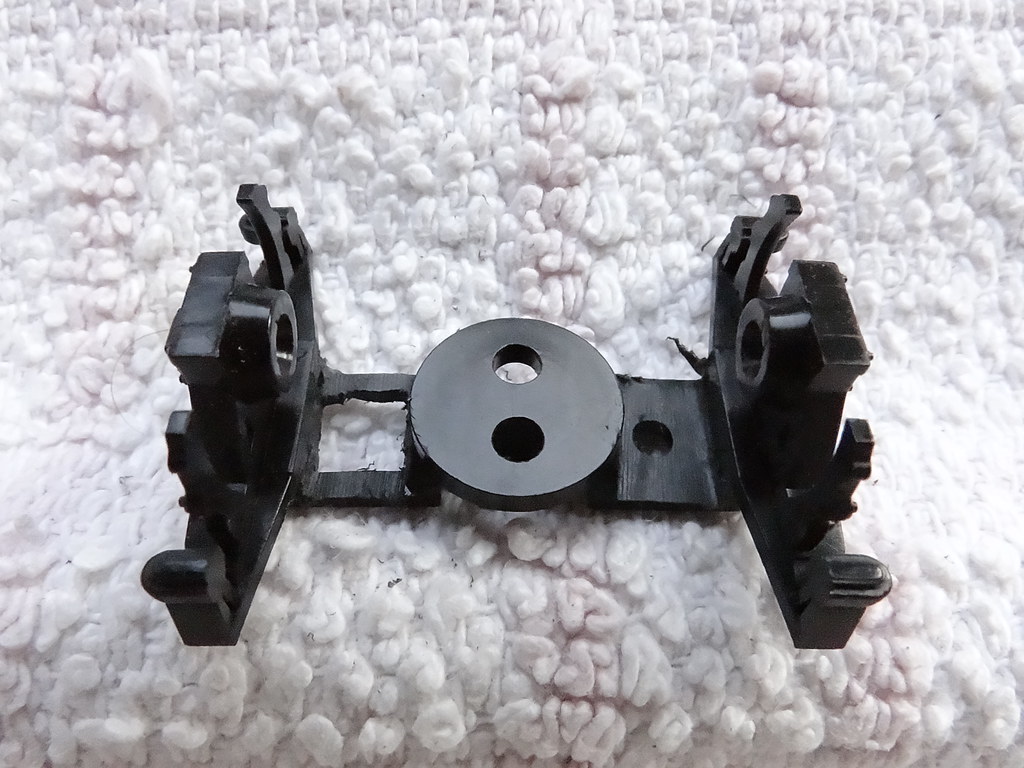
The top of the underframe showing the coupling mechanism
The second issue that I have with the van is the so called close coupling mechanism. Dapol have provided a pivoting coupling mechanism to prevent buffer locking on tight curves (I am guessing ‘train set curves’). In my opinion the mechanism does not however ‘close the gap’ on straight track.
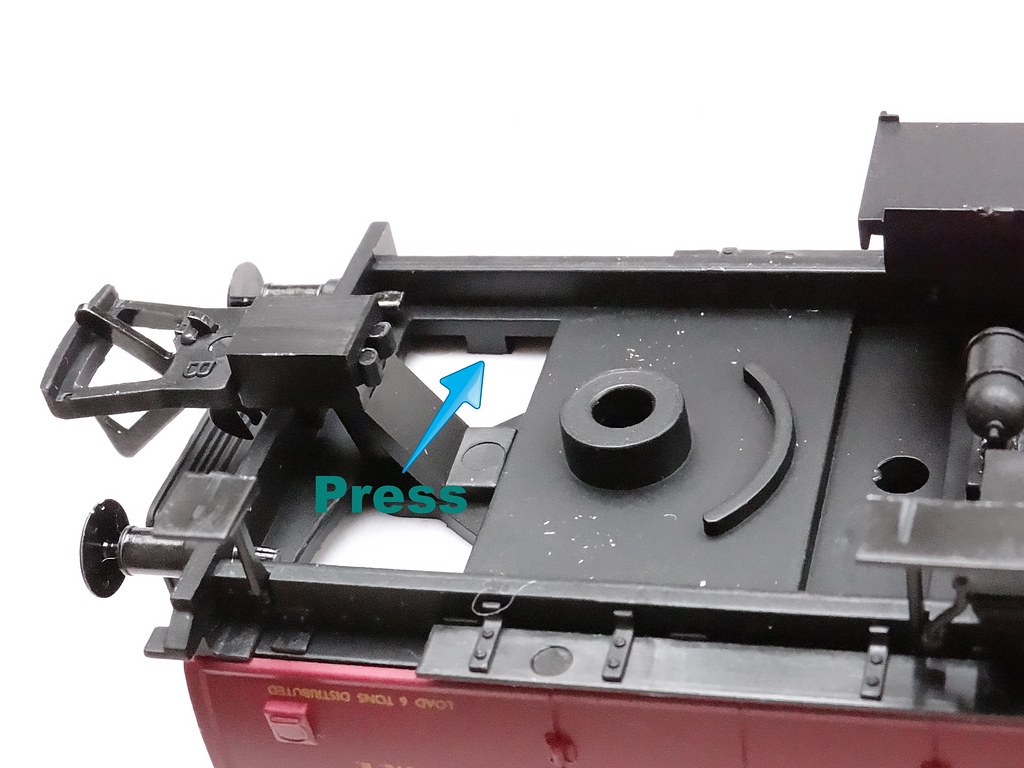
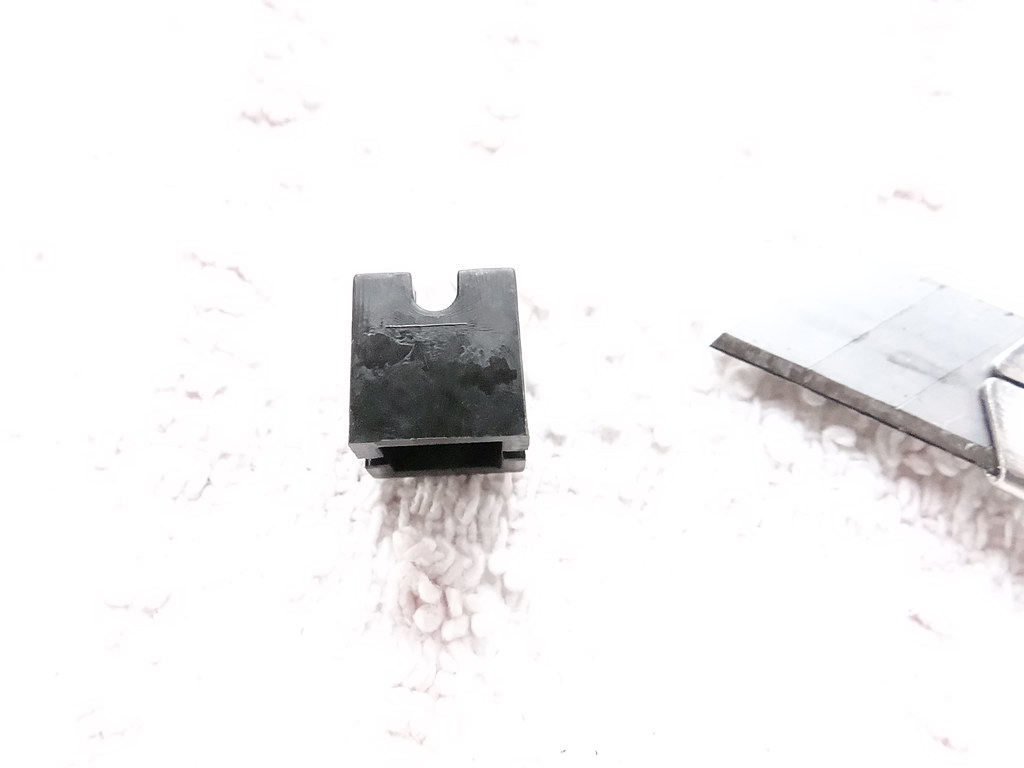
Press here to release the body from the chassis
To ‘get at’ the coupling mechanisms the van body needs to be separated from the chassis.
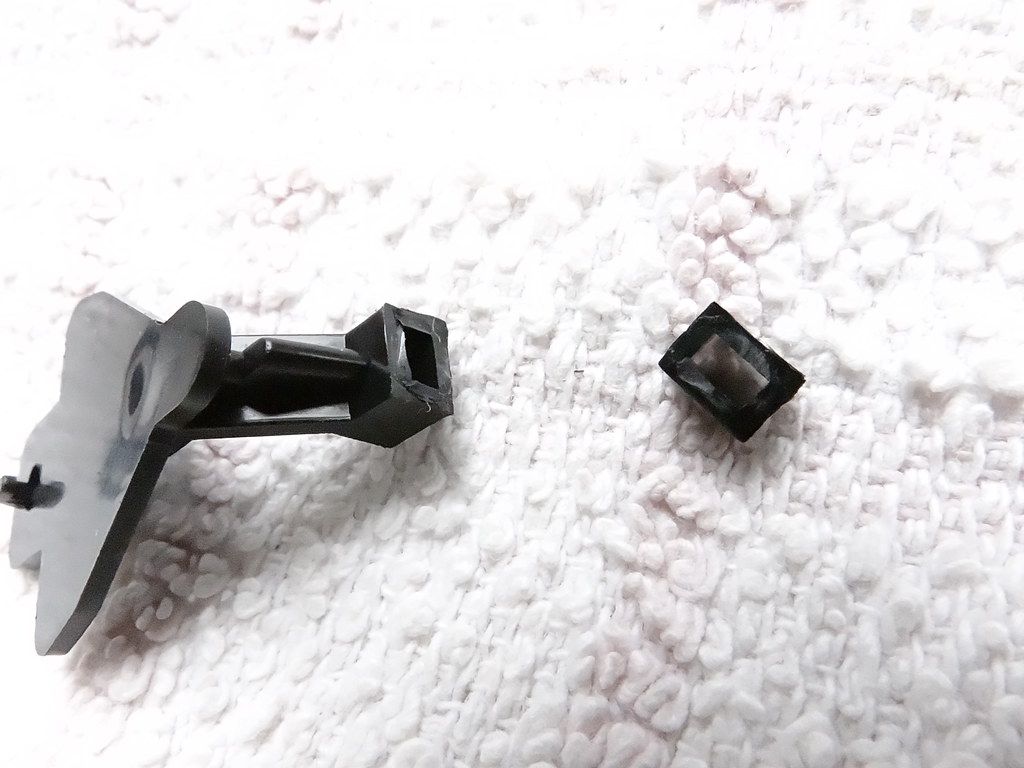
Remove a 2mm long section from the front of the coupling pocket
To bring the couplings inboard I used a snap off blade knife to remove a 2mm section from the front of the coupling pocket which I then refitted it at the rear of the pocket – holding it in place with the prongs of the coupling. If your knife slips and you do not end up with a 2mm section to clip behind the pocket you will need to revert to Plan B and cut a new section off a spare pocket as supplied by Bachmann with their straight couplings.
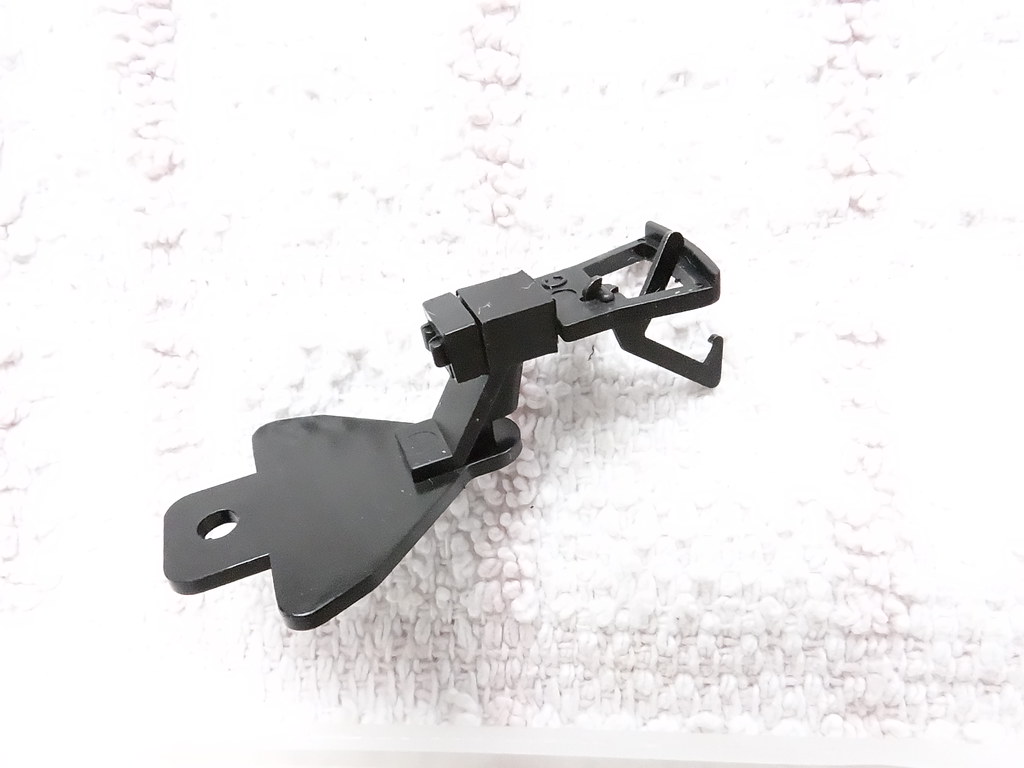
Couplings moved ‘inboard’ by 2mm
So far so good! What about the 12mm wheels? Like other modellers I was not happy with the 12mm diameter wheels as supplied and I would fit 14mm size. This requires quite a lot of cutting and filing and in my opinion shouldn’t be necessary for such an expensive little van.
Mark the centre axle carrier before filing / cutting slot deeper
I scribed a line on the centre axle support as a guide to providing more ‘travel’ for the centre floating axle.

Drill and form a rectangle with a craft knife
In order to fit 14mm wheels it is necessary to cut away some of the supporting structure for the axle guards. I started by drilling a hole and then using a craft knife to form the necessary rectangular slot. These pictures show just how little of the original material is left.
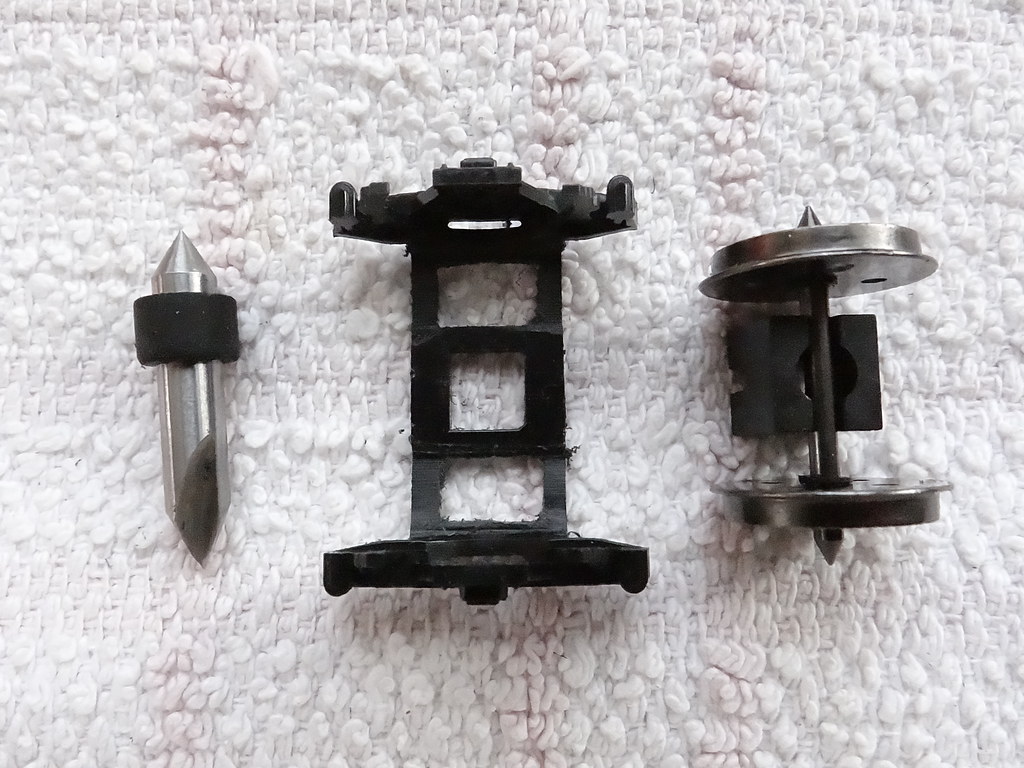
The finished centre axle guards, I used a ‘truck tuner’ to form recesses for a standard 26mm pinpoint axle
As supplied by Dapol the centre 12mm wheel set does not have extended axles and relies entirely for support on the centre pillar. I could see no point in cutting the ends off a standard wheel set and instead formed pockets in the plastic axle guards with a ‘truck tuner’. I used a craft knife to elongate these holes to allow some vertical movement.
The centre wheel set – complete with 14mm diameter wheels
I used a similar procedure for the outer pivoted axles.
Outer axle guards – one side complete, the other drilled and ready to be cut out
My plan was to use Hornby 14.1mm wheels – but would these make the ride height too high?

Stove R on Hornby 14.1mm wheels with Bachmann Mk1 Suburban
In my opinion the Stove R with Hornby 14.1mm wheels was too high. Did I have any other more suitable wheels?
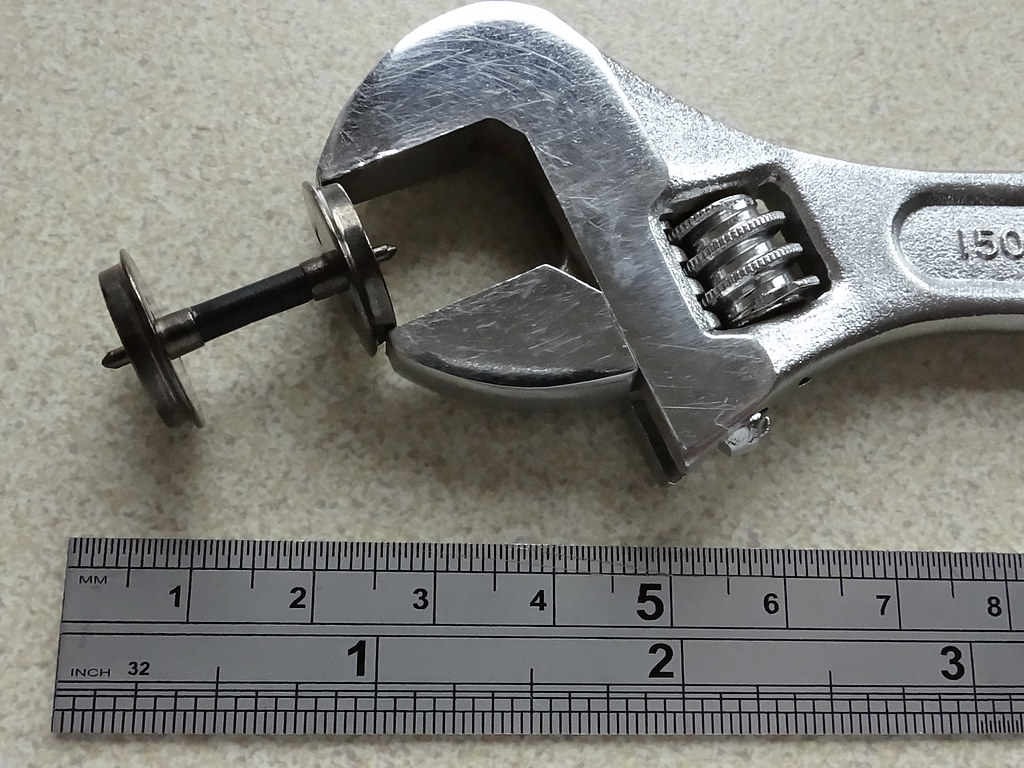
Poor man’s callipers
I don’t possess any engineering callipers – instead I would use an adjustable wrench and a steel rule to measure across the jaws to check different wheel diameters. Yes, the Hornby wheels were 14.1mm as stated. My Jackson turned brass wheels measured 14mm diameter. Bachmann coach wheels measured somewhere between 13.8 and 13.9mm. My Bachmann wheels on a steel axle did not run very freely – maybe the angle on the point was too steep. Instead I used some old split axle sets which have a very narrow pinpoint bearing.
As currently running with Bachmann ‘14mm’ split axles at either end and a Bachmann steel axle at the centre
The view above shows the current favoured arrangement with split axles at the outer ends and a steel axle in the centre pillar. A word of warning - the underframe detail is all very delicate!
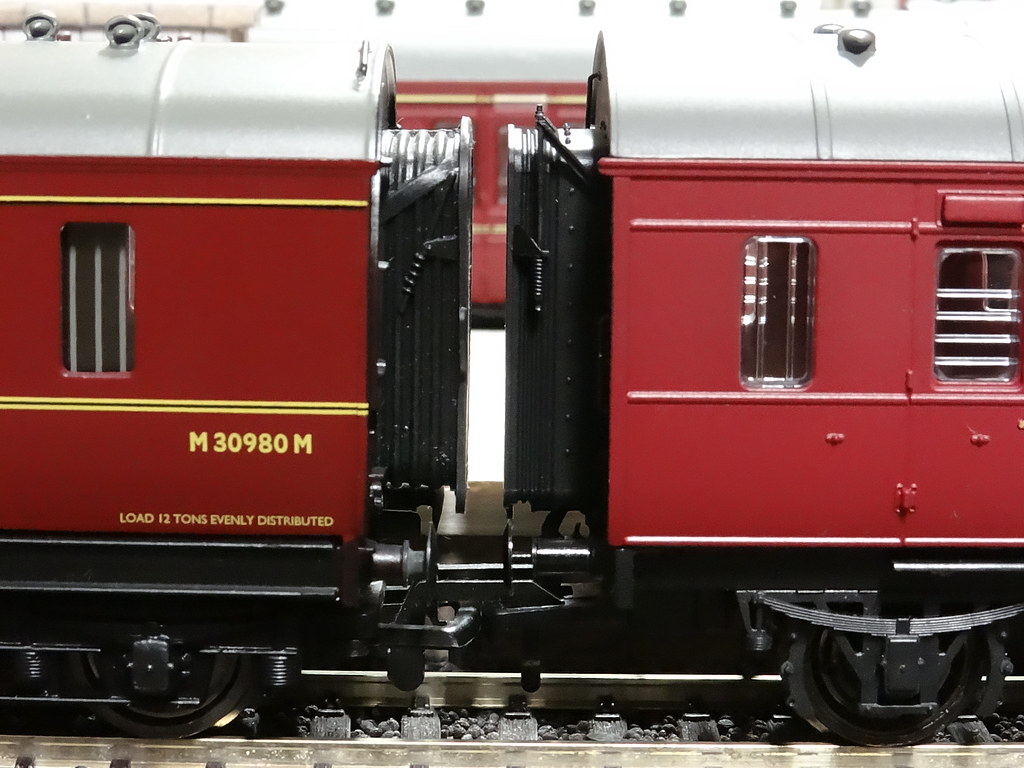
Stove R on Bachmann 14mm Split Axle wheels with Bachmann ex LMS BG
I have attached some views of the Stove R fitted with the Bachmann ‘14mm’ split axle wheels coupled to various coaches.
Stove R on Bachmann 14mm Split Axle wheels with Hornby Super Detail Stanier
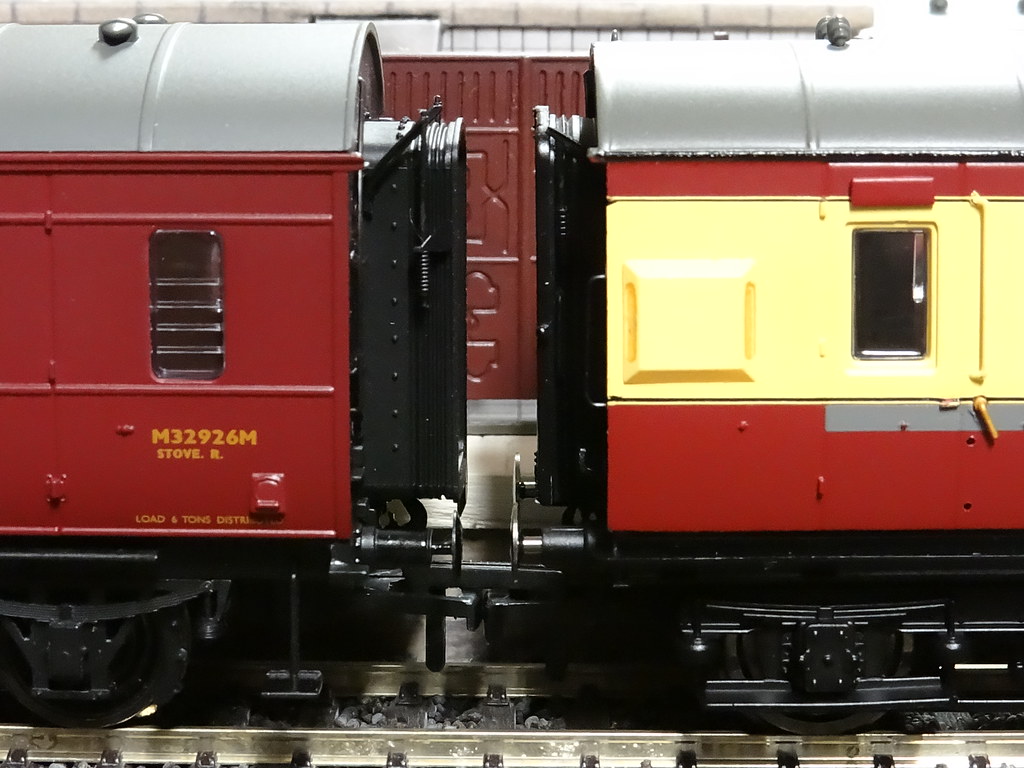
The biggest height discrepancy comes when the Stove R is coupled to a rake of Bachmann Mk1 Suburbans – who would know which was correct?

Stove R on Bachmann 14mm Split Axle wheels with Bachmann Mk1 Suburbans
Revisiting Jenkinson and Essery gives a prototype height, top of rail to top of roof, of 12ft 4 ¾ inches or 49.6mm in 4mm scale. A rough check of my rewheeled model indicates a height of 50.6mm – an increase of 1mm equivalent to three inches on the prototype. Luckily very few Bachmann or Hornby models can be relied on to be exactly the correct height –so the Stove R is in good company and you just need to be selective as to which wagons and coaches it is coupled up to!
I am pleased with the final result – well perhaps not final as I still have to sort out the brake shoes. Like so many models from past years the brake shoes are moulded next to the axle guards rather than being placed in line with the wheels. It is a minor discrepancy but one that is proving difficult to correct. Watch this space!
Parting shot – Dapol Stove R with Bachmann ex LMS BG
Addendum 31 July 2015
Buffer height above top of rail - Bachmann 14mm S/A wheels
I have added a picture attempting to show the height of the buffer relative to top of rail. According to the comment below from John Tomlinson it should be a touch under 14mm. I shall let you judge - the camera had to be positioned at a slight angle looking down.
-
 8
8

9 Comments
Recommended Comments
Create an account or sign in to comment
You need to be a member in order to leave a comment
Create an account
Sign up for a new account in our community. It's easy!
Register a new accountSign in
Already have an account? Sign in here.
Sign In Now