
Laser-cut Signal Box Kit (by LCUT)

Entry posted by Miserable
345 views
In the six years or so I was going manic on the music front a lot changed in model railways, the arrival of laser cut MDF/carboard kits being one of them. Confusingly all the makers have very similar names, but after a lot of time on the web trying to work out the pros and cons it was decision time and I opted for LCUT's B 70-13L O Gauge Small Signal Box - with left hand stairs. I did consider kit-bashing the laser cut model of Pewsey signal box into a replica of my old box, or it would have been delightful to have the model of Exeter Middle Box which is, to say the least, impressive - but both would be way too big for Soddigham. Though not specifically GWR (or BR(W)) the LCUT kit is sufficiently GWRish (the key architectural features match my old box very well) for my purposes and as it represents a box with a 20 to 30 lever frame it's probably about right for the layout.

Above : This is what you get.
The instructions, which you should read before starting not least as you can do bits in parallel while glue dries if you choose, are good, tough the chimney being shown upside down is a little perplexing. Not having built this sort of kit before it was nice to find that all the dimensions are bob-on, the interleaving of the bricks on the corners for example works perfectly and overlays match exactly. A definite improvement on the Superquick kits I built back in the day.
LCUT recommend PVA glue, but I went with Evostick Timebond because; this gives you plenty of time to prepare bits and you can move them for some time after placement if you need to; it 'holds' parts together straight away (they don't slide down over time etc); you don't need more than the thinnest smear (so no glue squeezing out of joints or dribbling); and it sticks very well. The disadvantage is the glue 'stringing', but you get used to it.
So, step 1 : Window frame overlays...
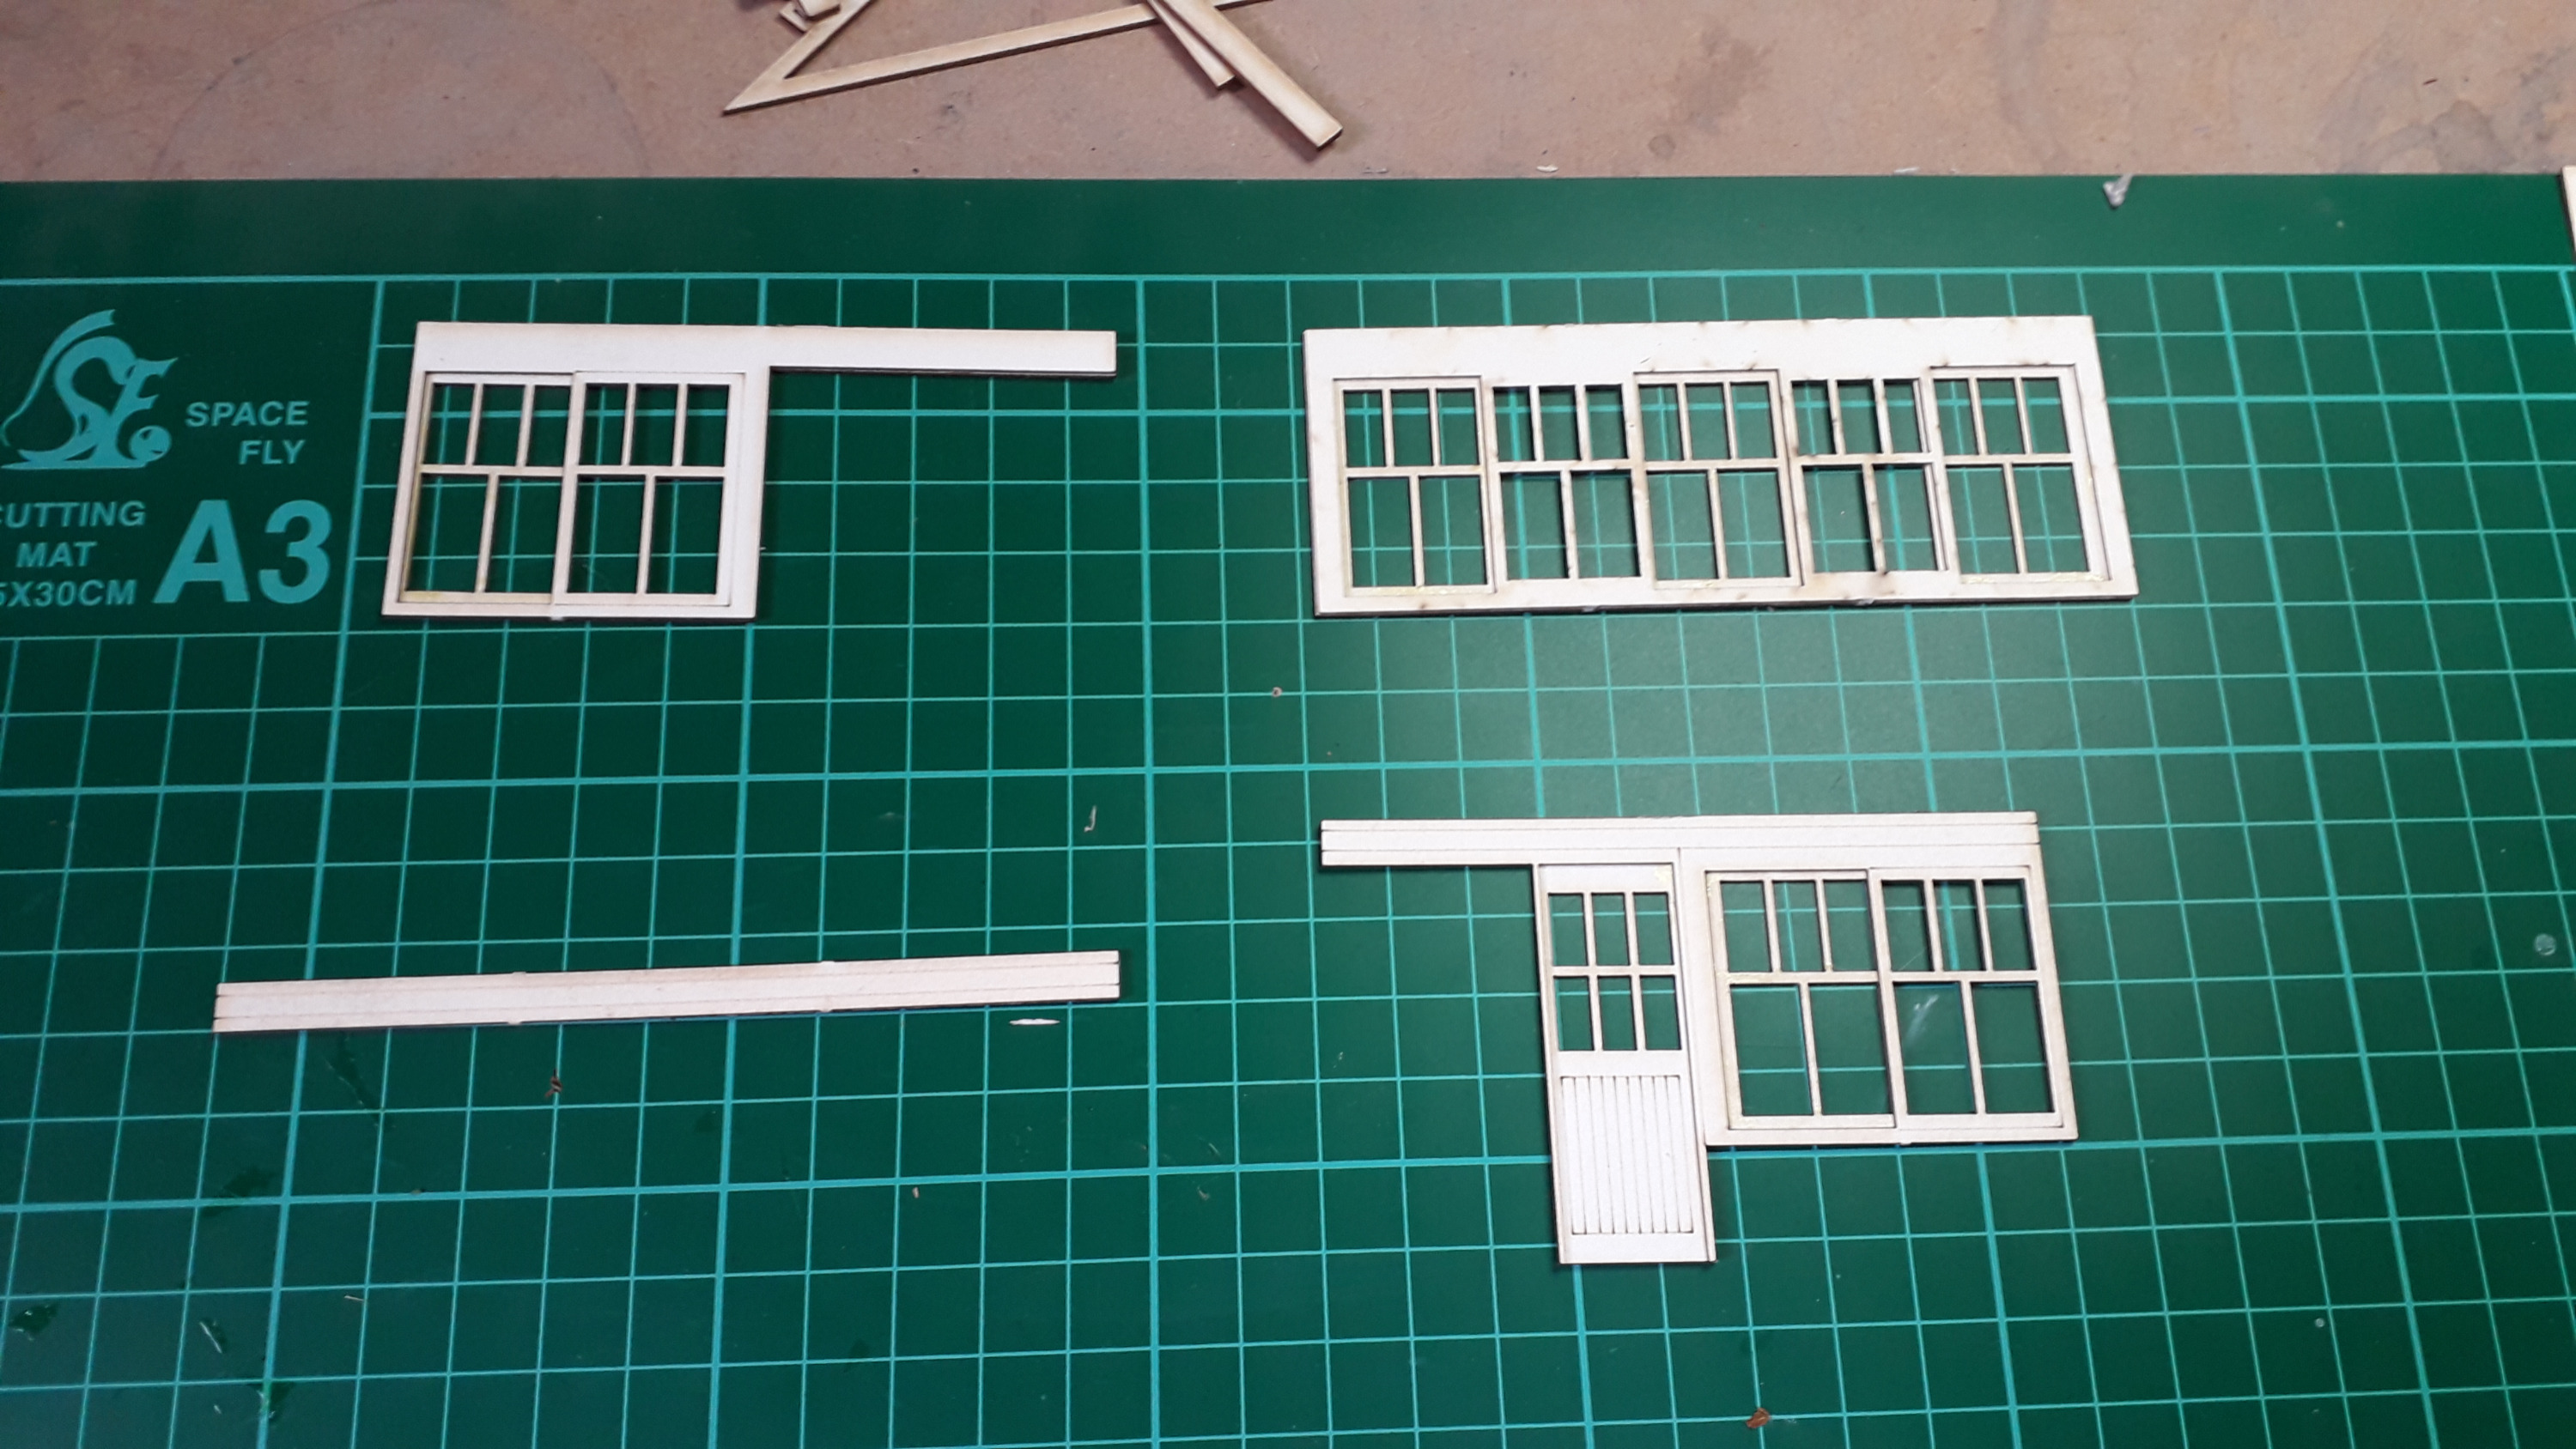
All fitted perfectly. Put aside to go off (takes about 15 minutes), I got on with the front lower windows.

And frame-room door

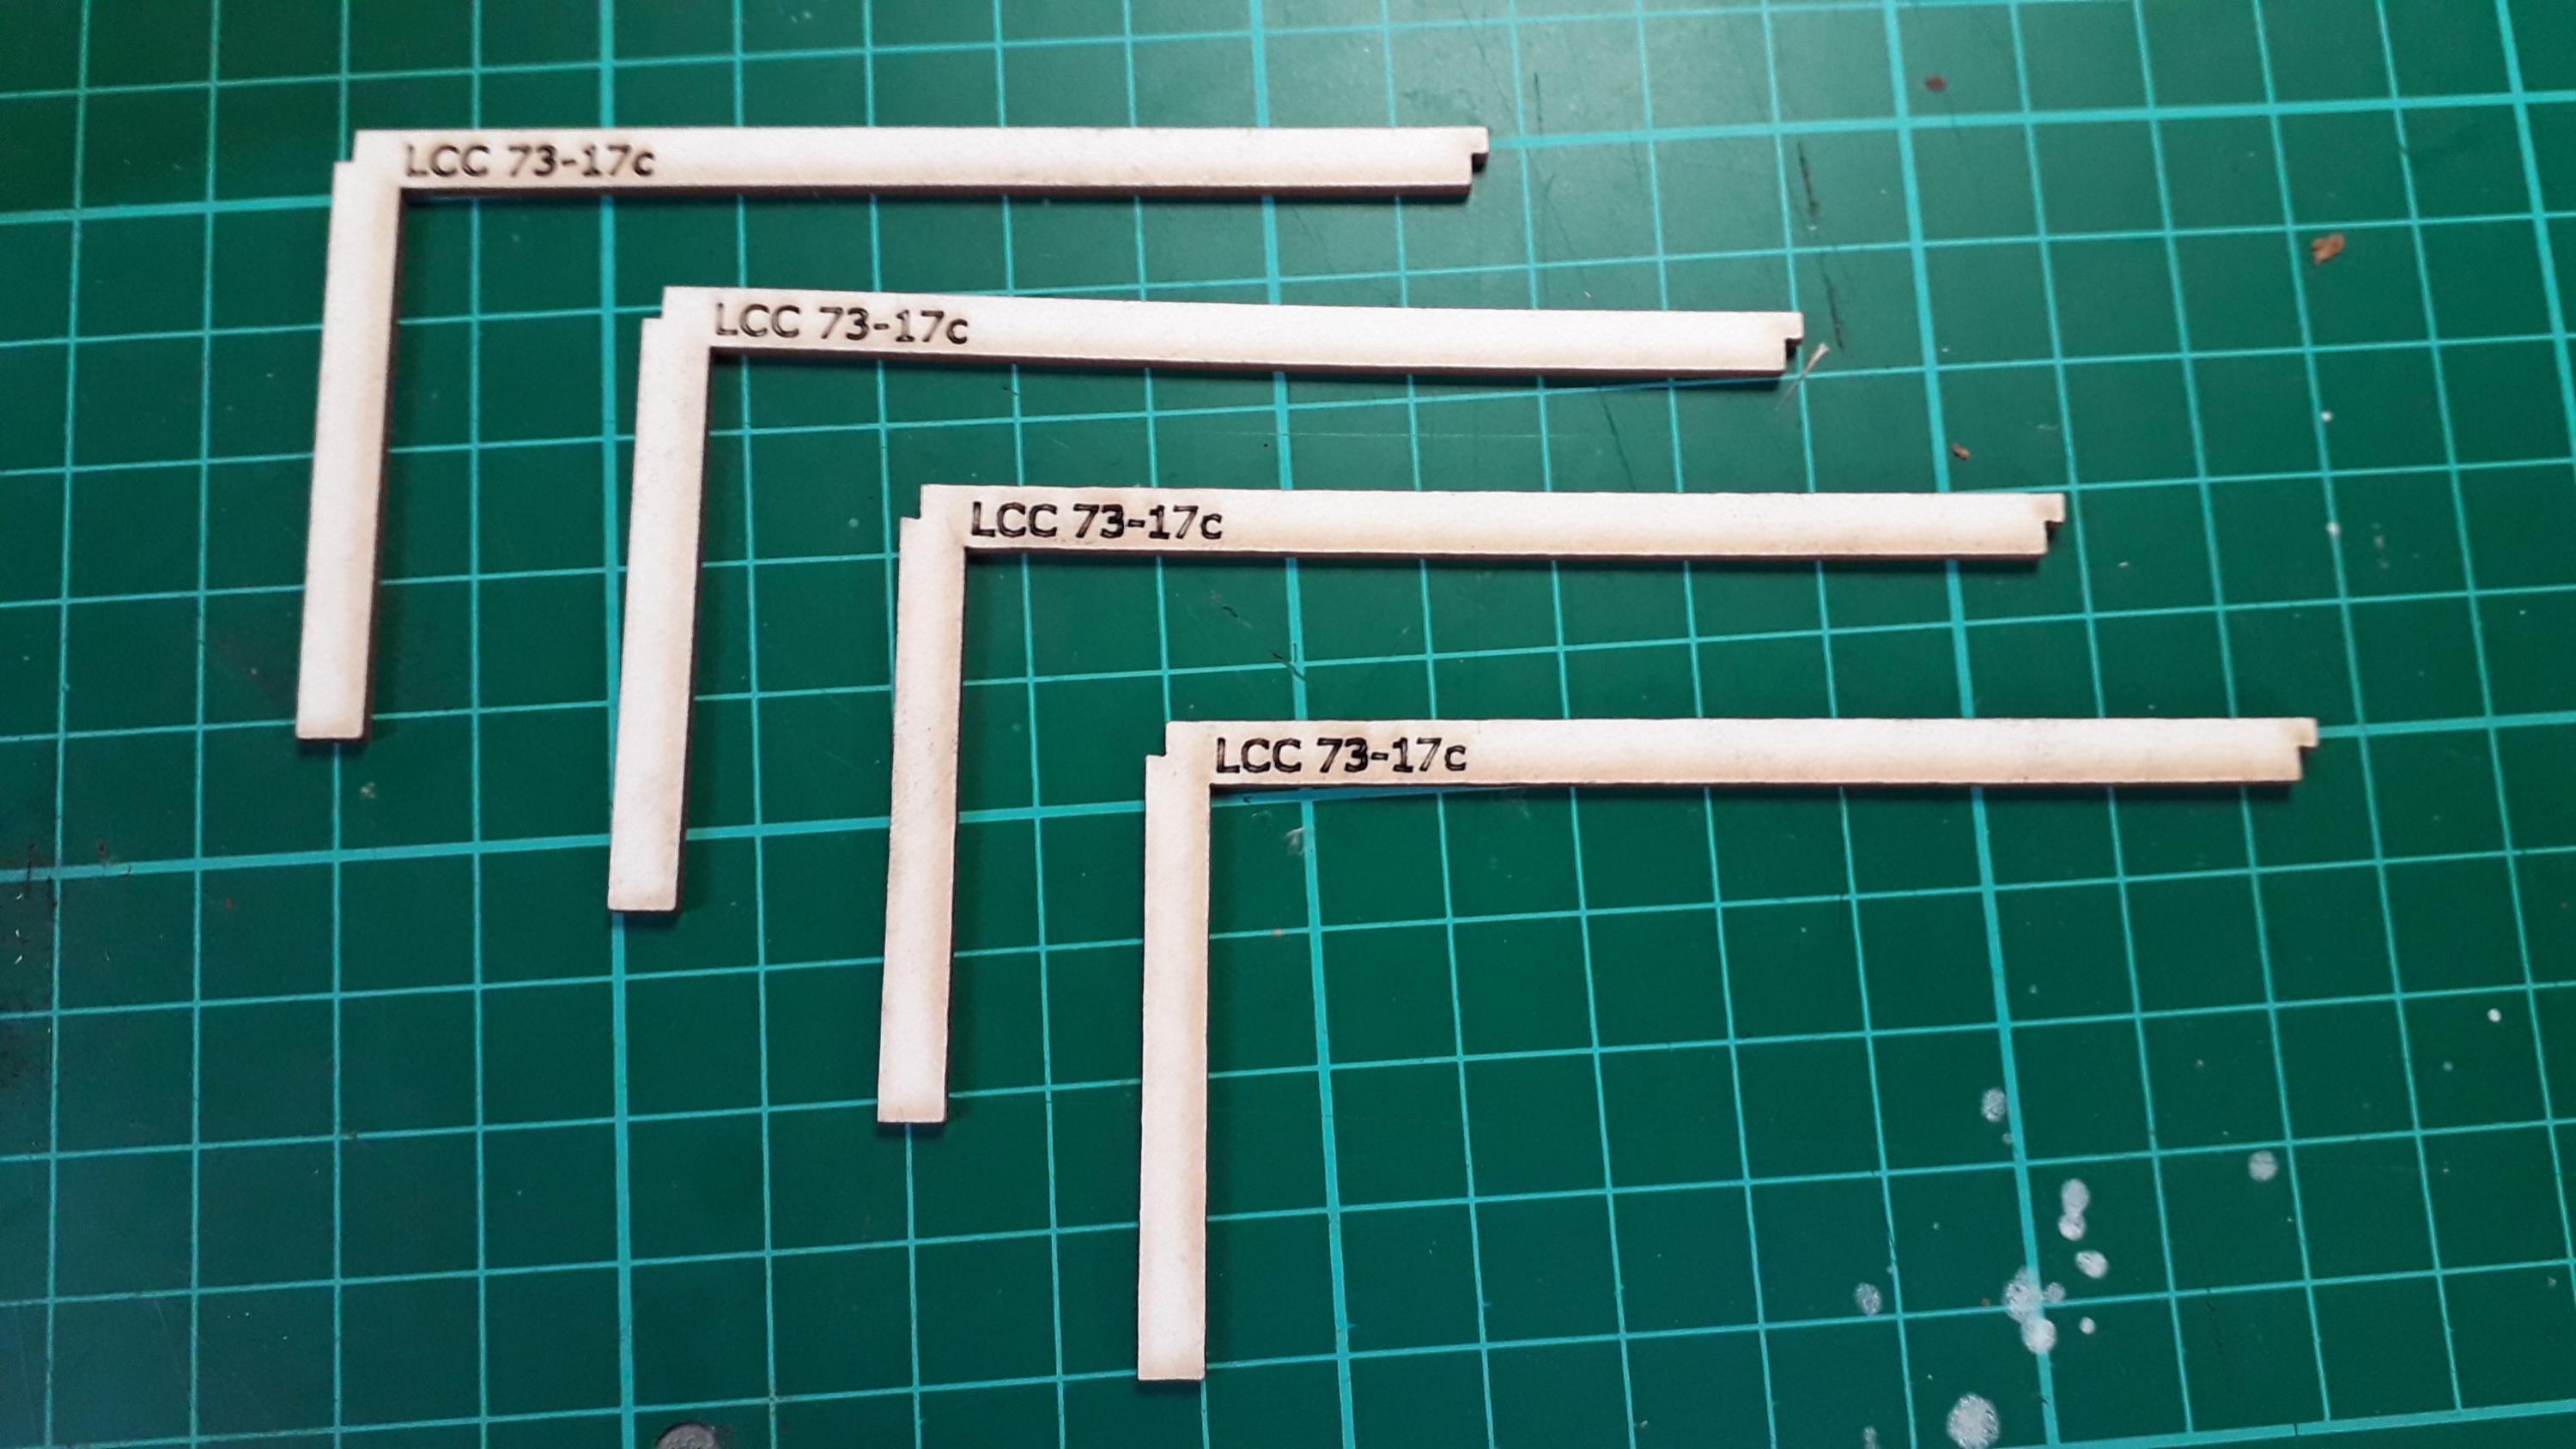
I should have cut the part number tags off before doing these, but it doesn't actually matter. The board/card is easy enough to cut with a sharp knife. A blunt knife just tears it though.
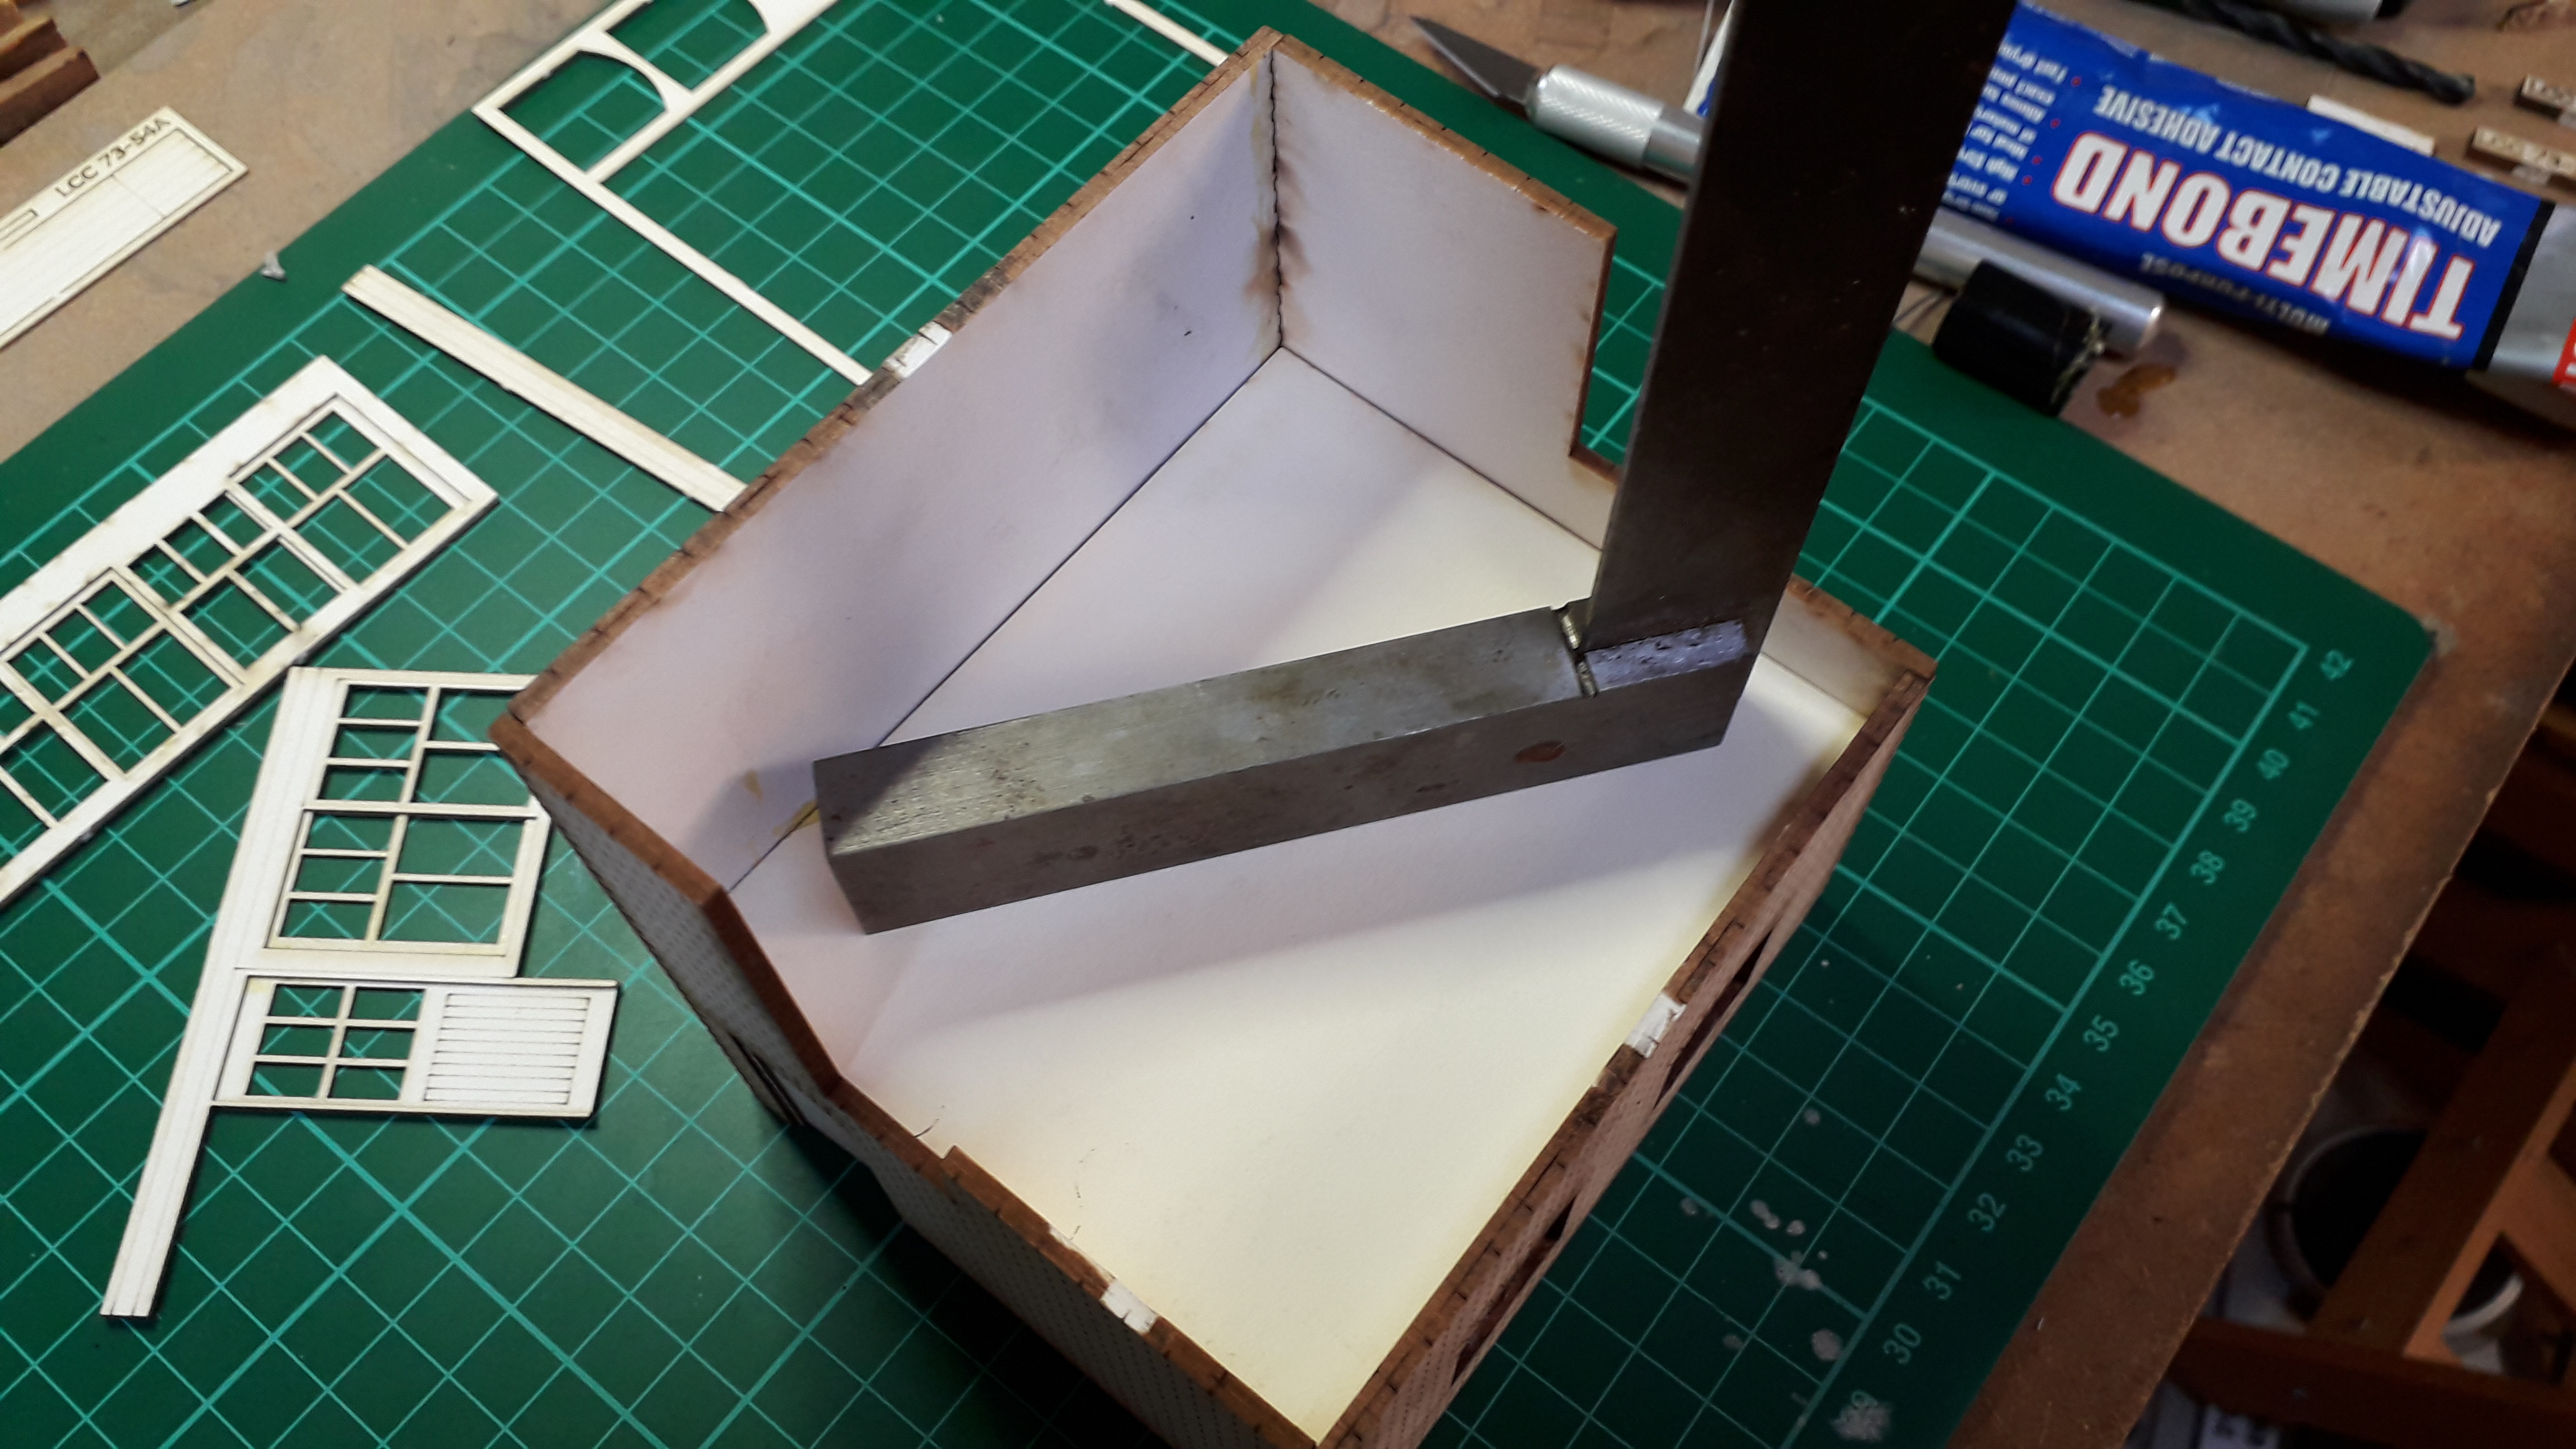
After a couple of minutes the brick base can be assembled

Keen to get the first corner at 90' I employed my old faithful engineers square. It's accurate and dammed heavy. The pot of glue makes sure nothing moves - I still vaguely don't trust MDF to warp.
Will all four walls glued, a frame is made to go inside to support the floor. Unfortunately they had supplied four of the shorter (side) parts rather than two short and two long.
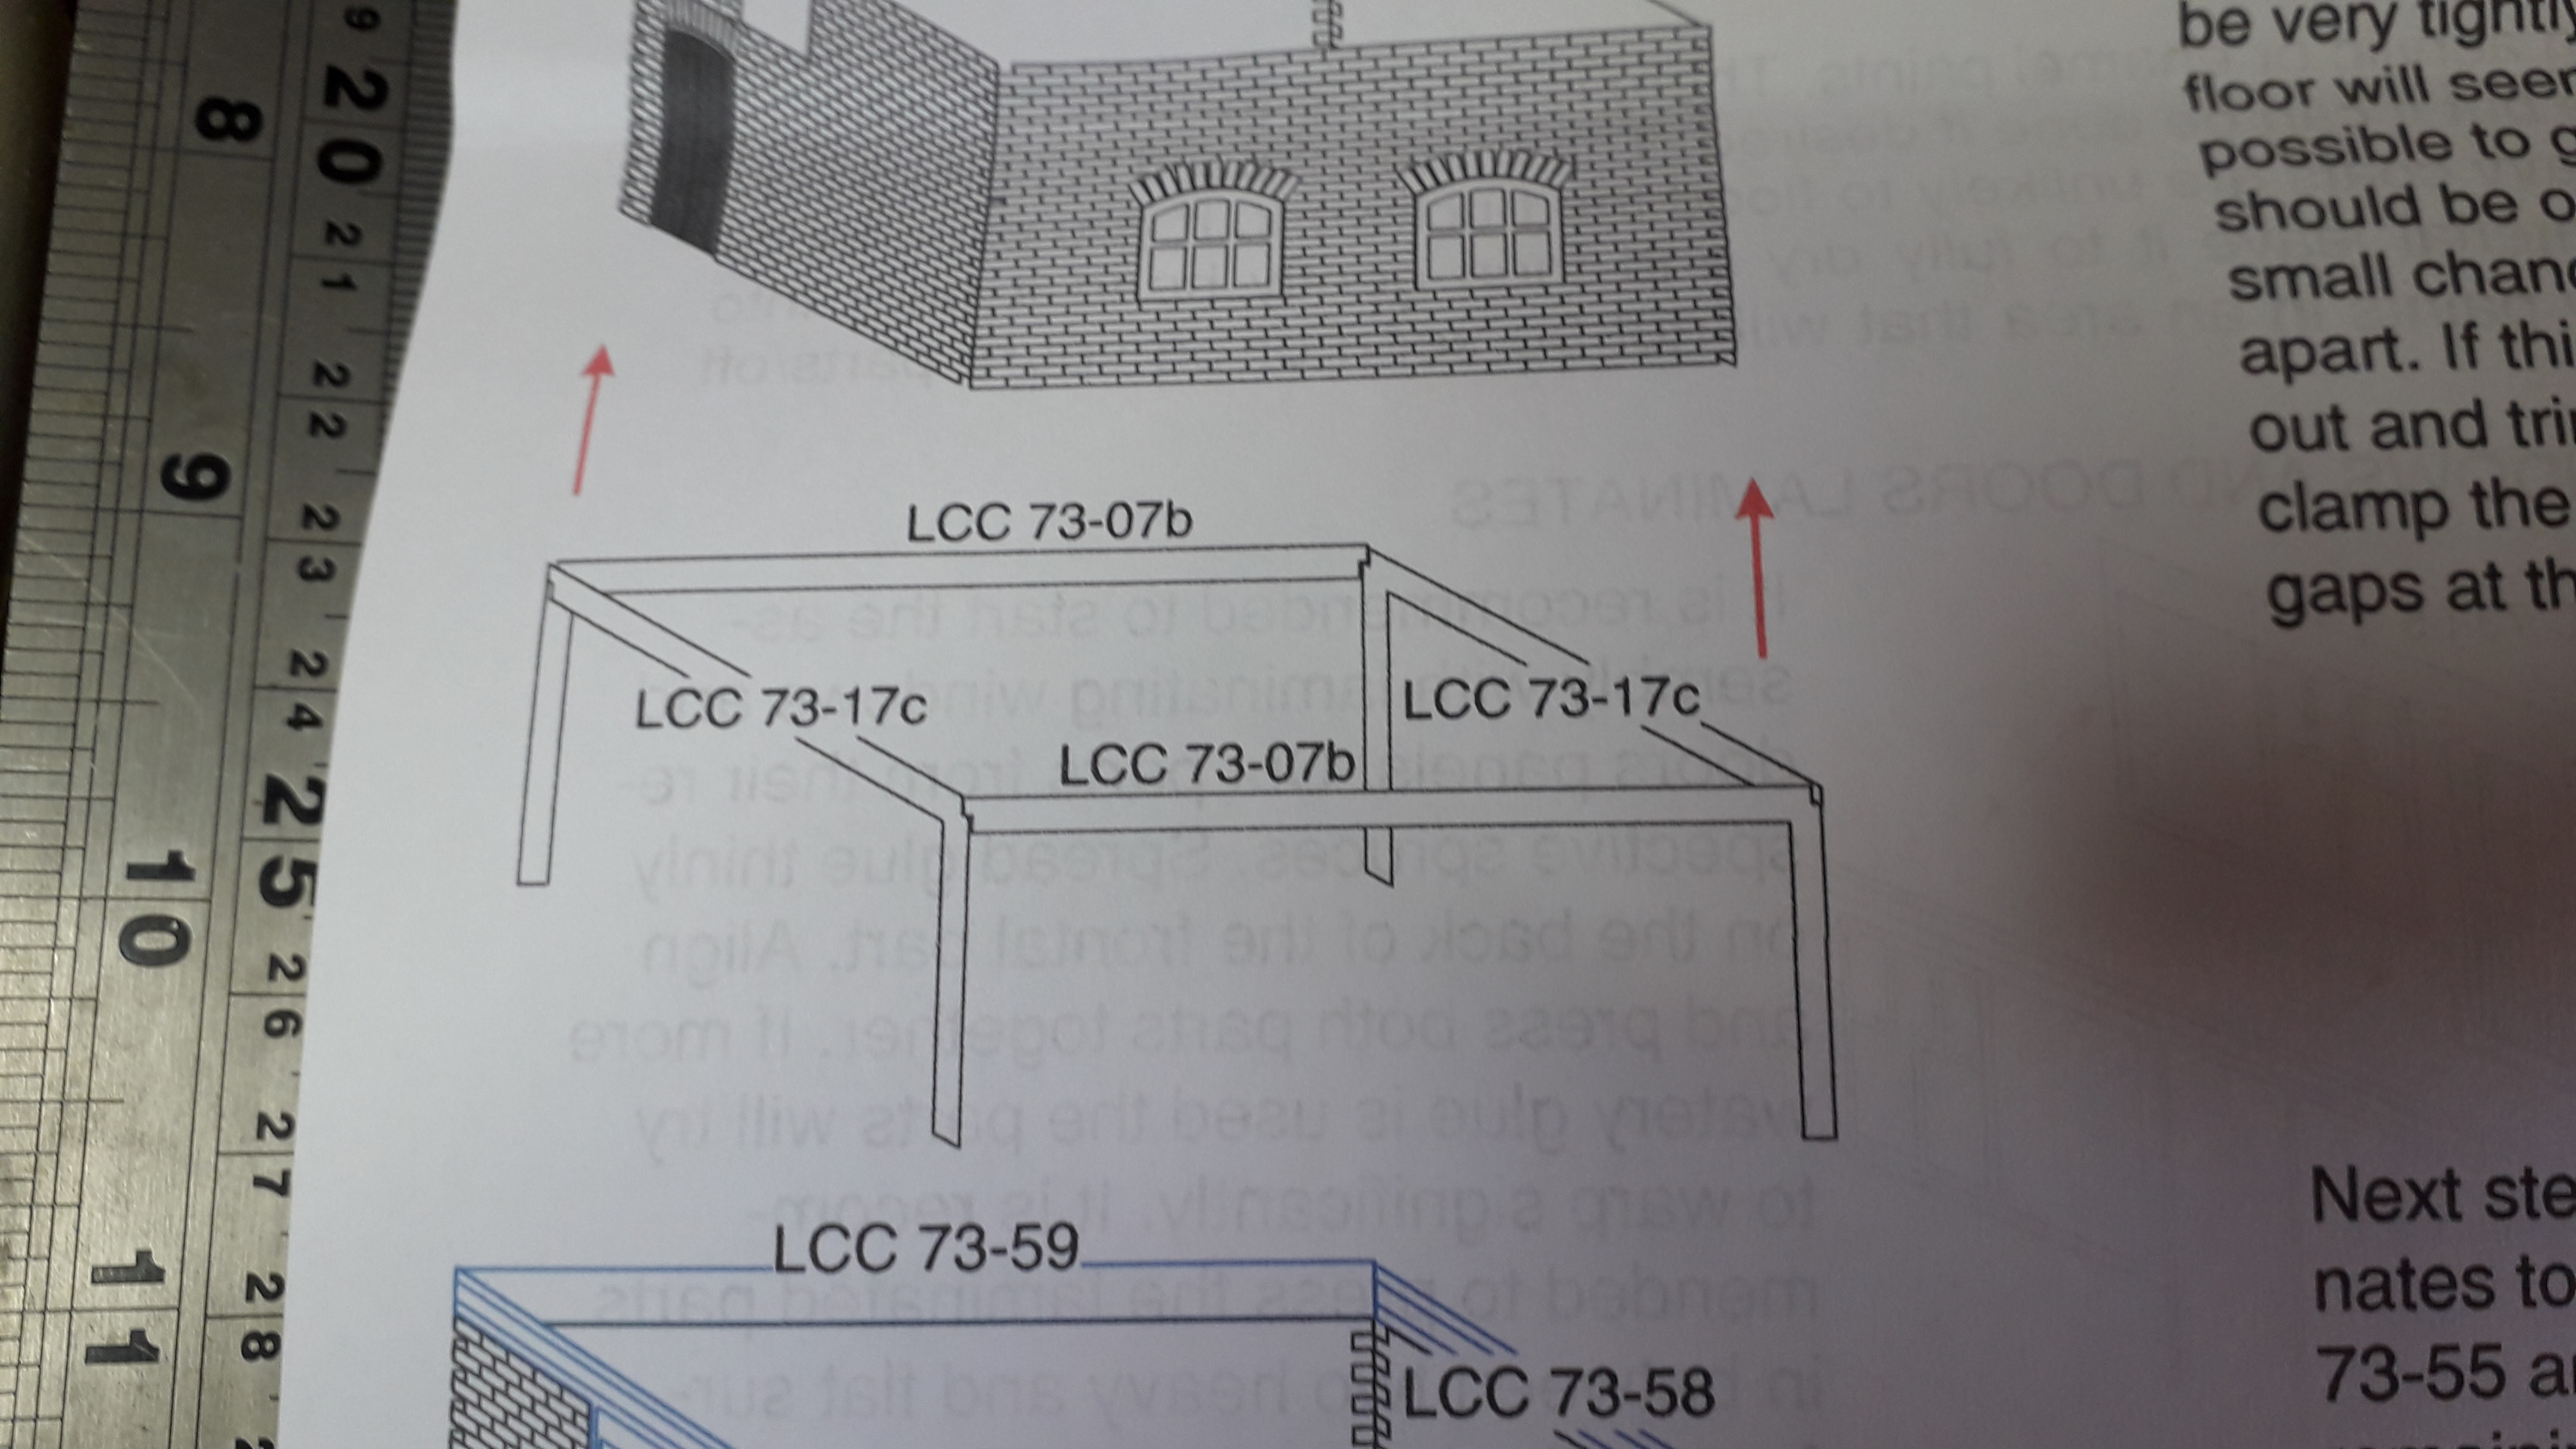
Not to worry though, I could still make a frame for the floor using these.

You really need all this to still be flexible, but not fall aparty, to put the floor in - which much to my surprise fitted exactly.
Mr. Square stars again.
Gluing the window frames in place looked a little scary, but here again the choice of glue came to the rescue - pretty much just put them in place and they stay there - though I did use Mr. Square again just for belt and braces. They kind of only go in one way, sitting on the walls below, but stating whether they are intended to be flush or whatever in the instructions would have removed lingering doubts.

The upper door fitting in the bricks here was the only time I had to resort to filing to get a fit, it was a very tight to start with.
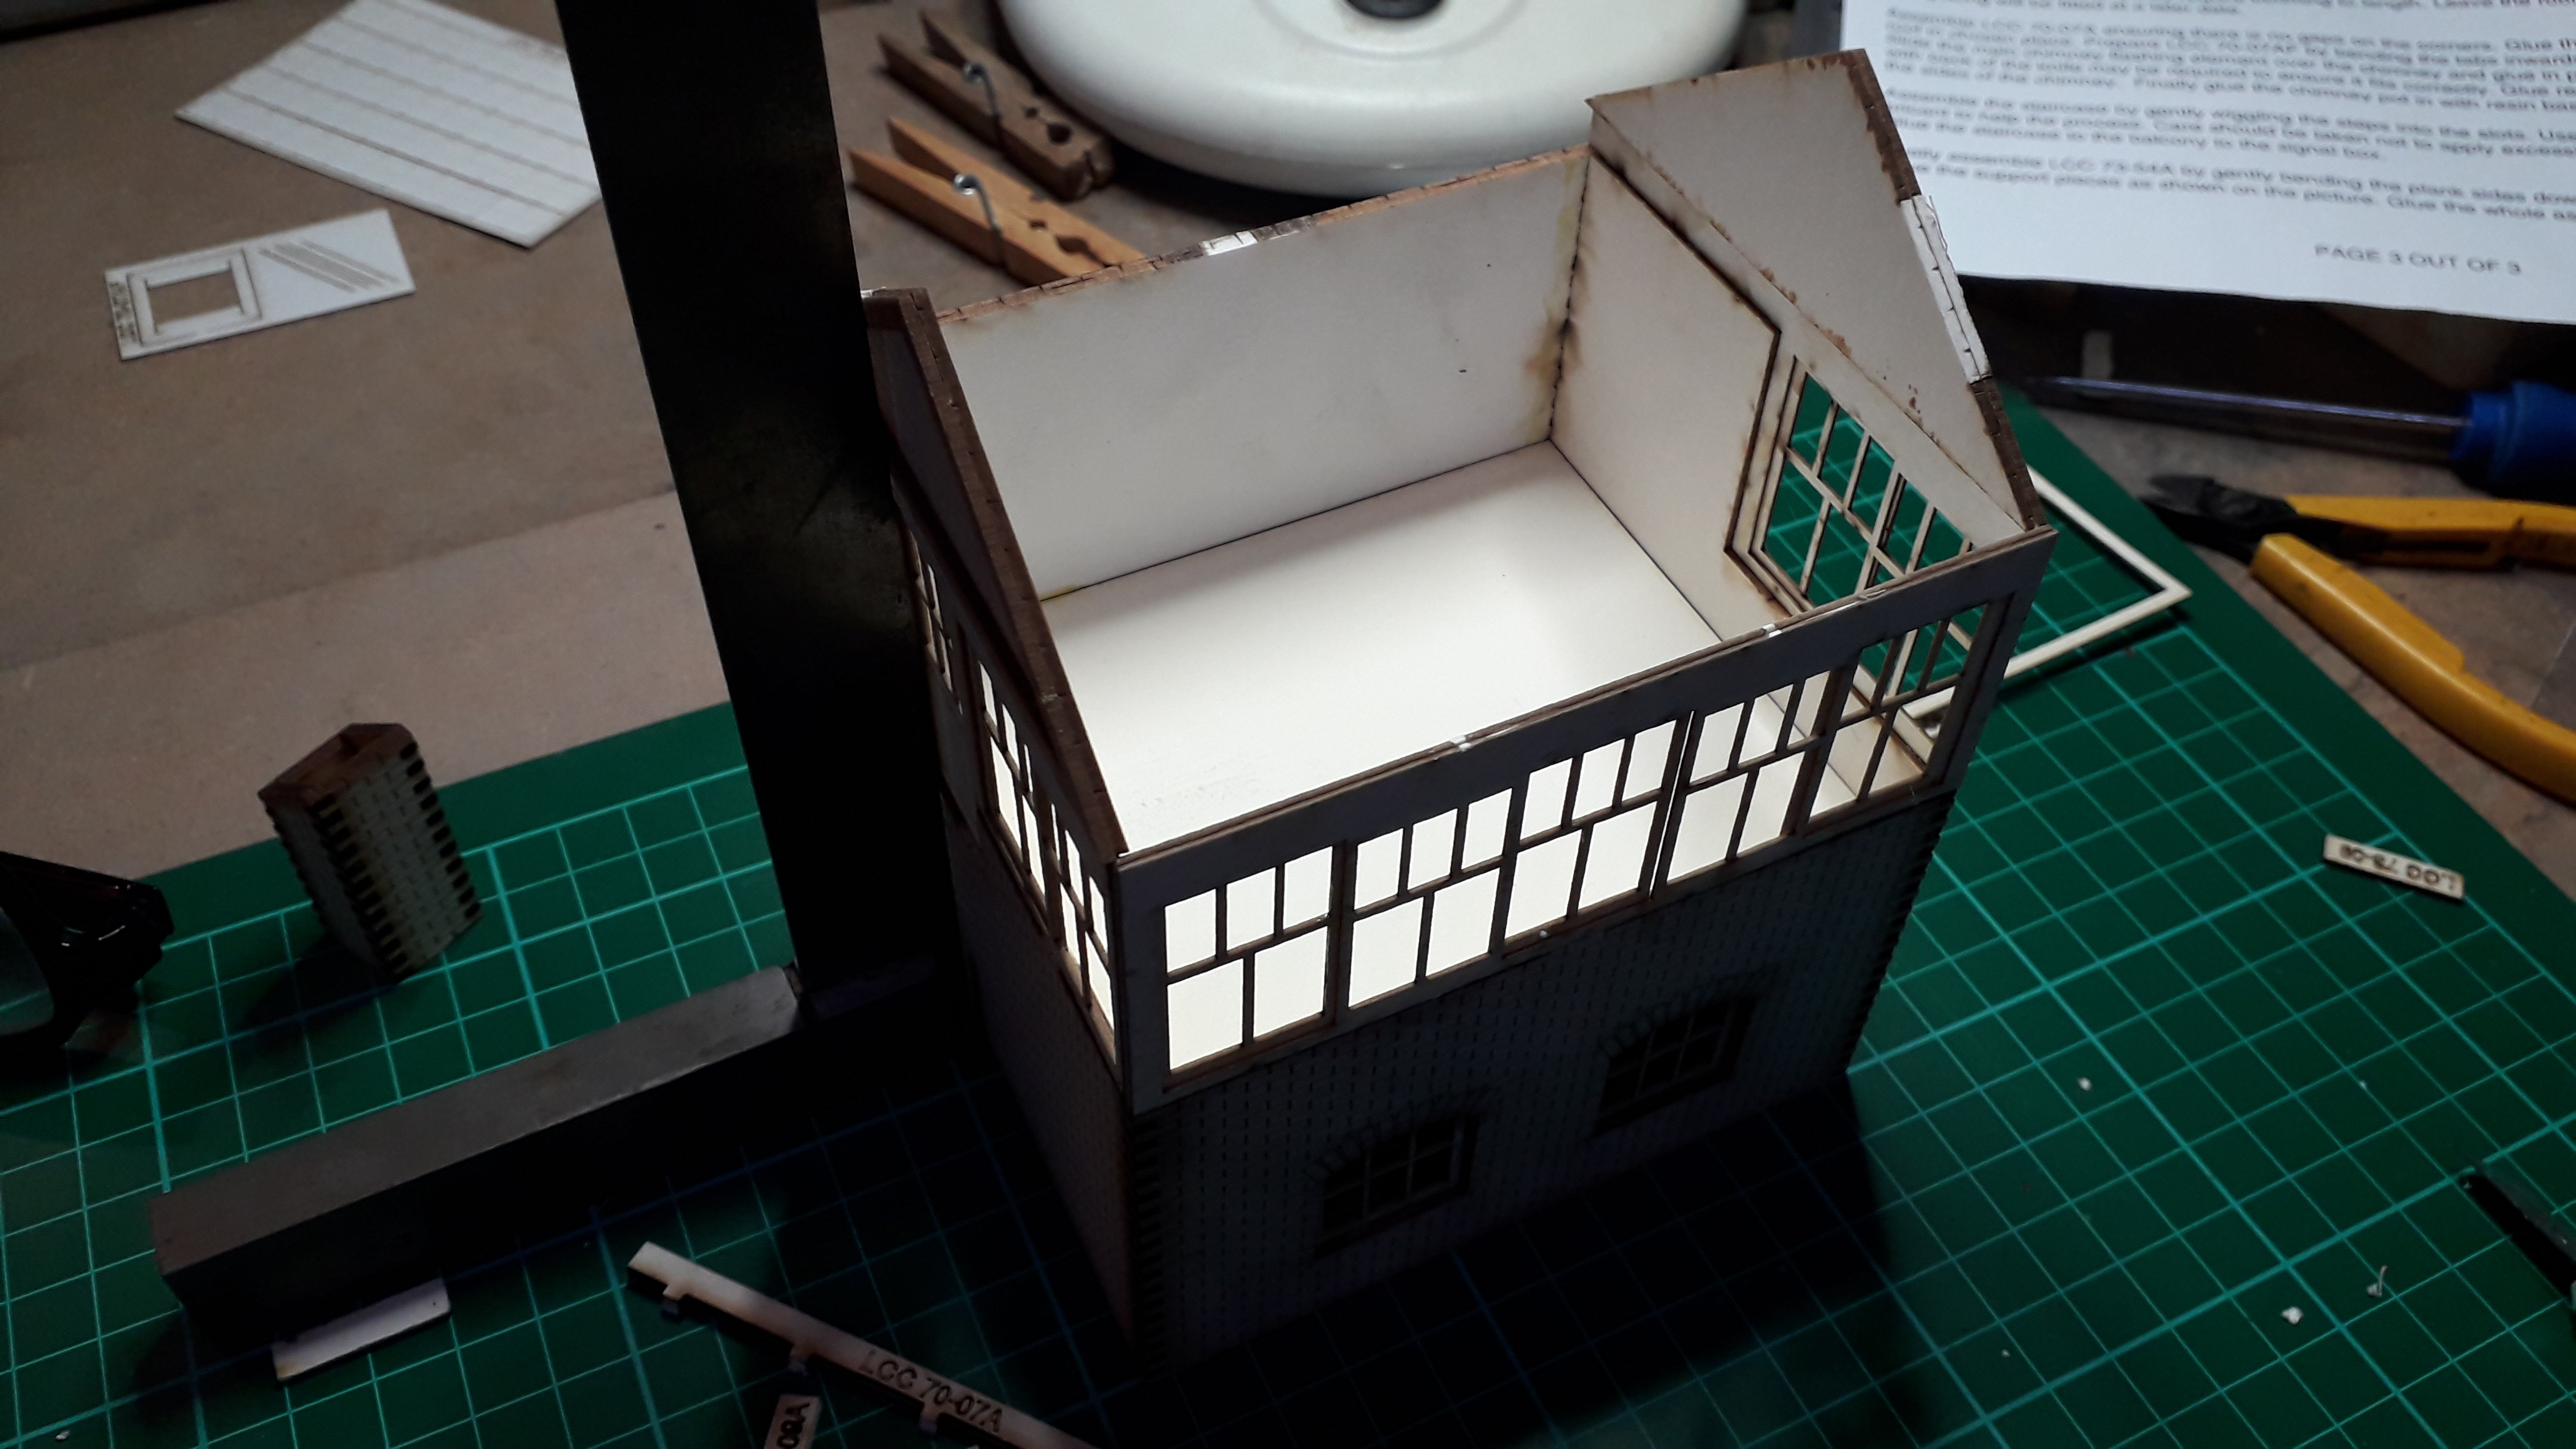
While that was all going off, I assembled the gable ends and... the stairs. My concerns about MDF came true here, the lugs rapidly de-laminate and are hard to get into the second set of side rails while not falling out of the other. This was very fiddly but I got there in the end without destroying anything, which is nice.


And to the roof. As I intend to put and interior and a light in the box I made the roof as a separate assembly, as suggested in the instructions.

The two rafters fitted. I left the glue to go off a bit, around five minutes before attaching rafters so that it acted more like a contact adhesive, so I could go straight on with the other side.

Then fix the chimney to this, fix the ridge times and the stairs to the box and plonk the roof on. It fits!

Clothes pegs are good things too. Stroppy ridge tiles.
So here it is in situ on the layout. 'Just' paint, interior and lighting to add. And glazing - which for some reason isn't supplied

Oh, and the rampy thing for going over the point rodding - I nearly missed this.
2 Comments
Recommended Comments
Create an account or sign in to comment
You need to be a member in order to leave a comment
Create an account
Sign up for a new account in our community. It's easy!
Register a new accountSign in
Already have an account? Sign in here.
Sign In Now