

Construction Stages - NWR # 5 James

Entry posted by Knuckles
1,683 views
Like on my other blog entries the majority is just selected pastes from other forums so please forgive the second hand feel of it all.
Construction starts:
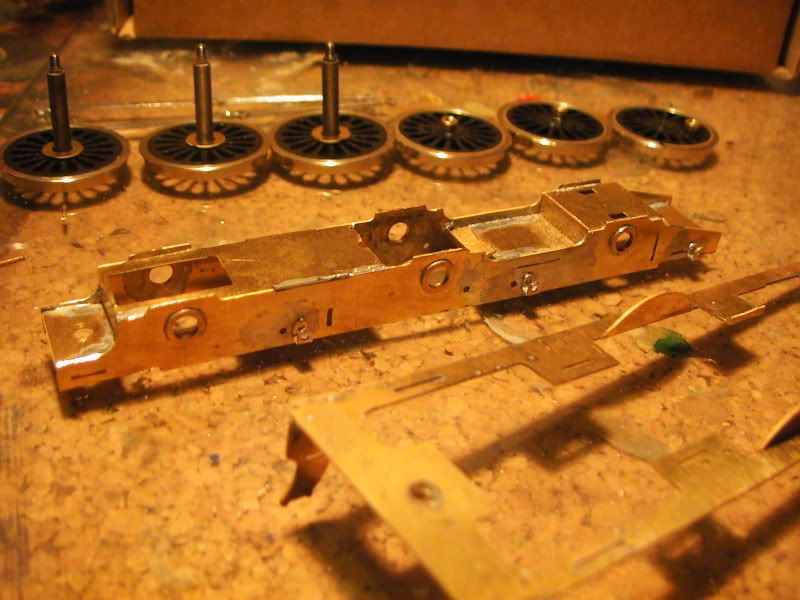
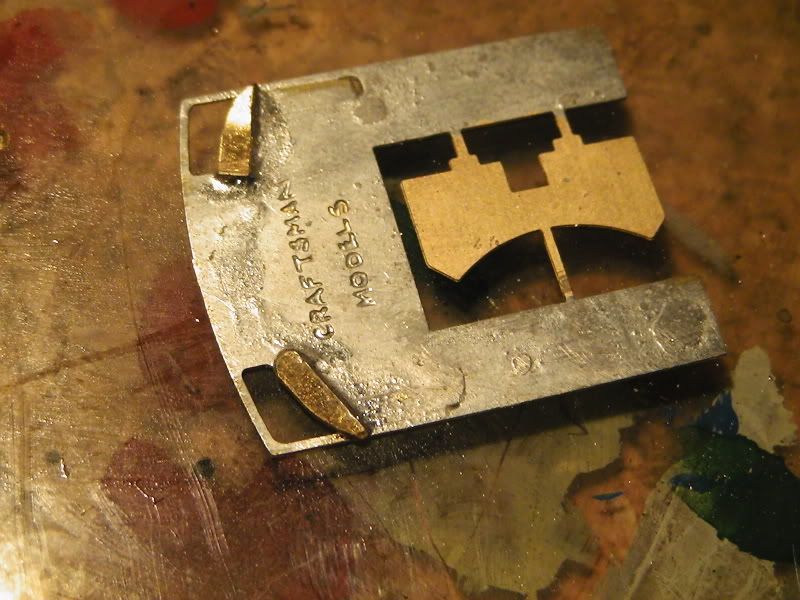
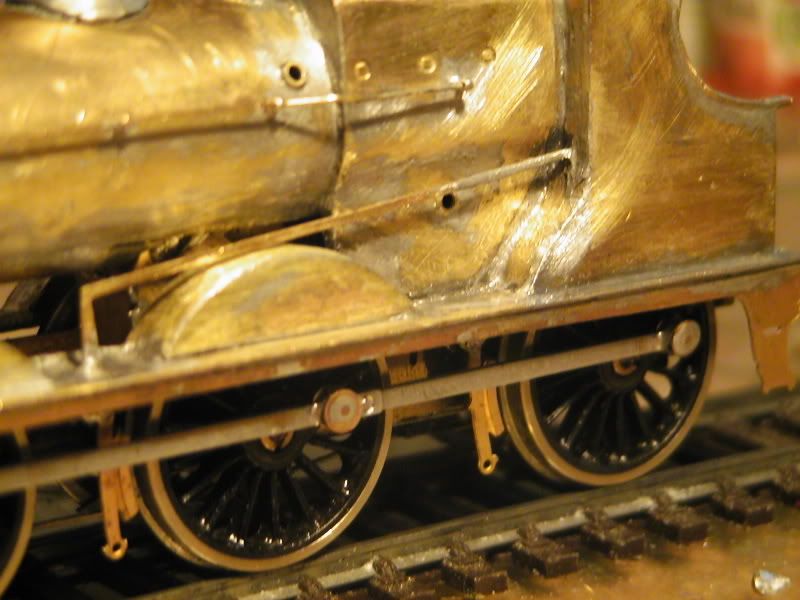
Gearbox & Motor. The chassis frame had the cut out on the left, my new hole is in the middle

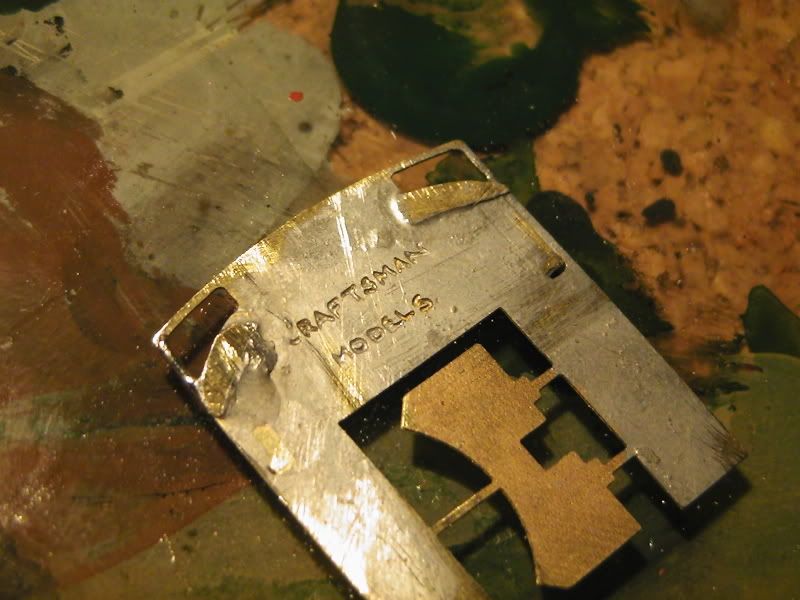
Hole seen clearer here, also the running plate has its inside edges butchered. You will also notice the brake block brackets are away from the propper hole, they were there, but again cus wheels have had to move them.
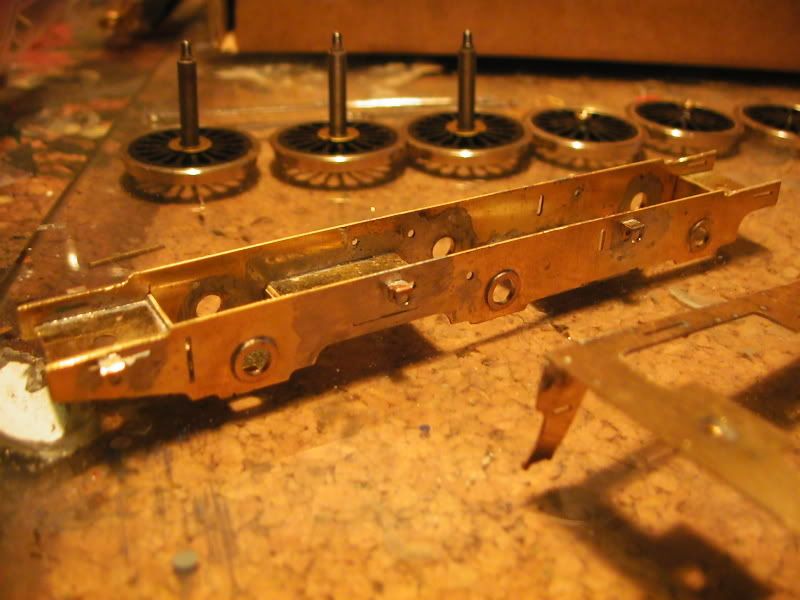
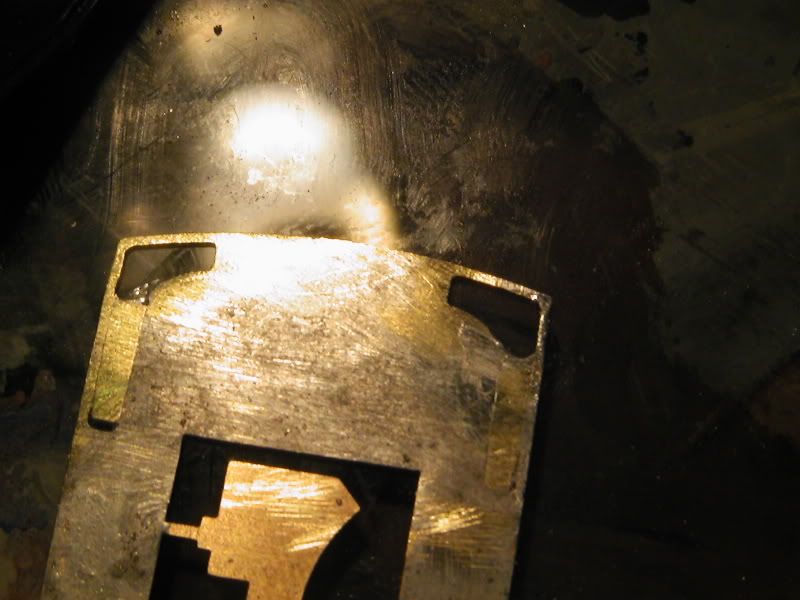
Look at the edges of the chassis tops, not level, cut to compensate new wheels, tested with wheels and motor etc, all happy, however, there is a chance the side rods might catch, if so I'll just put a few washers in the connection screws fro the running plate & chassis, no worries.
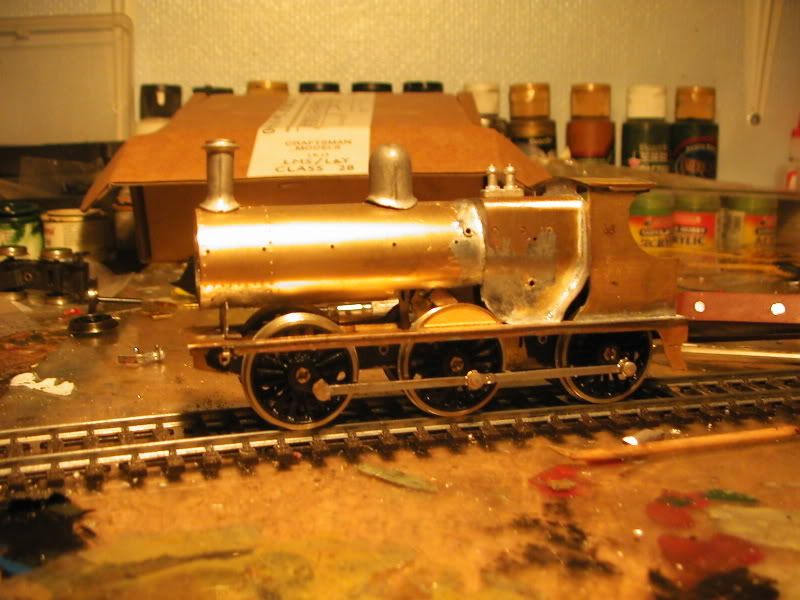
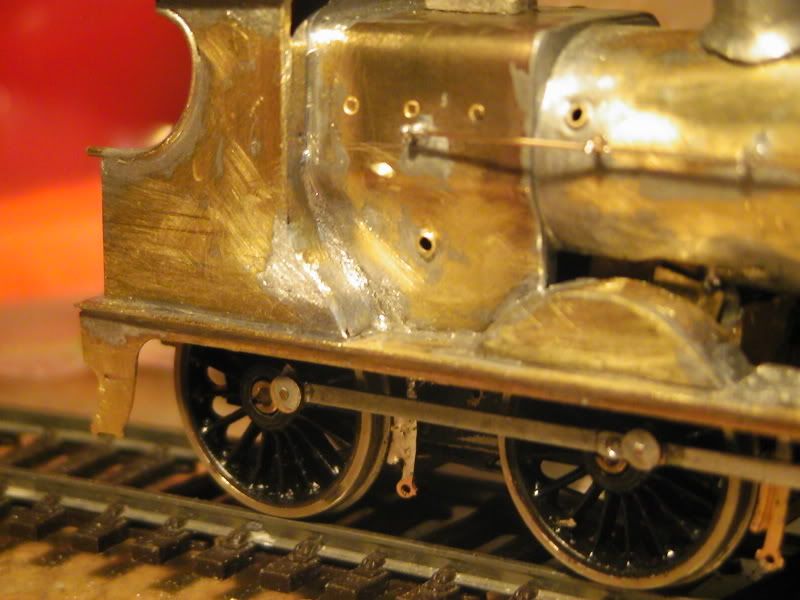
Look at the original shape of the front cab windows, not very James like.
So I cut abit of brass sprue off and filed the edges so it would fit in virtically, it was soldered and smoothed with files. The bottom curved part of the window was also from spare metal, viced and filed to provide the curves, x2. That was then soldered to the cab control side and smoothed with files. The gap at the front was filled with solder, again shaped after.
The finished result (Not really, it has since ben 'equilised' and is more neat al round, but you get the idea)
---
I'm rather pleased with the progress so far, the success of the cab bash has supprised me very much, need to be carefull when putting the cab together, otherwise it will all fall apart, the windows.
What you rekon so far? Need to get fibre washers and possibly some PCB before I can made my next major progression.
--------------------------
The other night I spent 15 hours straight with only a piddle I think, when I put my mind to something time zooms by! That was then, since then have done alot more also. Anyway, alot of time has been spent trouble shooting and tweaking, but I'm happy enough now so things have moved on. It runs ok, smooth but with a tittle of grinding occasionally, good enough though, 1st proper kit you see, thing is occasionally on corners it derails, then other times it doesn't, even stranger is when it slips off a mild corner rather than sharper, does what it want's, but there you go, needs more tweaking and I found weight added cures most of that. Also the firebox/boiler/cab relationship is abit ropey, had to cut a section out the saddle because the boiler was looking upwards but it'll pass, just. Cut a chunk of boiler out to fit motor in and it was ok, then it decided to short all the time, added insulation tape, spent hours piddeling about untill I made the decision to take the wheels off and turn them plus the moror & gear box around and basically refit everything backwards including the wires for the contacts I made, did it eventually and it actually works a little better now.  The bit of boiler cut out will be re-instated later.
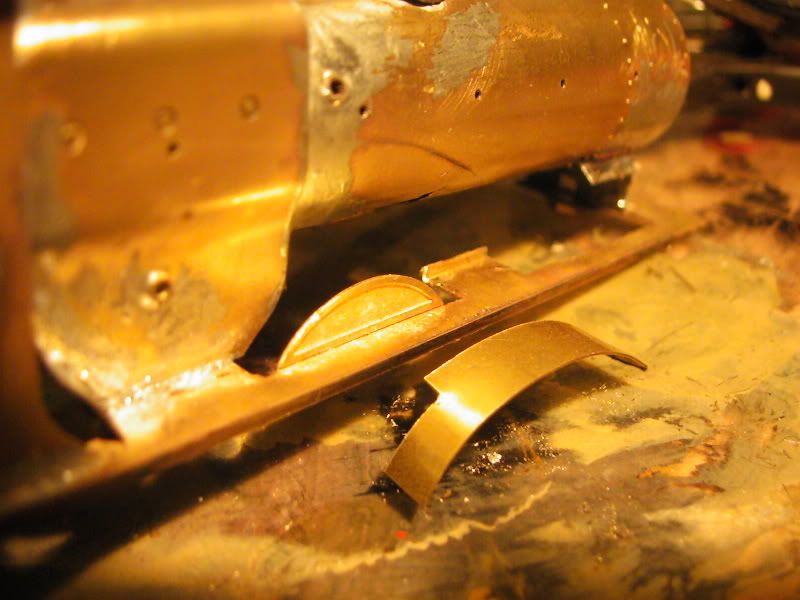
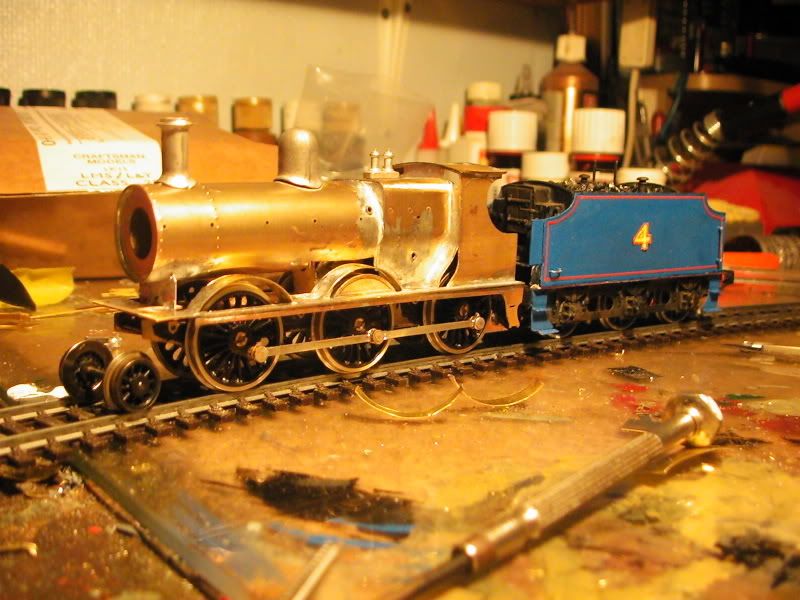
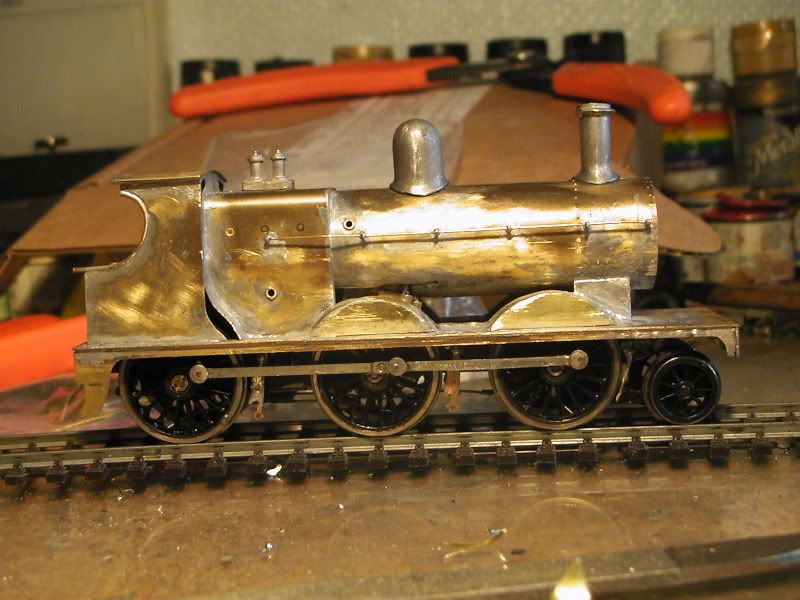
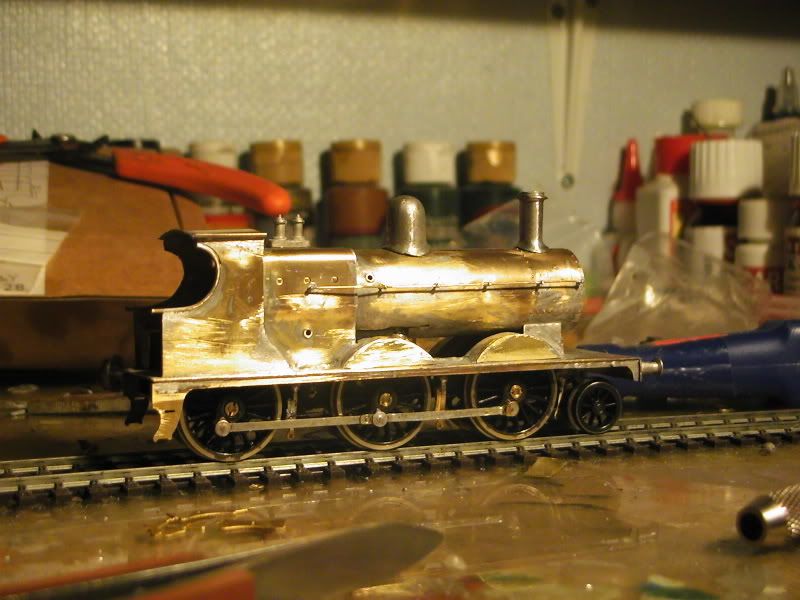
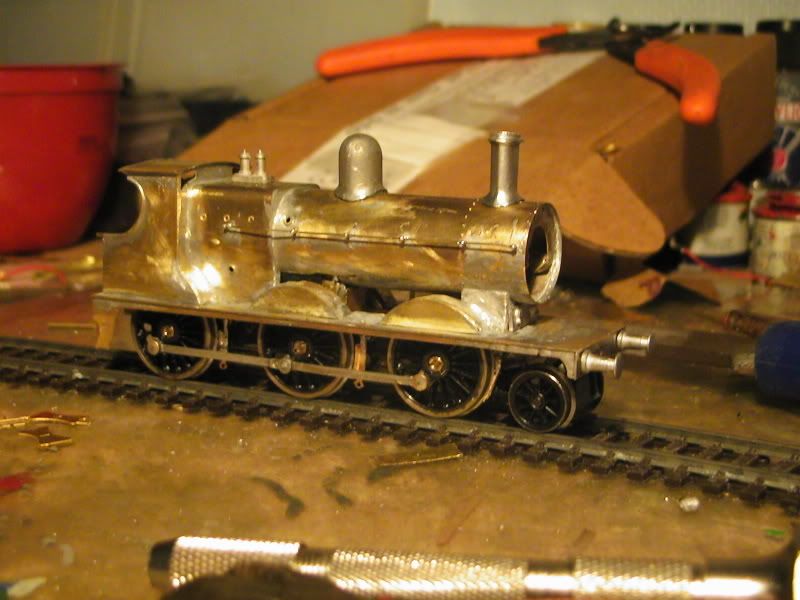
I have had to do alot more scratch building that I thought to, because I'm using wheels that scale to 5' 6" (On of James official modification) rather than 5' 1" I have had to lower the body on the frames a tad and make new splashers that are roughly 1.5-2mm bigger, and as the pics below show the difference is vast indeed, definetly not mild! The Fowler tender height annot be perfected though because any lower and the crankpins touch the valance producing a short, it's not that bad looking I don't think. It has took me no less than 5 hours making just '3' splashers, and they are not finished yet either, needs more tweaking and one needs alot more work. Plus the other 3.  Covers are to be last. Oh yeah, the rear splasher looks odd comparred to the rest because I followed the lines of the original flowing curve, so I presumed it would look the way I have done it, I 'might' however go loopy and make it more angular, hope not though.
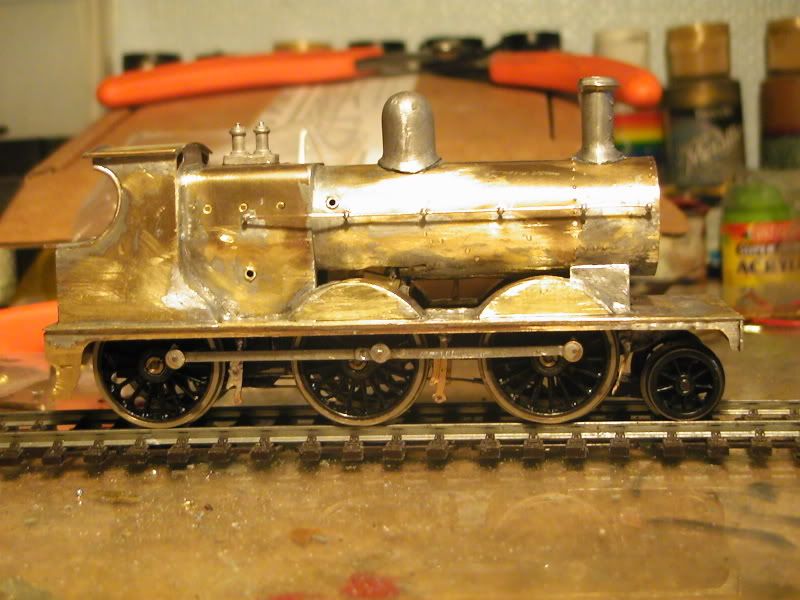
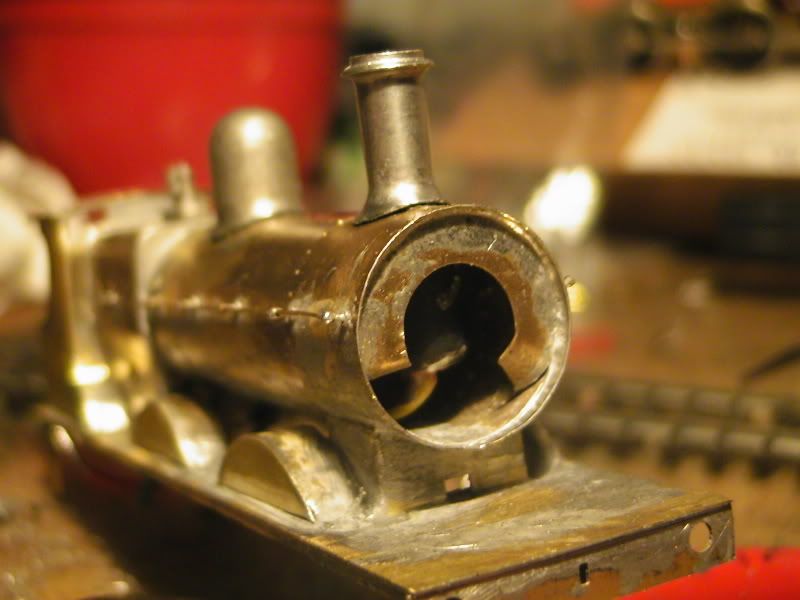
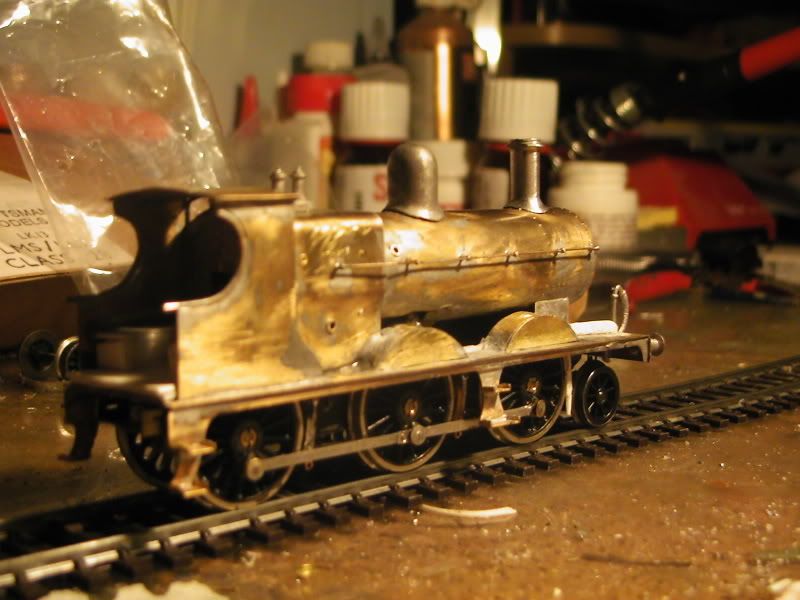
I will also have to make my own smokebox saddle seeing as I am not using the splasher/sandbox set up. Also, the funnel on these things in real life had a choice where they lived, where does it look best to you? I have looked in the RWS pics and it is in both positions on different pics. (no supprise : )
front position
back position
Teasing impression, oh yesh! 
As I say, it isn't perfect because I have much to learn, but definetly getting there. Where you rekon the funnel should go?
------------------------
been up all night again ( I do it accasionally when jobless) working on James.
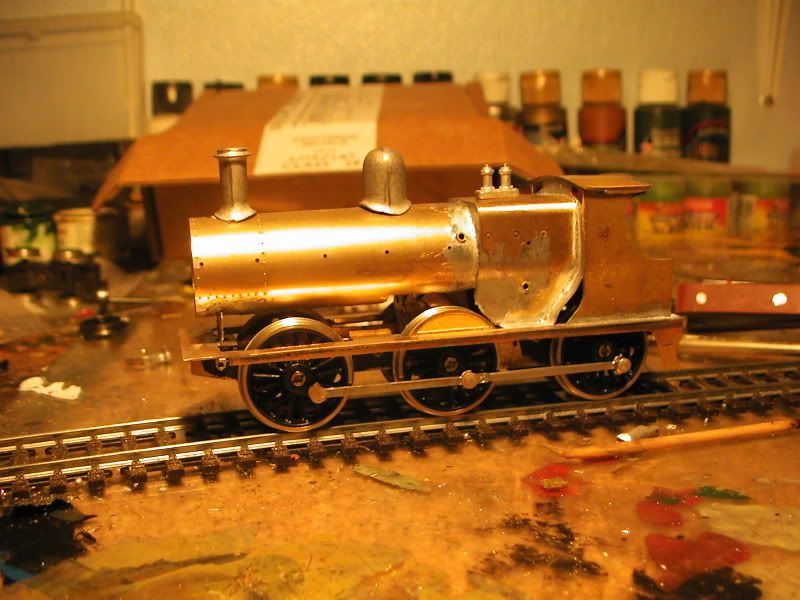
Running plate bashed, smokebox saddle bashed, boiler bottom re-instated, other splasher done, hand rails on, reverser rod thing on, just need to add splasher covers, cab side beading, whistle, and buffer beam stuff, then that's it, do the tender and paint. Need to holow out the chimney though, gulp.
----------------------------
I know this post isn't going to wow anyone because what is on offer isn't vastly different thn before. Soldering bits cae today but my handle is knackered, so I'll have to get a new one, in the mean time I have been using an 'el cheapo' £5 iron, not great but useable at least. Takes 3 years to get hot though.
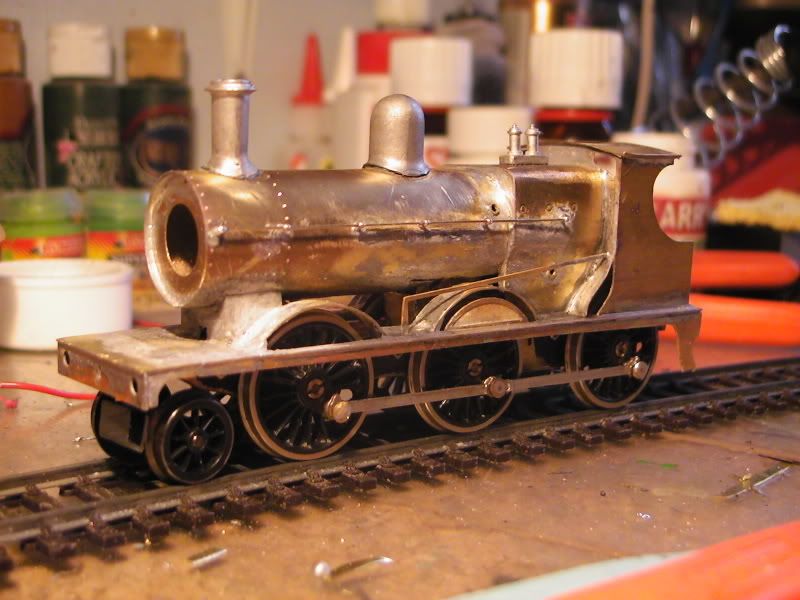
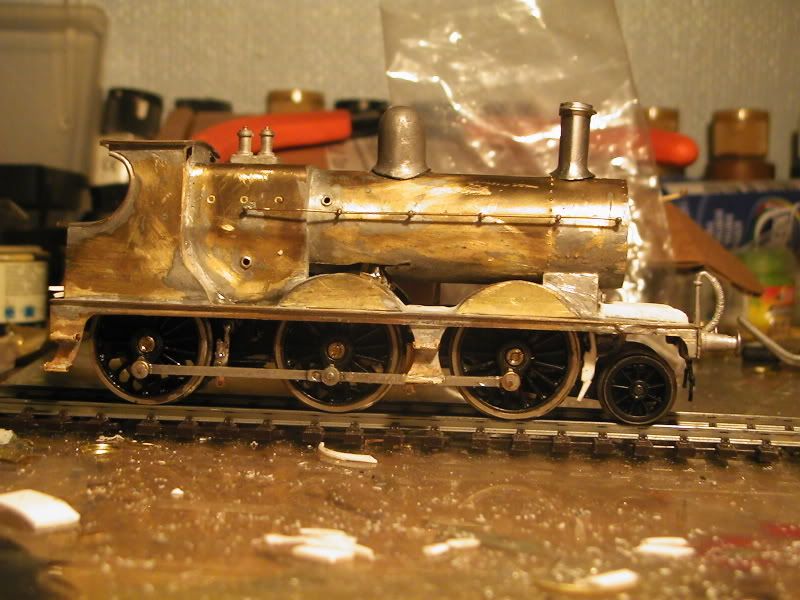
Ok, notice the scratch built splashers and smokebox saddle are now complete, lest for the rear. Cabside beading also done.
rear complete
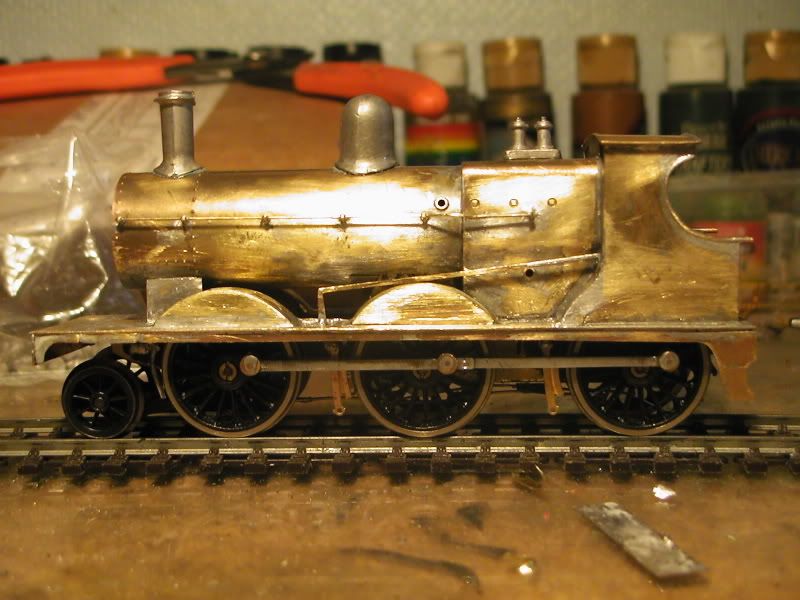
In the above pics look at the brakes, I have added them but probably won't add the hangar rodding because of the pick ups underneith. Also notice the front brake..... looks crap doesn't it? Thin. That is because occasionally it was shorting with the front pony, in real life it wouldn't be an issue for 3 reasons:
1) The brakes in reality are much closer to the drivers
2) the pony wouln't be negosiating 'trainset curves'
3) the flanges would be much smaller.
So for those reasons you will have to imagine the brae is full size, because I have had to reduce it to that abysmal sliver, never said I was perfect.  At least it has them, Honby James has none.
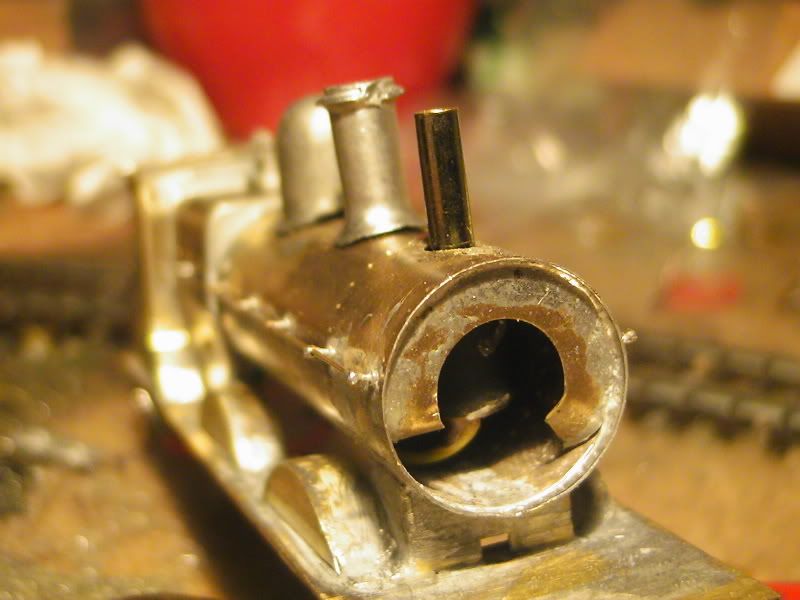
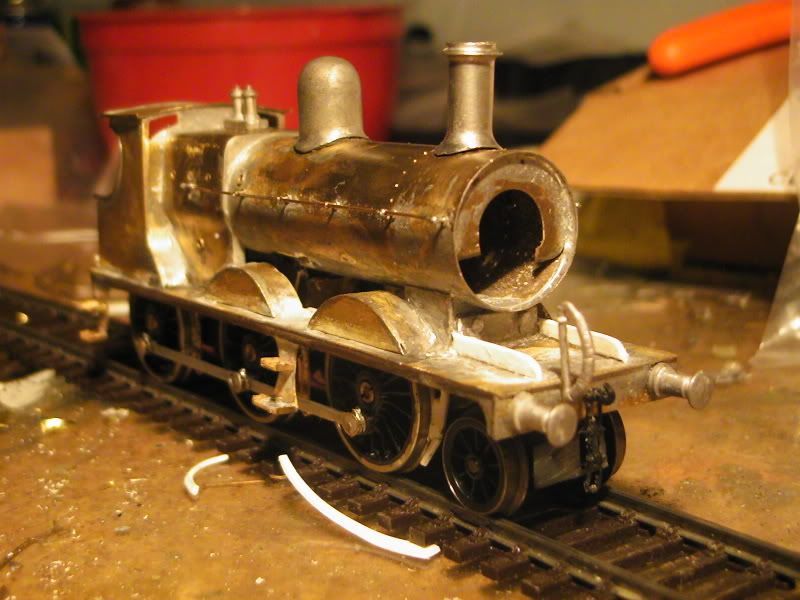
Spent a few hours holowing out the chimney and cut a hole for a smoke gen to go in.
Buffers added, what a difference it makes!
And so, I'm getting very close.
EDIT: Just had a lightbulb style idea!
can make the front brakes and rods from plastic, thus curing the shortout problems. 8-)
-----------------------------
It will have in cab detail but not loads, more an impression. I am in process of building a custom cab floor. It won't look right as all the heights are pickled because of the bigger wheels, however, it will be painted black and hopefully will serve as the 'impression' Cheap way out yes.
I have a problem. When I run the engine the middle insulated wheel likes to set itself on fire and smoke! Obviously it is a short but here is the catch, if you run it through on max untill the motor passes out, wait about 10-20 secs and repeat a few times, eventually it is eliminated and it runs super sweet as before, slow even, I'm currently convinced it is excessive oil conducting electricity where it isn't welcome, seeing as this seems to be a reacuring issue that gets solved the same way. I did oil it heavy before.
?
EDIT: Uploading pics...
You can kinda see the crap in the cab, isn't finished.
You can see the plastic brake, not bothering with the shape too much, paint will disguise.
Coupling and brake pipe and roughness.
So there you have it, I need to do:
Lamp Irons
Repair Chimney
Pony guard irons
Brake rodding
finish cab interior
clean up and smooth.
Tender
Painting and finishing off
Whistle will be added after painting.
If it looked odd the chimney was just 'plonked' on for te pics, will be stuck with bluetack because I can't get a smoke gen' in or out otherwise. Dome needs tweaking also. The whole model isn't fully in line because of an unknown balls up. It'll be ok before the end though.
Hope you like these because that's it now, no more pics untill the whole thing is finished completely.
----------------------------
That's about it.
In hindsight now it's complete when I redo the chassis I might extend the running plate a tad, who knows.
0 Comments
Recommended Comments
There are no comments to display.
Create an account or sign in to comment
You need to be a member in order to leave a comment
Create an account
Sign up for a new account in our community. It's easy!
Register a new accountSign in
Already have an account? Sign in here.
Sign In Now